How To Install A DC To DC Charger In Your RV
In our previous post, we looked at DC to DC chargers and why you need one. In this article, we will look at how to install one and the initial test results.
As mentioned previously, the folks at REDARC agreed to send me a DC to DC charger to install, review, and test.
REDARC has a large selection of DC to DC chargers to choose from. Options include charging an auxiliary battery in your vehicle, a battery in your trailer, incorporating solar panels, or overland packages, along with a variety of amperage ratings.
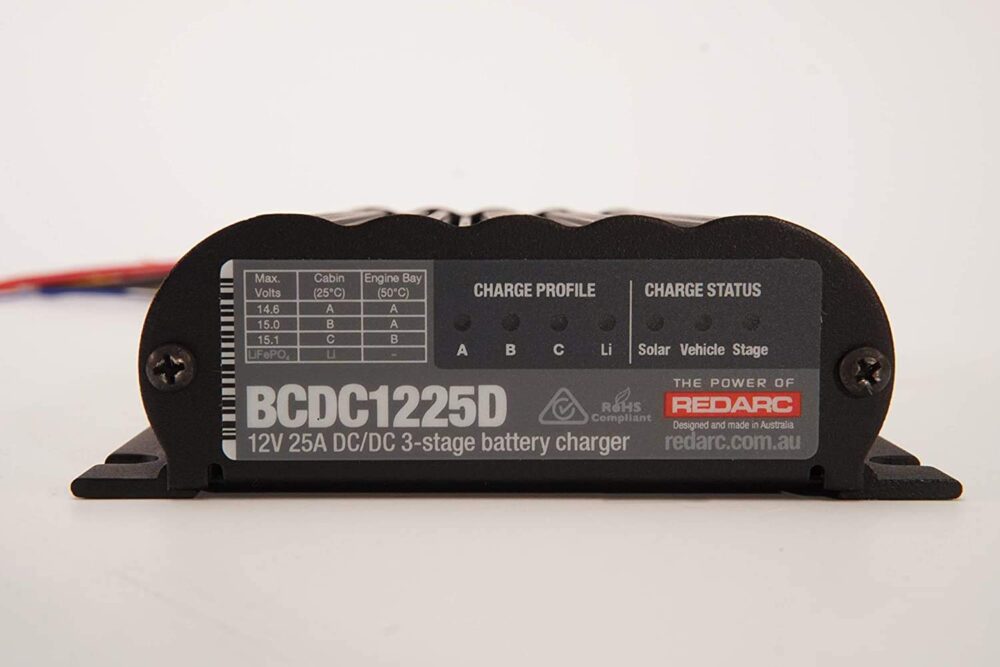
As I did not want to do any extensive modification, I chose their BCDC1212T. Since it is rated at 12 amps, this charger allowed me to utilize the existing charge line and 7-way connector in my truck.
The video featured in our last article utilized a 20-amp DC to DC charger. This required an upgraded charge line and dedicated 20-amp connector. If you are thinking of installing a DC to DC charger with a higher current rating, read this informative article by RV electricity expert Mike Sokol.
Before the installation
Before starting the installation, travel trailer and fifth wheel owners will want to isolate the incoming 12-volt charge line from their tow vehicle where it exits the 7-way molded pigtail on their towable RV. In most instances, it will be black in color.
Disconnect it from its factory location and be prepared to connect it to the incoming power wire on the DC to DC charger. You will also want to verify whether it receives continuous power from the tow vehicle or is only energized when the tow vehicle ignition is running.
The best way to do this is with a 12-volt test light. Once you have located the wire, connect the test light. If it is only “hot” when the tow vehicle’s ignition is on, you know you have the correct wire and you won’t need to use the blue trigger wire on the REDARC charger.

DC To DC Charger Installation
Installation is straightforward for the do-it-yourselfers out there. Instructions are concise and cover installation for a variety of scenarios including battery type, charge profiles, and ignition triggers.
The most important part of the installation process is deciding where to mount the unit. It needs to be located as close as possible to the battery(s) being charged. This could be problematic for travel trailer owners. Most travel trailer batteries are mounted out in the open on the A-frame of the trailer.
Fortunately, REDARC DC to DC chargers are sealed with no open venting or external switches. The unit can be mounted in any orientation. When deciding how to orient the unit, it is recommended that the front decal with the indicator lights be visible. Also, when possible, the manufacturer suggests mounting the charger to the vehicle frame to optimize heat dissipation.
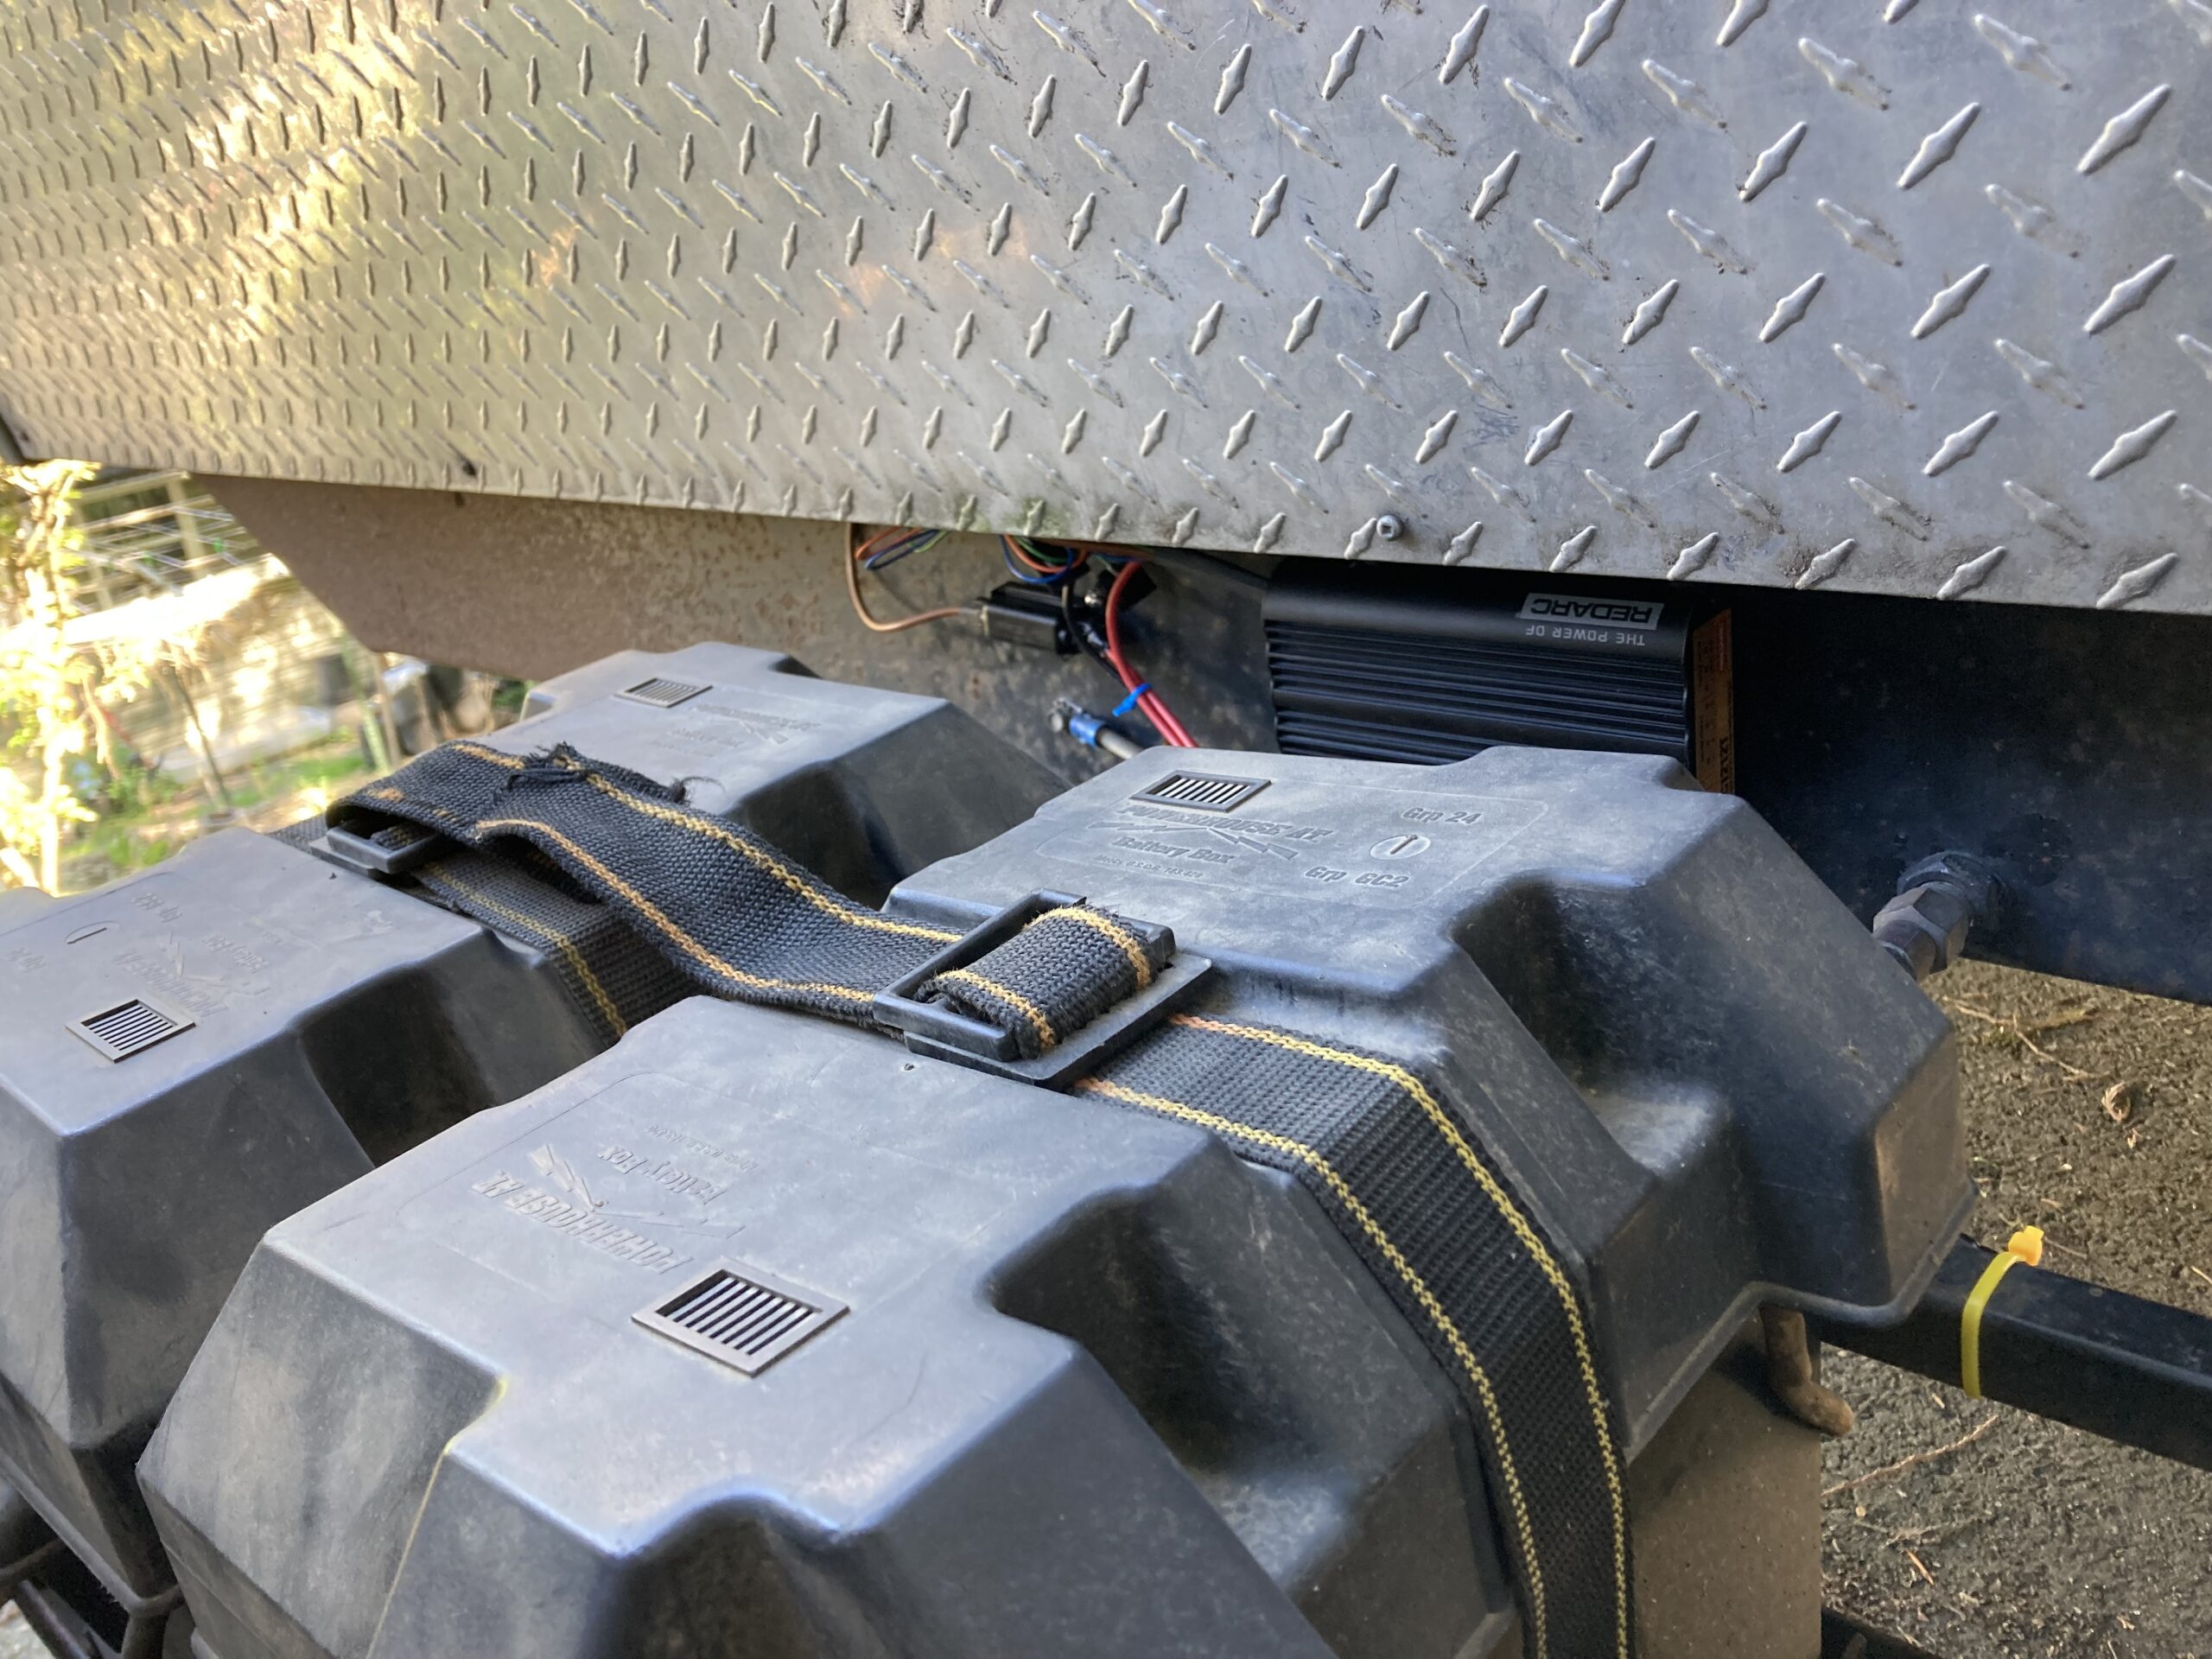
To meet the requirements, I mounted the unit horizontally to my travel trailer’s frame behind my house batteries. By mounting it in this location, the unit is shielded from road debris, mud, etc. by the battery boxes. This kept the unit very close to the house batteries and aimed the indicator lights where I could see them.
“The wiring part of installing a DC/DC charger is really easy.”
Says bloggers Christie and Emily of This Pair Go There.
All the other installation details are well covered in the instruction manual, so I will not repeat them here.
Here is a video from REDARC on how to install a BCDC1212T on a dump trailer. Note: They were kind enough to send me the fuse kit shown in the video, which made installation easier.
Testing
Once installed, I plugged the travel trailer into my truck. I then started my truck and verified the DC to DC charger was working via the indicator lights. Then came the true test: how much did the charge rate to my travel trailer house batteries increase?
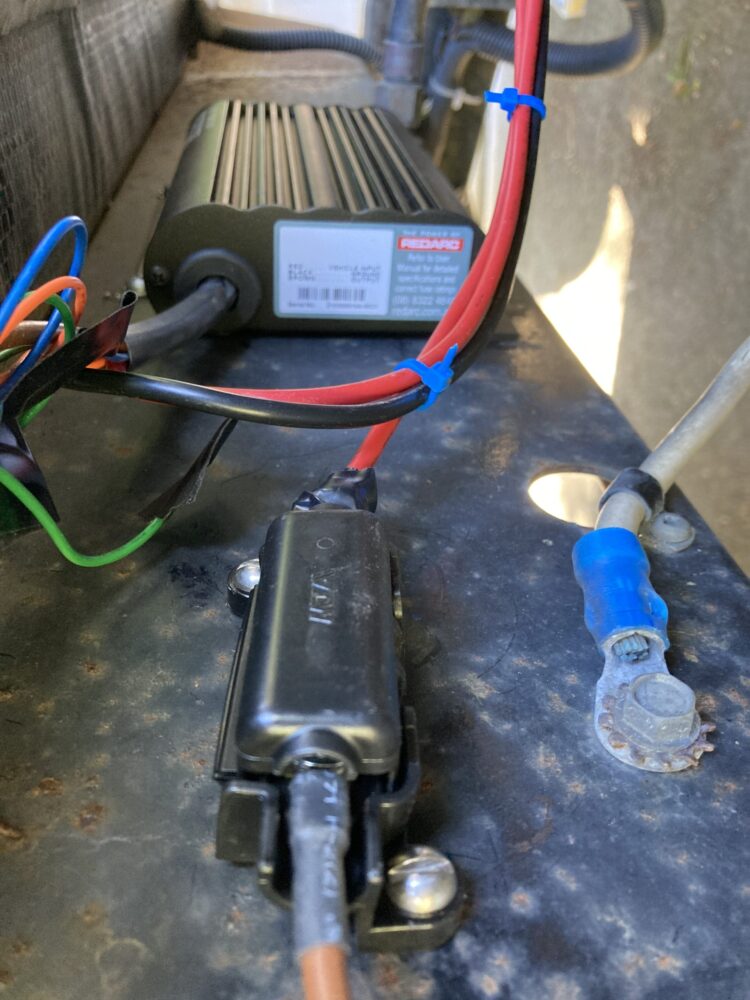
To determine this, I disconnected the incoming power from my truck’s charge line from the DC to DC charger. I then reconnected as it was from the factory, directly back to my house batteries with an amp meter inline and a voltmeter attached to the batteries.
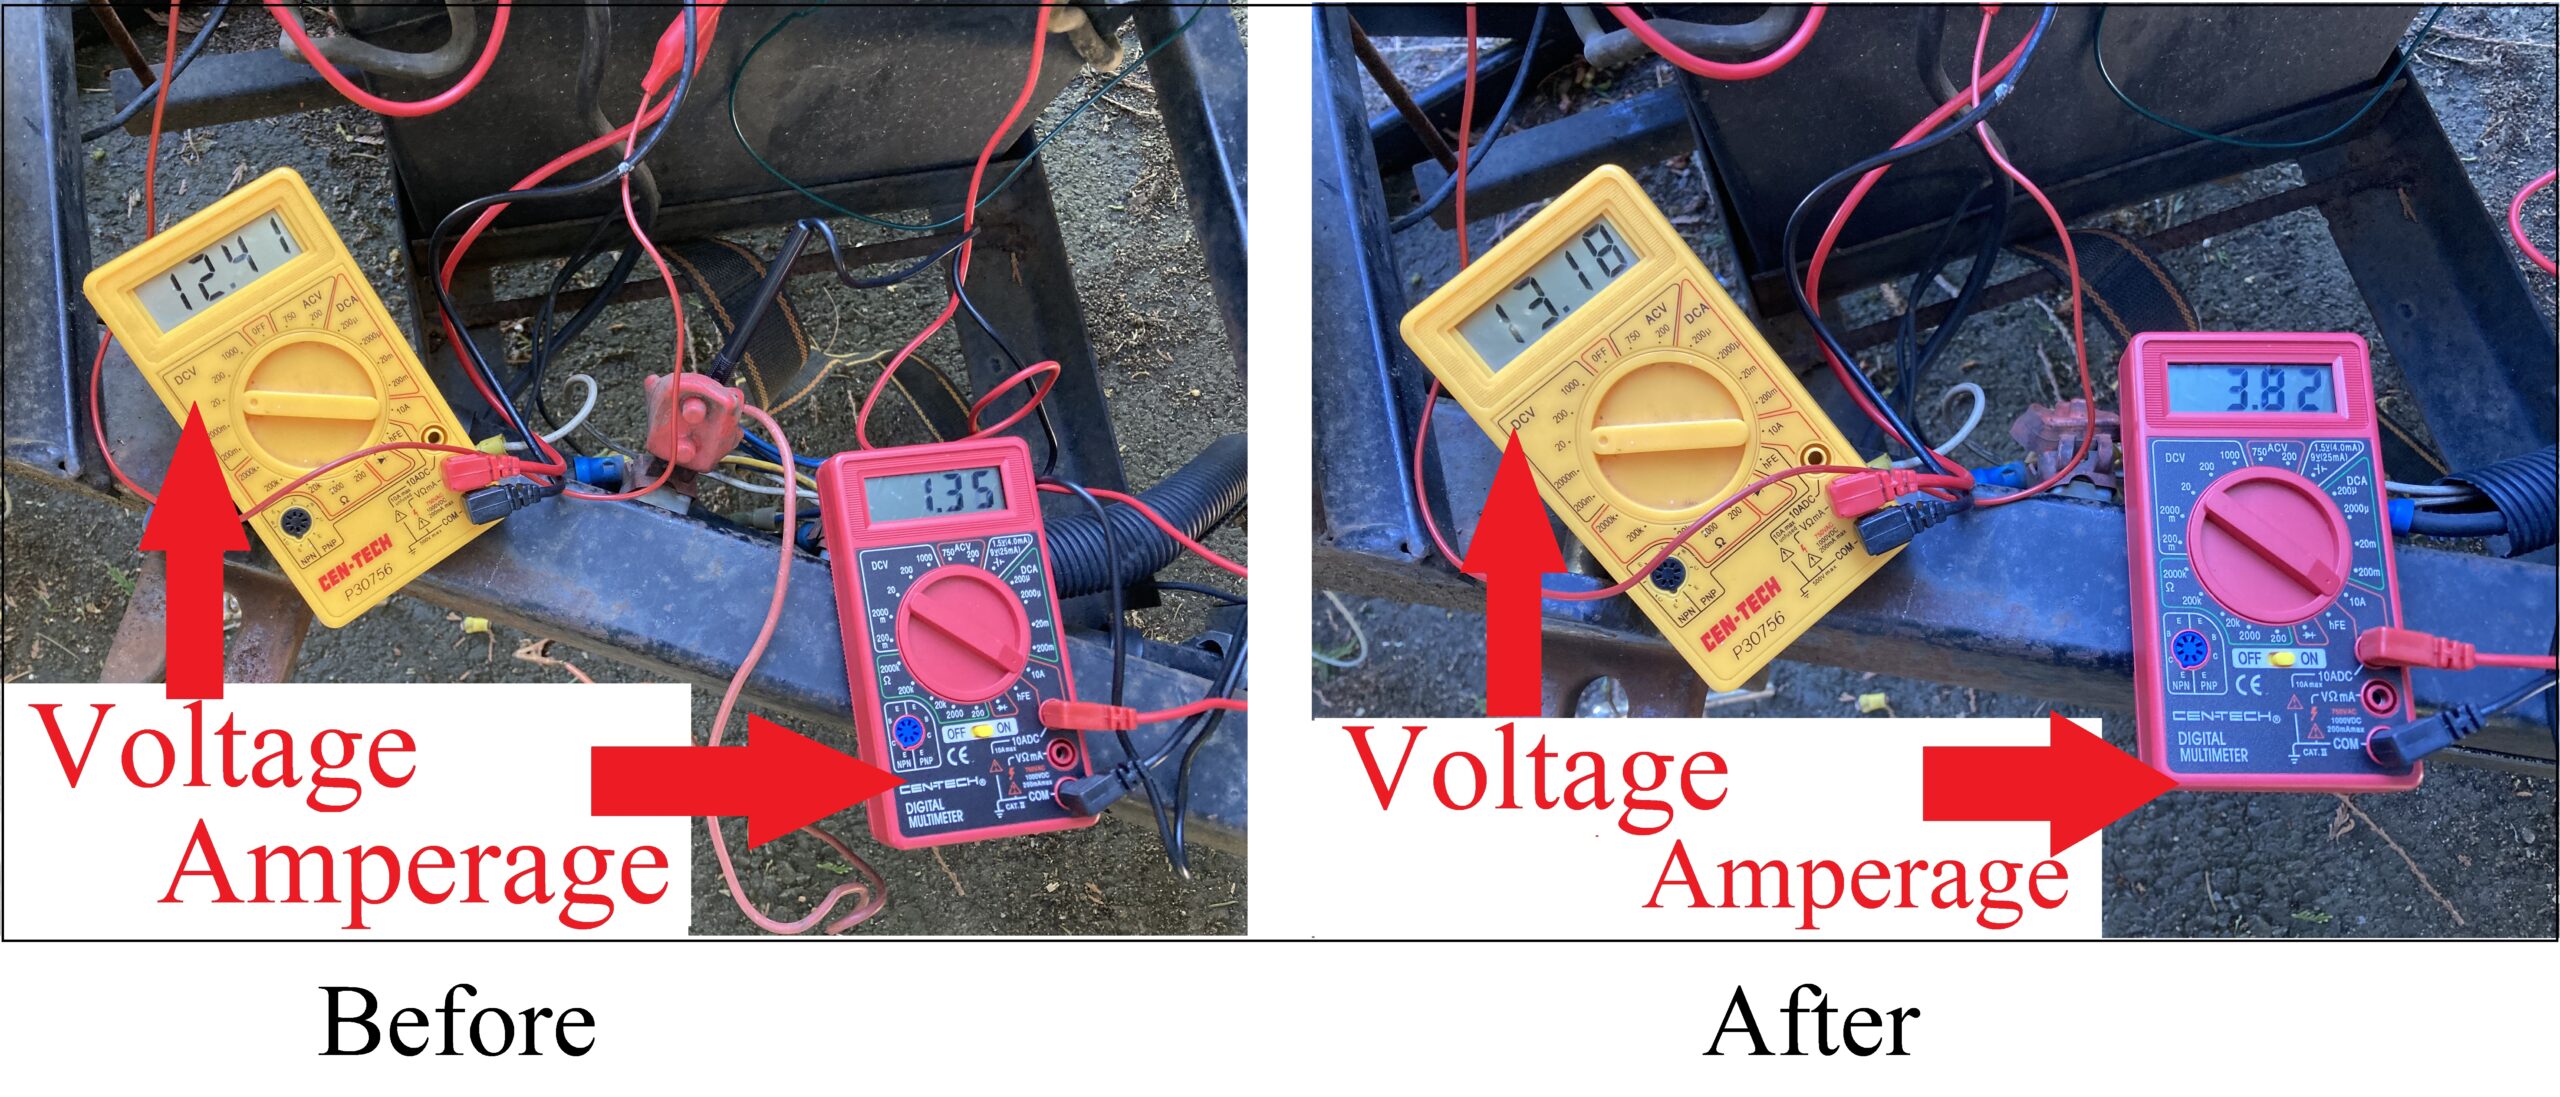
With the RV disconnected from shore power, I turned on ceiling lights to create a load on the house batteries. I took a reading of the voltage and amperage (neither were very impressive). With the meters in place and the truck running, I moved the incoming 12-volt charge wire over to the input of the REDARC. I immediately saw increased voltage at the house batteries and increased amperage flow!
I then repeated the test again with the same results. As you can see from the photos, nearly three times the current was flowing to my batteries with the DC to DC charger employed!
I have since gone dry camping, and after one day/night, the battery condition on my monitor panel had dropped from full to 2/3. After an approximately 45-minute drive, the batteries read full once again, which is much faster recovery than before I installed the DC to DC charger. I am anxious to see how it performs on an upcoming two-week trip where I will be dry camping every night.
Conclusion
The REDARC DC to DC charger works as advertised. It maximized the incoming power from the tow vehicle to charge the house batteries. I liked that it is sealed against moisture and dust, as I travel many unpaved roads.
The charger being sealed also allowed me to mount it on the tongue of the travel trailer where it is close to the house batteries and I can see the indicator lights. Those with motorhomes and fifth wheels, where the house batteries are sheltered within the RV, should have an easier time finding a suitable mounting location. A drilling template would have made installation easier in my case.
Since space was limited, I drilled the mounting holes from the back side of the frame and found I was slightly off. This was corrected by enlarging the holes and using washers. I suspect others might find themselves in a similar situation.
Make sure you keep track of all your RV maintenance with RV LIFE Maintenance. This online tool provides timely reminders when maintenance is due to help you avoid costly repairs.
Continue reading: