How To Add USB Ports To Your RV
Cell phones, battery chargers, cameras, headphones… I could go on, but the list of devices needing power from a USB plug has no end. The first USB plug was released in 1996, and it’s hard to believe it was that recent.
The end that a device plugs into has changed quite a bit and has many variations; however, the end you plug into a power (or data) receptacle has remained mostly the same.
What you might consider the standard connection is called Type A, and the majority of cables still have this usually on one end.

If you have an older RV, you most certainly will not have USB ports, and that will vary from one manufacturer to another. We have a 2018 fifth wheel, and there wasn’t a single USB plug in the rig! Even if you do have some USB ports, having more is a good thing. Why?
USB plugs are DC, not AC
Look at almost any electronic device you own that comes with a 110v (AC) wall charger. It has a tiny little plug on a big giant plug that takes up half the outlet.

Your laptop computer. Your internet hotspot. Even the little outlet plugs you use that just have a single USB outlet in them. They’re all the same, and they do one thing: convert AC to DC power.
You might be asking yourself, “Wait, I have an inverter…isn’t that what it does?” Yes, that’s exactly what it does.
But if you’re using an inverter to convert a DC-based battery bank to power the 110 volt AC plugs in the rig, do you then have to convert that power back to DC?
It’s inefficient because there is at least a 10-15% loss on power conversion for most 12-volt systems.
Save power while boondocking
One of the biggest reasons we started adding USB ports to the rig (some were easy, some were not) was to further enable our boondocking. If we’re in a campground, plugged up to that sweet, sweet 50 amp, there’s no problem. But when we’re out in the boonies, recharging from solar panels and hoping we don’t need to turn on the generator—that’s where the USB ports make a big difference.
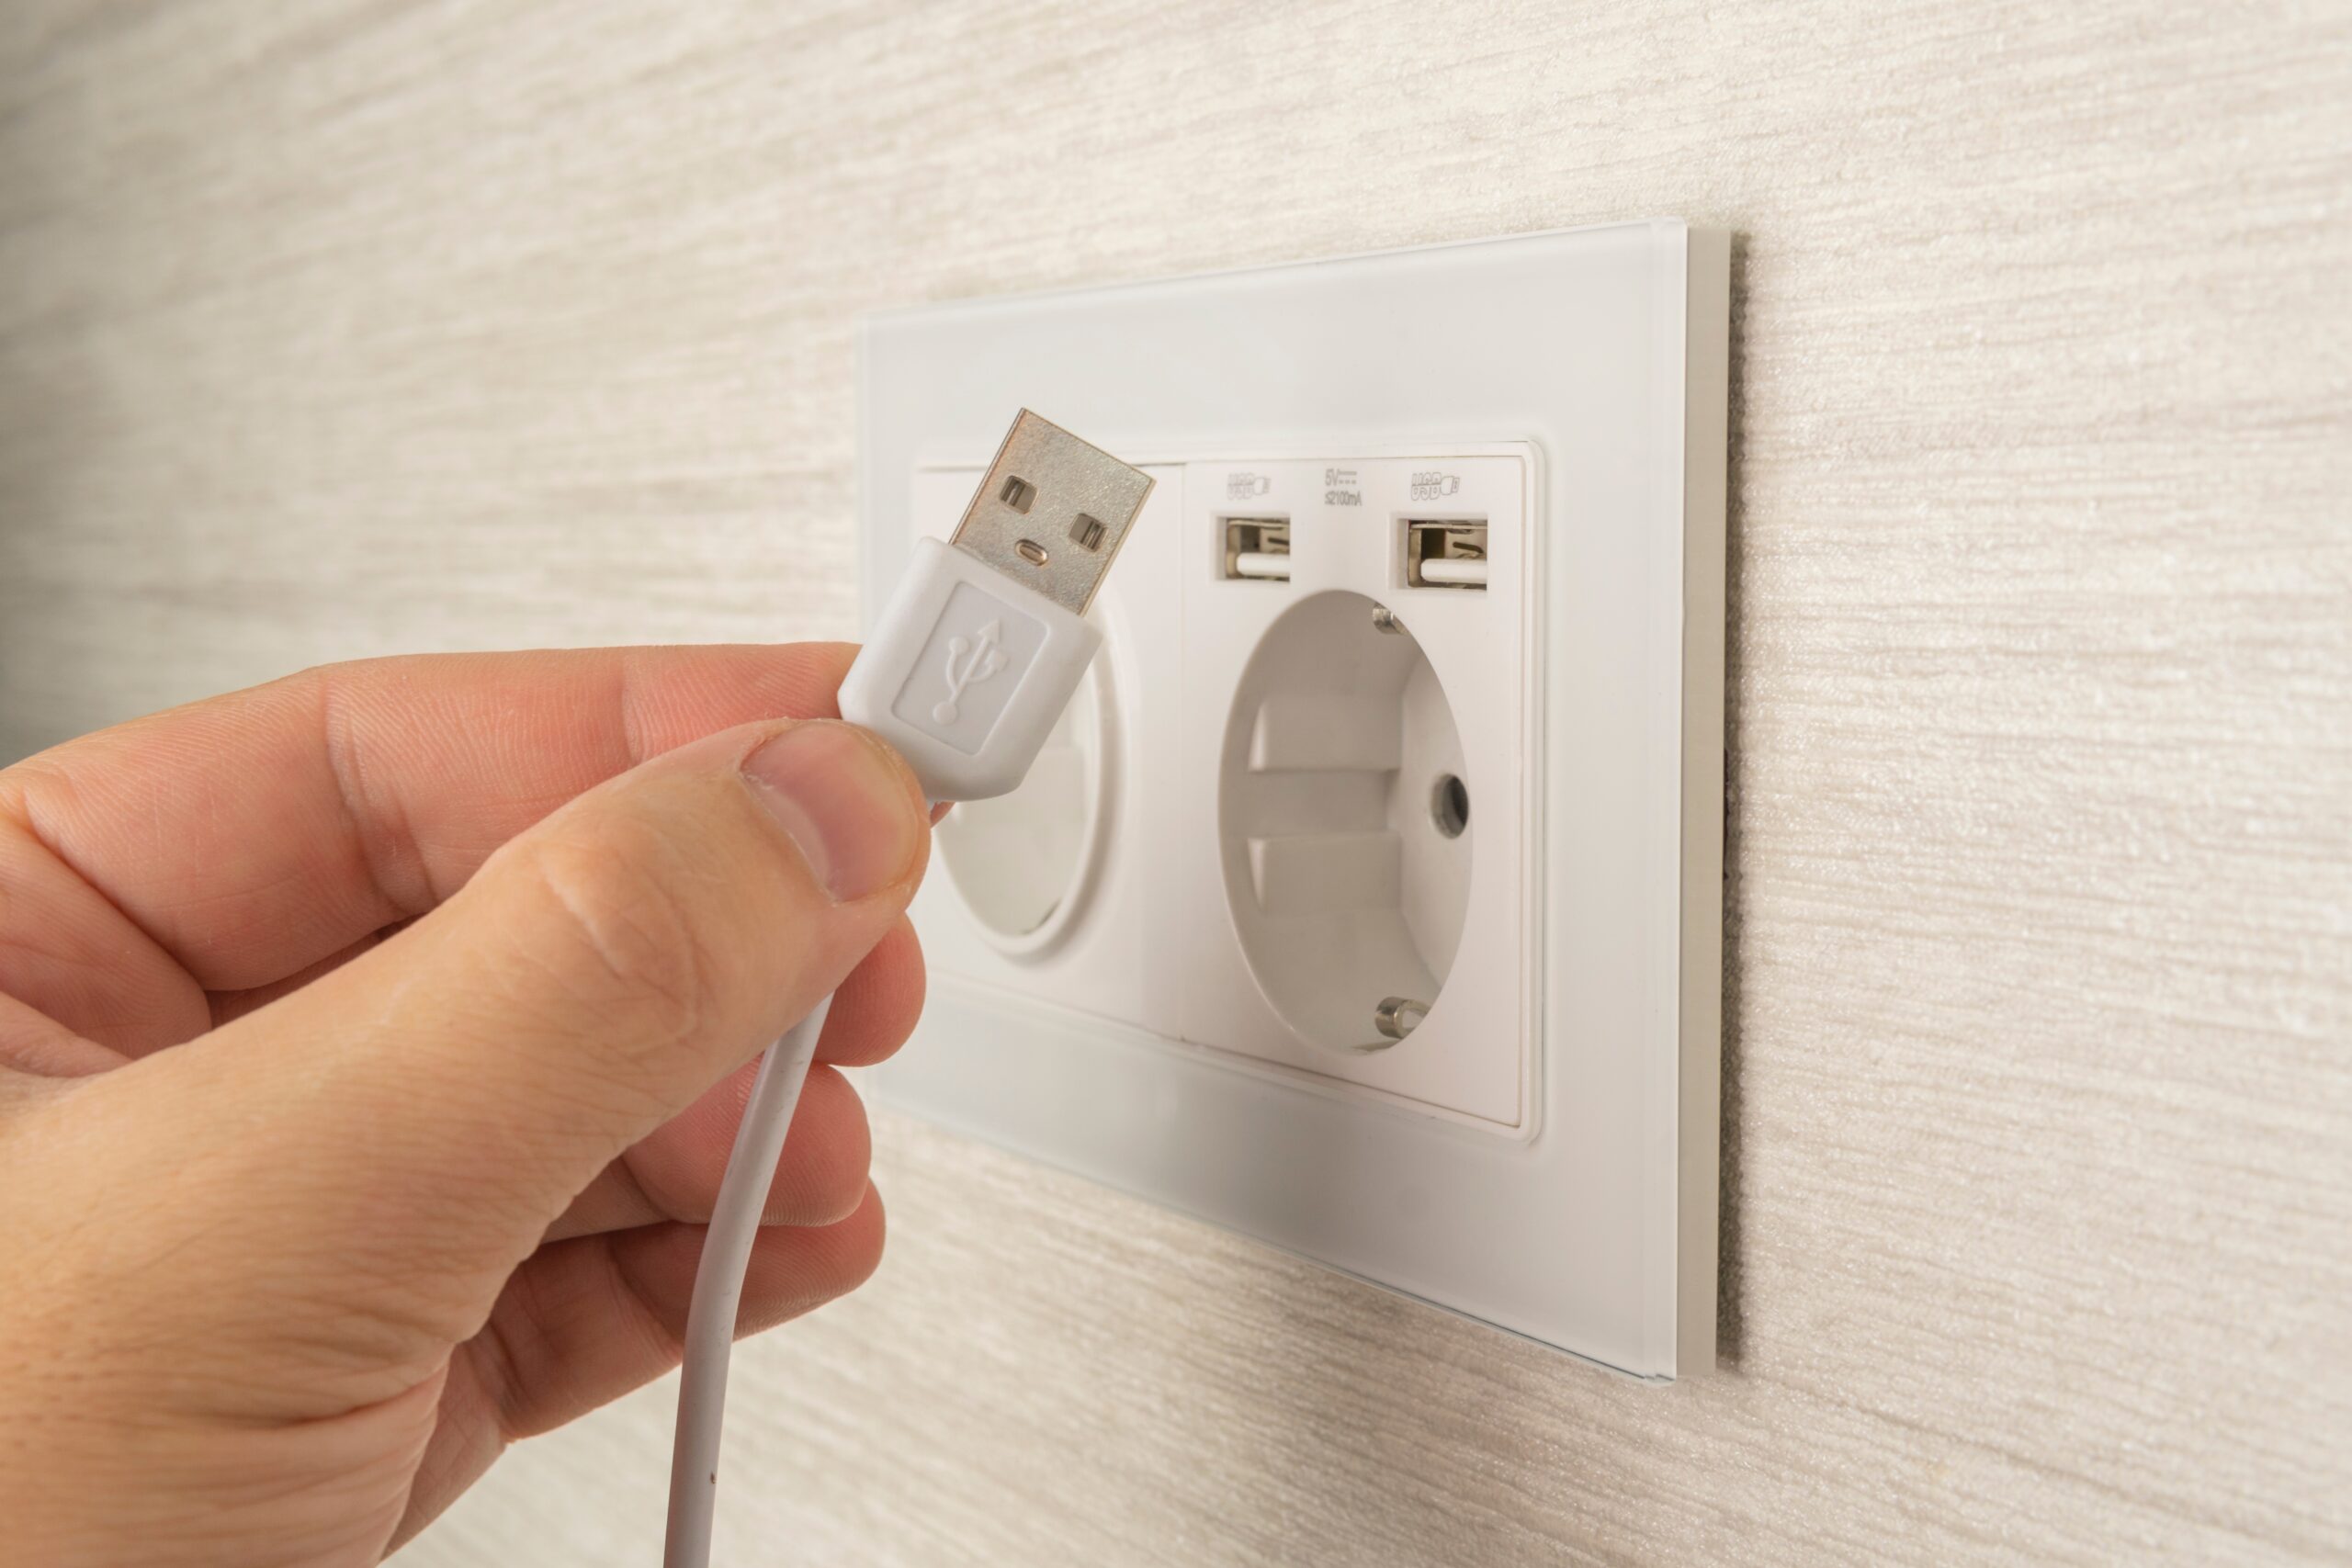
The majority of power adapters, like the one shown above, are DC 12-volt adapters. Coincidentally, unless you have a special configuration, that’s exactly what your battery bank outputs.
Now, USB itself is generally around 5 volts. Stepping down from 12 volts to 5 volts is easily done in a small package. Those cigarette lighter adapters we’ve been using for years in the car? Those are exactly that; they convert power from 12 to 5 volts. In fact, many older RVs were built with the cigarette lighter sockets. But if you don’t have those either (we didn’t), then keep reading.
Tap the power
The easiest place to get 12-volt power is just about any switch in your RV. Switches take a constant feed of power and close the circuit to allow the power to flow to the lights, slides, or whatever you’re turning on.
Acquiring the parts
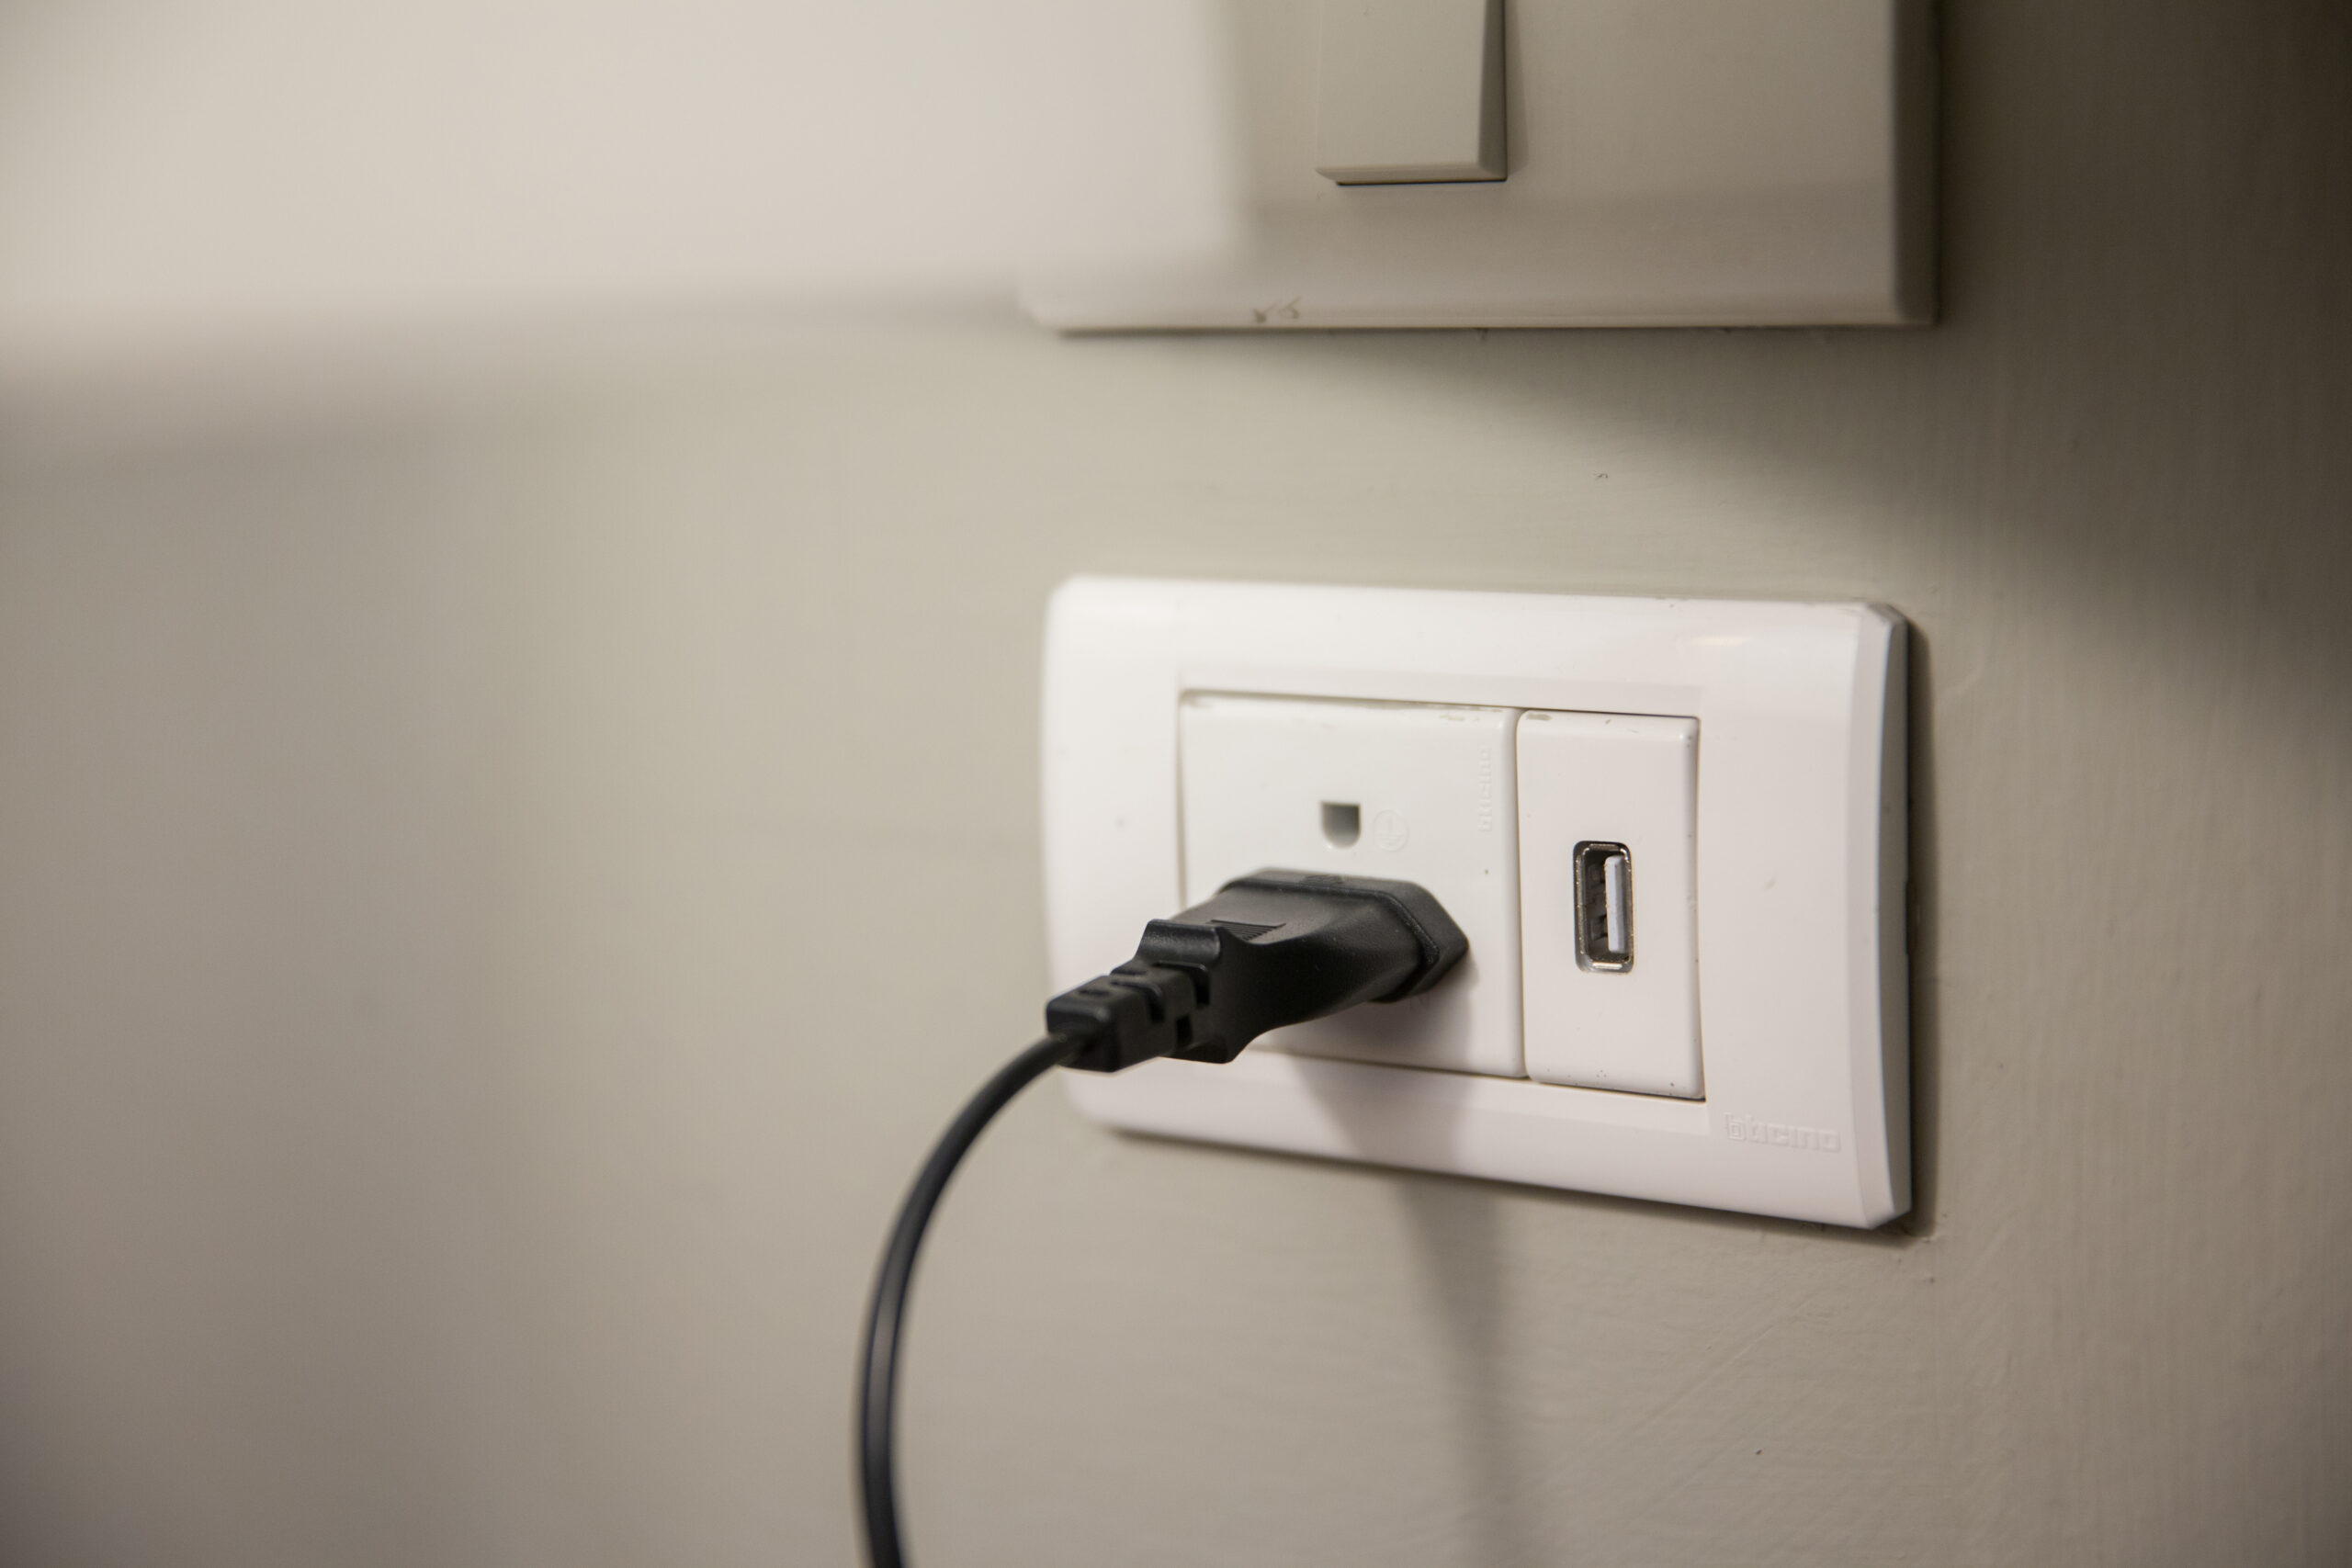
There are many USB plugs that can be acquired. In fact, we have a mix of types as some are more suitable for certain locations and uses. In our bedroom, we have rather large receptacles added in each nightstand through very thick wood. These USB ports can power little fans, recharge our phones, and even handle an Alexa device.
The bedroom installs were the most difficult. In our fifth wheel, our bed sits over the hitch area, as is common. After much pondering, measuring, re-measuring, and re-pondering, we drilled a hole in the floor to come out right at the curve of the underbelly behind the hitch.
For future expansion, we wanted to run a very solid power cable up to provide ample DC to the bedroom area. It was routed up under the bed and to a distribution bar to split to both sides of the bed.
Though it is not shown in the left portion of the image below, the Romex cable is now secured to the floor around the edge of the bedframe box with cable clamps to prevent it from catching on stored items or being damaged.

We chose QC 3.0 (Quick Charge) compatible plugs because our phones are newer and support this feature. Even if your device doesn’t support it, these outlets still work correctly.
These specific plugs have a tiny LED light in them when powered on (which is all the time for us). It can be a little annoying if you don’t like lights on during the night. Be sure to check on that for any purchase.
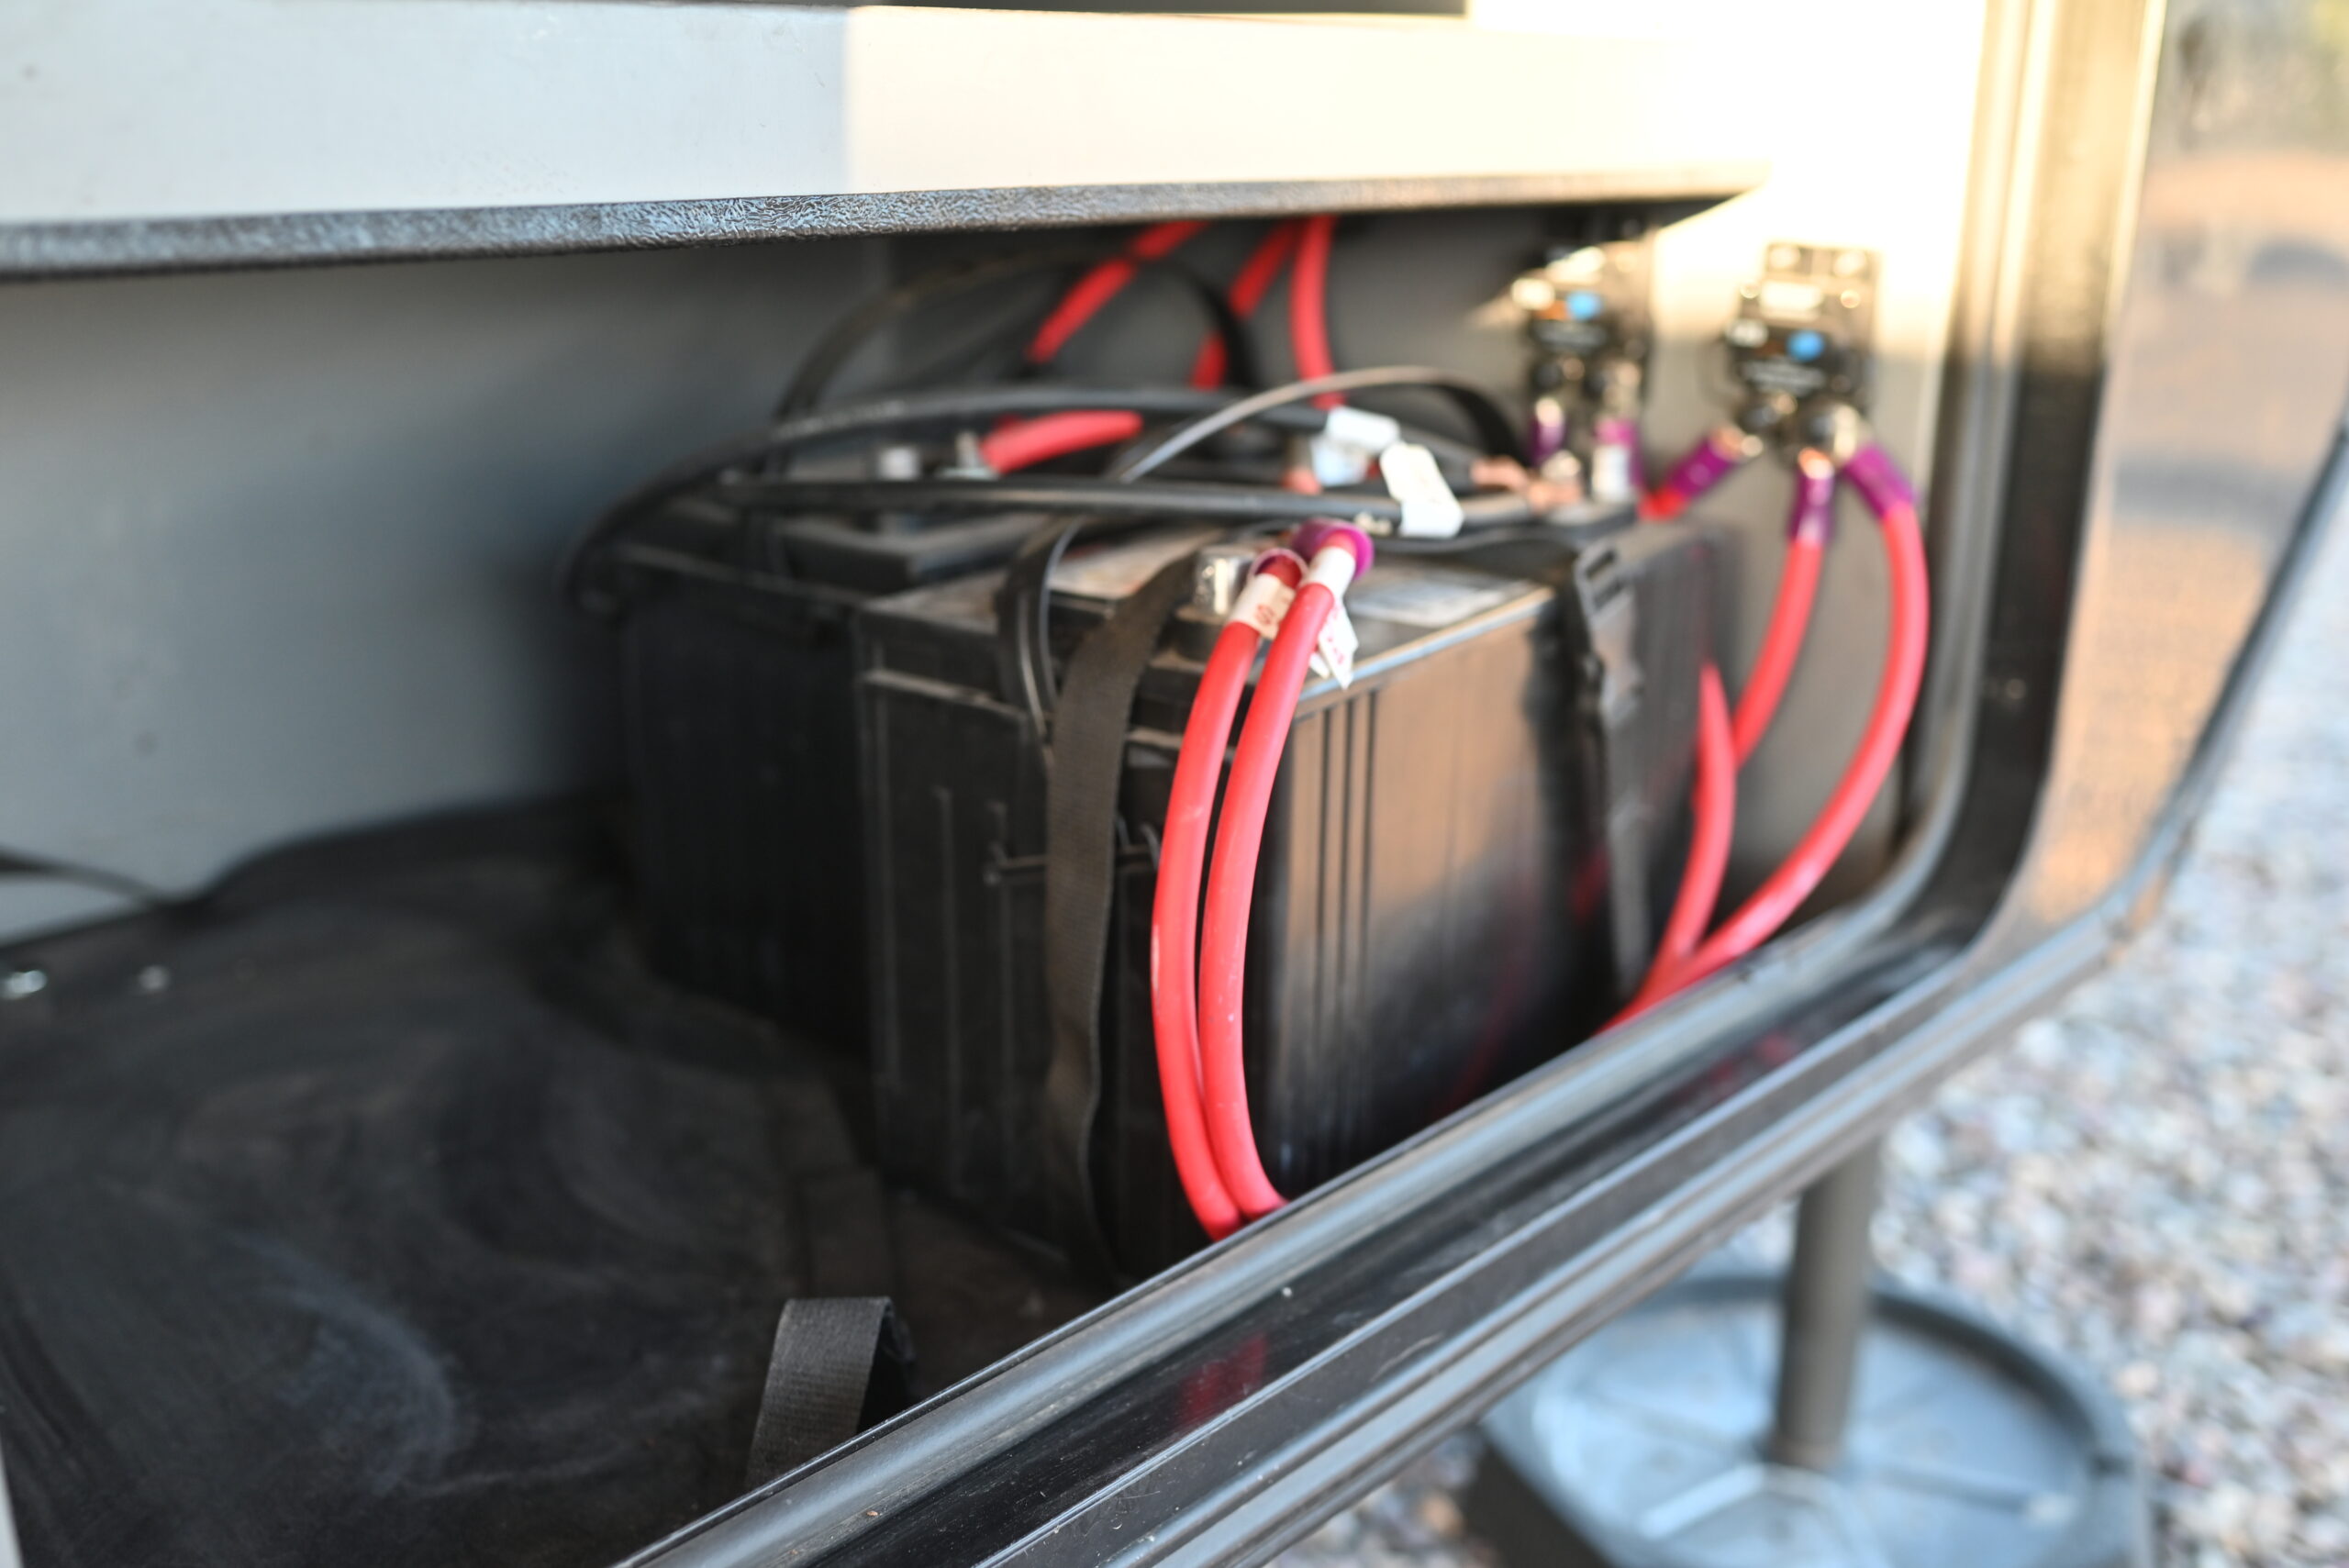
In the storage bay at the front of the fifth wheel, we installed a fuse box and a switch to disable them if needed. If you have a battery monitoring system, be sure to install the ground wire to the battery shunt to keep your numbers more accurate.
The fuses (either with a fuse box like ours or with inline fuses) are very important to protect your devices and power system. Always be sure to use the right amperage for your fuses, too. If the amperage on the fuse is too high, it won’t protect your device in case of a surge. If it’s too low, you’ll find yourself replacing it when it burns out unnecessarily.

Easier plugs at switches
As an example, we have a digital clock above the door between our bedroom and bathroom. It, too, came with a power plug brick, but the provided cable was actually a USB cable. We were able to tap into the light switch and run new wire up higher to the new flat USB plug we purchased.

We tapped into the 12-volt hot wire (red). We used a new crimp and used heat shrink on it to ensure it doesn’t come loose. (A loose hot wire is dangerous. A loose ground wire is usually just an annoyance to track down.)
Always use a volt meter when dealing with power wires. We weren’t sure which of the two wires connected to the switch was the “switched” and which was the “constant”.
When the switch is off, one of the wires will not have power. That’s the one to leave alone. The one with power is the feed to leech from. Once we found the ground wire, we used a snap-style wire nut to share the ground. There were three switches already sharing this power: the bedroom lights on this side of the wall and the bathroom lights and fan switches on the other side. With the new wire we ran from the ceiling, we used a large wire nut that could handle four wires.

You can see that the USB plug we selected is very much surface mounted. Unlike the bedside plugs, there was no need to drill a large hole. We just needed enough to feed the wire down the wall to the switch area.
Always provide yourself plenty of slack when installing electric devices so that you can move them around. Super tight wires also have a tendency to pull during the earthquake of RV relocation and can come loose, or worse, damage your switches, plugs, and components.
Make sure you keep track of all your RV maintenance and repairs with an online tool such as RV LIFE Maintenance. Not only can you keep all of your documents in one place, but you’ll also receive timely reminders when maintenance is due to help you avoid costly repairs and potentially serious accidents.
Related articles: