
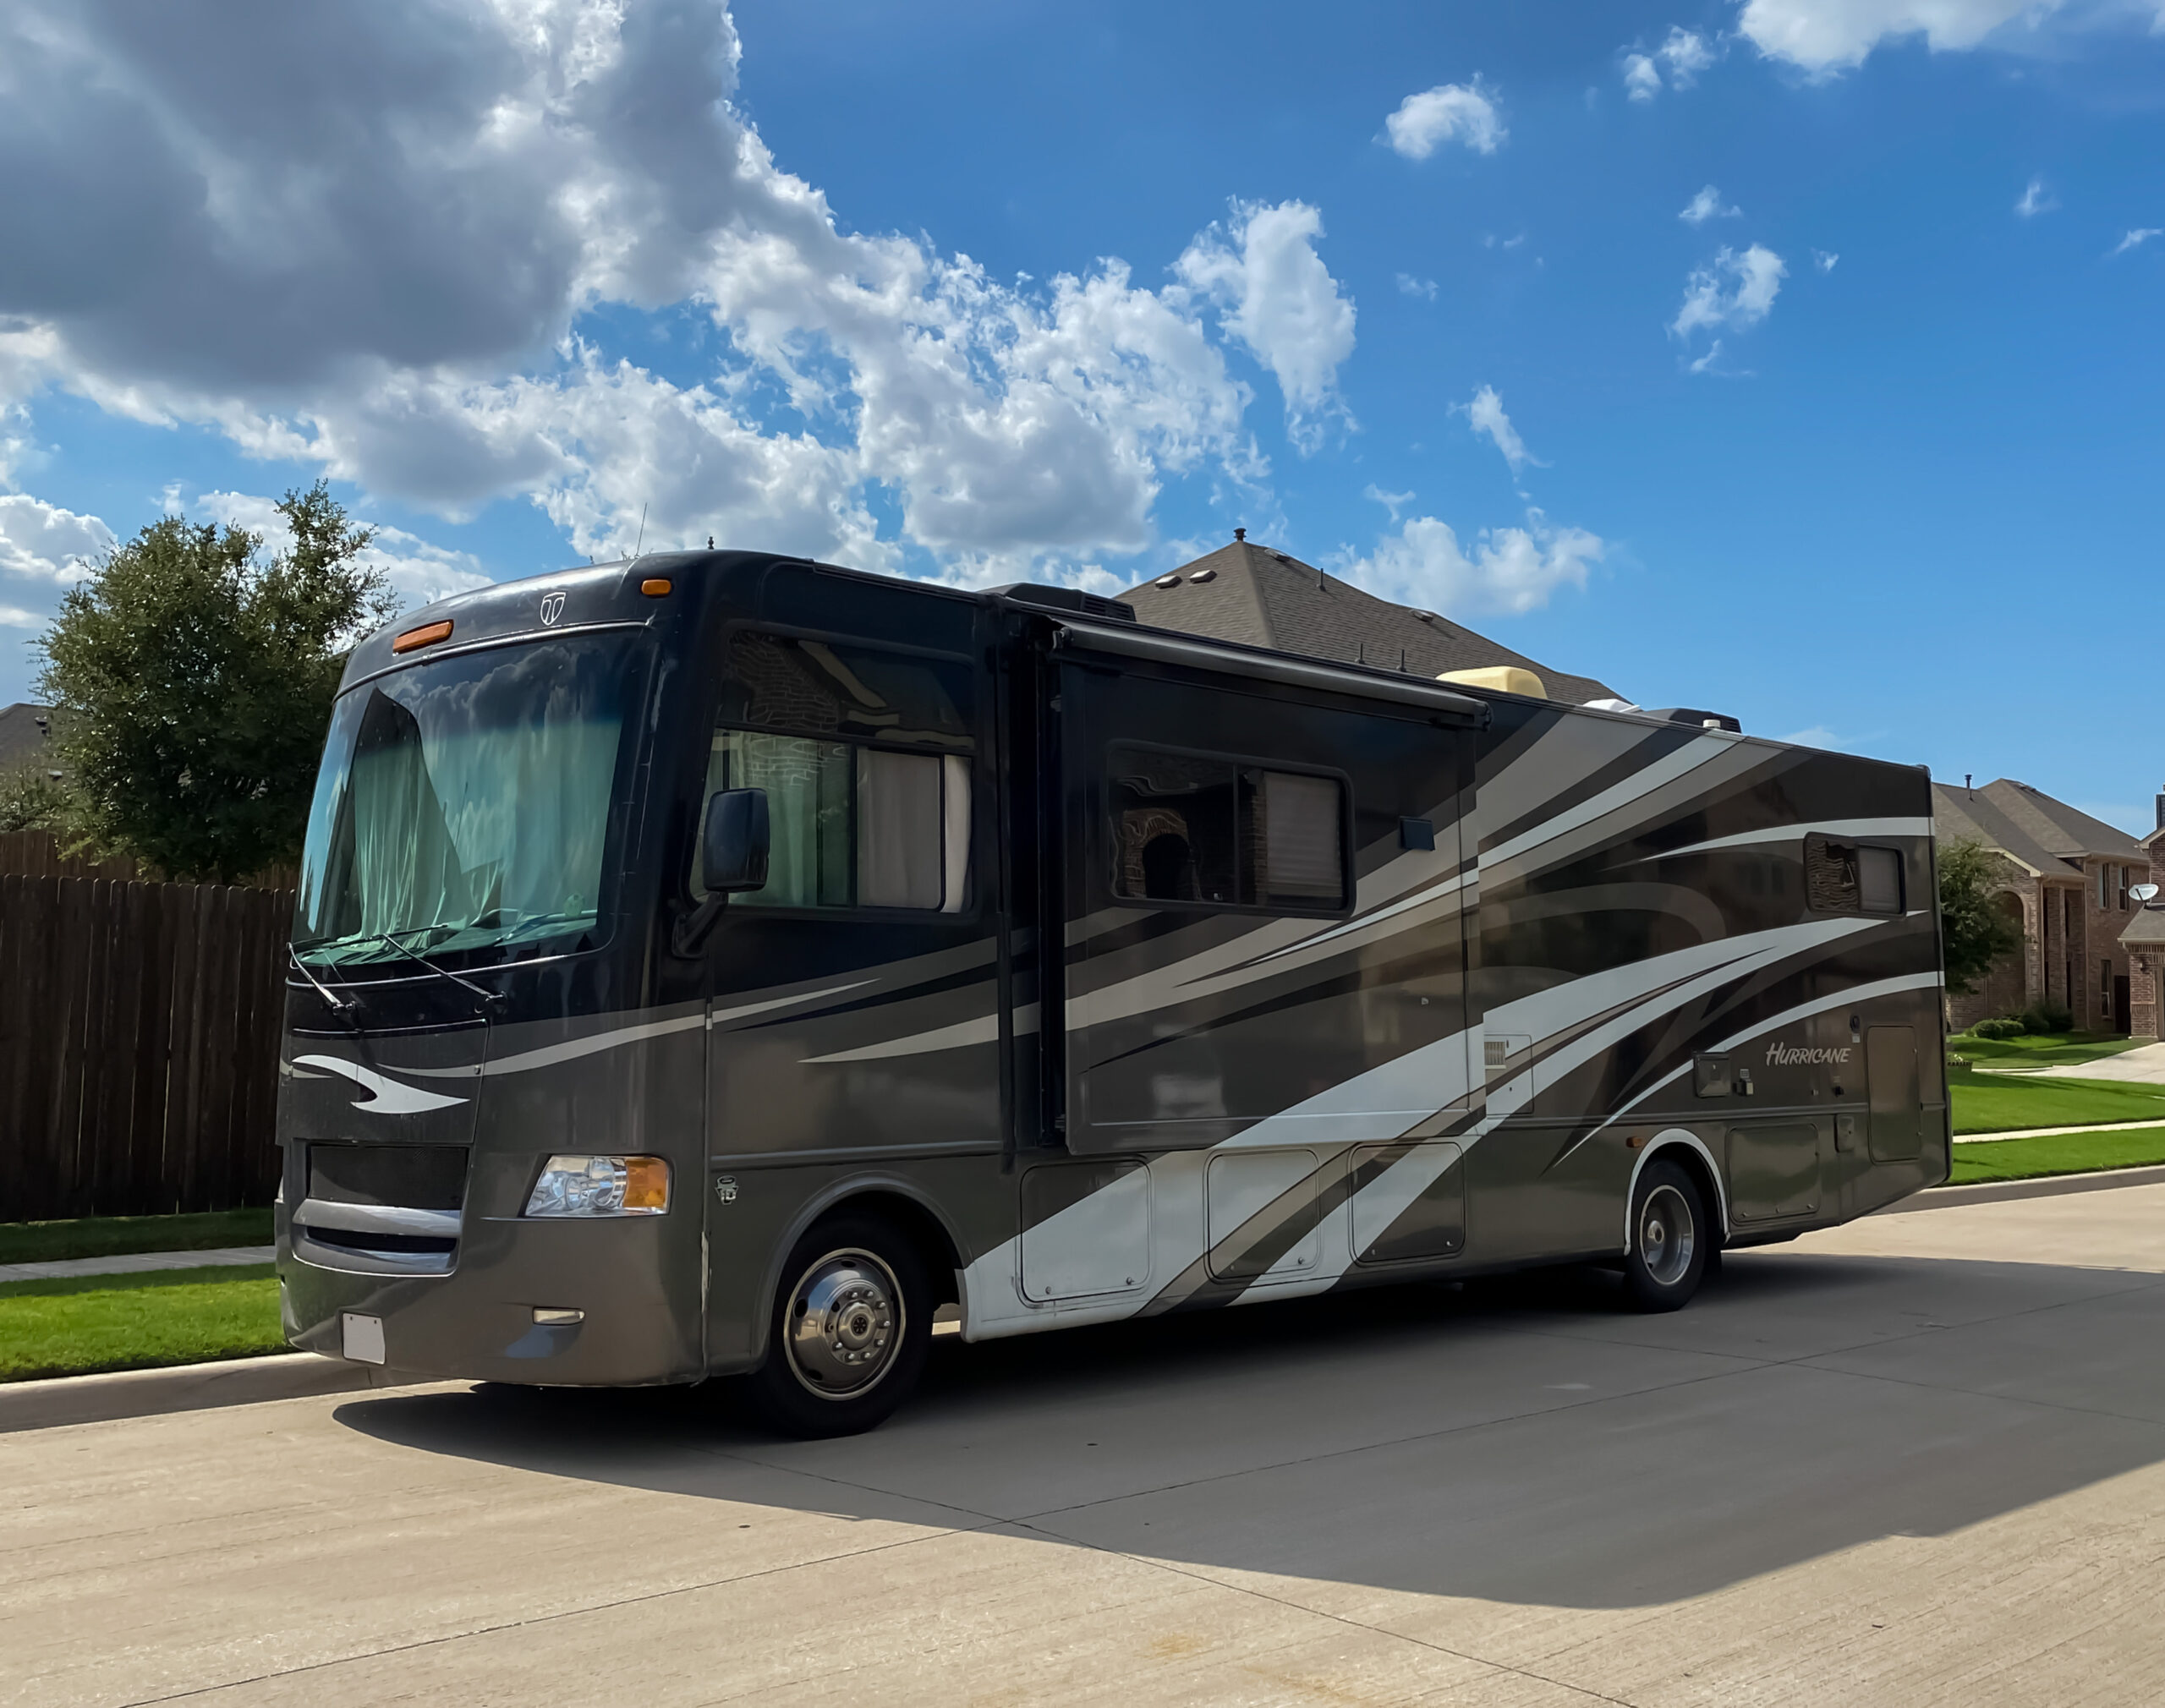
Ready to Take Your RV Out? Here’s How to Un-Winterize It.
Winter is over, the snow has almost melted, and it’s time to go camping! Don’t be caught off guard when the nice weather hits. Dewinterizing an RV is the first step to a great camping season.
Dewinterizing an RV battery
The first thing you will want to do when dewinterizing an RV is reinstall your battery or batteries. Ensure your batteries are fully charged and topped up with demineralized water (if applicable). Check with a multimeter for the minimum reading of 12 volts. You will need your battery hooked up to perform the next steps.
RV antifreeze drain and flush
The next step to dewinterizing an RV is the antifreeze drain and flush.
Before storing your RV for the off-season, it is common in colder climates to add RV antifreeze to your RV’s water lines. This is to prevent freezing and cracking of water lines and plumbing components. Before using your RV again, it is important to remove all of the antifreeze from the system.
Let’s look at the procedure of draining and flushing the plumbing system. It’s a good idea to wear gloves and safety glasses to prevent exposure to RV antifreeze.
First, you need to ensure that the drain for your freshwater tank is in a closed position. Next, you will fill the freshwater tank to approximately one-third full. If your RV is equipped with a winterizing bypass system, make sure the valves at the water pump are set to the regular operation configuration.
It is common practice to leave your water heater drain plug/anode rod removed during winter storage. This is a good time to use a flush wand and clean out the water heater before filling it. Also, check the condition of the anode rod. Then install the drain plug and tighten it.
With all faucets in the closed position, turn on the water pump. The pump should only run until the water lines are full and then shut off. If the water pump continues to run, it is likely you have a leak. If so, turn the pump off immediately and repair the leak before continuing.
Flushing your water lines
Starting at the faucet furthest away from your freshwater tank, open the hot and cold faucets. The antifreeze (most commonly pink in color) will run out until the line is free of antifreeze. Close this faucet and continue the process at all faucets in your RV. Don’t forget the shower faucets and the toilets. If your RV is equipped with an outdoor kitchen and/or an outdoor shower, make sure to complete the process at these faucets as well.
When all faucets are running clear water, the lines should be free of antifreeze. Locate the low point drains for the hot and cold water lines underneath your RV. Open both valves and drain until it is clear water running from the system.
RV water heater
The next step to dewinterizing an RV is the water heater.
With the antifreeze flushed out of the system, you can now fill your water heater tank. It is not recommended to have antifreeze enter the hot water heater. Therefore, your RV is most likely equipped with a bypass system at the hot water tank for winterizing and dewinterizing. Reconfigure the valves so that water is free to flow through the water heater again.
Turn on the water and allow the water heater tank to fill. It is important to have the tank full before you turn the water heater on to prevent damaging the water heater.
Now your water system is flushed clean and your water heater tank is full and ready for use.
Freshwater tank and water line sanitization
The next step in dewinterizing an RV is to sanitize the freshwater system. Using a ratio of approximately 1/4 cup bleach for every 15 gallons of water or a water system cleaner, fill the freshwater tank almost full. If possible, hauling your RV is a great way to agitate the mixture.
Open all faucets inside and outside and run the water until you can smell the bleach. Then close the faucets and allow the water in the freshwater tank, all the lines, and the faucets to sit overnight if possible.
Drain the freshwater tank and rinse with water. Run water through all faucets until the bleach smell is gone. This will sanitize the freshwater tank and plumbing system.
Check your RV tires
Inspecting your RV tires is an important step to dewinterize an RV.
Your RV may have been sitting for months in cold weather. It is important before you move it to not only check the air pressure but to also inspect the tires for cracking and uneven wear.
This is also a good time to check the manufacturing date on the sidewall of the tire and confirm you have another season left on your current tires.
Propane check
Perform a check of all propane operated items in your RV when you dewinterize your RV. The furnace, stove, fridge, and water heater can all collect debris during storage. Clean out any dirt and debris around these items. Also, look for chewed wires or any areas where snow or water may have entered and caused damage.
It is a good idea to light all the mentioned items to ensure they work.
Roof, door, and window seals
A very important step when you dewinterize your RV is checking the seals.
Check all doors and windows for leaks and any signs that snow or water may have entered. At the first sign of water damage, have any necessary repairs done to prevent further damage or mold.
Sitting in the sun during storage and/or having snow sit on the roof can be bad for your RV roof and seals. Do a thorough check of the roof coating and all the roof seals around all the roof-mounted vents and accessories.
While on the roof, this is a great time to clean out any debris that may have gathered in the AC unit. Check the condenser fins for any damage from hail or blowing debris.
Clean your RV awning
The last step to dewinterize your RV is the awning. Awnings sit all offseason and are often covered in snow and can stay wet. This can cause mildew or mold. Before opening for the first time, check for debris or damage. Roll out the awning and clean both sides with an awning cleaner or Clorox Mold and Mildew Remover.
The start of the camping season is an exciting time. We are always anxious to pack up and hit the road, but it is essential to take a day and properly dewinterize your RV so you have a problem-free trip.
Do you have any tips on winterizing an RV? Let us know in the comments below, on our Facebook page, or share them with the RV community on iRV2 Forums. Be sure to also keep track of all your RV maintenance with an online tool such as RV LIFE Maintenance.
Continue reading:


