Working and RVing? You Need a Custom Workstation
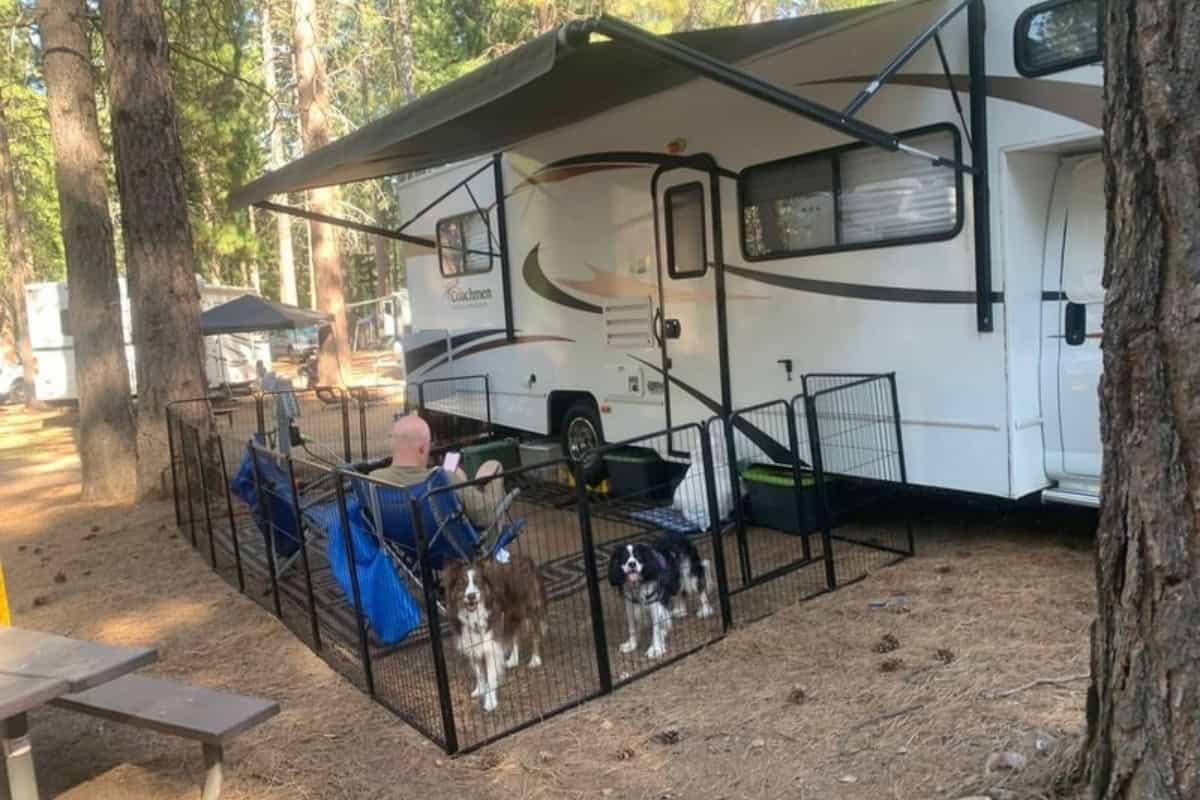
Due to the pandemic and the increased number of people working remotely on the road, many people would benefit from having a desk in their RV to perform that work.
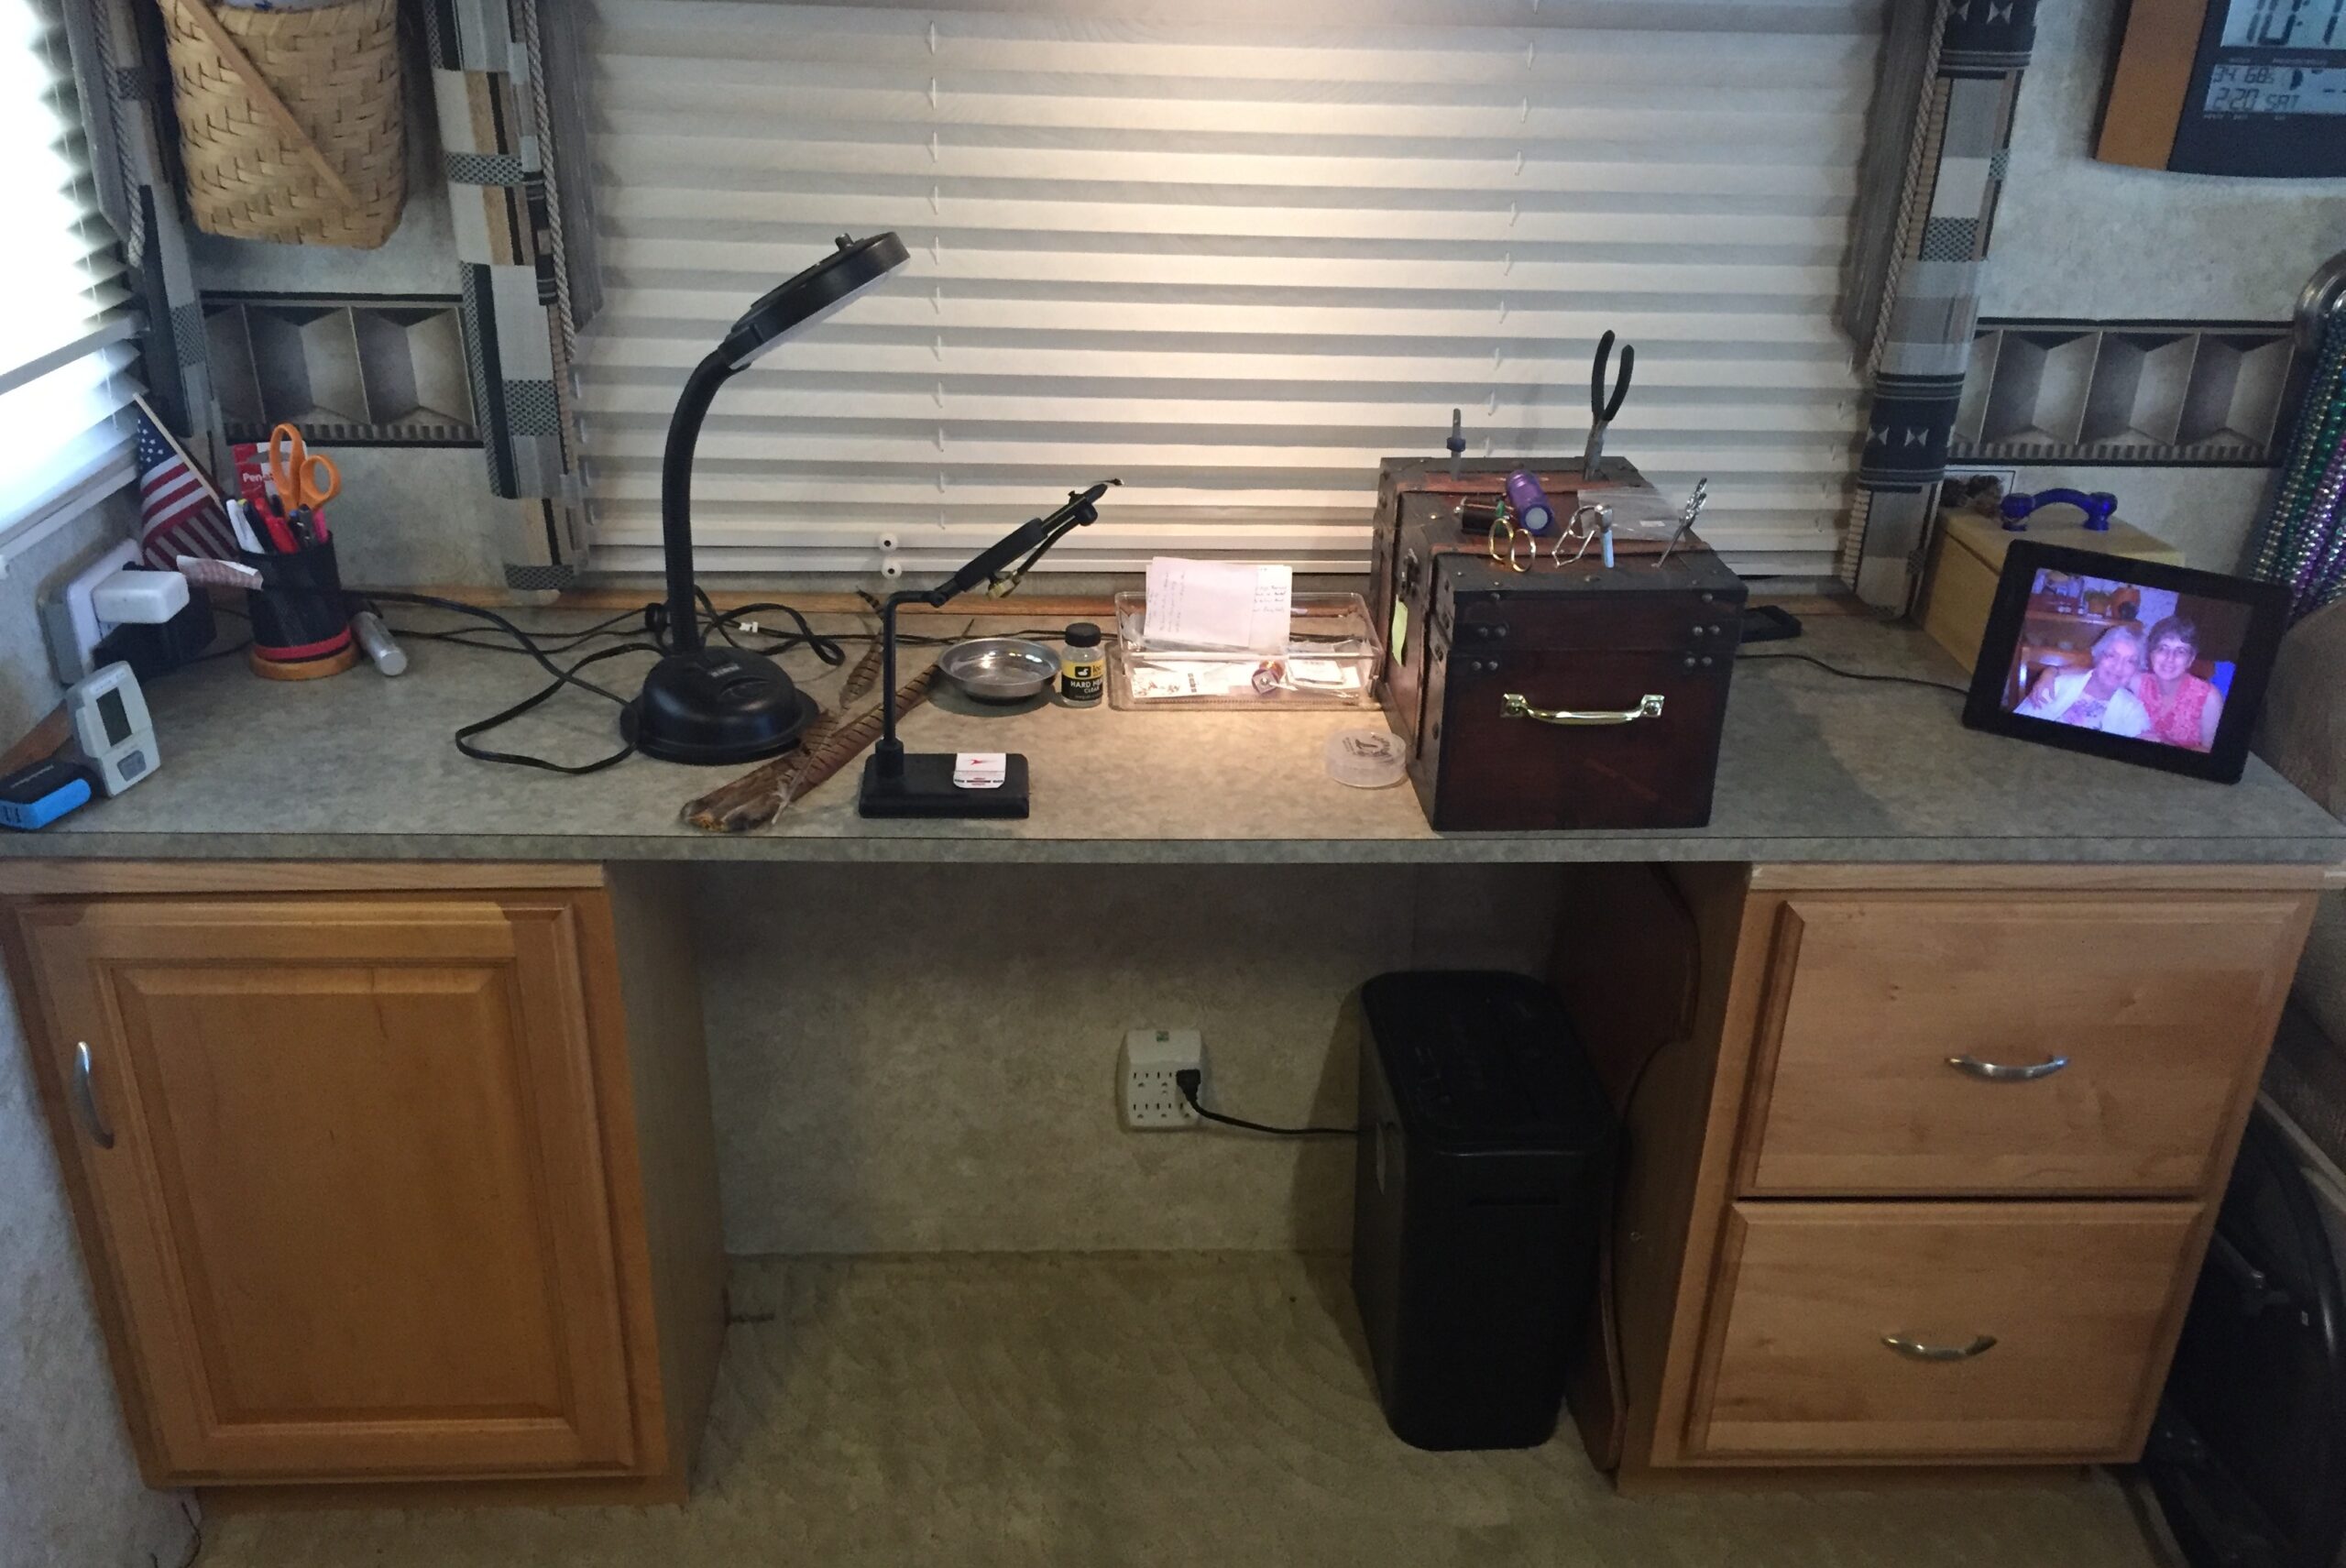
DIY desks are also useful to RVers who are not working from their RV. You may have a hobby, such as fly tying, leatherwork, or painting, and a DIY desk would be very useful in your RV. You could use the dining room table, but then you need to clear everything off the table before you can enjoy a meal.
Customize your DIY desk
Adding a DIY desk allows you to customize it to the exact space you have available in your RV, and add specific desk features to meet your exact work or hobby needs. You may not have the tools or carpentry skills or the knowledge to attempt a DIY desk from scratch. These four DIY desk ideas require minimal carpentry skills and tools.
The first step in any DIY project is the design. Before you can design the desk, you need to identify the space for it. This may involve removing an existing item such as the couch. Many RVs have a recliner and a couch. Removing the couch may allow you to install a desk and a second recliner.
Once you identify the space, you will need a tape measure, paper, pencil, and a roll of blue painter’s tape. Use the painter’s tape to mark out the footprint of the desk on the floor, and the wall. Desk height typically varies from 28” to 30”, knee space is typically 20” to 26” high, 12” to 15” deep and no less than 20” to 24” wide. The surface of the typical manufactured desk is 60” x 30”. Your DIY desk will vary, based on your needs and the space you have available in your RV.
Visualization of your DIY desk
If you have trouble visualizing, then get two large cardboard boxes and use them to lay out your idea. Leave the layout in place for a few days and live with it. Does it interfere with the function of other items? Is it difficult to move past? If you have a slide in your RV, bring the slide in and ask these questions again.
Determine what features the desk needs to be functional for your use. Do you need file drawers, if so how many? On which side of the desk would you prefer to have the file drawers? Do you need 4 small drawers or 3 to 4 slightly larger drawers?
Do you need a pull-out keyboard tray, if not would a center drawer be useful? Now sketch out your design on paper. This can just be a rough sketch with the dimensions or you can make it to scale. But a rough sketch with dimensions will work just fine. You will want to determine how much of an overhang you want the desktop over the sides and front of the desk, the rear should be flush with the cabinets.
Finally, measure the working width of your RV door to insure that the components will fit through the door.
How to purchase the components of your DIY desk
To match the desk to the wood finish of the existing cabinets in your RV, empty a small drawer and take the drawer with your sketch to Home Depot, Lowe’s, or another store that sells kitchen and bathroom cabinets.
Pick out a left and right cabinet with the drawers you want, be flexible and you might discover an option you had not considered. Kitchen and bathroom cabinets are now available with a large number of options. You will also want secure drawer closures to keep the drawers from opening while driving.
For the top of the desk, the most expensive option is a custom countertop, in various materials, such as plastic laminates, other synthetic products, or wood. One of the cheaper alternatives is ordering a plastic laminate backsplash. Unlike countertops, backsplashes are normally built to various lengths and widths.
You will have different cabinet manufacturers to select, based on your budget. Cost and options will probably determine which manufacturer you choose.
Your order may take 6 to 8 weeks for delivery, or longer depending on any delays in production. Your components will be shipped as three individual components, left cabinet, right cabinet, and the top.
Installing your DIY desk
RV furniture must be securely mounted in your RV, able to withstand driving movement, sudden stops, and motor vehicle accidents. Anchor each cabinet to the floor of your RV and attach the desktop to the cabinets.
Examine how other cabinets are anchored in your RV. There are mixed opinions on whether you should attach something to both the floor and walls, based on how much flex occurs in your RV.
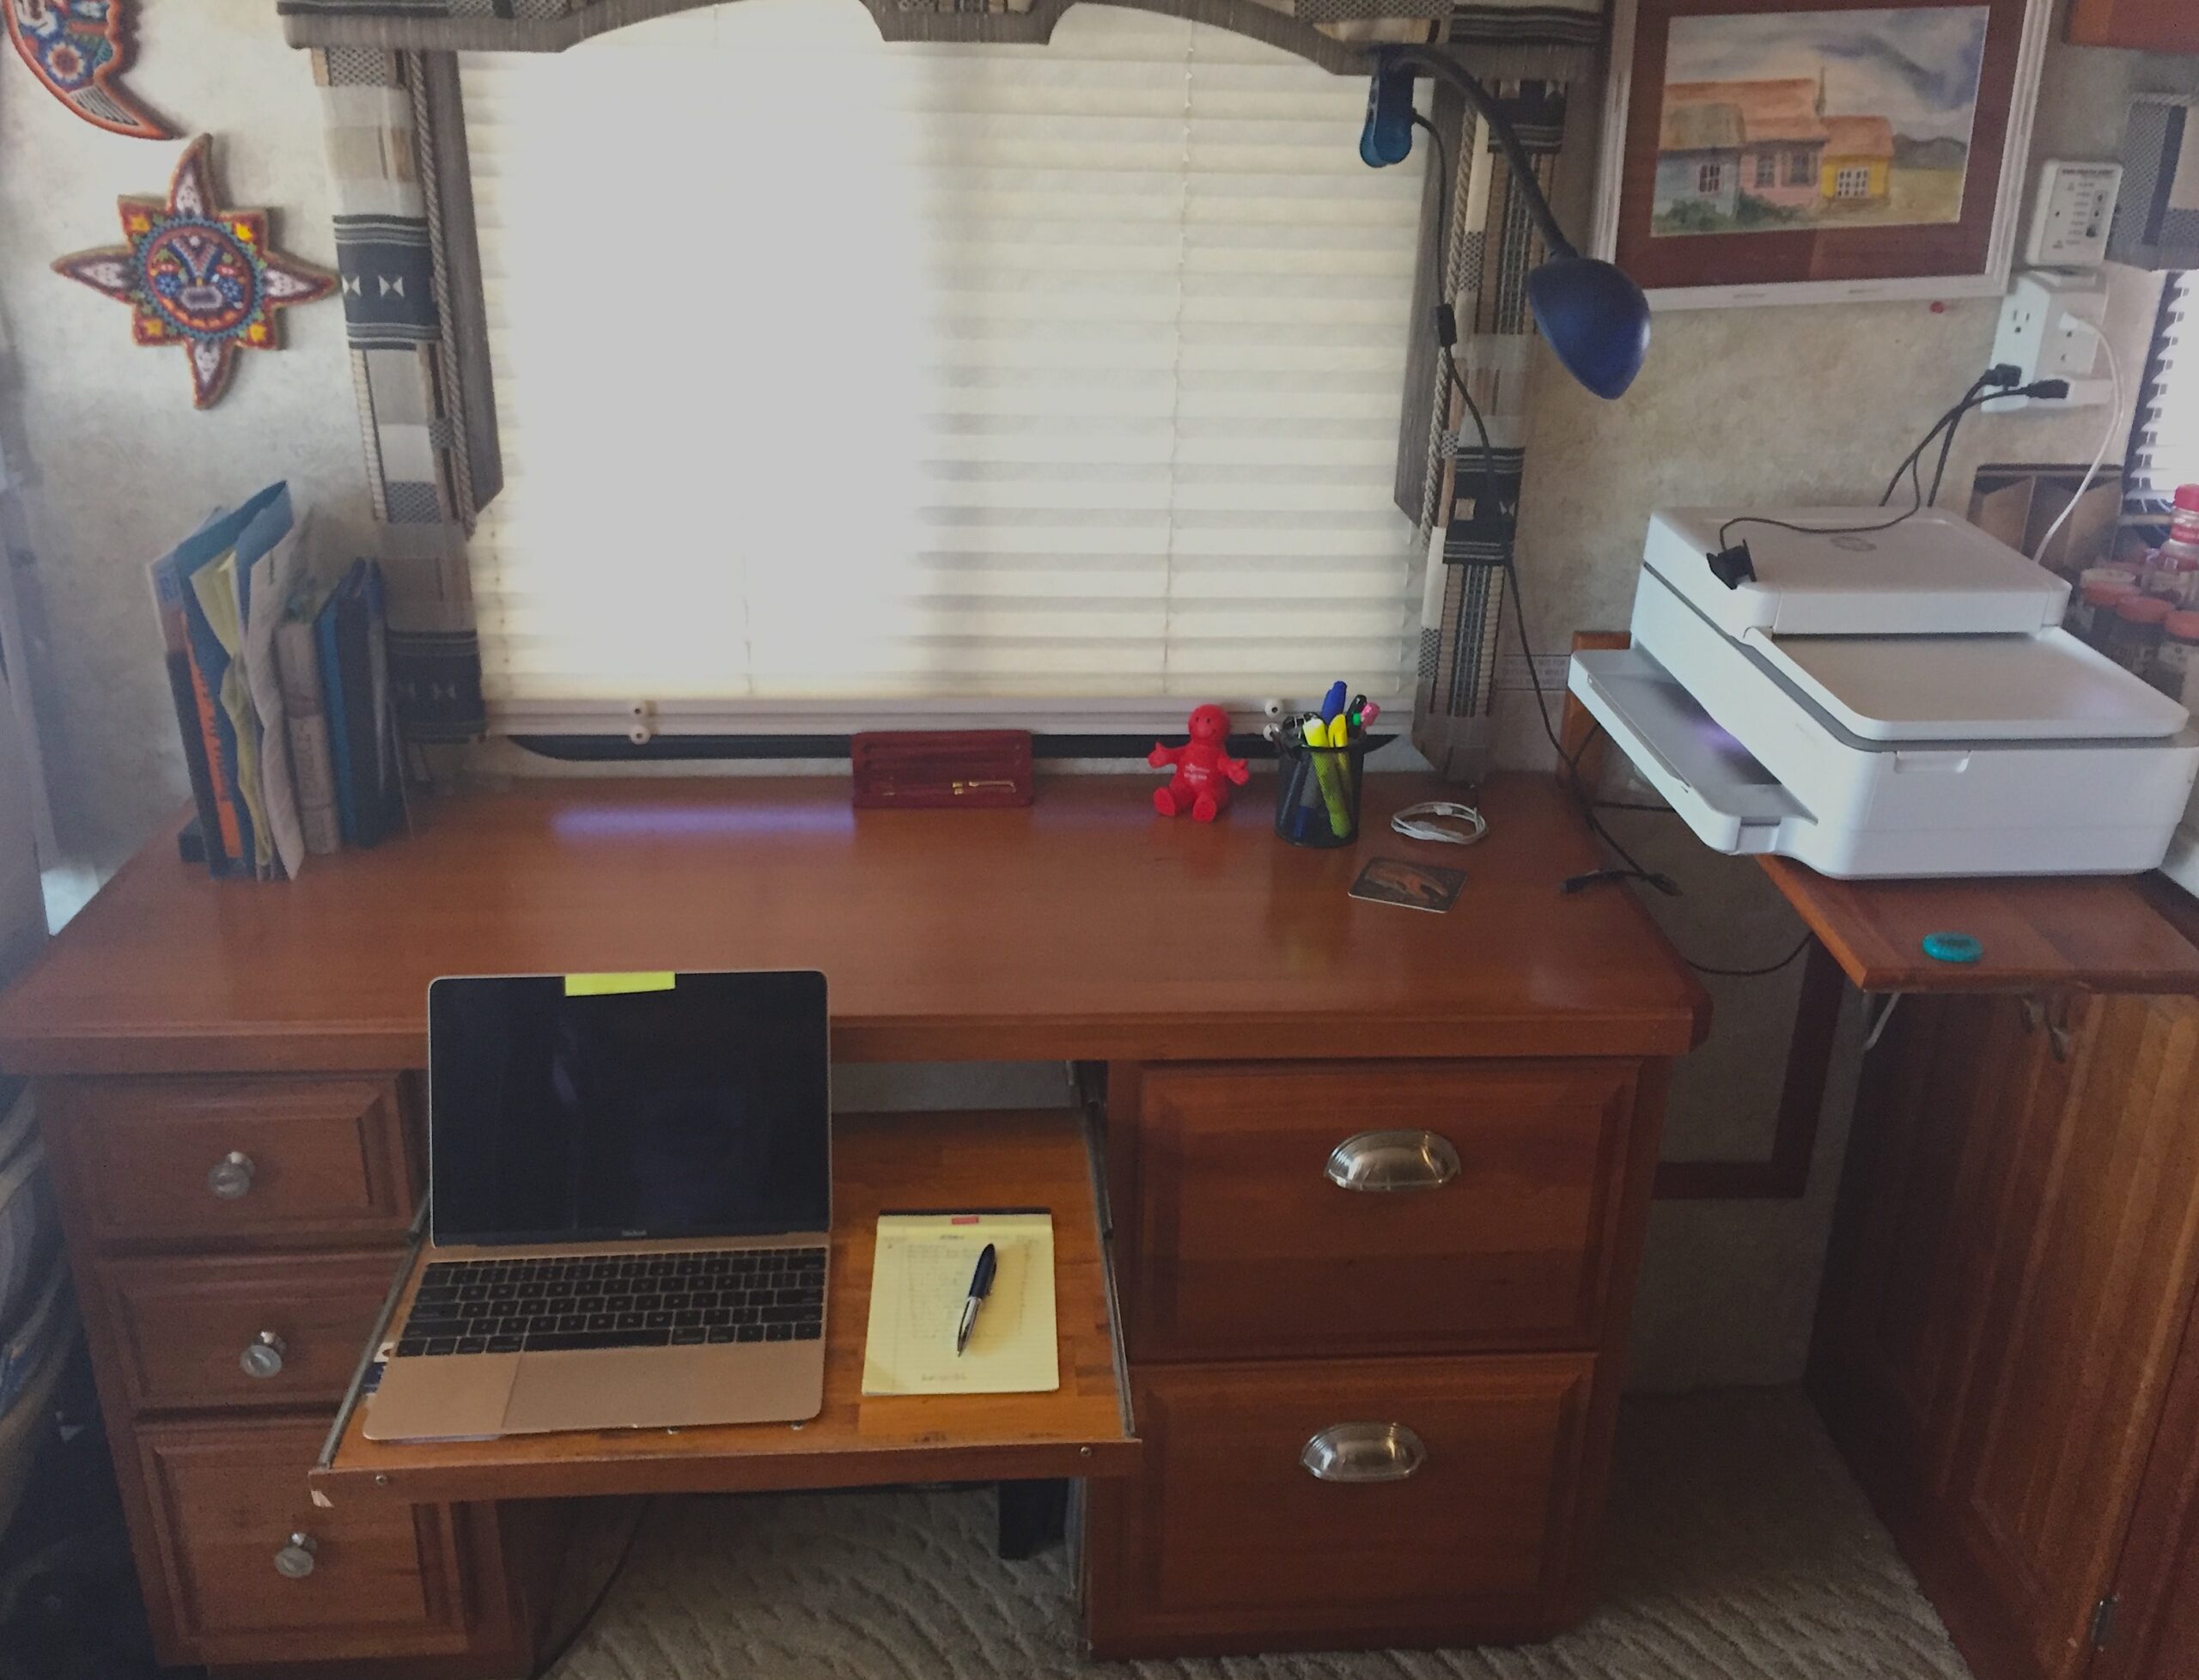
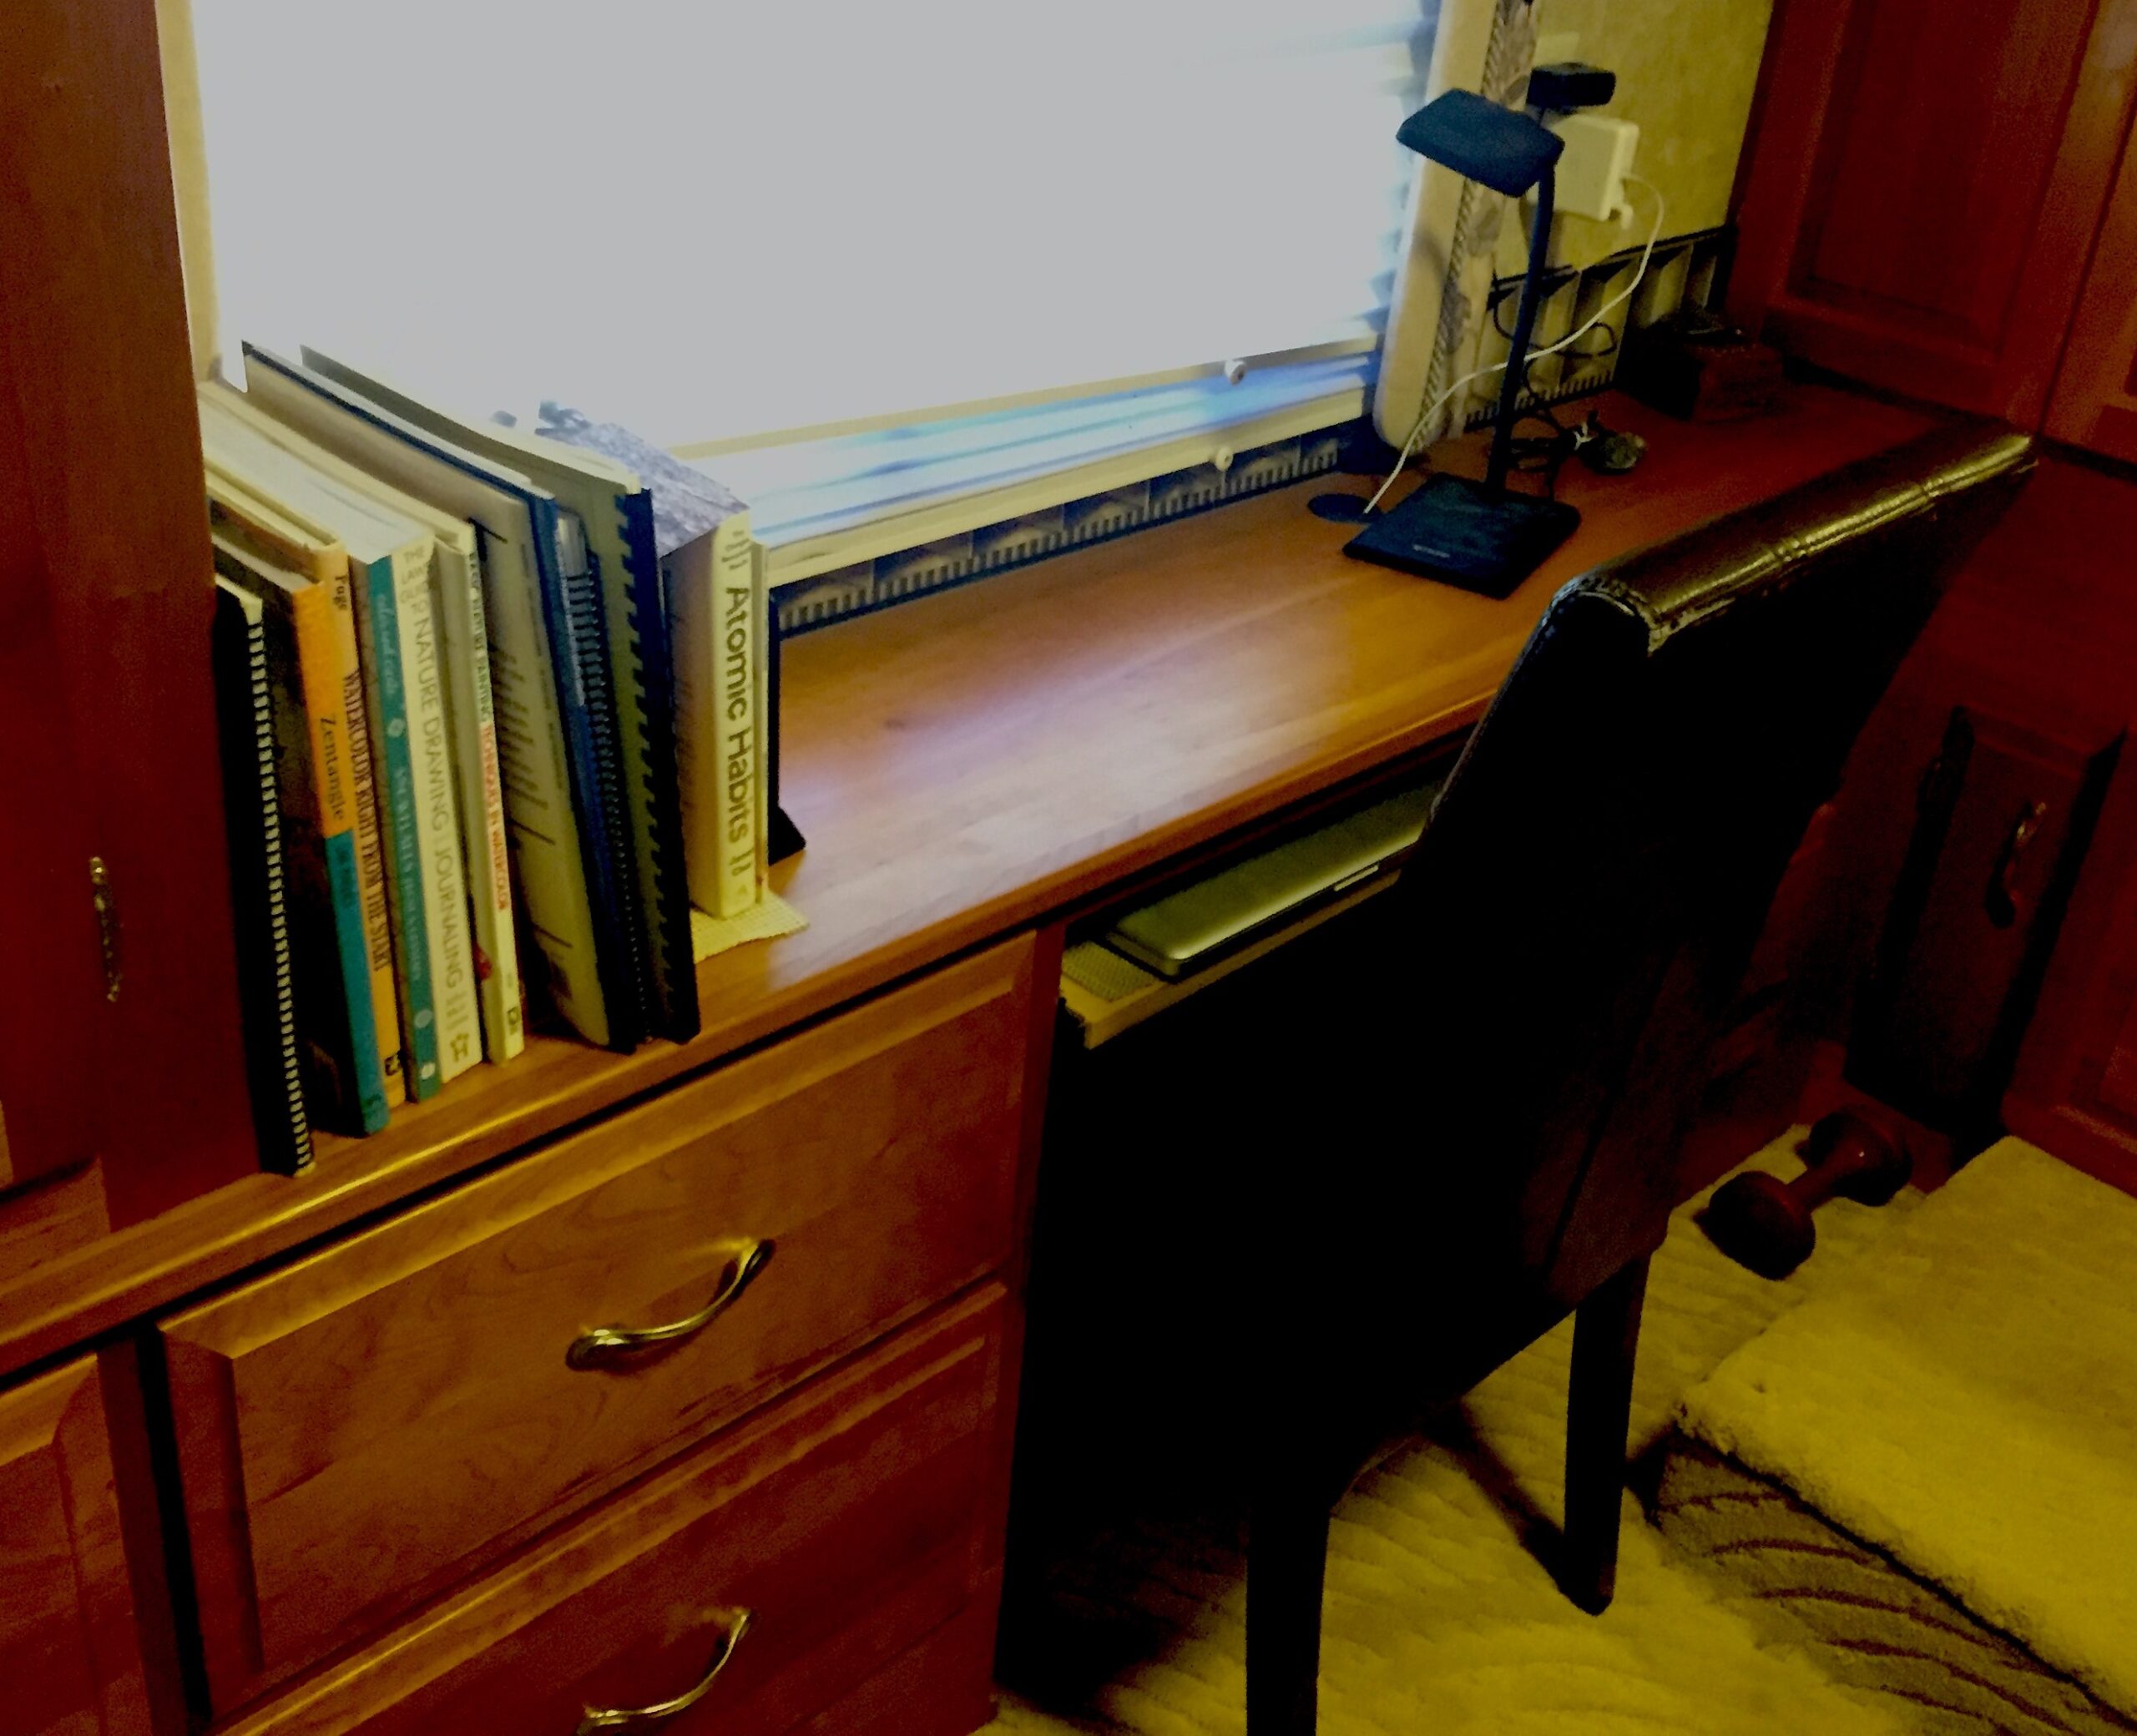
Another option is modifying existing cabinets to create a desk, as was done in this bedroom. The motorhome had a large chest of drawers. The owners needed a second desk and “office area” more than they need the two drawers. The drawers were removed to create a knee space, a pull-out keyboard tray was installed, and a small but functional desk was created.
The fold-down DIY desk
Of course, if you have cabinet-building tools and skills, you could build a drop-down desk such as the one in this video.
Just be sure to not only secure the desk to the RV wall but use solid closures to keep the desk closed while driving.
Find more RV desk ideas
Don’t feel comfortable building your own DIY desk? Many new RVs come with their own office space already built in. Check out these 10 Campers With RV Office Space for more ideas.