TacomaBuzz on the Tacoma Forums made a top-notch DIY tear drop camper and took some amazing pictures of the build process.
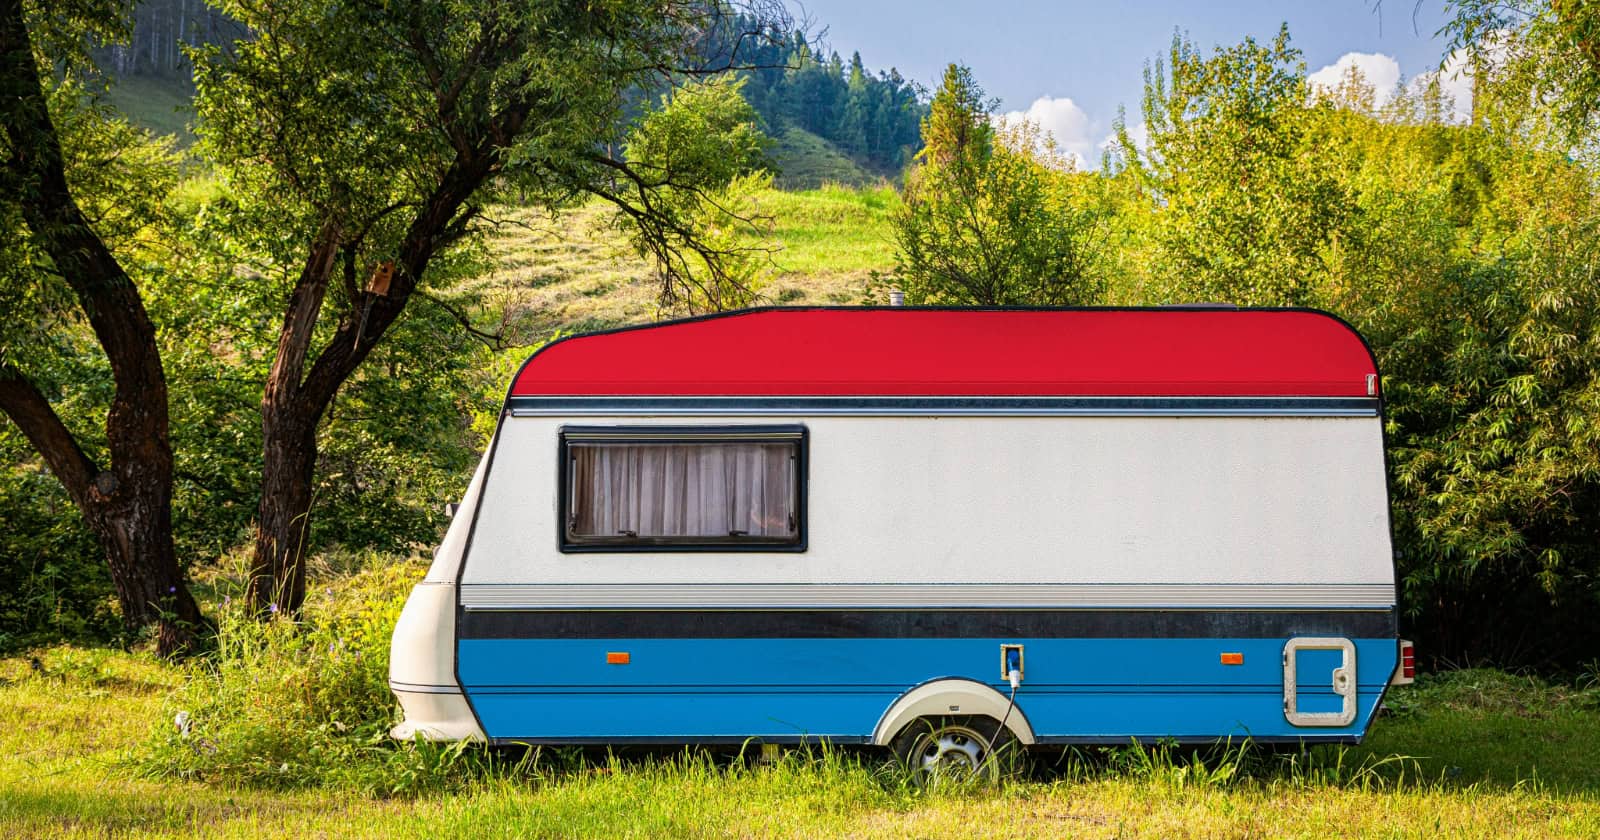
We’ve featured many tear drop camper builds like this and this on DoItYourselfRV, and this one is right up there in terms of craftsmanship and quality.
The builder claims it’s made of 60% recycled materials.
Would you believe he said it took him about two months to finish the entire thing!?
The Process
Starting with a recycled trailer, he used 3/4″ standard plywood for the siding and 1/8″ Luan plywood for the interior walls.
Luan plywood is a great material to work with and is quite cheap. Curtis used the material in his renovation of a conversion van.
Some other materials used in this DIY tear drop camper:
- foam board insulation
- sheet metal exterior siding (from an old above-ground swimming pool)
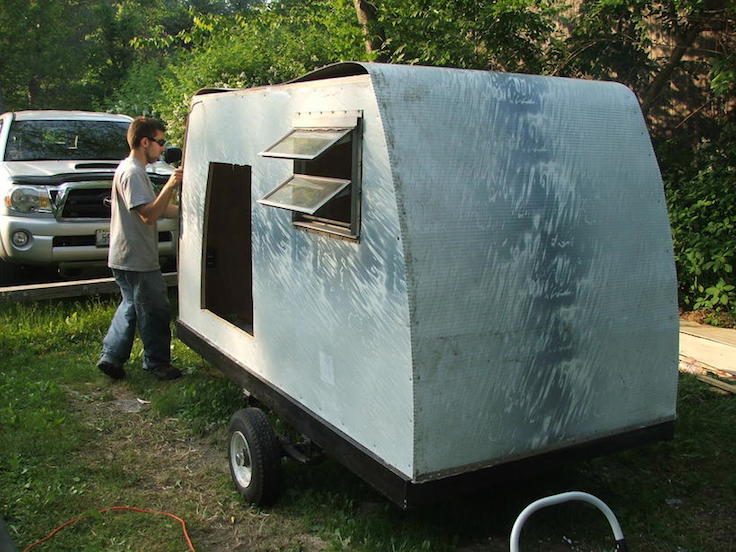
- salvaged windows (from another camper)
Recycling windows, siding, and wood paneling is a great money-saving idea. Larry used similar materials in his awesome DIY tear drop build.
As far as amenities, this camper lets you live in style.
TacomaBuzz added:
- recessed lighting for the interior
- roof vent with powered fan
- TV jack
- wiring for an exterior light
Take a look at some of his detailed build pictures below.
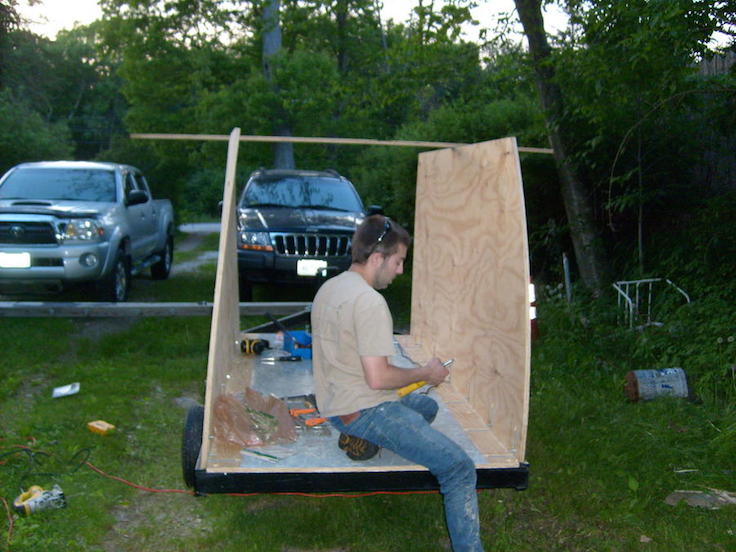
Preparing to Place the Walls

Adding L-bracket Supports
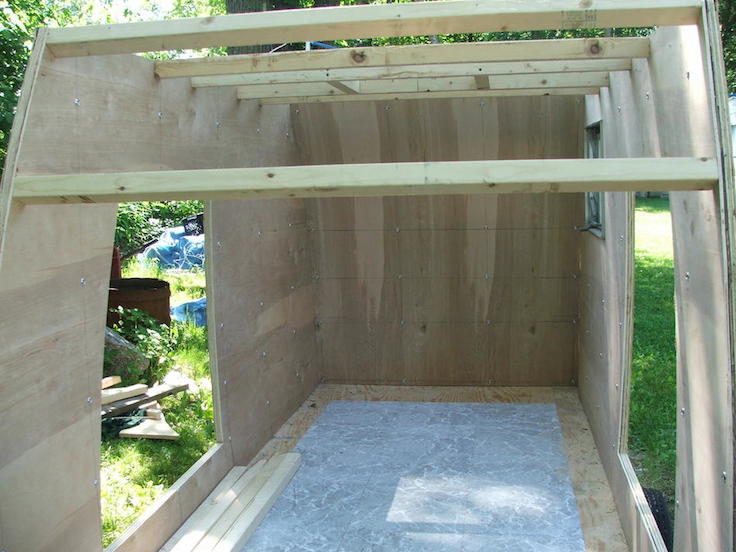
Luan Plywood Used for the Interior Siding

Cross Members in Place
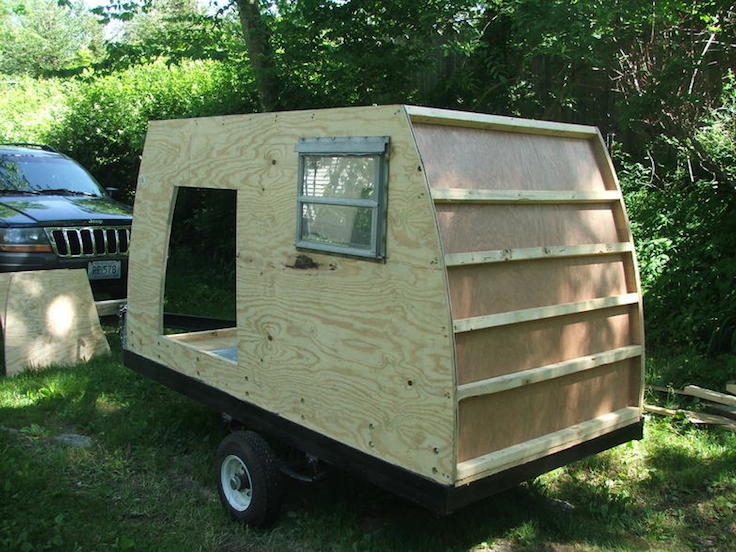
Camper Ready for Insulation
Adding the Insulation

Vent Fan Added to the Roof

Adding the Metal Siding
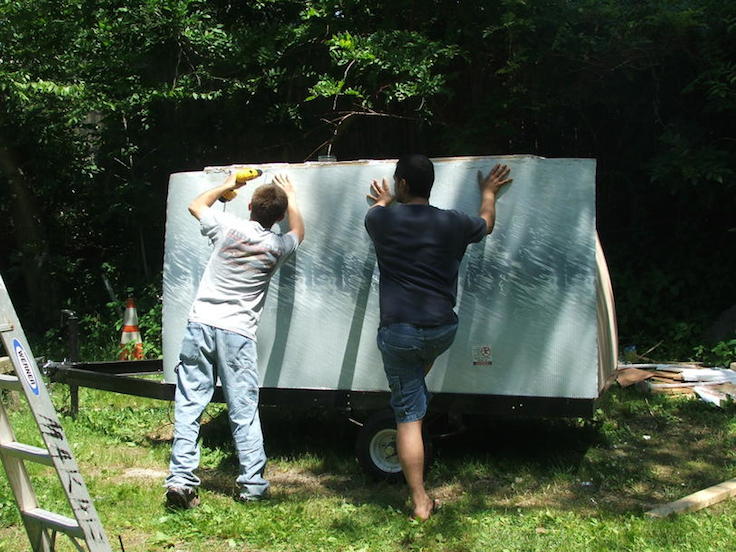
Siding Cut to Fit the Contour

Siding the Roof
Adding the Vent

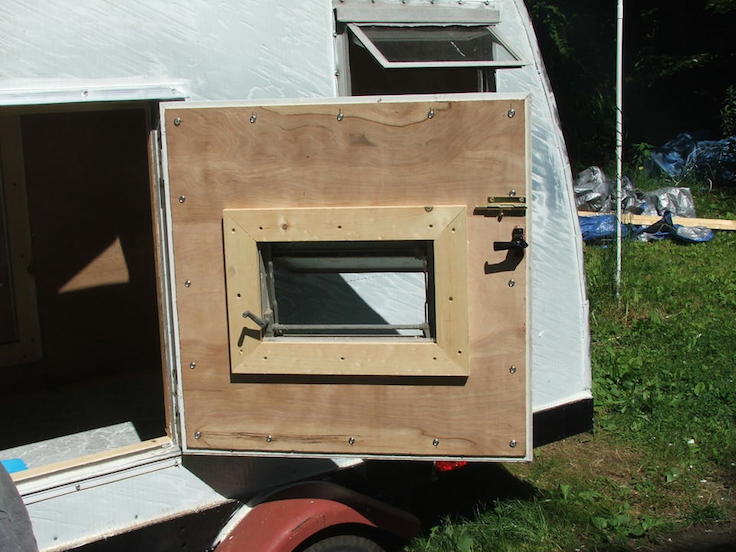
Look at That Quality Door!
Recessed Lighting

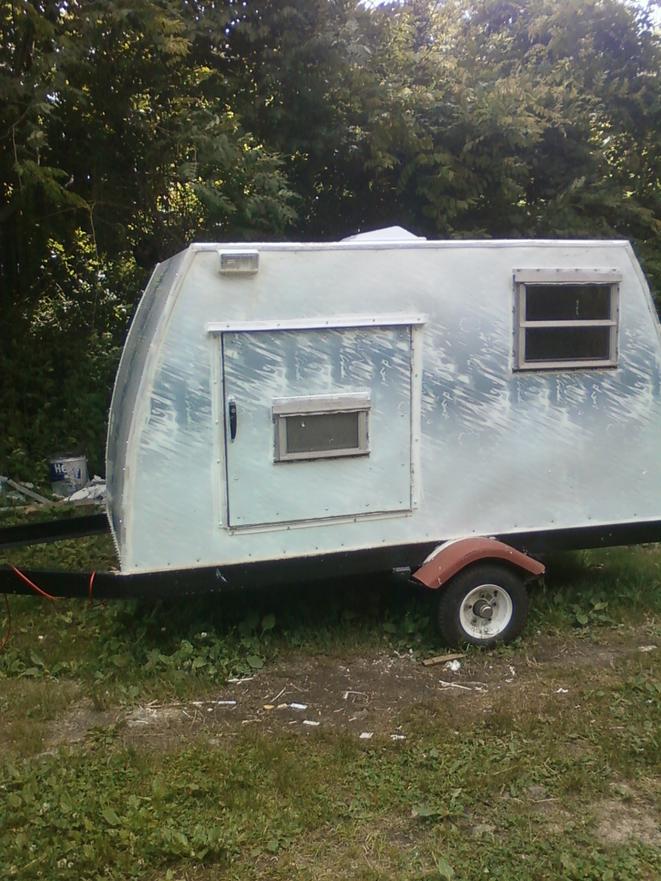
Ready to Roll
Want to see more DIY camper builds? Don’t want to miss a thing? Be sure to sign up to the DoItYourselfRV newsletter here.
Photos credit: Tacoma Forums