How To Fix A Water Leak In Your RV
You’re out camping when a big rainstorm suddenly rolls in. No problem, right? Because you’ve got a roof over your head—unless, of course, that roof starts leaking. Then you do have a bit of a problem on your hands, and it’s one you will want to take care of as soon as possible.
You see, water is your RV’s greatest enemy. It can do a ton of damage more quickly than you might think, and repairing water damage in a travel trailer is not cheap or easy. Fortunately, as long as no water damage has already occurred, you can fix an RV water leak pretty quickly, easily, and for very little money.
Not sure where to begin? In this article, we will discuss how to fix a water leak in a travel trailer so you can go into this project with confidence.
How to fix a leak while it’s still raining
If the rain isn’t going to let up for a while, you will probably want to do something to keep too much water from getting into your trailer. After all, if rain is coming inside, it’s probably getting into the roof, walls, and/or floor as well, and is very likely to cause damage.
For a temporary quick fix that will last only until the rainstorm is over, put a tarp on the roof. You can hold the tarp in place with heavy objects, being careful not to damage your roof when doing so.
We do not recommend taping the tarp down, as this may damage your rig. We also don’t recommend leaving the tarp on your RV for more than a day or two, as the tarp will trap moisture and may lead to a host of other issues.
Tracking the leak down
Once the rain lets up, the first step is to track down where the water is getting in. Unfortunately, this is not as easy as it seems. While some leaks are pretty obvious when you go on the roof, others can be pretty sneaky. Water will enter anywhere it can and will often run along the inside of the roof or even down the walls before appearing inside the rig.
When looking for your leak, start where the water is coming into your trailer.
Water on the floor
If you find water where the wall meets the floor, follow the wall up until you find a place where water can get in.
Window leaks
If it’s coming in from a window, check the seal around and behind the window. If the window seems fine, continue up to the roof and look for damaged seals where water may be getting into the wall and running down to the window.
Vent or skylight leaks
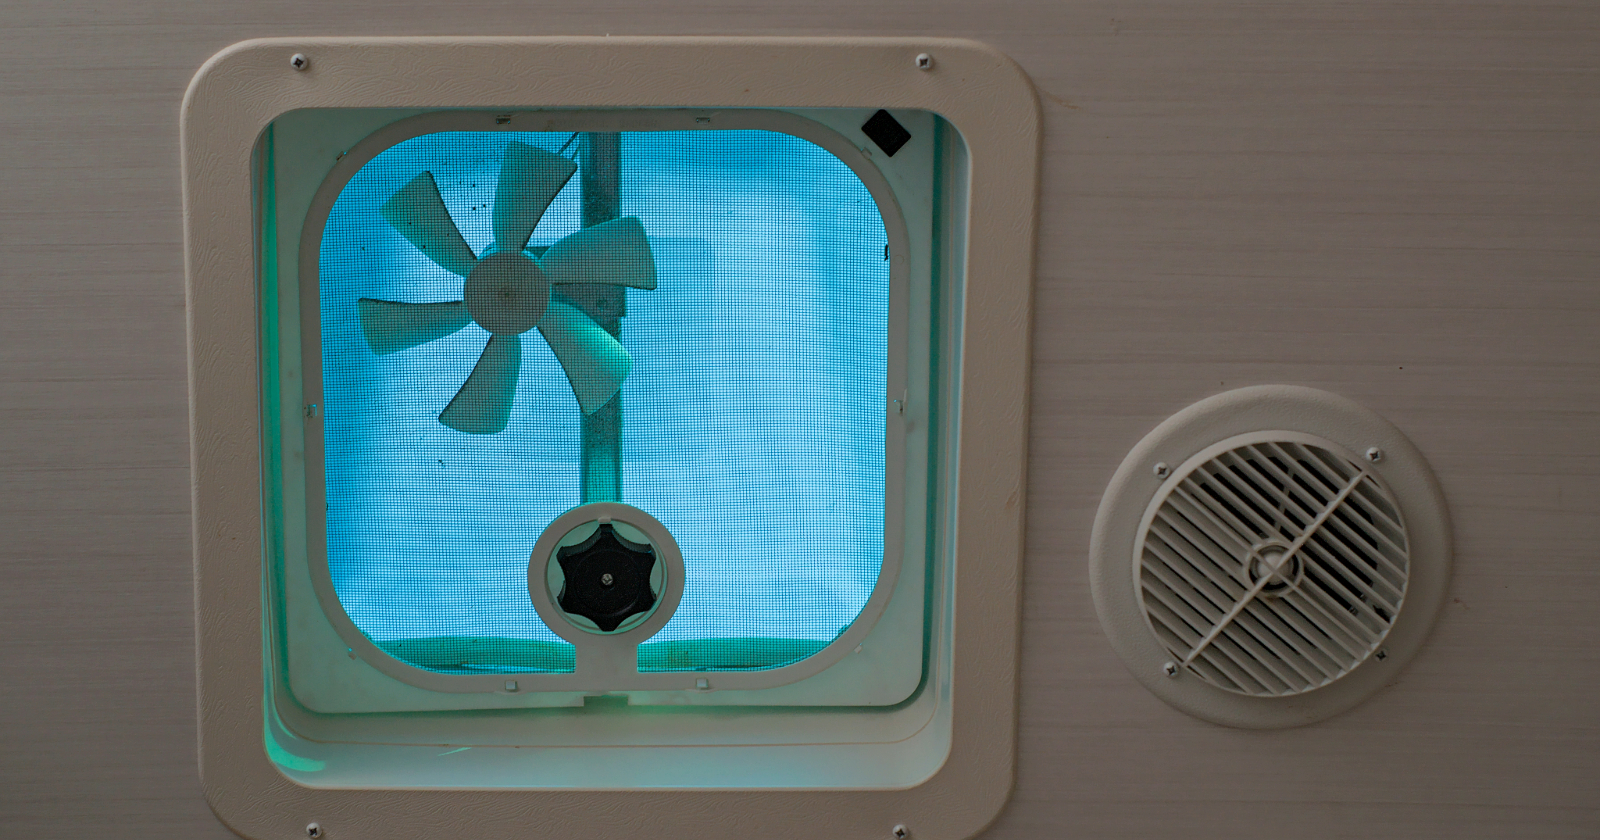
Water that’s coming in next to a roof vent or skylight might be sneaking around bad sealant around the fixture, but it could also be coming in at another seam and running across the roof’s interior, only emerging when it gets to an opening.
Storage bay leaks
Finally, if the leak is coming into a storage bay, you will want to check the seal around the bay door, as well as the weather-proofing that goes around the inside of the door.
Keep in mind that even tiny cracks that are barely visible can let water in. Also, seals will sometimes be loose from the roof even though they look to be intact, so use your finger to ensure everything is still adhered properly.
How to fix a water leak in a travel trailer
With your crack, hole, worn seal, and/or loose sealant identified, the next step is to repair the problem area. Luckily, this is almost always incredibly easy to do and will likely take less time than the first step.
Exposed seals
Dealing with an exterior seal that is damaged? First, clean the area you need to reseal well, making sure no dirt or grime is left behind.
Then use RV self-leveling caulk that is rated for your roof type, and RV non-sag sealant on any vertical surfaces, to cover the damaged seal well. Allow your new seal to dry before touching it or exposing it to water.
Note: If you notice that several of your exposed seals are damaged, it might be time to reseal the whole roof. The video below can help with that.
Tough leaks and roof patches
If you need to know how to fix a water leak in a travel trailer that just won’t go away, or if you need to patch a ripped part of the roof, you might turn to Eternabond roofing tape, which is incredibly easy to use and holds up well. Again, you will want to make sure the area is extremely clean before applying.
Window and storage bay seals
Sometimes the butyl tape seals that go between the RV windows or bay doors can become worn and allow water in. In this case, the best bet is to remove the window(s) or door(s) entirely, replace the butyl tape, and replace the window(s) or door(s).
The weather-proofing seals that go around the inside of storage bay doors are easy to peel off and replace with a new peel-and-stick weatherproofing strip.
Check your work
You could just wait around until the next rain storm to know if your new seal will do the job. However, many people would rather know before the rain hits.
If you’d like to check your work right away, wait until all sealant has cured, head outside with a water hose, and spray a bit of water on the area (don’t use too much in case the new seal doesn’t hold up). If no water makes its way inside, you probably did a good job and can pat yourself on the back.
Avoid leaks in the future
Once you have your leak patched up and no more water is making its way into your rig, you’ll probably be pretty eager to know how you can avoid water leaks in the future.
While it’s impossible to 100% guarantee you won’t have more leaks, the best way to avoid problems is to stay on top of resealing the roof and seams on your RV. All seams should be checked several times a year, and sealant should be reapplied annually. This should help prevent the need to re-learn how to fix a water leak in a travel trailer in the future.
Make sure you keep track of all your RV maintenance and repairs with an online tool such as RV LIFE Maintenance. Not only can you keep all of your documents in one place, but you’ll also receive timely reminders when maintenance is due to help you avoid costly repairs and potentially serious accidents.
Related articles:


