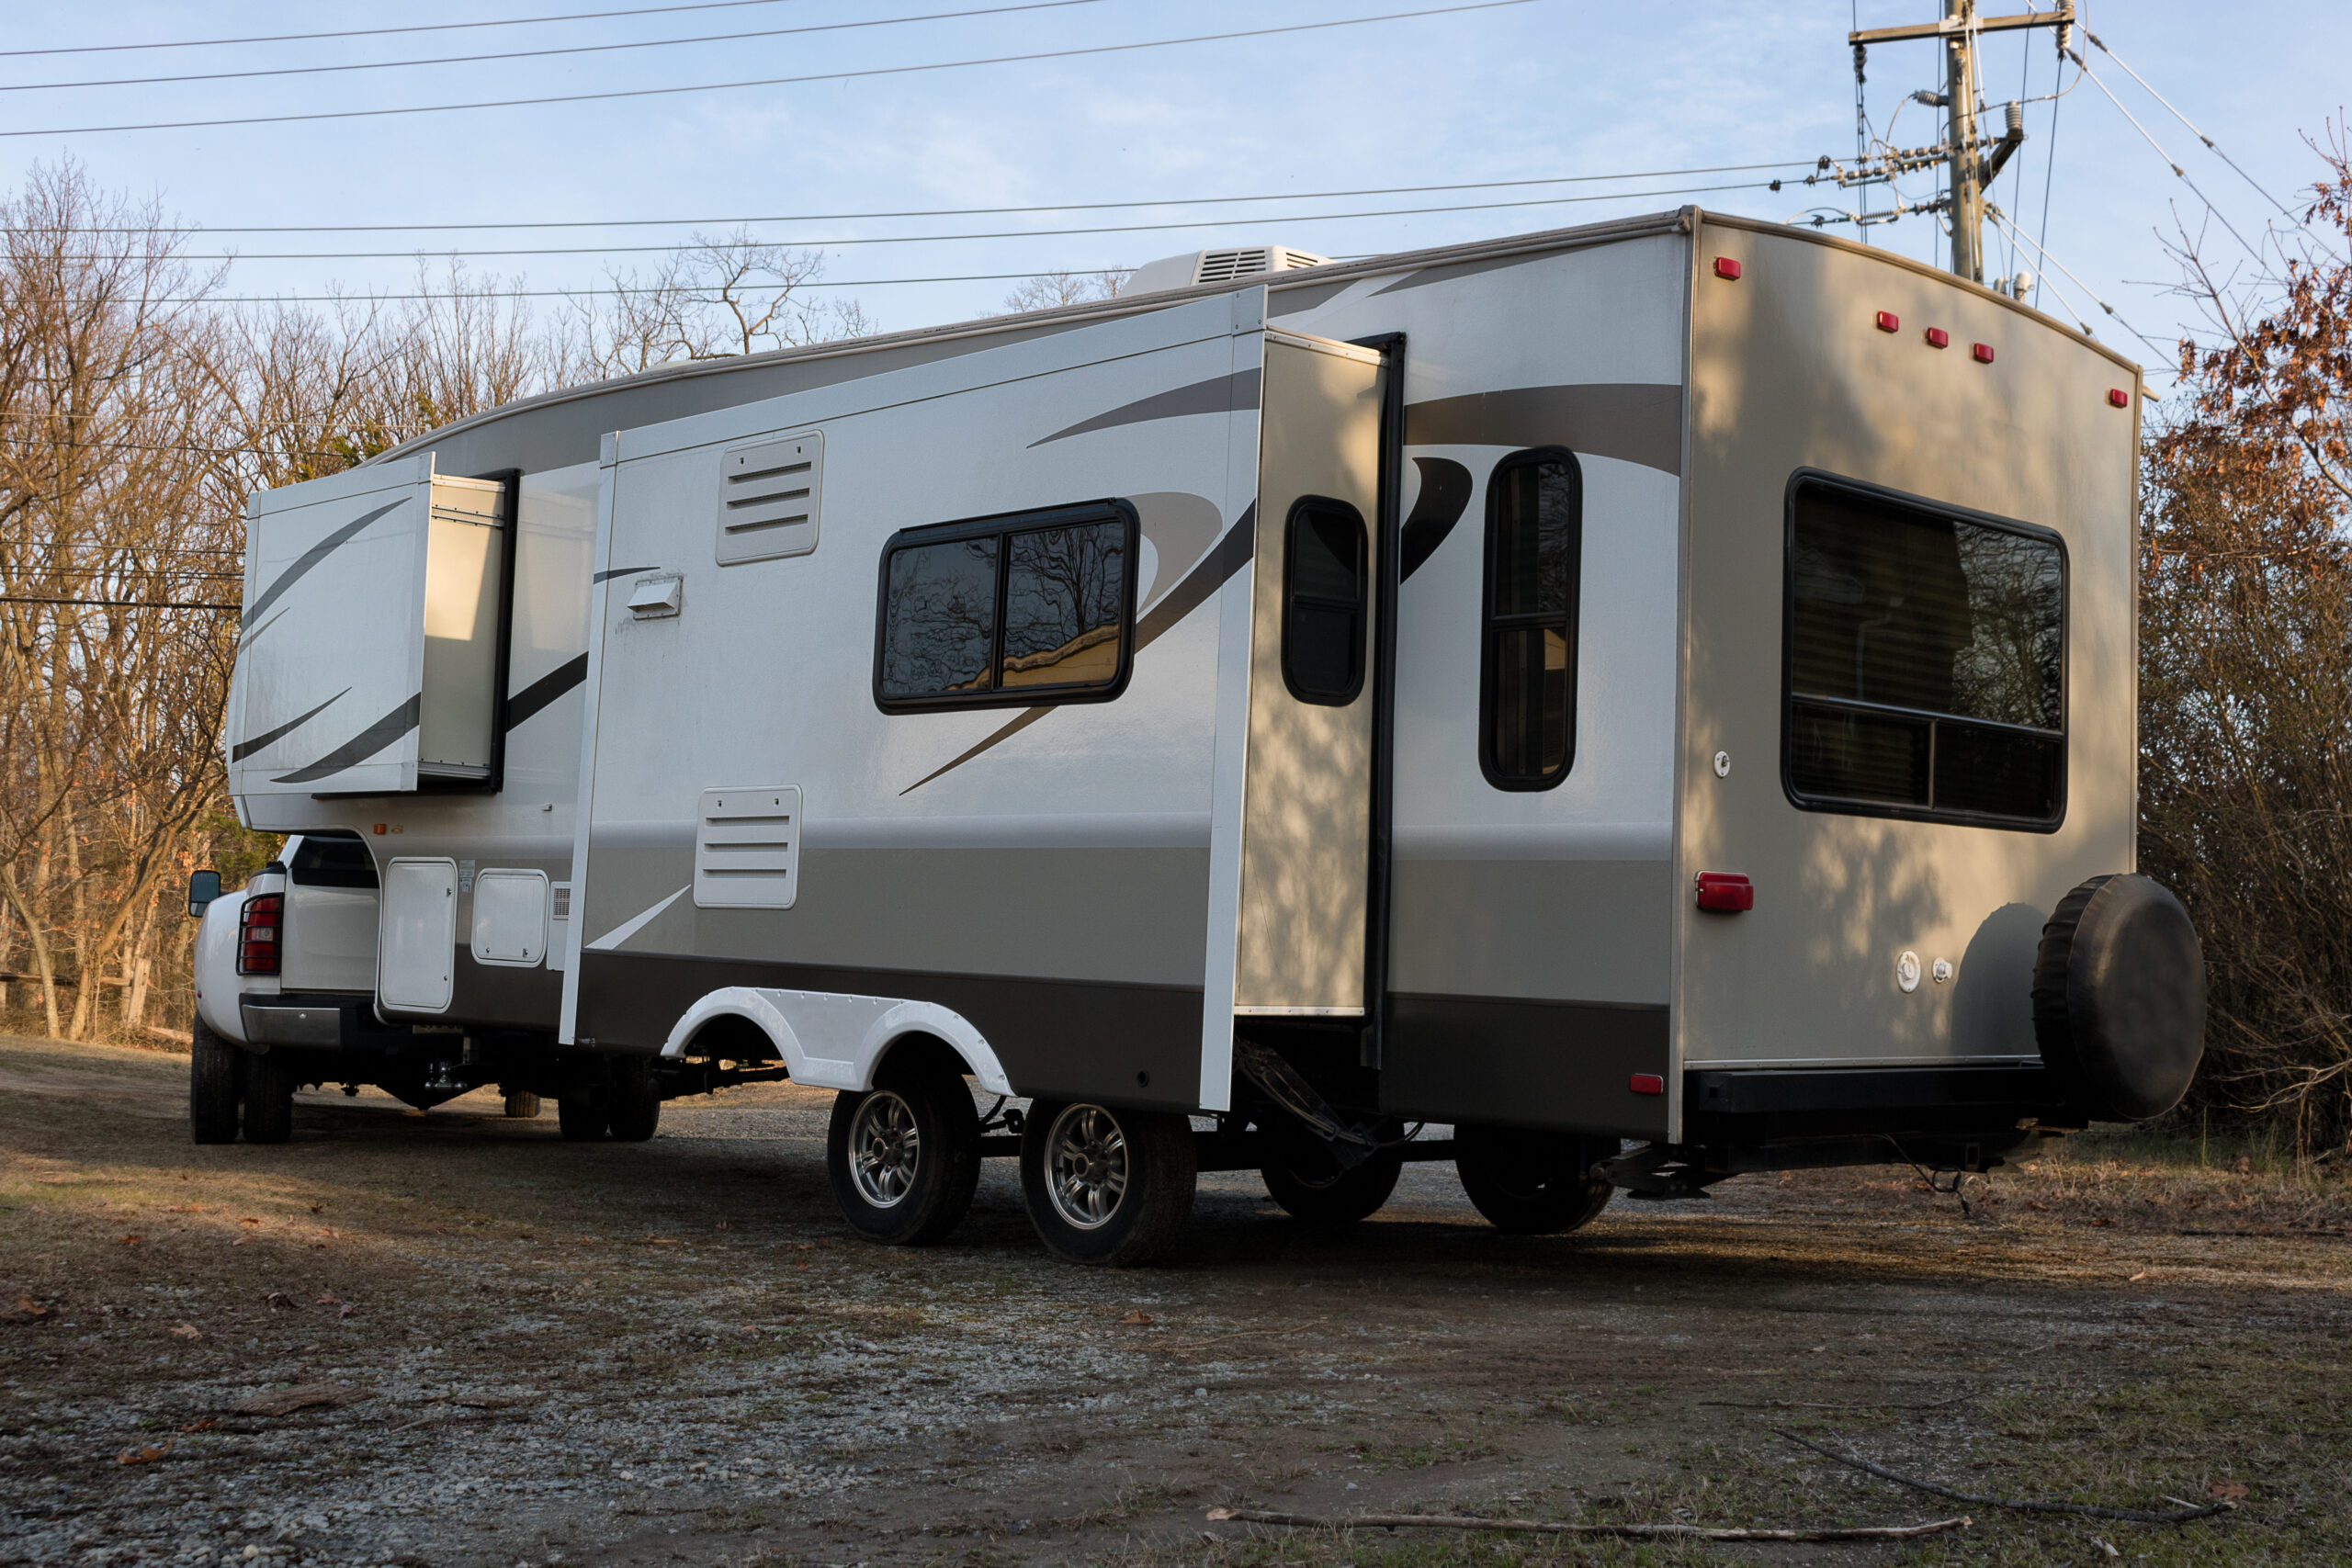
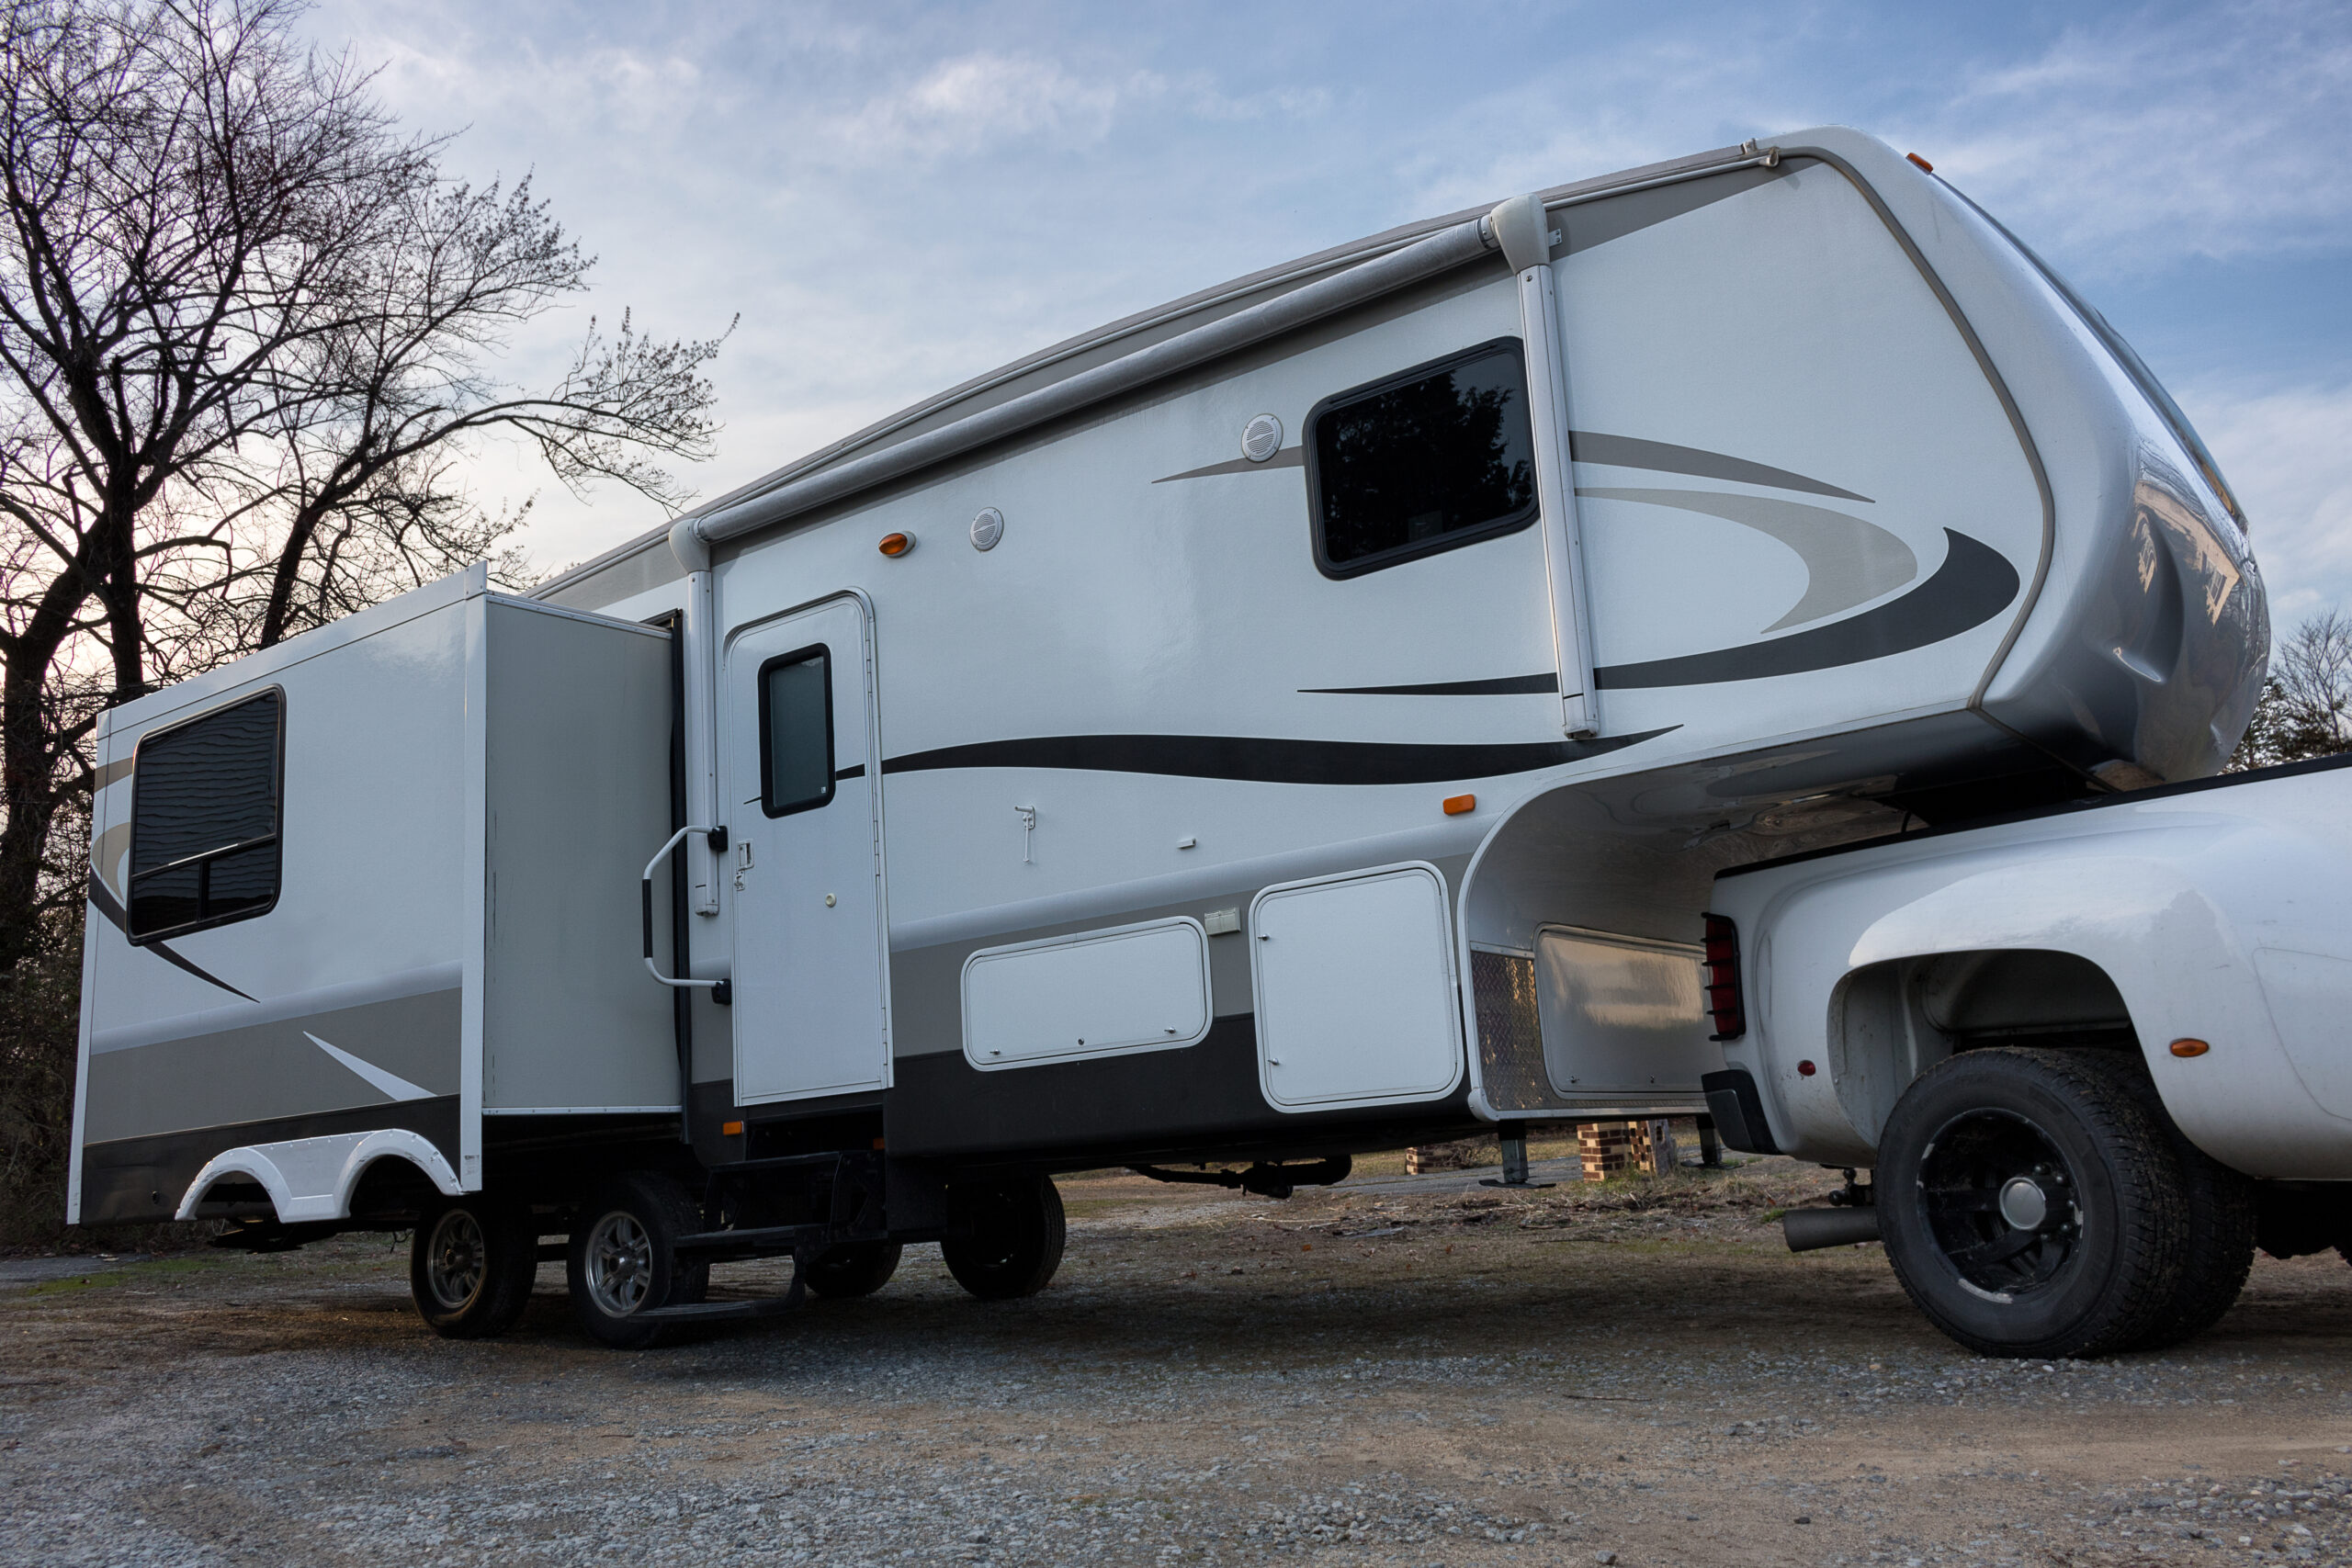
Your RV’s slide-out is an awesome way to have more space in your RV. But if your RV slide-out seals become damaged or worn out, it can also lead to serious water intrusion and damage to your RV. But how do you fix an RV slide-out seal?
Thankfully, in most cases, it’s a relatively simple fix. Let’s take a look at how to fix your RV slide-out seals and how to maintain them to prevent future leaks.
How To Fix Your RV Slide-Out Seals
Your RV’s slide-out will typically have multiple seals. The two most common types are:
- Bulb seals which resemble a bike tire that’s partially inflated. These seals compress against your RV slide-out when it’s closed to prevent water intrusion.
- Wiper seals, which look like a car windshield wiper. These flex in and out when the slide moves to prevent water intrusion.
Your RV slide-out seals can be attached in a variety of ways, each requiring a different method:
- Glue-On: This type of seal requires a rubber-safe adhesive for its attachment.
- Peel and Stick: This variety comes with an adhesive already applied to the seal.
- Push-On Seals: These are designed to fit snugly over a raised edge or into a track and do not require adhesives.
Before you can fix your RV slide seals, you’ll need to determine their type, size, and how they’re attached. Your RV’s manual may contain this information, but you can also just open up the slide out and take a look at the seal. In addition to measurements like the height and width of the seal, you’ll need to check how long of a seal you’ll need.
Once you’ve determined what seal you need, you can get a replacement from Amazon or from manufacturers like Steele Rubber. Some manufacturers will gladly send you free samples to try if you aren’t sure.
Fixing Your RV Slide-Out Seals: How-To Guide
Once you have all this information and have obtained the replacement seal or seals, you’ll also need the following:
- An adhesive remover, such as Goof Off
- Rags
- A plastic scraper
- New adhesive (if your RV slide-out seals require it)
Once you have everything assembled, do the following to fix your RV slide seal:
- Remove the seal. Depending on your seal, it may be attached with adhesive, screws, or may simply have a push-on seal.
- Clean the area. Remove any grit and grime in and around the seal. Scrape away any adhesive using your plastic scraper. Don’t worry about getting all the adhesive off. Just scrape off what you can.
- Install the new seal. You’ll want to install the seal the same way it came off. If it was glued on, use an adhesive. If it’s push-on, push it back onto the edge or into the track, etc.
- Trim the seal. If there’s excess seal, trim it to match the original seal’s endpoint.
It’s that easy! With a new seal, you’ll be safe from water intrusion and costly damage to your RV.
How To Maintain Your RV Slide-Out Seals and Prevent Leaks
Proper maintenance of your RV slide-out seals is key for preventing leaks. Let’s take a look at each of the different ways to maintain your seals.
Cleaning Out Dirt and Grime
One of the simplest but most essential pieces of maintenance for your RV seals is keeping them clean. When your slide-out is open, it can collect things like leaves and dirt, which can damage your seals in a variety of ways. Before closing your slide, be sure to wipe out any debris or grime that has gotten inside.
It’s also recommended to clean your RV seals periodically, such as any time you wash your rig. This is easily done using just a rag, water, and dish soap. Simply run the rag around every side of the slide out, from inside and outside the rig.
Applying Talcum Powder
Another way to maintain your RV slide-out seals is to apply talcum powder to them periodically. This helps keep excess moisture from damaging the seal and prevents it from sticking to the RV, both of which can damage your seals over time.
To apply talcum powder to your RV slide-out seal:
- Take a rag or old sock and sprinkle talcum powder on it.
- From inside the RV with the slide retracted, reach behind the edges of the slide and run the powdered rag along the top and side seals. Leave a light coat; too much could create a mess and potentially damage the seal.
- Extend your slide out and go to the outside of your RV.
- Sprinkle some more powder on your rag or sock and apply it all along the seals. Don’t forget to do the top of the slide out; a ladder can help you reach it.
- If you have a slide topper, it can be a bit more challenging to get the top. You can try taking the topper off or just get as far in as you can with the topper attached.
Be sure to use only talcum-based powders. Cornstarch-based powders won’t do the job as well and could lead to your seals becoming grimy. It’s recommended to reapply talcum anytime you clean the slide-out seals.
Lubricating Your RV Seals
Many people also use silicone lubricants on their seals, which protects them from the elements and ensures they function properly. But, many manufacturers recommend against this, because additives in some lubricants can damage the rubber seal over time.
If you do lubricate your RV slide-out seals, we recommend using one formulated for RVs, such as Camco Slide Out Lube. Also, pump lubricants generally work better than spray lubricants, as the propellants in sprays can damage the rubber in your seals.
Maintaining Your RV Slide-Out Seals Is Essential for Keeping Your RV in Good Shape
Your RV slide-out seals are essential for protecting your RV from costly water damage. If your slide-out seals become damaged or worn out, it’s essential you replace them ASAP. With proper maintenance, you can keep your RV slide-out seals in good working condition for years to come.