How To Repair RV Slide-Out Water Damage
Water damage in an RV can be one of the worst things the deal with. Water leaks can present for weeks and months before any signs of the leaking surface. At this point, there may be considerable damage, including mold!
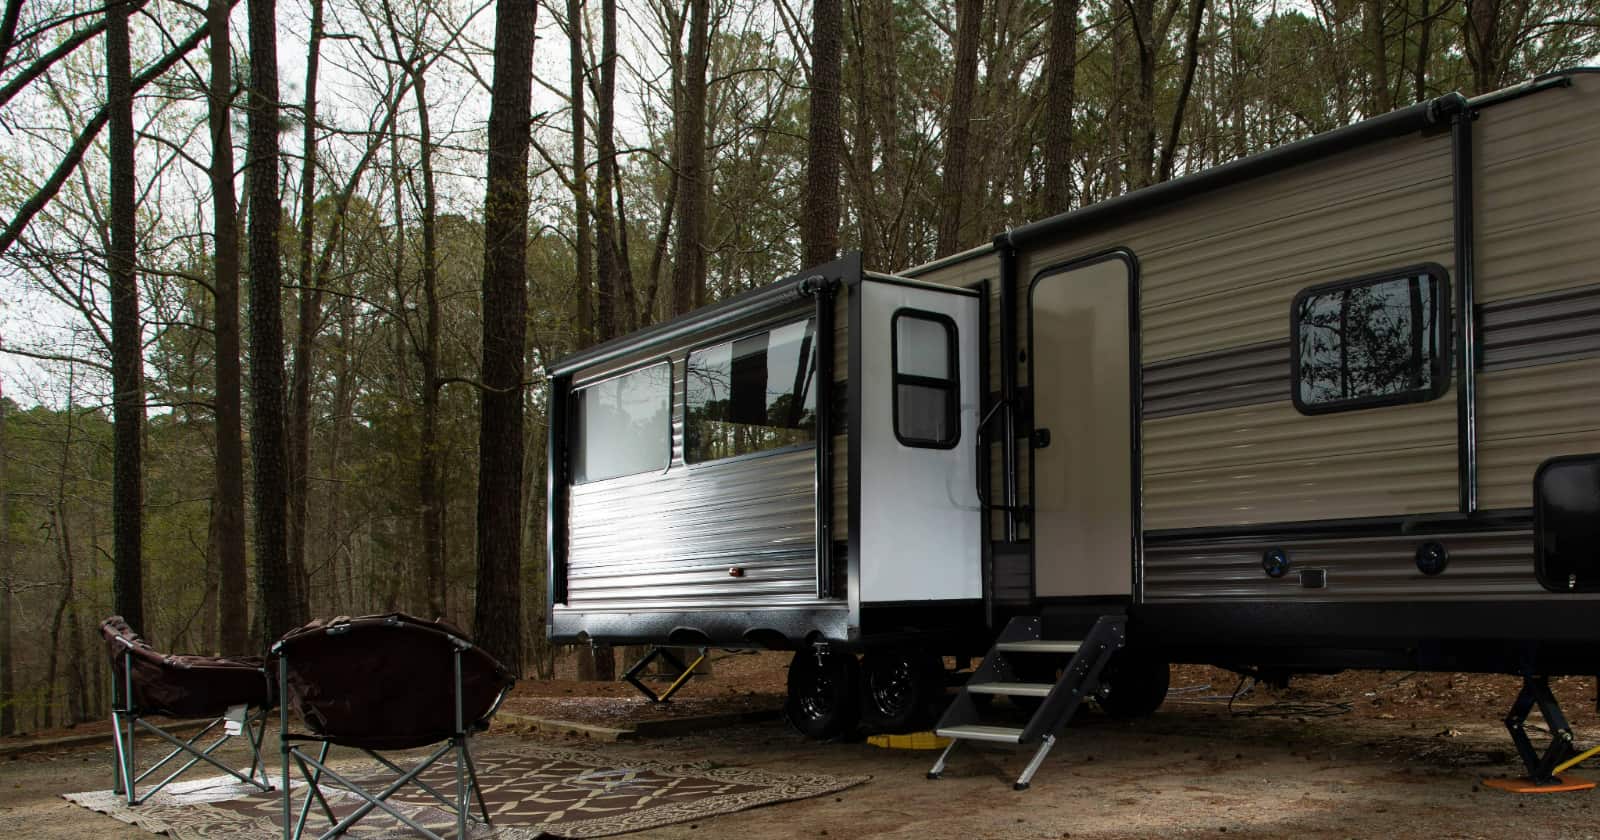
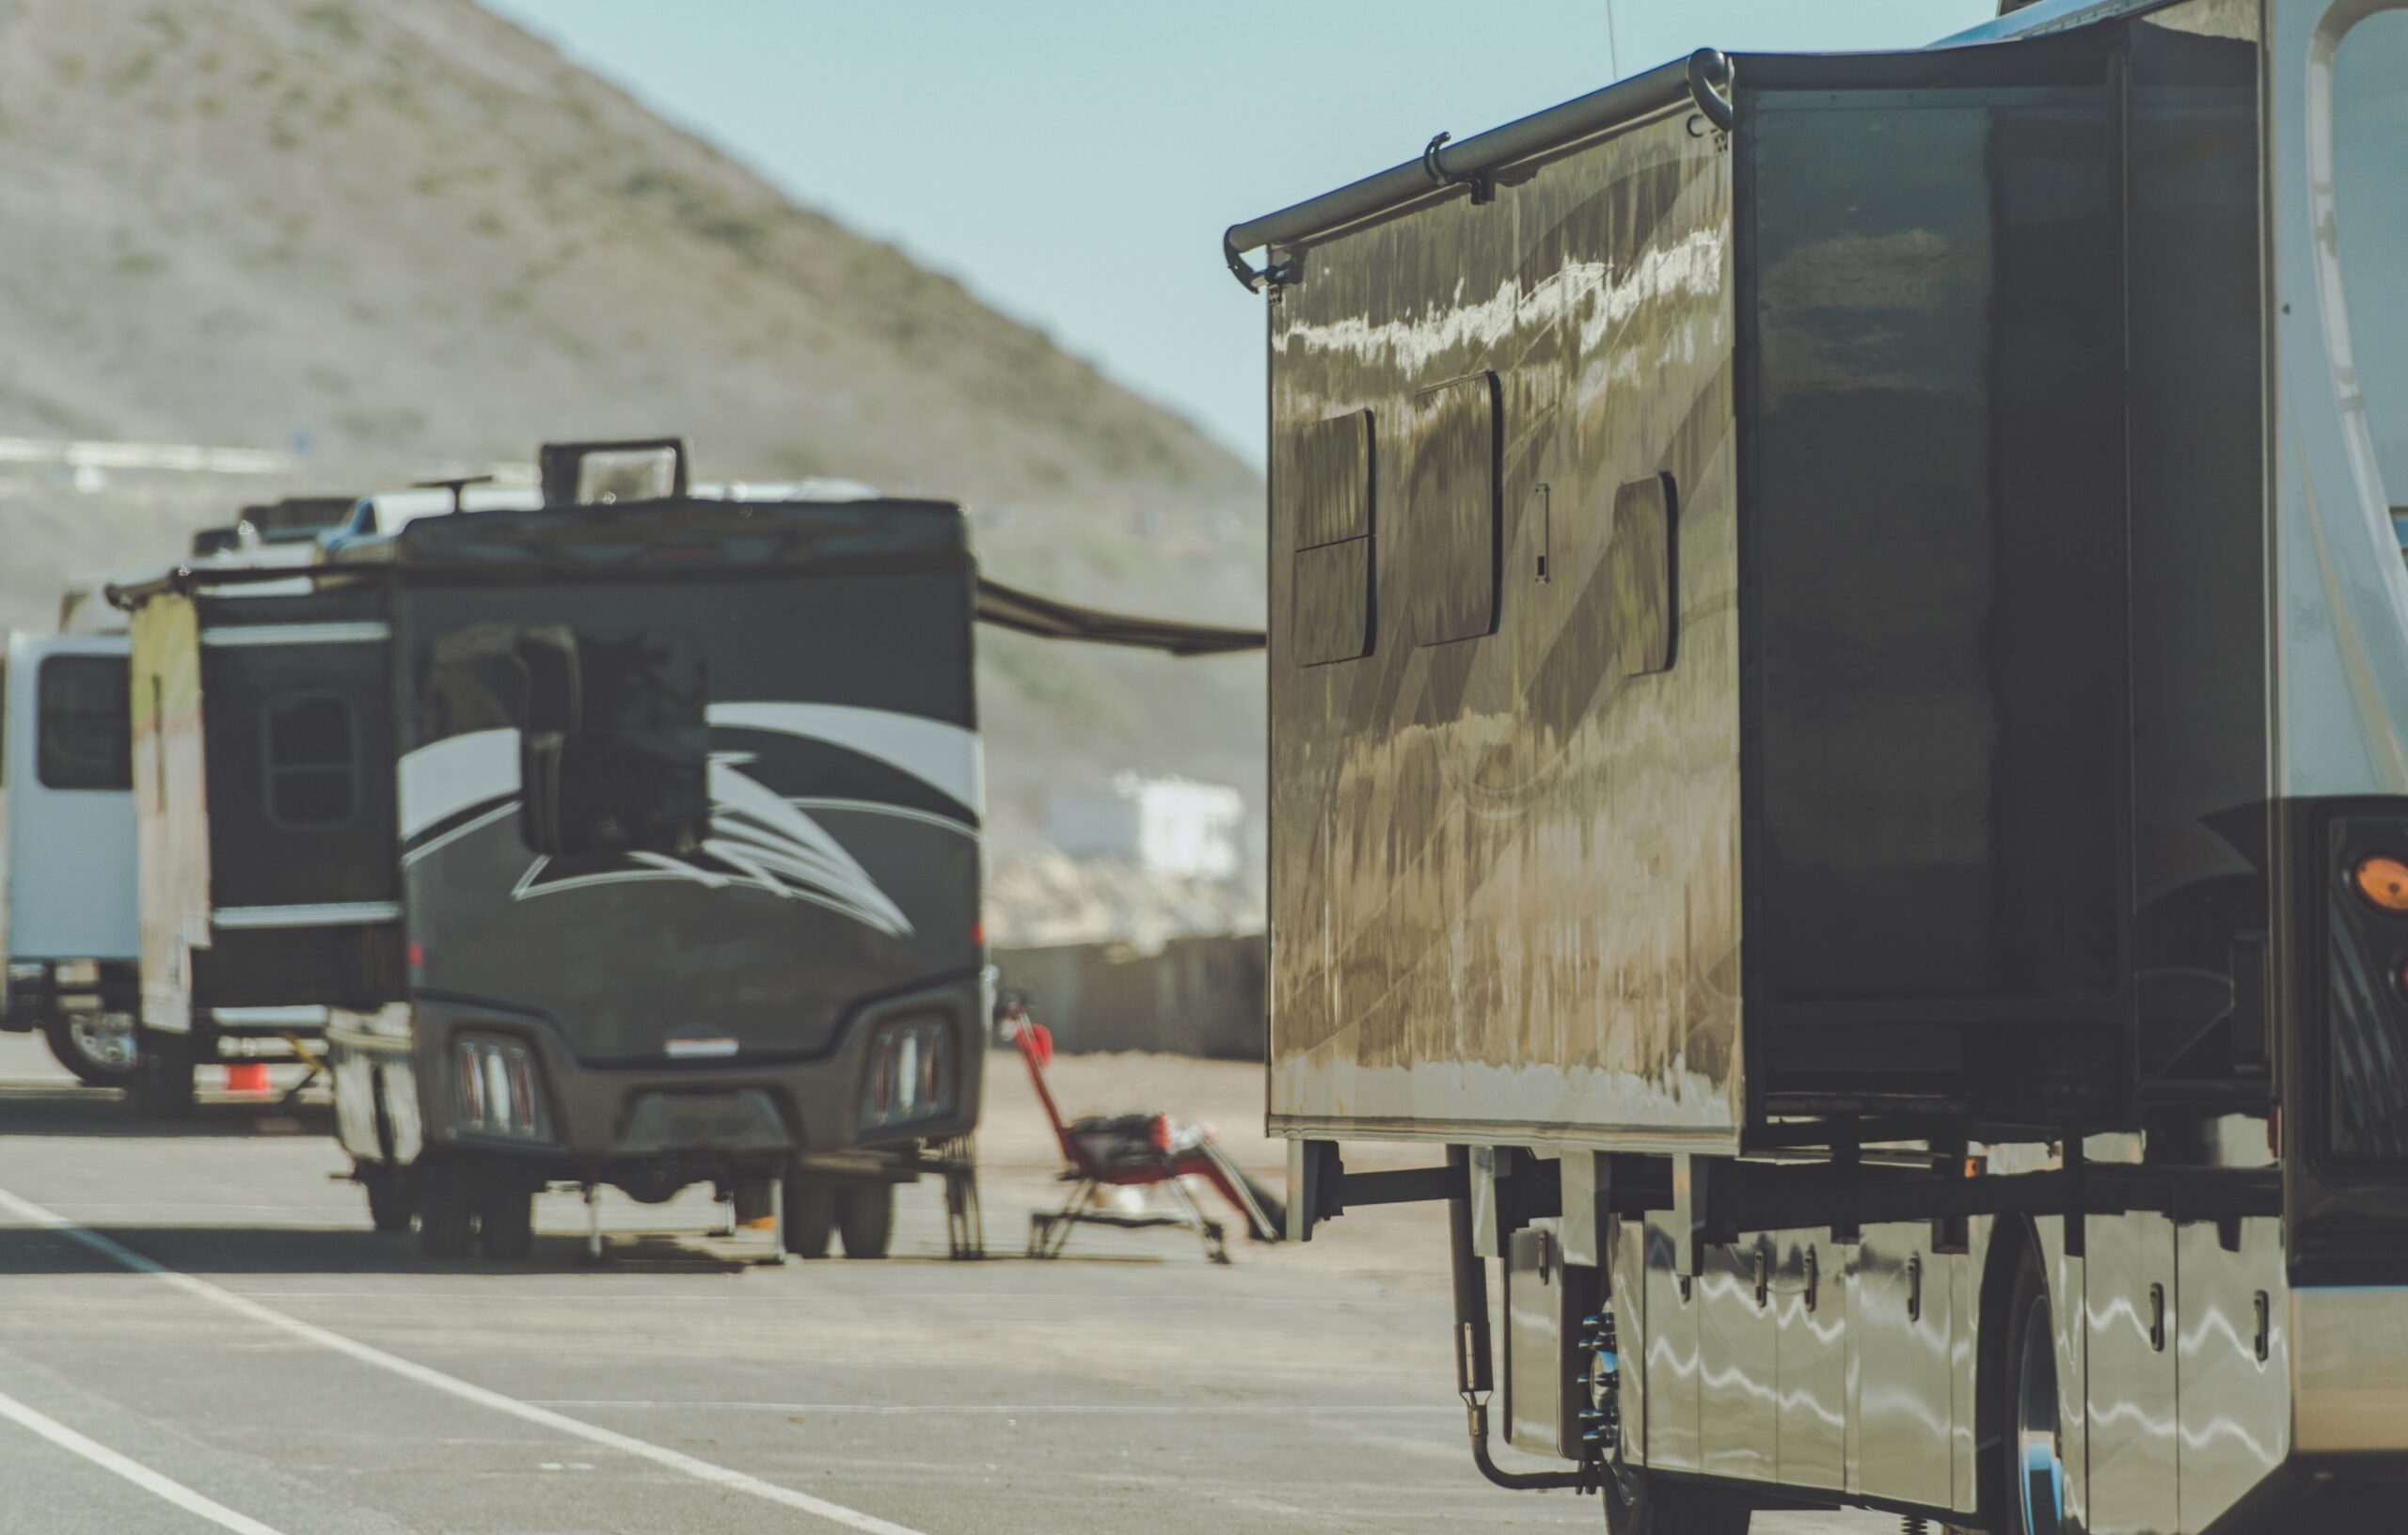
The slide-outs in RVs can be particularly vulnerable to water damage, as they are not contained within the main structure of the RV. The flat surface on the top side also makes them more likely to hold water rather than draining it like the roof.
Preventative maintenance and early repair are the two best things to help eliminate major repairs. Water can and will go anywhere that it’s not 100 percent sealed, making water damage repair pretty common.
How does water get in the RV slide-out?
As mentioned, water can get pretty much anywhere it wants to. A tiny leak over time can still cause major damage to your RV. Keeping that in mind, there are a few places that are more susceptible to leaks on the slide-out.
The top of the slide is exposed to rain, snow, and water from cleaning. Since it is flat, water can sit here and seep through even tiny leaks. The perimeter of the top where this surface meets the sides along with any seams can be problem areas.
Most slide-outs have windows, and like any opening in the exterior walls, this is a very common place for leaks. The seal around the windows can dry out or break loose from movement and allow water to enter the opening. Any other vents or items that are mounted to the exterior wall can also be potential leak locations.
The rubber seal that surrounds the slide-out prevents wind and water from entering the RV from around the slide. If water passes this seal, it can make its way to the molding that surrounds the slide on the inside. Water getting past this seal can also cause water damage to your floor.
RV slide-out water damage repair
One thing to remember about water damage is it often works its way from inside to outside. This means if water is entering the inside of a wall, it takes time for it to make its way to the exterior surface, where you will see it. Knowing this, a small area of water damage on the surface could be much worse when the repairs begin.
Simply repairing the visible damage and not locating and fixing the source of the leak will only buy you a little time until it surfaces again and more damage has been done.
Safety note: RV slide-out water damage repair may mean mold, which can be hazardous to your health. Wear gloves and a mask when working around mold, and if it’s extensive, contact a pro. Fiberglass insulation is sometimes found in walls and can be an irritant, so use your gloves and mask here as well.
Top surface damage
Most RV slide-outs use a cover similar to the roof covering. It is soft and can be ripped or damaged from sun exposure. If there are seams, they can leak along with the area where the sides and top join.
There are RV roof repair kits on the market that can be used for repairs of rips or holes. For seam repair, roof caulking and sealant tapes work well and are easy to apply.
If there is a leak in this material, it is important to feel the surface underneath for soft, rotten areas. It may be necessary to pull back additional material for a better inspection.
Window seal leaks
Leaks around windows often lead to window frame water damage. The framing around windows is an important part of the structural integrity of your RV. Water damage here can lead to an unsupported window, causing it to jam or even break.
Proper window frame repair should include the removal of the window and wall paneling to fully expose the frame. Repair with the same dimensional lumber, making sure to leave a space around the window as the manufacturer did.
Water damage inside the walls
Any water that makes its way past the exterior surfaces has the potential to be inside the walls. If there are signs of water damage on the surface, you should proceed to check behind the surface. RV slide-out water damage repair should be done properly and the water damage removed completely.
RV slide-out wall paneling can be a pain to remove, but leaving water damage is going to cause more trouble down the road. The key is to take your time and try not to damage the paneling when removing it.
Any trim and wall-mounted items will have to be removed first before the paneling can come off. The paneling is thin and can break easily if too much force is applied. It is generally attached along the top and bottom as well as to studs running vertically.
The easiest way to remove the paneling is by gently prying it in small sections at a time. A small pry bar placed close to the nails or staples works well. Some nails will pull through the panel and some will stay in it. All of them will have to be pulled free before installation. If the backside of the paneling has water damage, replace it with new paneling.
The framing inside the wall may have to be replaced in small sections if water damage has occurred. Framing is usually joined using large staples, these are also a pain to remove; however, L brackets can be used in place of these when installing new framing.
RV slide-out floor damage
Water damage to the floor of the slide-out may not be as common of an issue, but it can be a big problem if it happens. The replacement of flooring in the slide is a pretty extensive process. This video is a good walk-through of a worst-case scenario of having to replace an entire slide-out floor.
Dealing with RV slide-out water damage repair can be overwhelming and frustrating. The most important thing is to not ignore it and to complete the repairs properly.
Make sure you keep track of all your RV maintenance and repairs with an online tool such as RV LIFE Maintenance. Not only can you keep all of your documents in one place, but you’ll also receive timely reminders when maintenance is due to help you avoid costly repairs and potentially serious accidents.
Continue reading: