
 When it comes to our RV’s, it is easy to forget that Fido may enjoy some of the amenities that people love as well. Once such pleasantry is the bed. It is a staple for people and it is even becoming the norm with dogs as well. The only problem with beds as it pertains to a RV is that they take up valuable real estate in a RV floor plan. Some RV owners have installed murphy beds to gain access to more usable space. When it comes to doggie beds, it may make even more sense. A dog murphy bed would keep a small profile against the wall and offer a great place to stash the bulky dog bed when it wasn’t in use.
This Old House put together a great tutorial on how to make a dog murphy bed. It is actually simpler than it may sound to create a professional looking unit that can blend in to your RV décor. This design is minimalist design that keeps the build simple.
The Dog Murphy Bed Design Calls for 3 Basic Components:

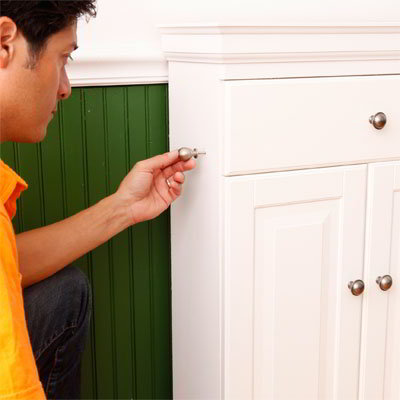
- Cabinet – A plywood box that hides the doggie bed. Trim the top with molding for added flare. Add a locking pin and magnetic catches to hold the bed deck in place.
- Deck – A pair of cabinet doors attached to the cabinet with a hinge. The dog murphy bed mattress is set inside a frame attached to the back sides of the doors.
- Drawer Front – A faux drawer is used to fold up and act as the foot of the bed
[asa]B001CQUMWM[/asa]
Tools Required for the Dog Murphy Bed
- Miter Saw
- Circular Saw
- Drill
- Air Nailer
- Screw Driver
- Putty Knife
- Paint Brush

[asa]B001EYFQ28[/asa]
Material List for the Dog Murphy Bed
|
|
 The total cost of the materials should run you a little over $100 and should be had at any home improvement store such as Home Depot or Lowe’s. This Old House expects that this project should take you around 7 hours to complete and perhaps a little longer if you aren’t a veteran wood worker. Make sure you dont forget the actual dog bed!
- See the full build diagram and cut list here
- See the full picture walkthrough of how to build the murphy dog bed at ThisOldHouse.com
- If you are looking for something for larger dogs you may want to consider this custom dog murphy bed design.


