How To Install RV Bug Screens
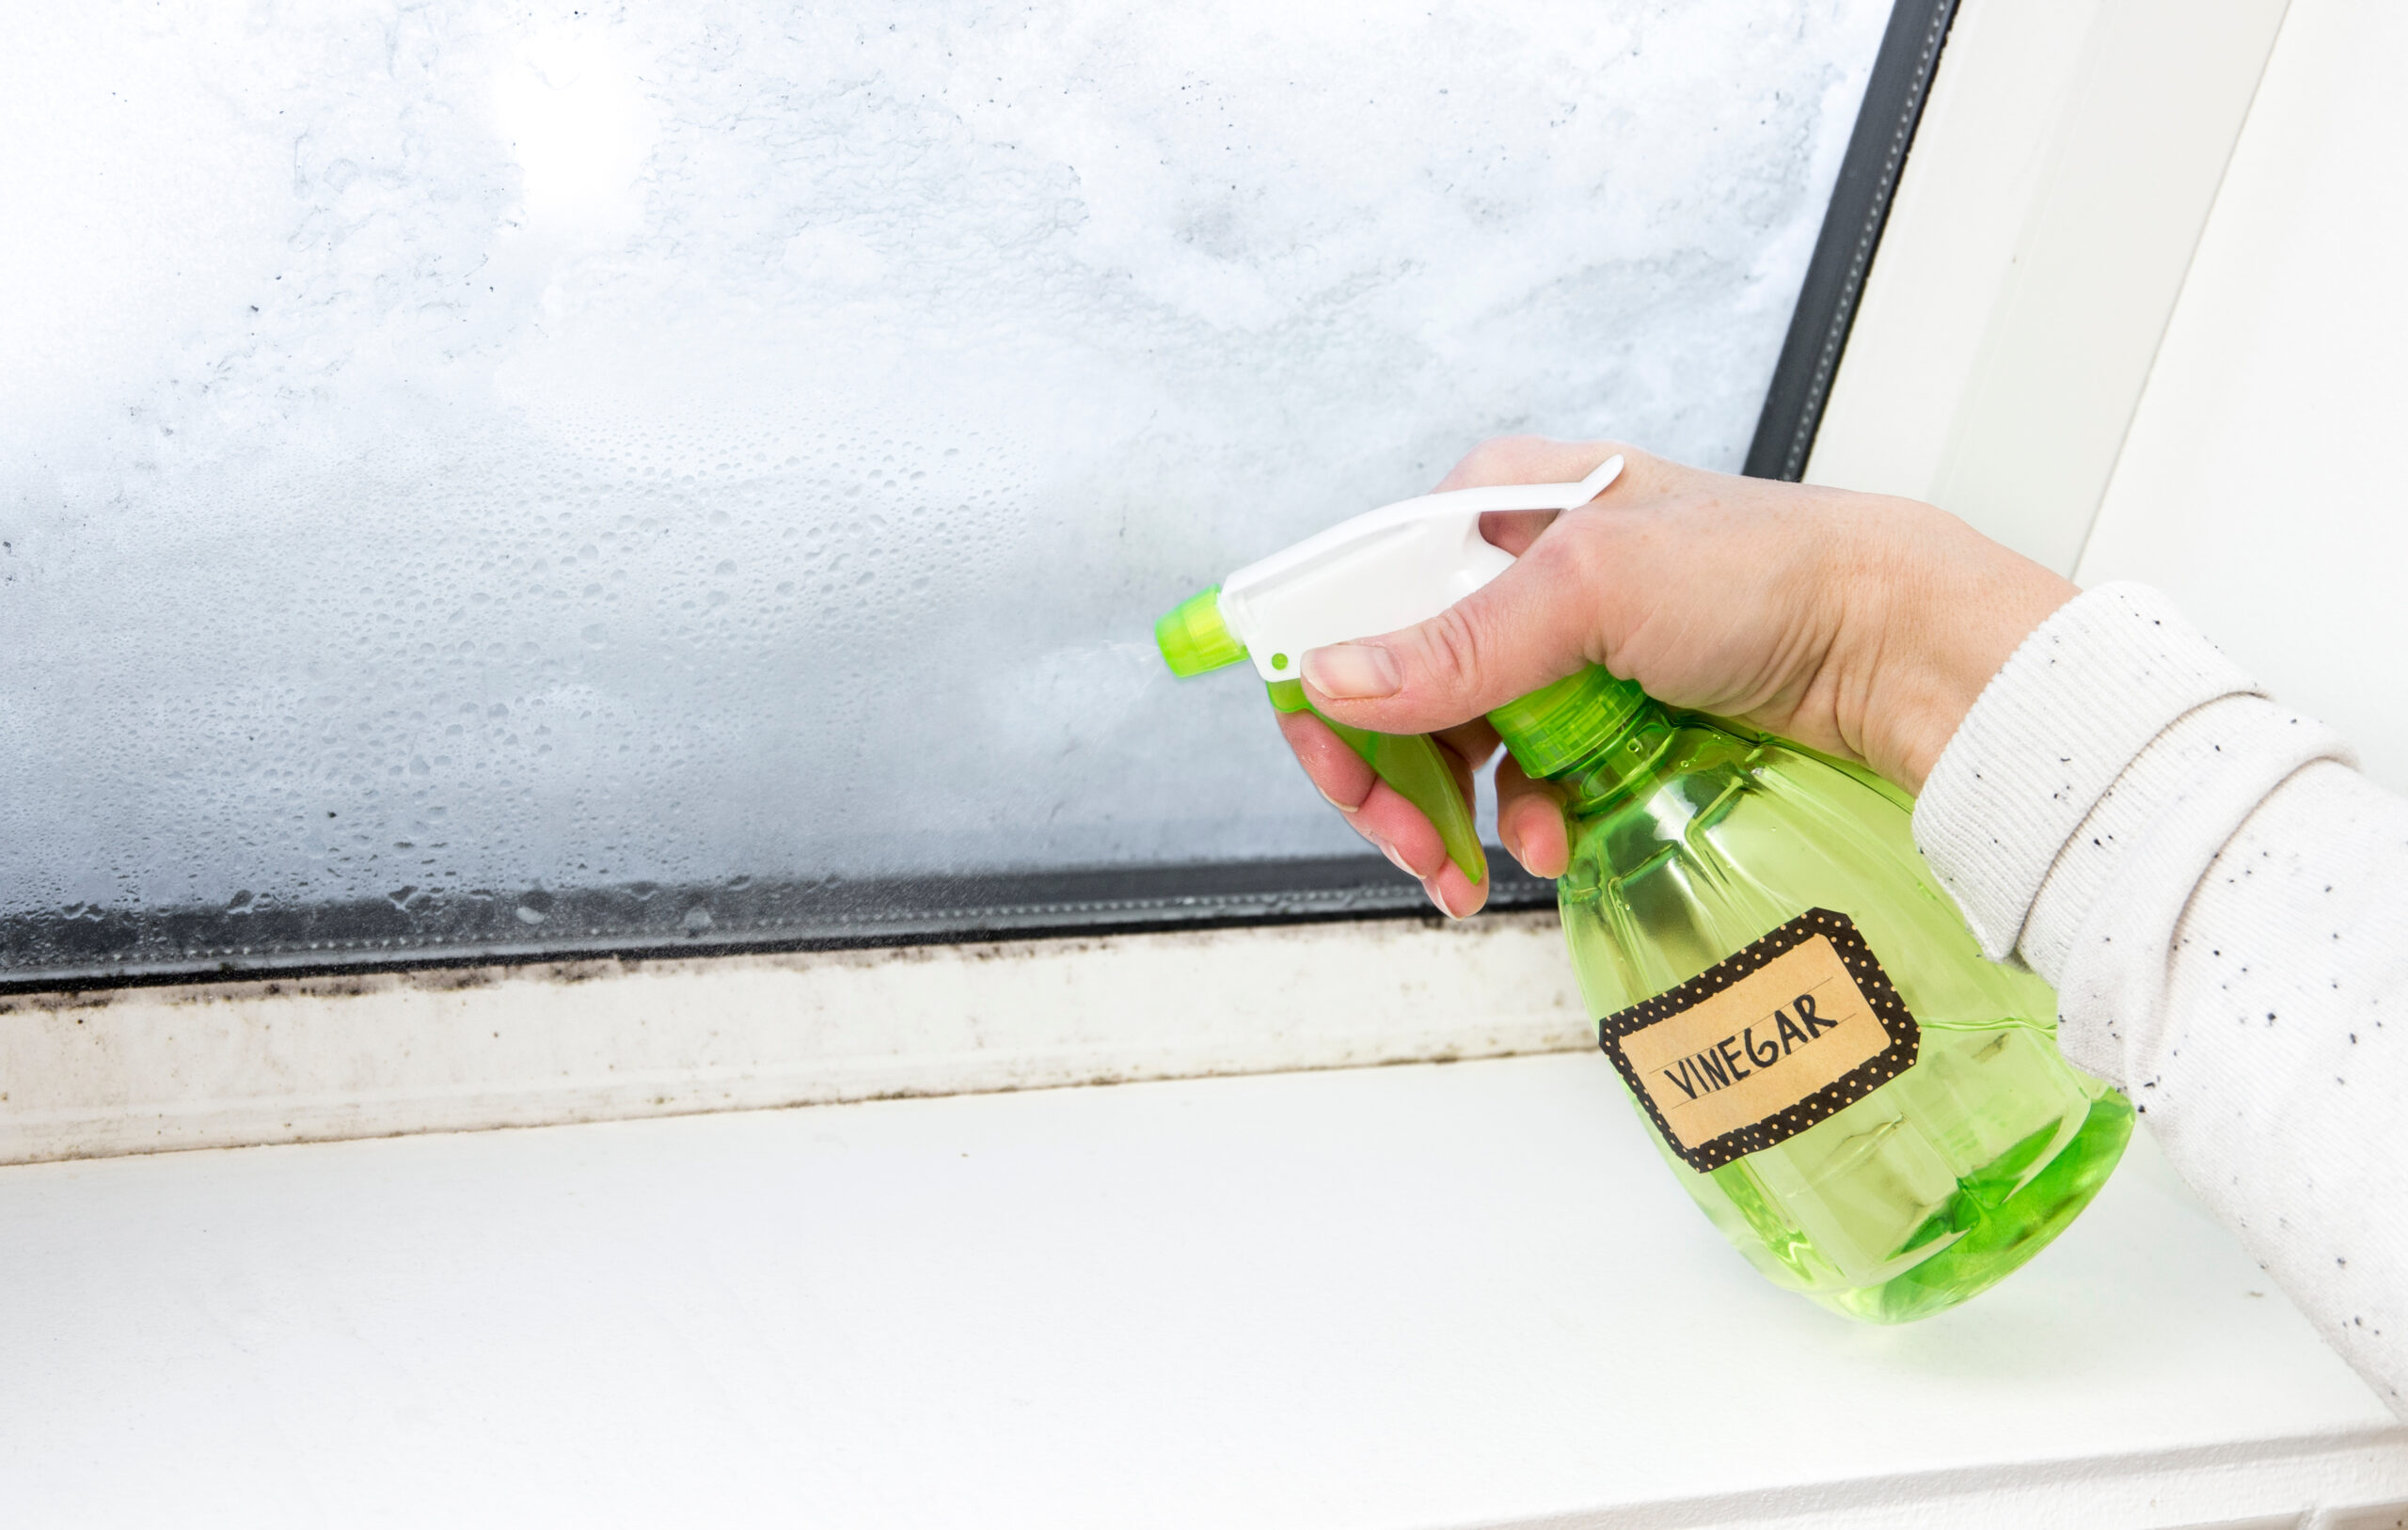
RV vents and openings can be attractive places for flying insects and other bugs to get into an RV to either nest or just make themselves at home. Bug screens are designed to keep insects out of the RV while allowing vents to do what they were designed to do, which is either allow exhaust to escape or allow air in.
RV insect screens like these are made to block bugs, not the vents themselves. They are also designed to be easy to install with just one basic tool. Installing RV bug screens is a quick and easy project that anyone can do.
Installing bug screens on your RV vent covers
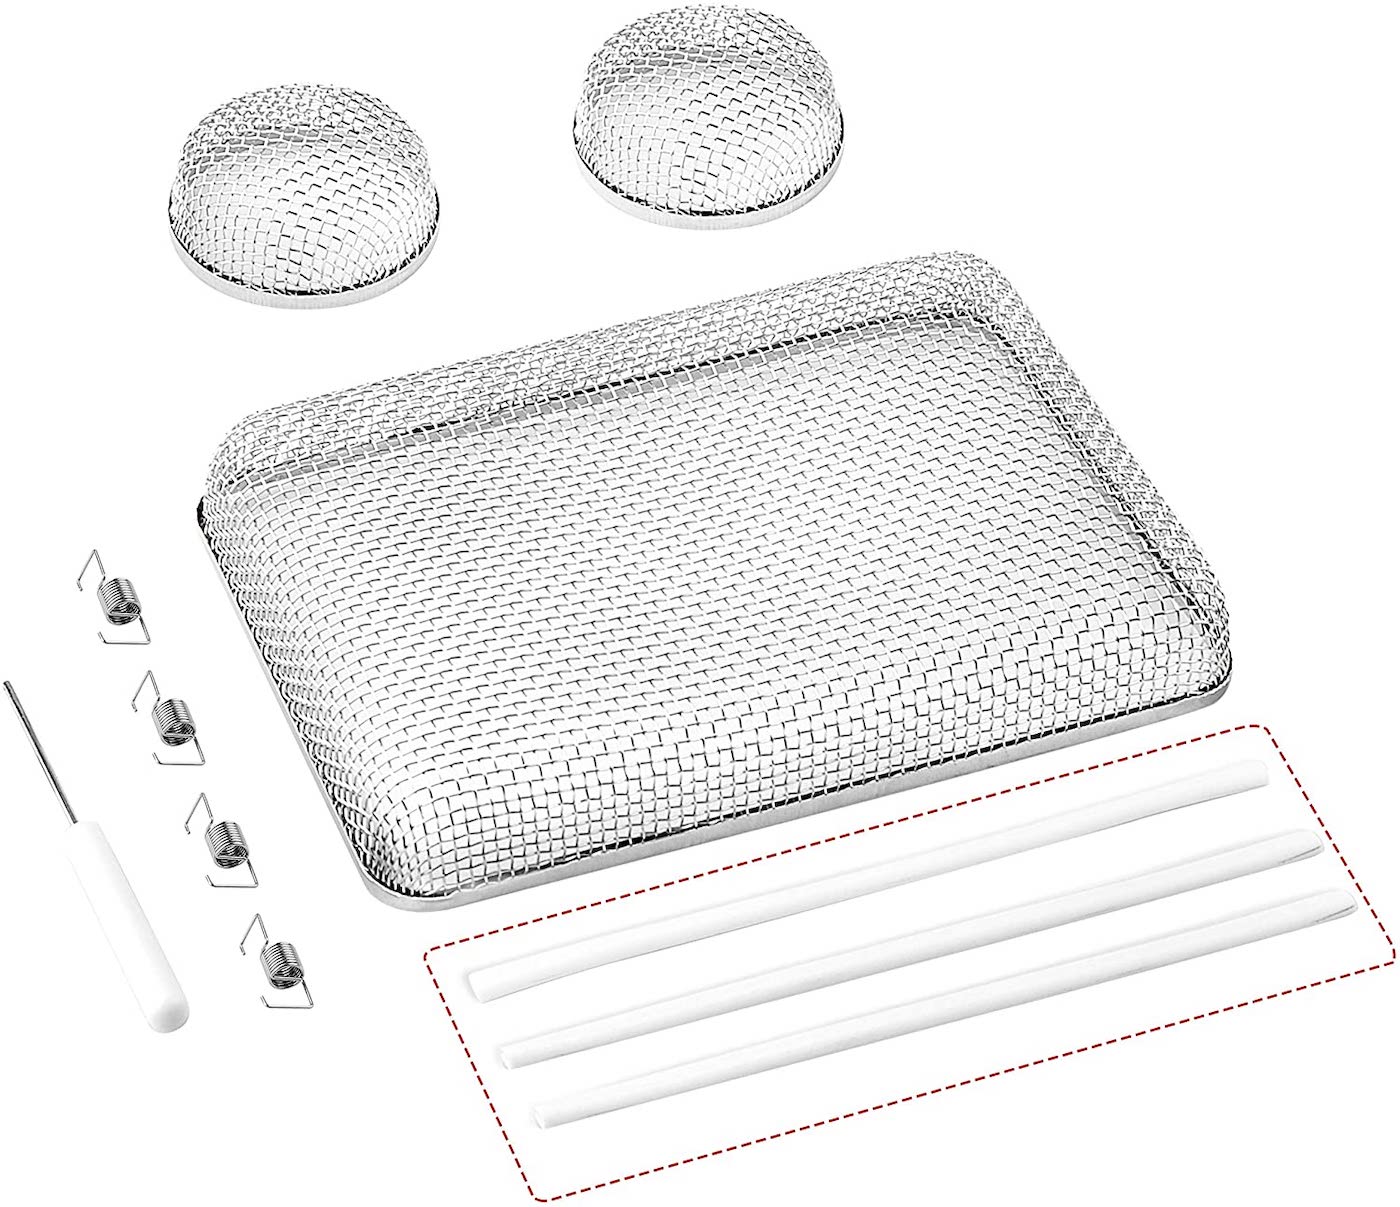
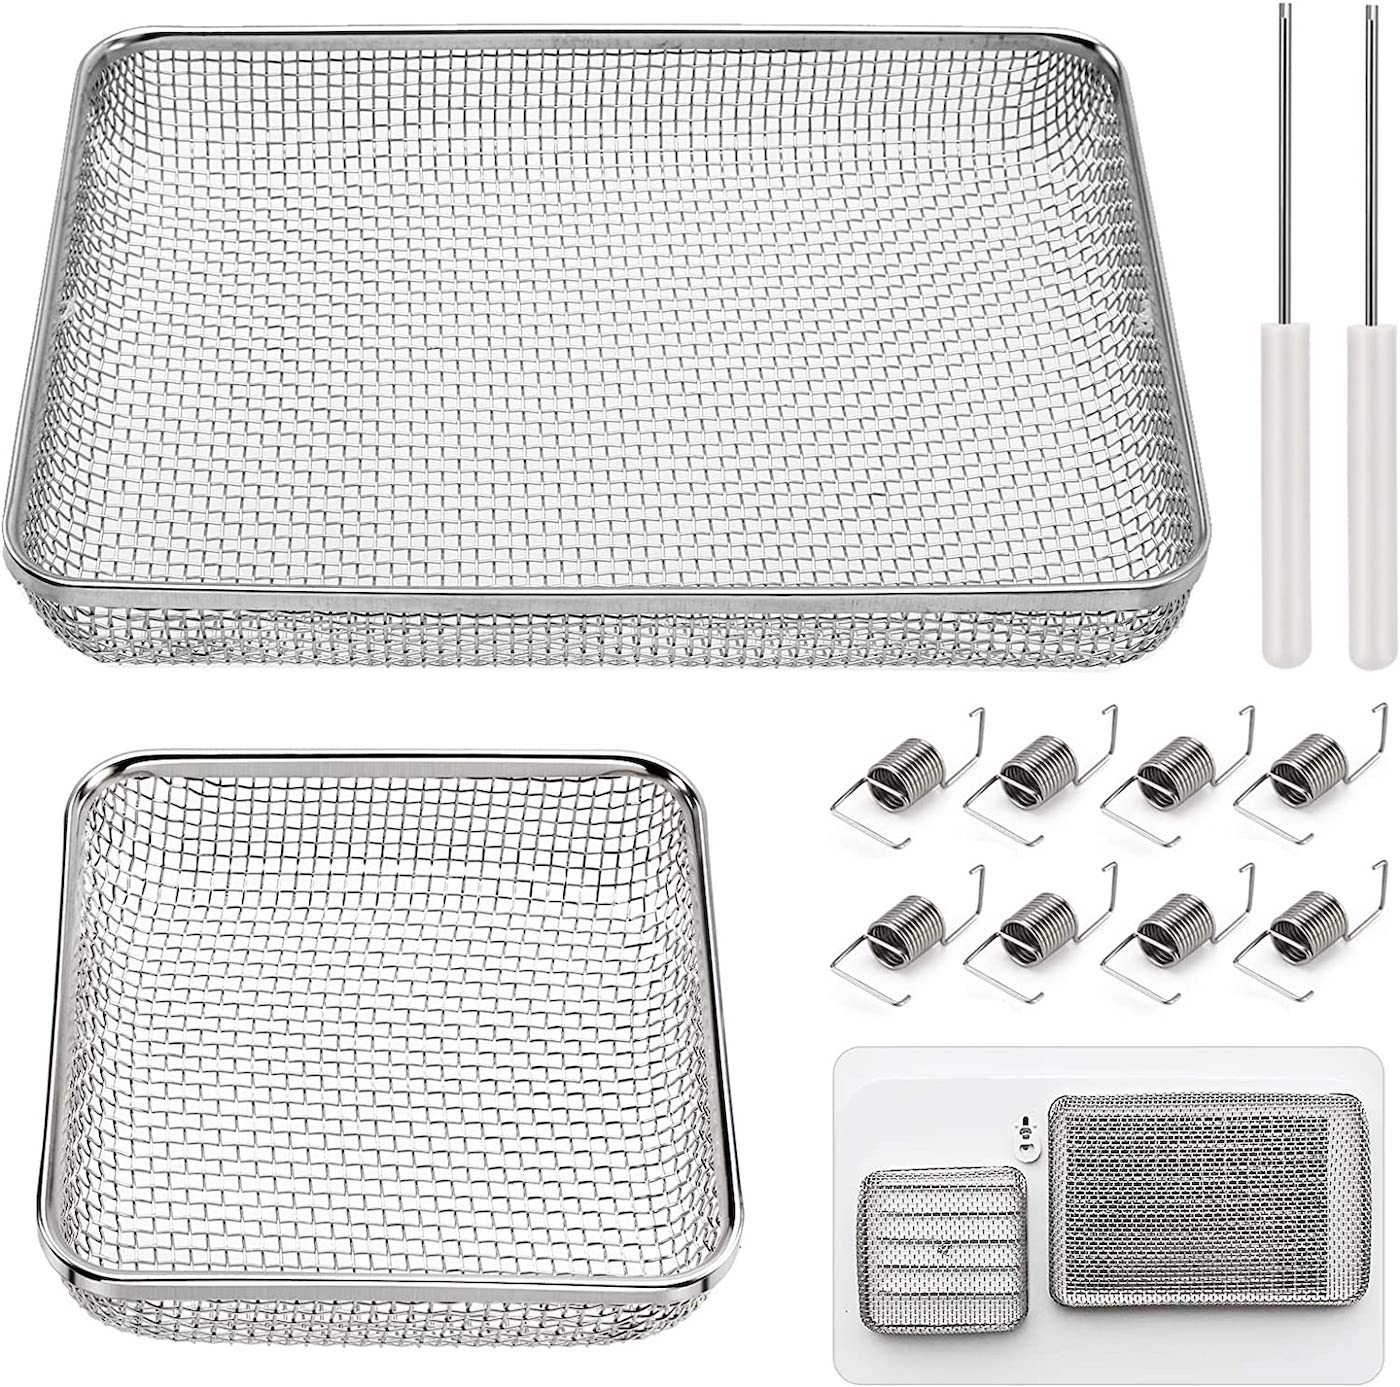
While there are many manufacturers of insect bug screens, the screens themselves are all similar. The most common RV bug screens (also known as RV insect screens) are made by Camco. Bug screens are held in place by either a coil spring between the cross brace of the circular furnace vents or the hot water heater vent covers.
Simple zip ties hold the bug screens on the refrigerator vent covers. Trust us, this is an easy job. Insect screens for RV vent covers even come with all the tools and gadgets you’ll need to do a professional-looking job.
- Use a measuring tape to measure all of your vent covers. You’ll want to make sure you get the right size vent covers. Furnace and hot water heater vent bug screens are made to fit the particular brand of furnace vent cover, but they fit pretty universally. Refrigerator vent covers vary widely in size, so you’ll need to make sure you measure the vent cover openings themselves in order to get a good fit. Screens that are too big or too small won’t keep insects out.
- After you get your vent cover kits, find a screwdriver with a small divot at the end of the blade. This is the tool you’ll need to hook the spring (also in your kit) on the crosspiece of the furnace vent or the grid of the hot water heater vent. Make sure the gap at the end of the tool is just wide enough to fit the wire of the spring.
Installing the round furnace vent bug screens
- Find the round bug screens. They will go on the round furnace vents. Now hook the end of the spring around the wire mesh of the bug screen.
- Gently push the spring placement tool through the mesh of the bug screen (near the middle). Catch the opposite end of the spring with the divot in the tool. Hold the bug screen over the propane vent.
- Use the spring placement tool to carefully hook the end of the spring onto the center of the furnace vent cover.
Install the rectangular water heater vent bug screens
- Locate the rectangular bug screens. These ones go over the water heater vent covers.
- Use a screwdriver to remove the door that has the water heater vent covers.
- With the water heater vent door panel face up, hook four evenly spaced springs to the inside of the bug screen, as you did with the furnace vent covers.
- Lay the bug screen with the springs attached in place over the top of the water heater vent cover. Use the spring placement tool to hook the springs onto the vents. This can be tricky, but with good lighting and a bit of patience, you can do this.
- Repeat Steps 1 to 4 to attach the other bug screen to the grid part of the vent cover.
- Screw the water heater vent door panel back on the RV wall where it belongs.
Installing bug screens on refrigerator vent covers
We saved the easiest one for last.
- Remove the refrigerator vent cover.
- Carefully tuck a bug screen into the vent in the cover so it screens the opening completely. Hold it in place with two zip ties.
- Repeat Steps 1 and 2 with the remaining refrigerator bug screens.
That’s it—you’re done! You’ve now effectively protected your RV from insects, rodents, and even reptiles. RVdaydream gives an excellent demonstration of the entire process in the video below.
Make sure you keep track of all your RV maintenance and repairs with an online tool such as RV LIFE Maintenance. Not only can you keep all of your documents in one place, but you’ll also receive timely reminders when maintenance is due to help you avoid costly repairs and potentially serious accidents.
Related articles: