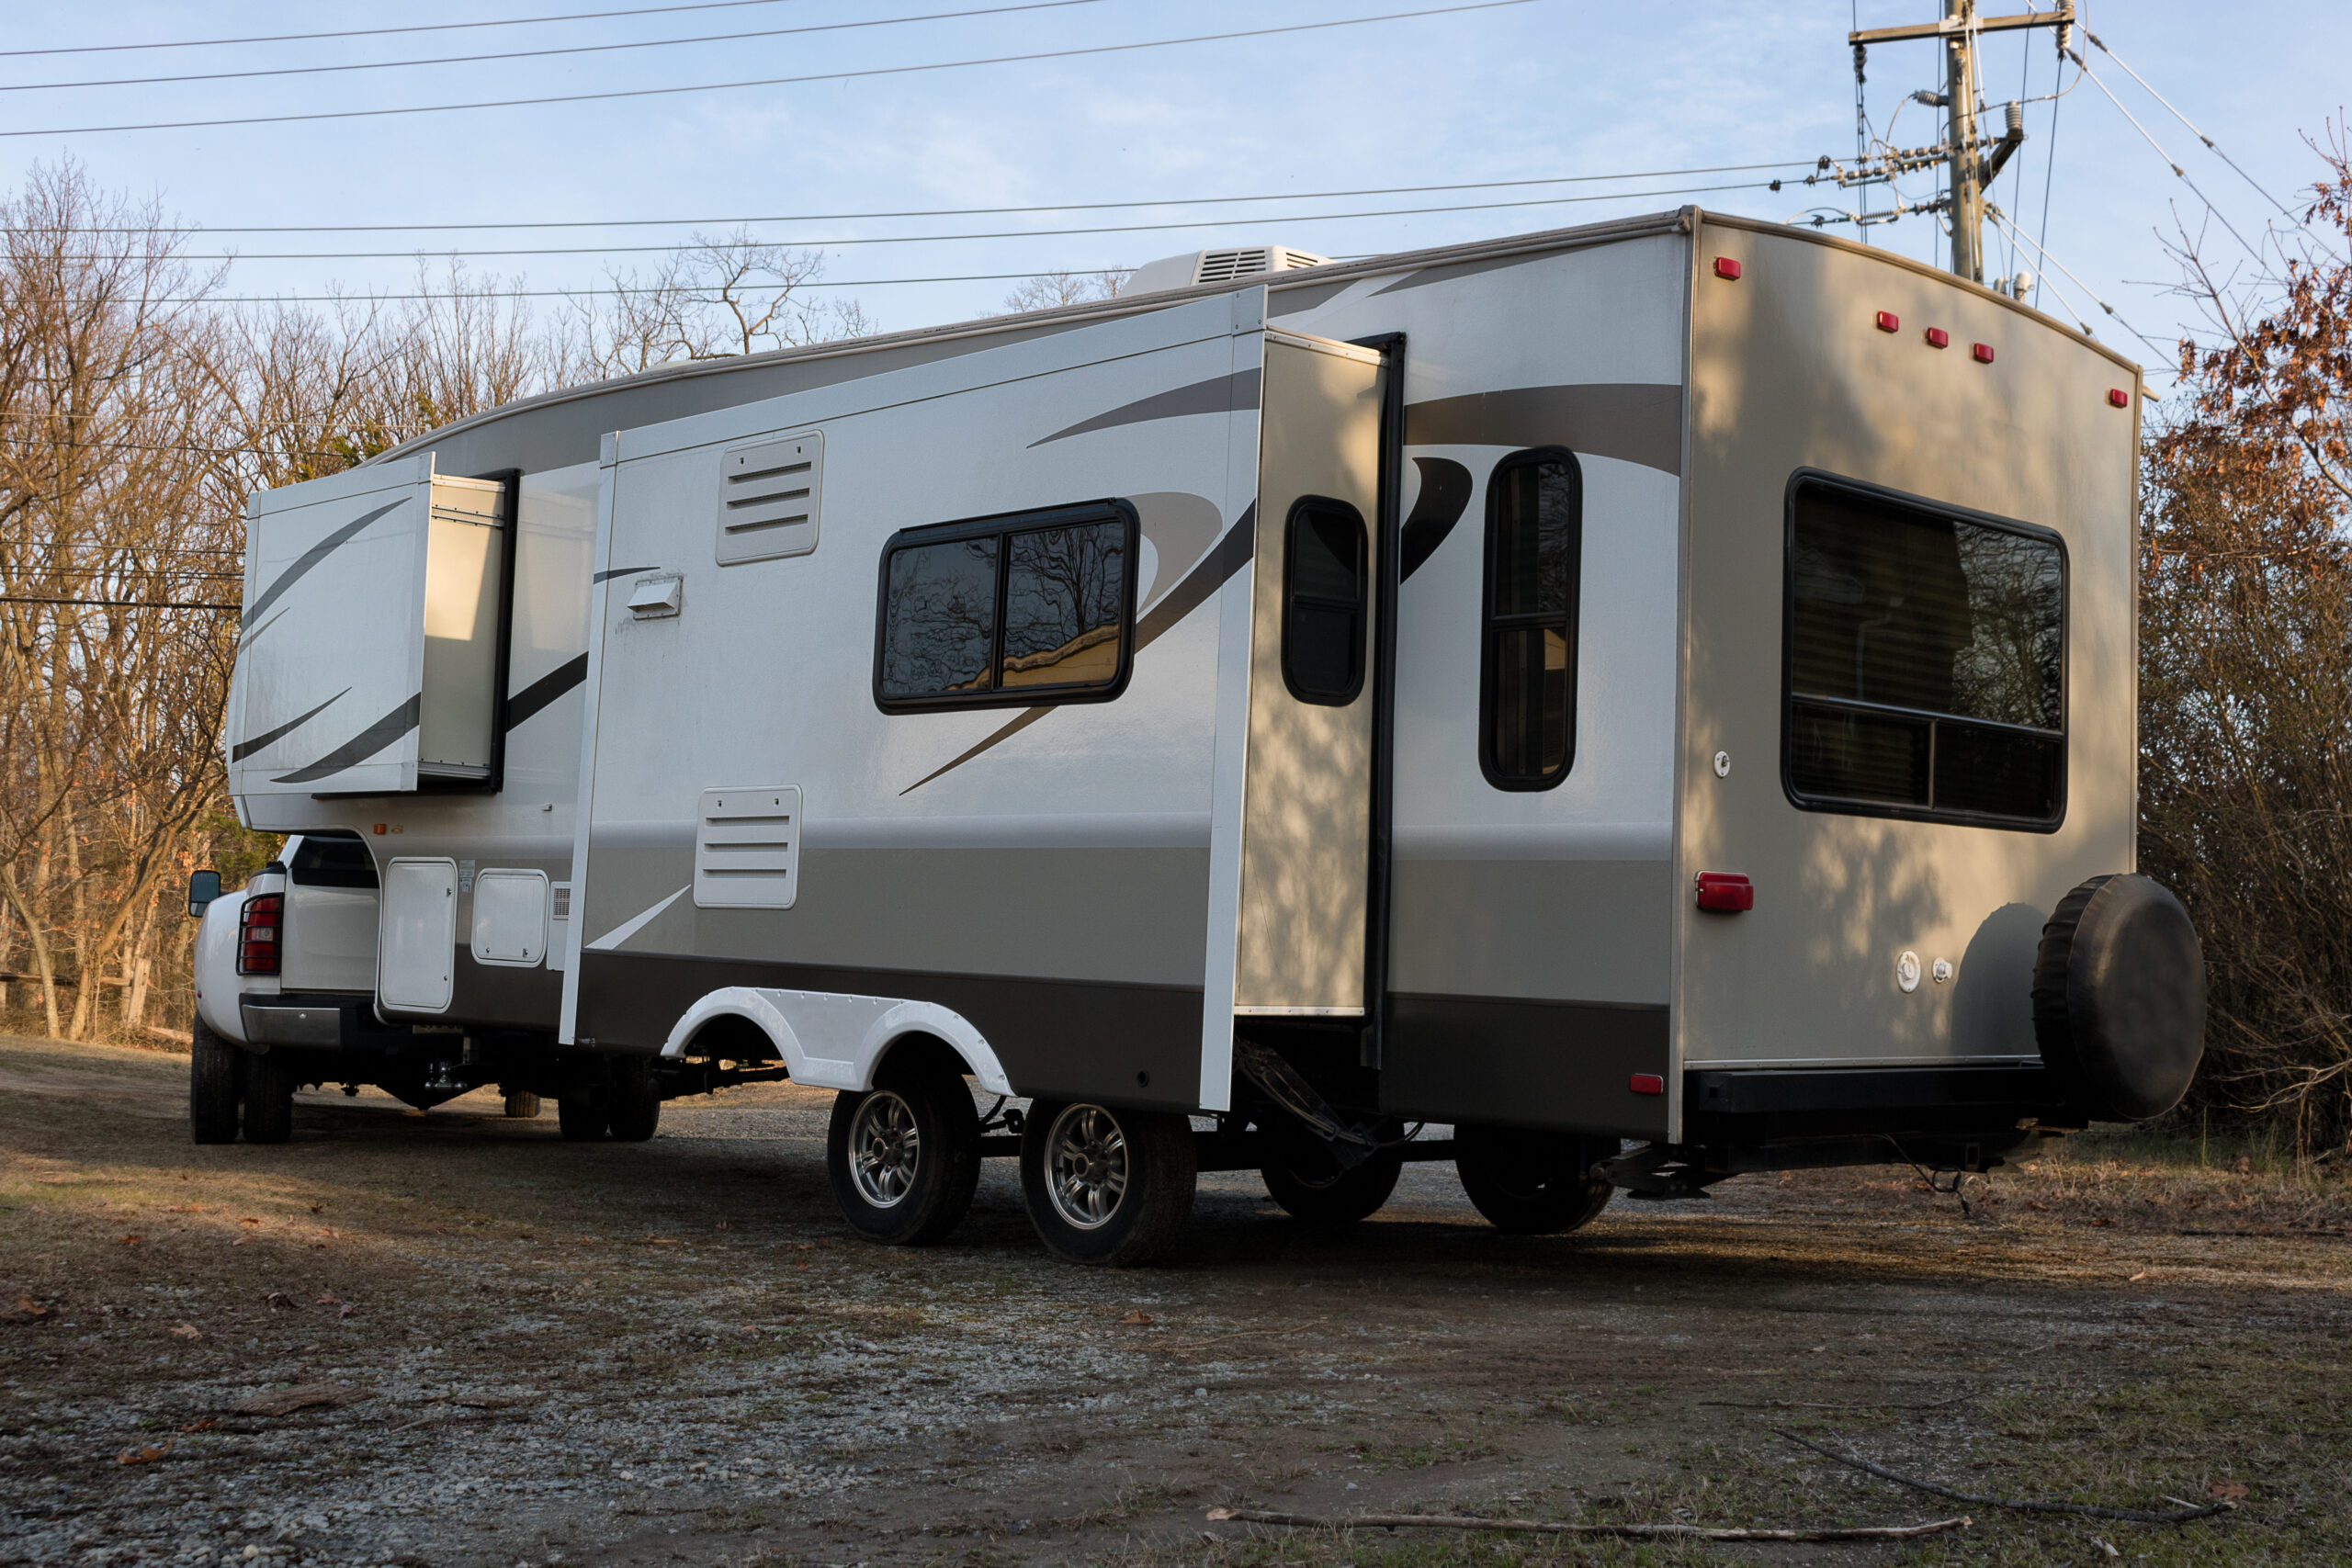
How To Replace The Carpet In RV Slide-Outs
Carpet can be a nice addition to parts of your RV. It creates a more cozy environment and feels warmer on a cold day. However, sometimes the carpeting may be old or outdated. Maybe the traffic of kids and pets has made it dirty and stained. There are many reasons to replace the carpet in RV slide-outs, and there’s a simple way to do it.
Even if your RV came with carpet pre-installed, that doesn’t mean it has to be a permanent fixture. Carpet is only a surface layer, so you can remove it pretty easily. Once the carpet is up, you can add new carpeting of your choice or opt for a new type of flooring.
Regardless of your choice, the first thing you need to do is remove the old carpet. Below we’ve provided a step-by-step process that will give you all the information you need to complete this job yourself. It’s easier than you might think, so don’t put up with gross or ugly carpeting any longer!
Step-by-step carpet replacement for RV slide-outs
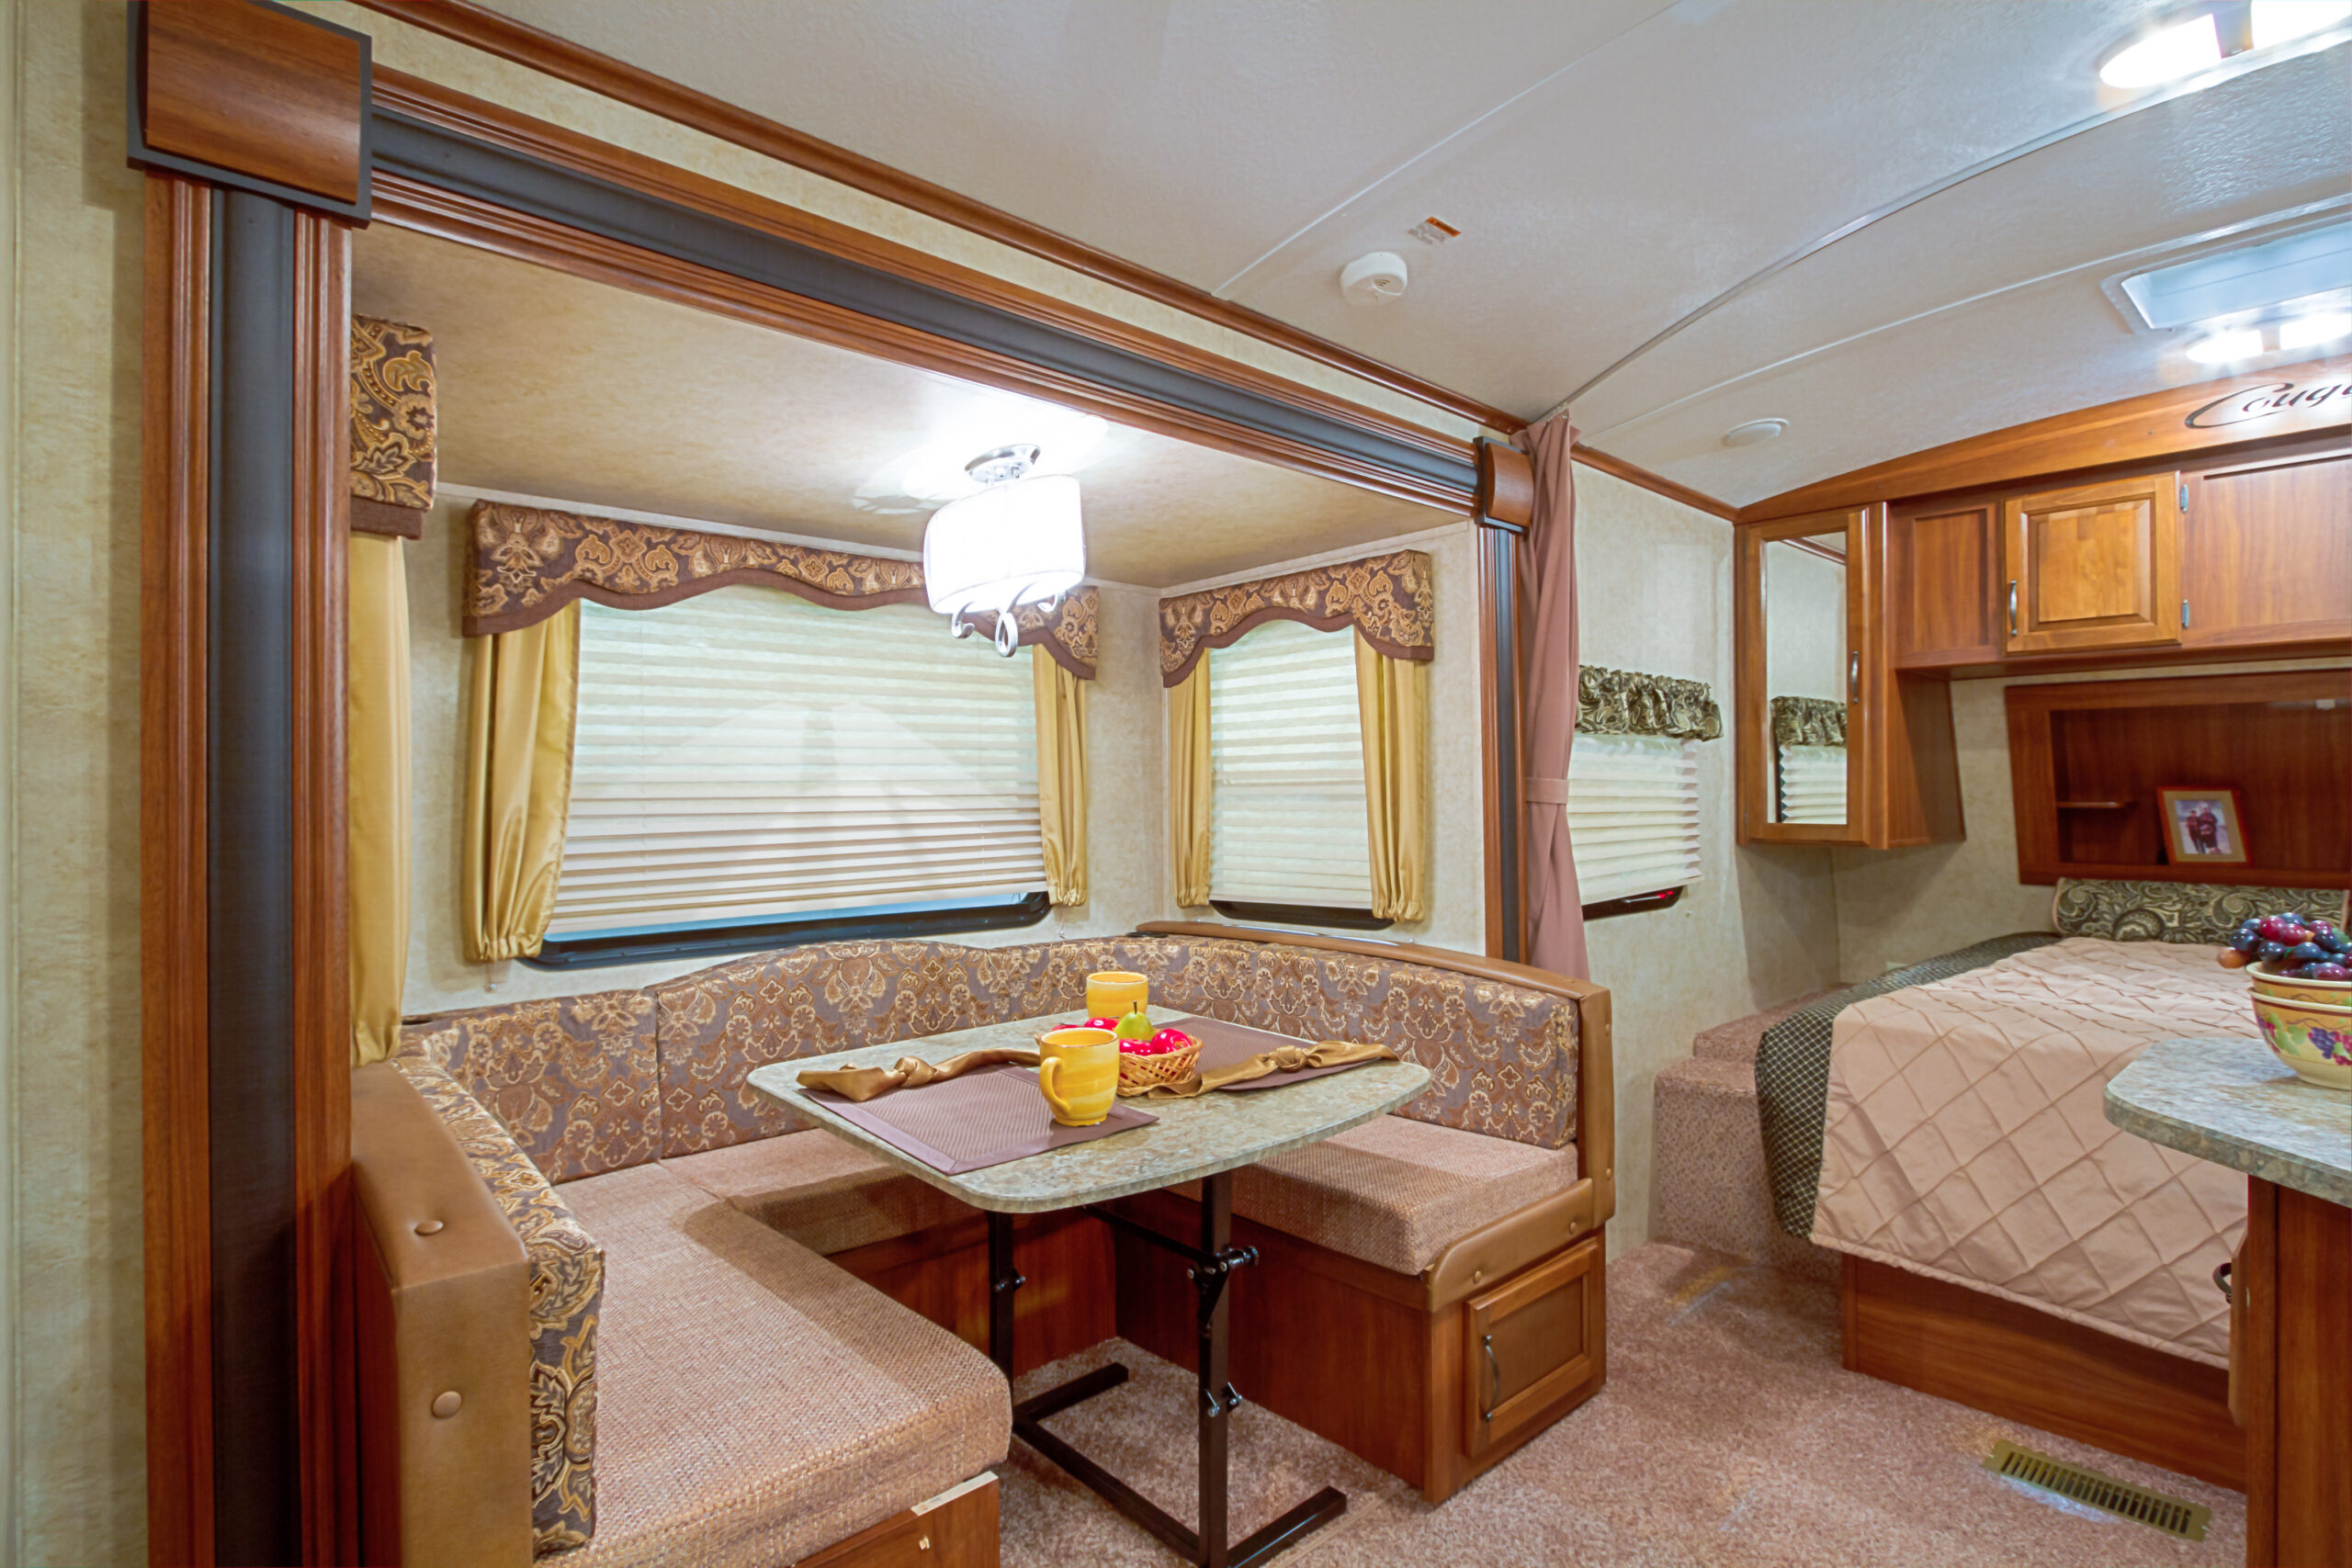
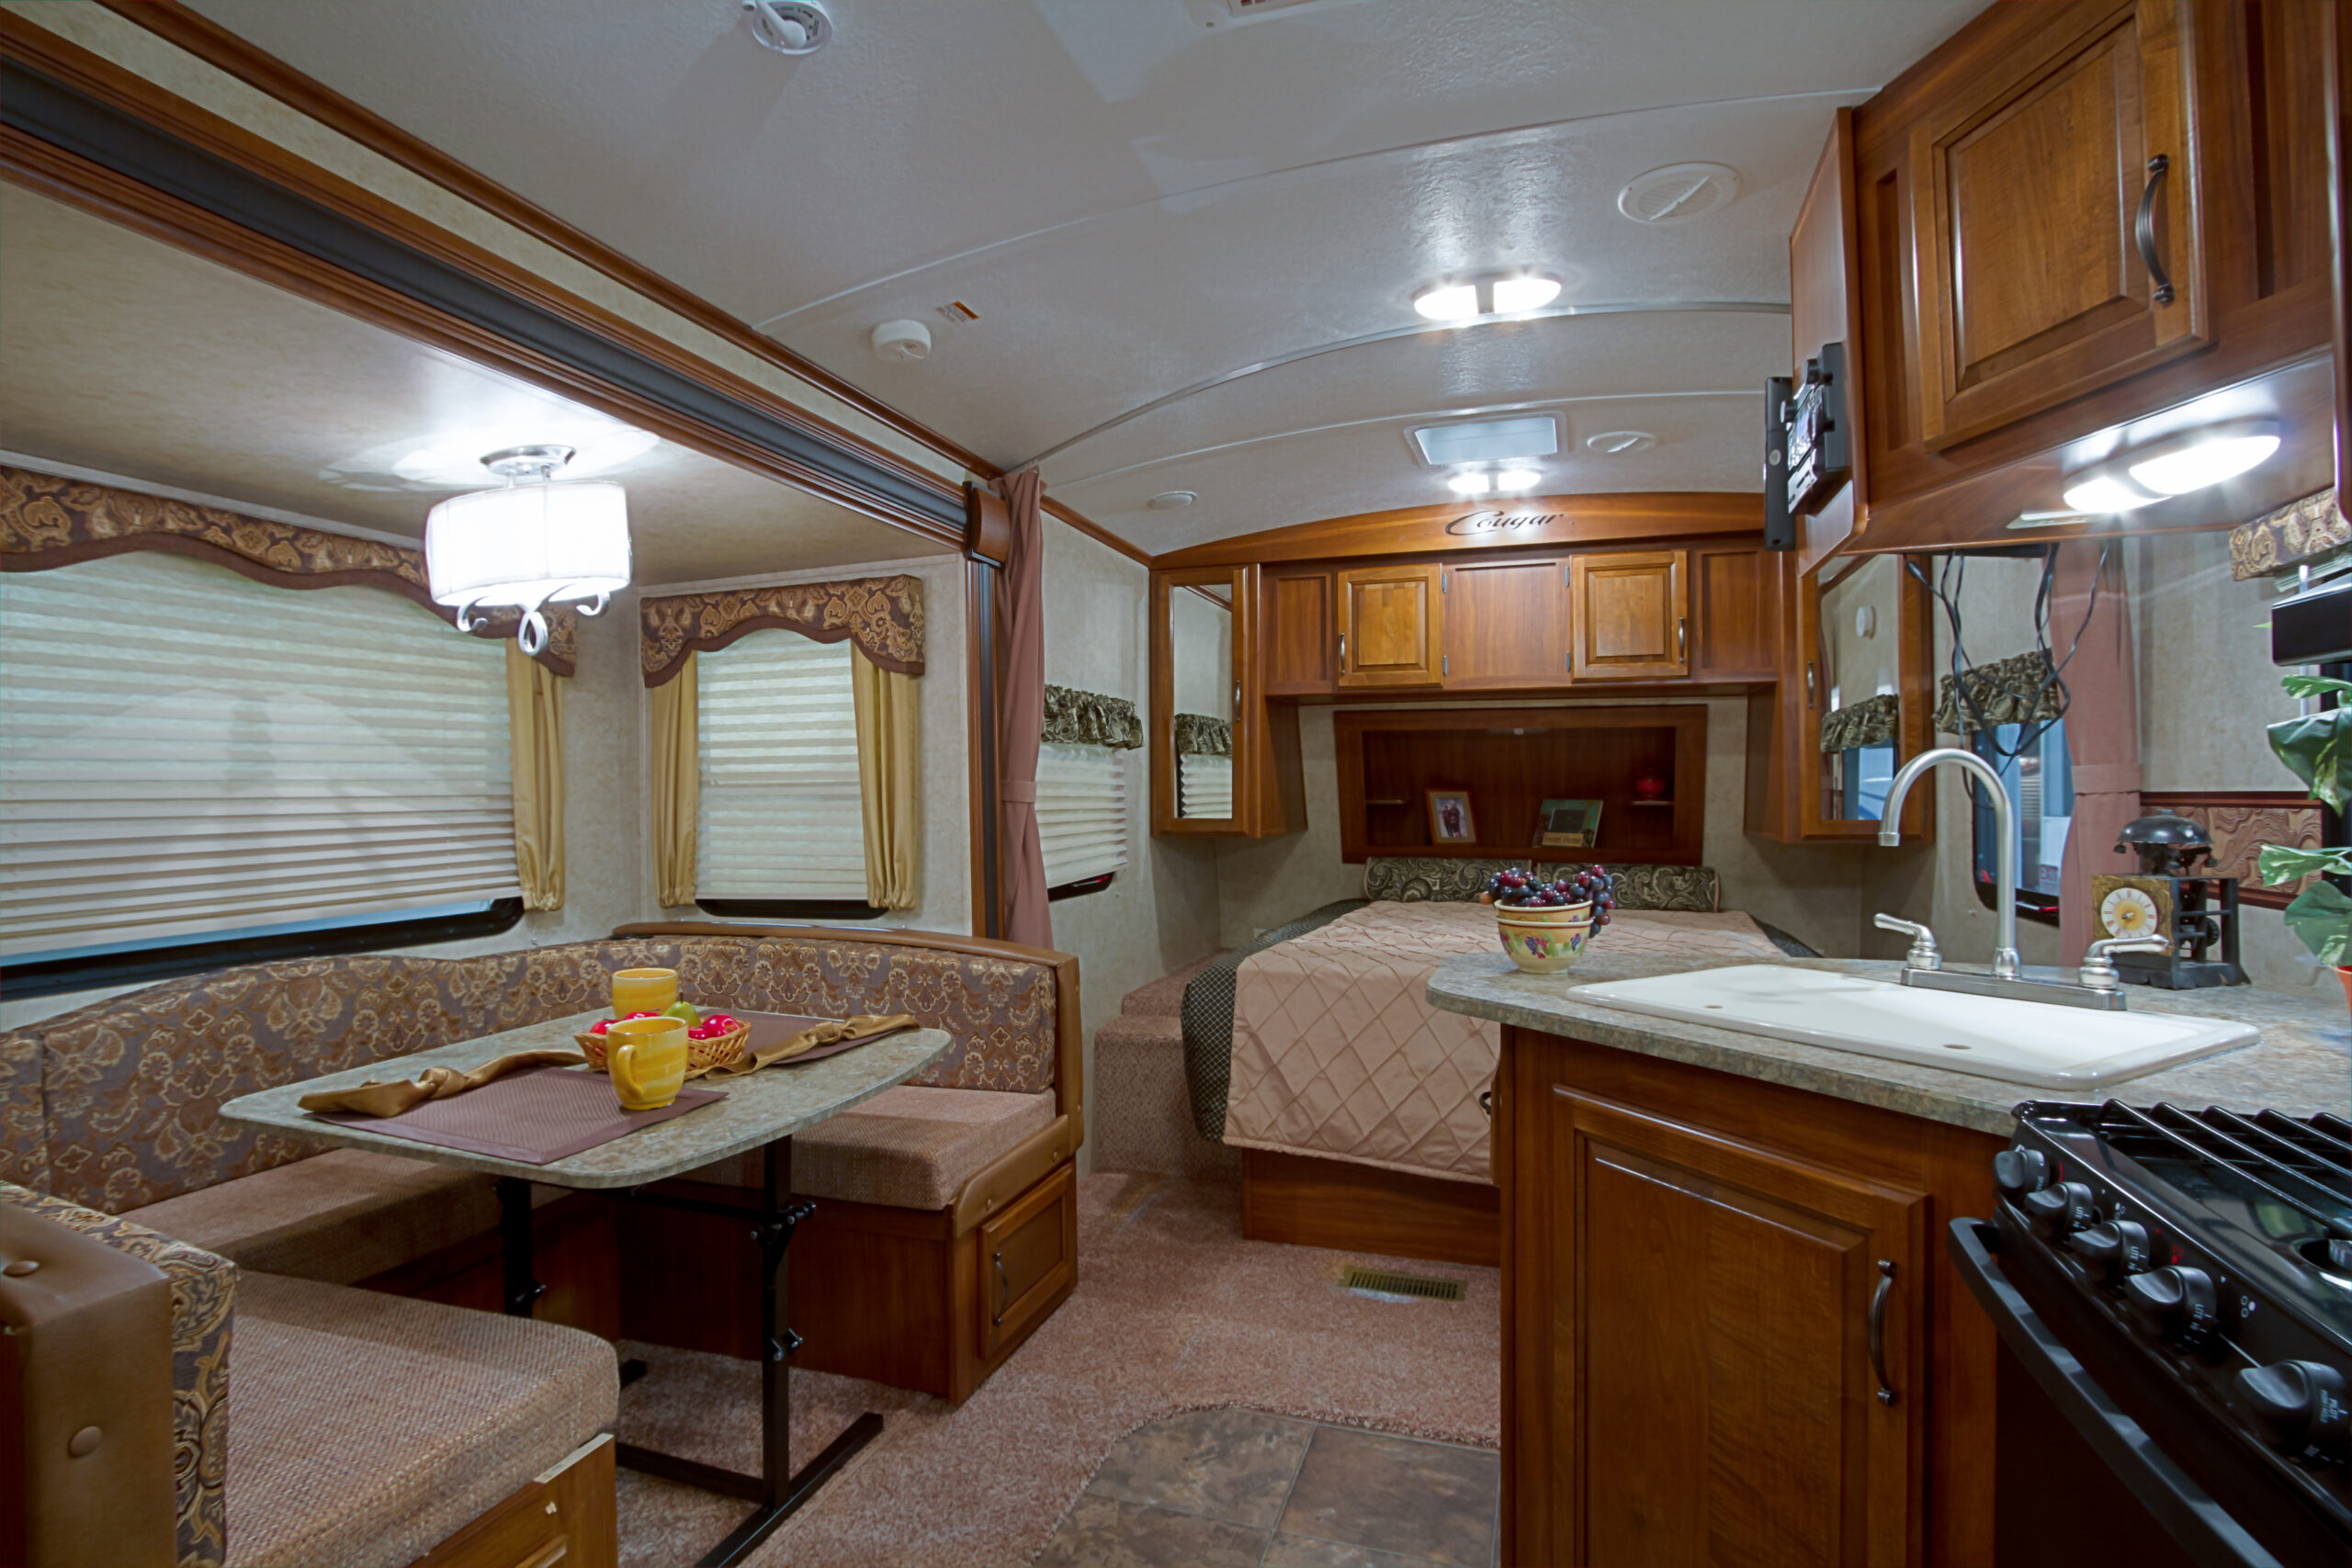
1. Extend slide-out and remove furniture
First things first, you need to prepare the area for the carpet replacement. The slide-outs don’t need to be extended during this entire process, but it’s a good idea to push them out when you need a lot of space to work with.
Some of the furniture in the slide-outs might be screwed or bolted down, so get ready for some heavy-duty removal. Take pictures and make notes of where everything was so you can put it back later. Most carpeted slide-outs only have tables, chairs, and couches, so you usually don’t need to worry about dealing with kitchen appliances here.
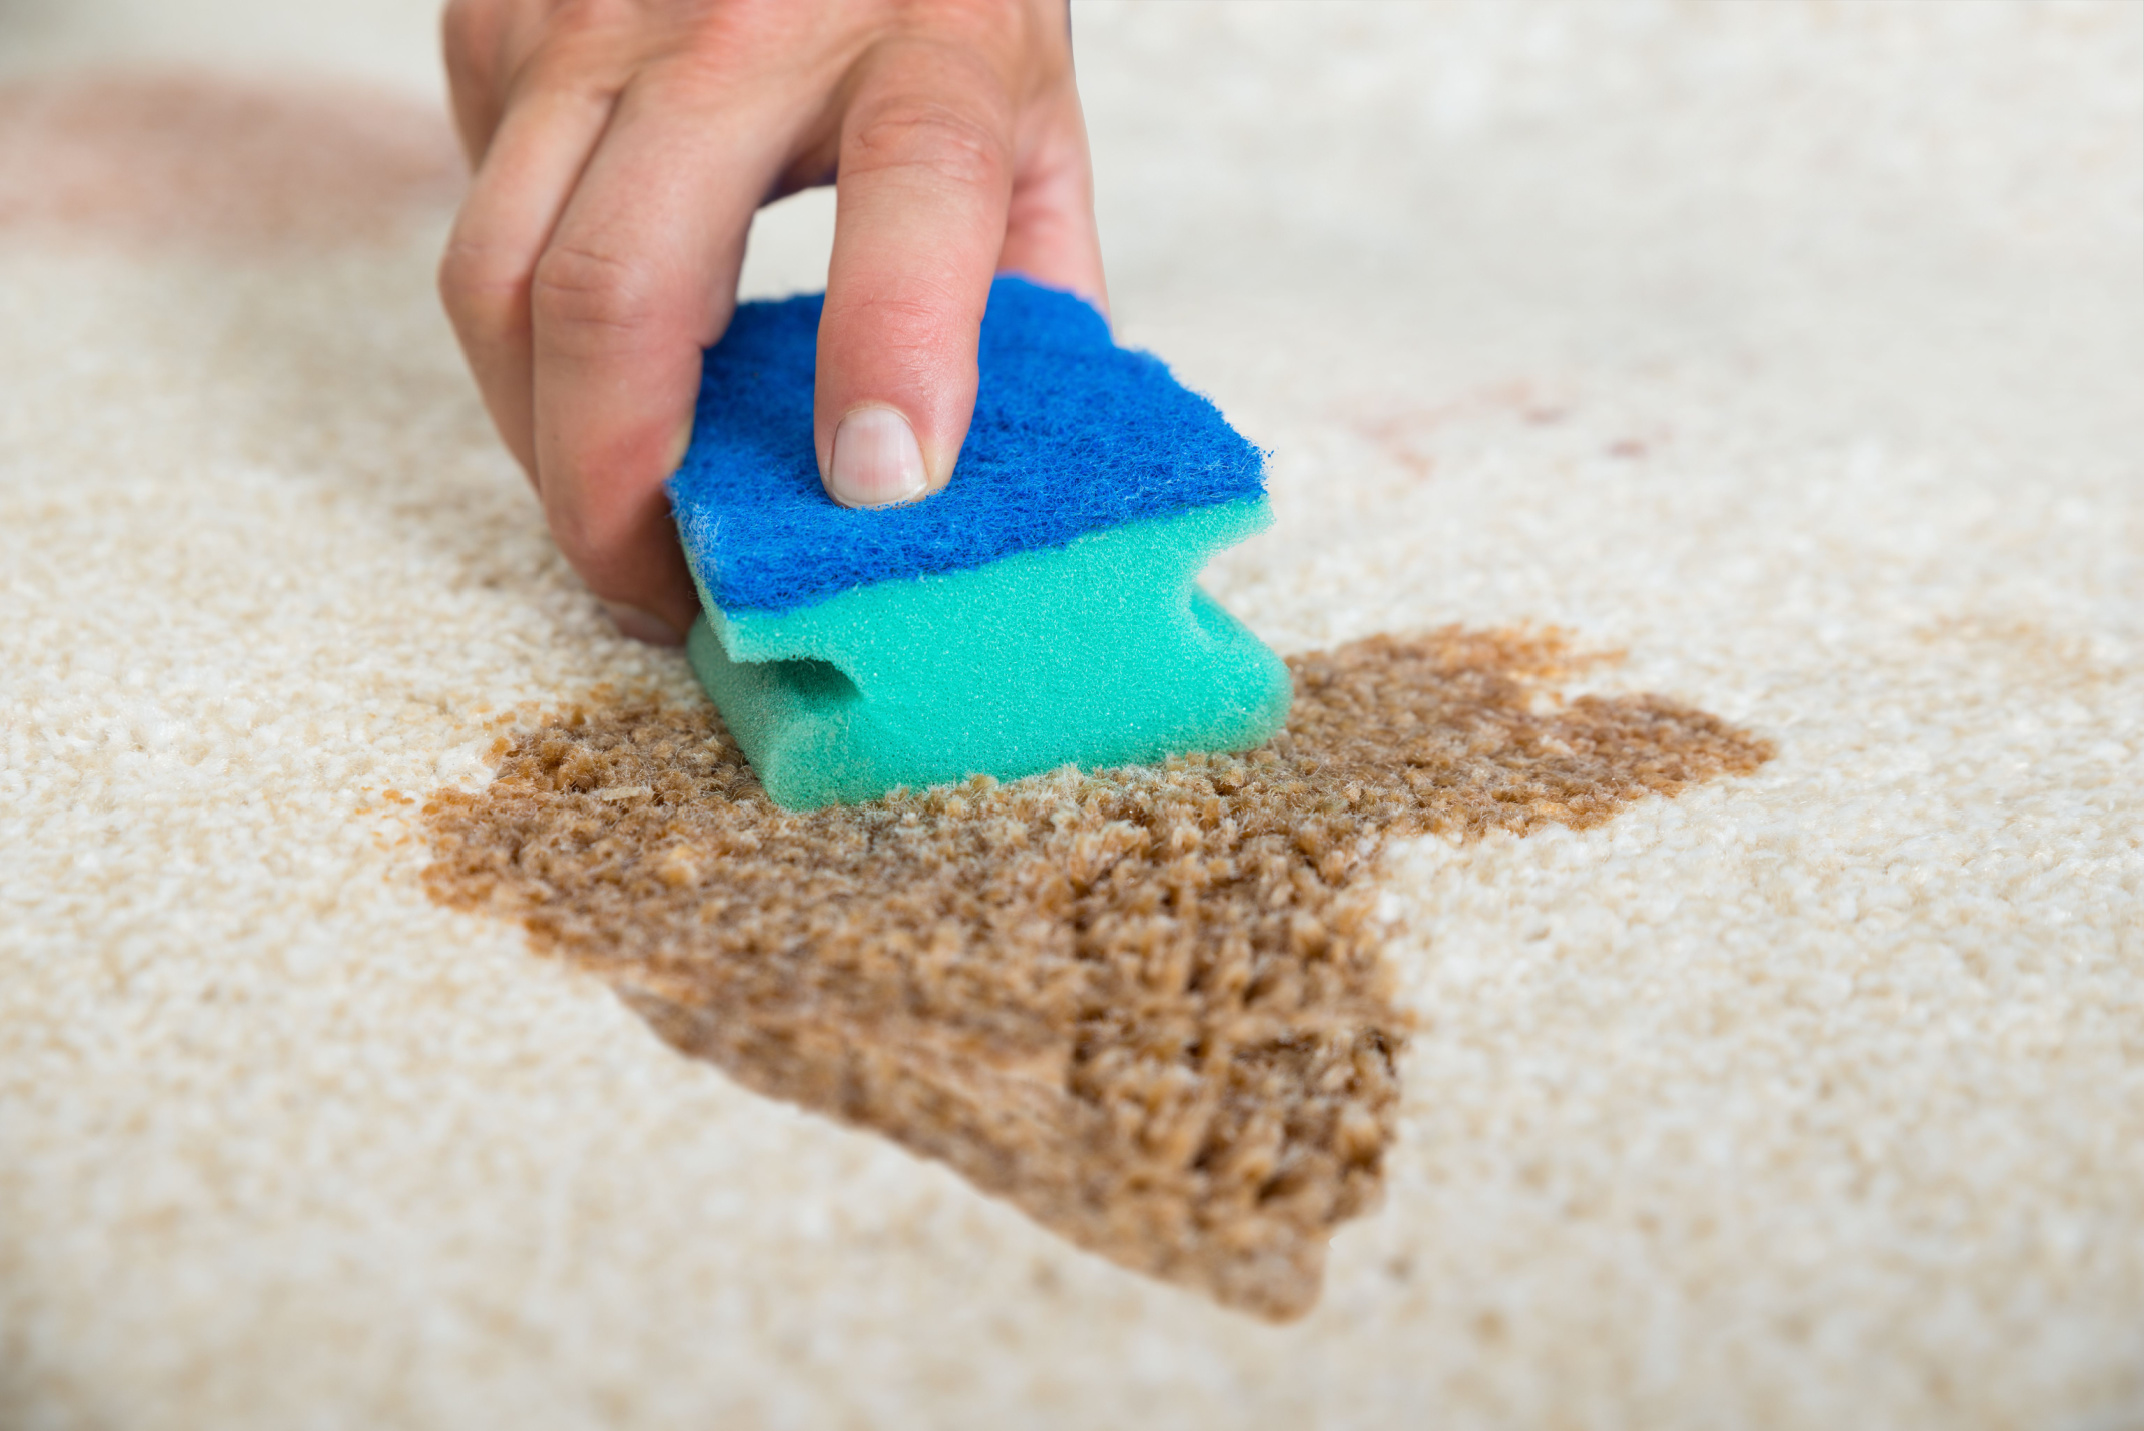
2. Clean the carpet
Next up, clean the carpet in your RV slide-outs. This might seem like a strange thing to do when you’re getting ready to remove it, but it’s a helpful part of the process. If the carpet is clean, you can avoid dirtying the rest of your RV when you remove it. You will also avoid getting debris in the hard-to-reach cracks.
In most cases, a thorough vacuuming will do the job just fine. Make sure you use hose attachments to clean the edges and corners of the carpet as well. You can treat stubborn stains if you want, but this isn’t necessary if you’re just going to tear it all out.
3. Wear protective gear
Now it’s time to get ready for the real deal. Removing carpeting can be dangerous, so make sure you protect yourself. You’ll need protective gear for your eyes, a respirator for your lungs, and sturdy work gloves for your hands. Wearing long sleeves and knee pads is also a good idea.
There’s going to be a lot of sharp objects on the ground and loose particulate in the air, so prepare yourself! Keep children and pets away from the RV slide-outs as you prepare to rip it up.
4. Cut the carpet and pull it up
At this point, we can start the actual carpet removal. Use a utility knife to cut around the edges of the carpet. It’s probably secured at multiple points with tack strips, so you can also cut long strips through the carpet. Use pliers or a straight-edged knife to pull the carpet up.
This isn’t always a part of RV slide-outs, but there may be a pad underneath the carpet. If so, follow the same tips above to cut and remove this part. Scrape the underlying surface with a putty knife to remove any large remnants that are stuck on.
5. Remove staples and nails from the floor
Carpets and pads are sometimes secured with staples and nails. If this is the case for your RV slide-outs, remove these metal bits with pliers and hammers. You don’t want any sharp bits in the way as you move forward.
6. Remove adhesive residue
Many RV carpets also have a layer of adhesive that keeps them flat and secured to the slide-out base. Scrape away as much as you can, then use an adhesive remover to dissolve any leftovers.
7. Replace plywood underlayer if necessary
A lot of RV carpets have a base layer that’s made of plywood. With all the rough and tumble of knives, scrapers, nails, staples, and adhesive remover, this layer can become damaged. If it has become cracked, split, or warped in any way, remove the plywood layer and replace it with a fresh one. But in most cases, you can move forward with the existing base.
8. Clean and dry the floor
At this point, you’ve successfully removed the carpeting from your RV slide-outs. Now it’s time to prep the floor for the arrival of new carpeting. Begin by cleaning the base layer with soap and water. Scrub the surface and pay special attention to any rough areas that may be roughed up from glue or nails. You can use a sander on these areas if they are getting in your way.
9. Measure the area and choose new carpeting
Now we get to the fun part: choosing new carpet! There’s a good chance that you already have a carpet in mind if you’ve gotten this far, but shop around and look at your options. Remember to choose one that fits your RV lifestyle. It should be stain-resistant, easy to clean, and fairly flat. Shag carpet probably isn’t the best fit for RV slide-outs because the loose edges could get snagged.
You can also explore alternative flooring options at this point. There are lots of options for carpet, but tile, vinyl laminate, and wood flooring are also on the table.
Measure the area you need to recarpet and find an appropriate replacement. Once you’ve got it, cut the carpet to the right size, but leave a bit of extra room on the edges just in case. You can always trim it down, but you can’t compensate for a piece that’s too small.
10. Apply tack strips to the floor and roll out the carpet
Tack strips will help secure your new carpet. Apply these to the edges of the RV slide-out and roll out the carpet over the top. You can also place some tack strips in the center or in parallel strips. This layout will help the carpet lay flat.
Gently tap the edges into place, but don’t apply too much pressure yet. You still need to stretch and secure the carpet, so you don’t want to lock anything down just yet.
11. Stretch carpet and tap into place
The corners of the carpet are the hardest parts to deal with. You need to stretch the carpet out to ensure there are no folds or bumps. Use an automated stretching machine or a knee kick to stretch the carpet. Once it’s in the right place, firmly tap it down.
12. Trim excess and glue down edges
You’re almost done! Now you just need to go along the edges of the carpet and slice off the excess portion. RV slide-outs will frequently move, and loose carpet can get caught in the edges. This could create serious problems, so make sure your edges are neat and clean.
If you have loose carpet along the edges, apply glue to these areas. This will ensure there are no overhangs or loose threads.
13. Replace furniture
You’ve successfully replaced the carpet in your RV slide-outs. Now all you need to do is return the furniture to its rightful place!
Make sure you keep track of all your RV maintenance and repairs with an online tool such as RV LIFE Maintenance. Not only can you keep all of your documents in one place, but you’ll also receive timely reminders when maintenance is due to help you avoid costly repairs and potentially serious accidents.
Related articles: