Traveling with a travel trailer or a fifth wheel can be a rewarding experience, allowing you to explore the open road with all the comforts of home in tow. However, the quality of your journey heavily depends on the RV suspension system of your unit.
Standard RV suspension in most travel trailers consists of just leaf springs with no dampening system like shock absorbers. The few trailers that do come equipped with shocks are typically of low quality. However, shocks can enhance your trailer’s suspension performance to new heights. In this tutorial, we’ll delve into the benefits of adding shocks or upgrading the shocks you already have, the selection process, and step-by-step instructions for installing them.
The Importance of Shocks on Your RV Suspension System
Shocks are critical components of a trailer’s suspension system. Their primary function is to absorb and dissipate the energy generated from road imperfections, ensuring a smoother and more controlled ride.
Adding or upgrading shocks can offer several advantages over stock or worn-out units:
- Enhanced Ride Quality: Shocks provide better damping characteristics, reducing jolts and vibrations transmitted from the road to the trailer. This results in a more comfortable and enjoyable towing experience for you and your passengers. It also helps preserve your trailer and fragile contents from the damaging effects of sudden jolts encountered on rough roads.
- Improved Stability: Shocks help stabilize the trailer by minimizing body roll and sway, especially when navigating corners or encountering crosswinds. This contributes to safer handling and greater confidence behind the wheel.
- Increased Durability: Premium shocks are built to withstand the rigors of towing, featuring robust construction and advanced damping technology. They are less prone to premature wear and performance degradation, ensuring long-lasting reliability.
Choosing the Right Shocks for Your RV Suspension System
Before selecting shocks for your trailer, consider the following factors to ensure compatibility and optimal performance:
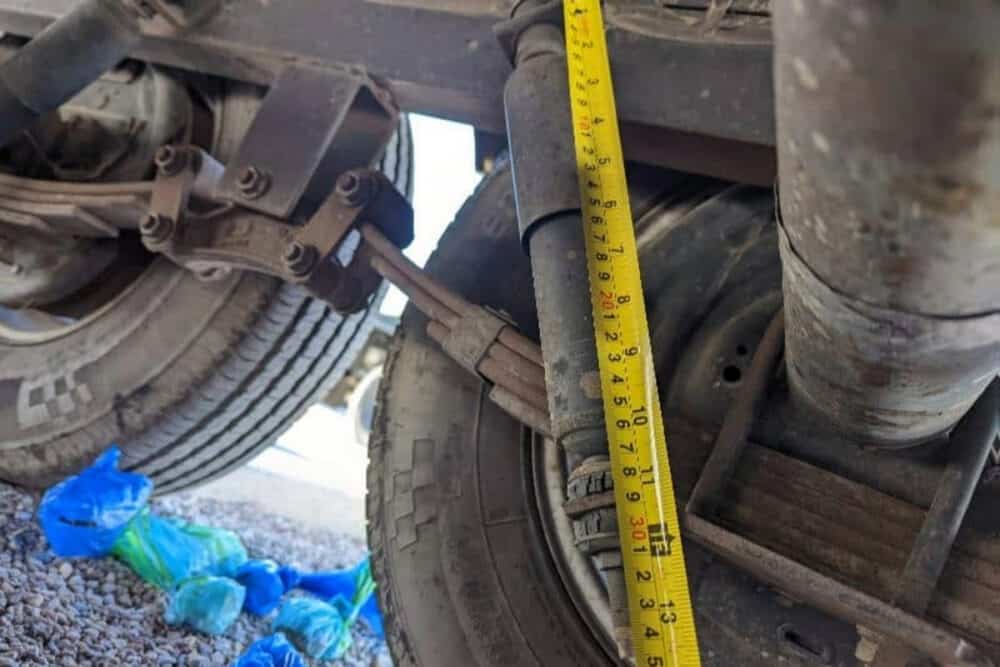
- Measurement: If you are looking to upgrade your existing shocks, measure the shock to determine the right size.
- Load Capacity: Determine the weight rating and payload capacity of your trailer to select shocks capable of handling the intended load. Overloading shocks can lead to reduced effectiveness and premature failure.
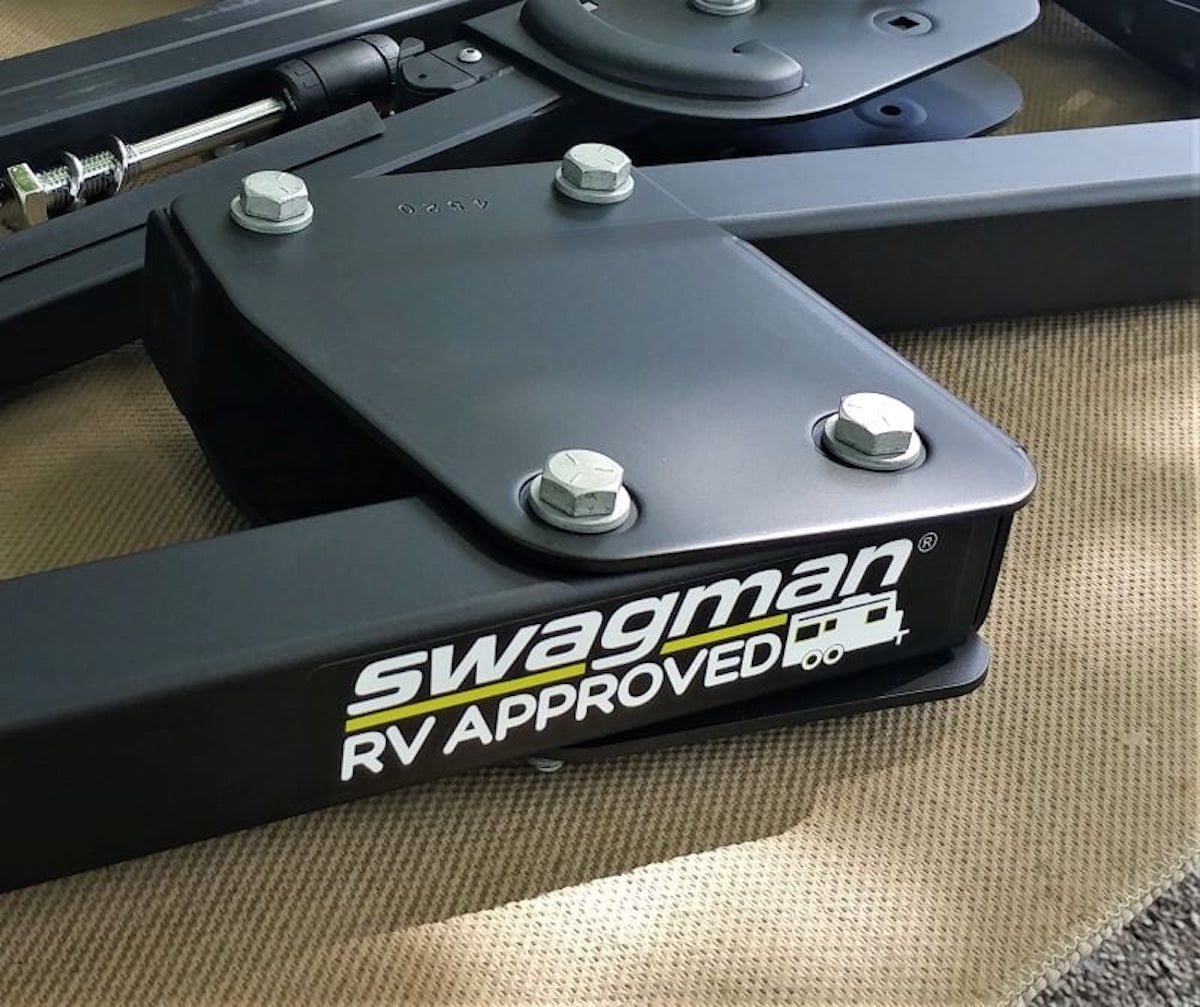
- RVSuspension Type: Identify a shock kit that will work with the leaf springs for your type of trailer. Ensure that the shocks you choose are designed to work with your specific suspension setup. Note: Most newer travel trailers are equipped with Lippert axles and leaf springs. This is a shock mount kit by Lippert.
- Shock Design: Gas shocks, also known as gas-charged shocks, are preferred for their superior damping performance and resistance to shock fade. Consider installing or upgrading gas shocks for improved ride quality and durability.
- Adjustability: Some shocks offer adjustable features, allowing you to fine-tune damping settings to suit your towing preferences and road conditions. Adjustable shocks provide greater versatility and customization options.
- Brand Reputation: Choose shock absorbers from reputable manufacturers known for their quality, reliability, and customer support. Reading reviews and seeking recommendations from fellow trailer owners can help narrow down your options.
Installing or Upgrading Shocks on Your Leaf Spring Suspension
While installing shocks or upgrading shocks on a travel trailer requires basic mechanical skills and tools, it’s essential to follow the manufacturer’s instructions carefully to ensure proper installation and alignment. Here’s a step-by-step guide to installing or upgrading shocks on your travel trailer:
1. Gather Tools and Materials
- Jack and jack stands (Jack stands are essential if you will be removing the tire and wheels from the trailer.)
- Lug wrench
- Socket set / box wrench set
- Tape measure
- Torque wrench
- Penetrating lubricant
- Premium shocks if upgrading from existing shocks or a shock kit if installing shocks for the first time.
- Drill motor and appropriate drill bits, as most shock kits require holes to be drilled.
2. Prepare the Trailer
Park the trailer on a level firm surface. Use a jack rated for the weight of your trailer to raise the trailer’s frame, supporting it securely with jack stands. Click here if you are uncertain how to safely jack up a trailer.
Pro Tip: For added stability, leave the trailer connected to your tow vehicle with the tongue/leveling jacks down. This will act as a parking brake, preventing it from possibly moving forward or backward while it is jacked up.
For added accessibility and convenience, you may want to remove the trailer’s tires using the lug wrench.
3. Remove the Old Shocks (If Upgrading Existing Shocks)
- Locate the shocks currently attached to your trailer’s suspension mounting brackets. You will find the shock’s bottom connected to the axle’s U-bolt plate (also known as the tie plate). The shock’s top connects to a bracket that is most likely welded to the trailer frame.
- Use a socket or box wrench to loosen and remove the bolts/nuts, securing the shocks in place. Note: Trailer shocks will typically have either “eyes” or “studs” on the end for fastening. Bolts pass through the eye and are bolted to the mounting surface secured by a nut. Studs are passed through the mounting surface and secured with a nut.
- If needed, apply penetrating lubricant to stubborn bolts/nuts and rusted components to ease removal.
- Once the bolts/nuts are removed, remove the shocks from the mounting brackets.
- Skip ahead to step 5.
4. If You Are Installing a Shock Kit on a Trailer that Has Leaf Springs Only:
- Attach the lower mounting bracket. Note: With some kits, the lower mounting bracket will attach to the existing U-bolt plate (aka tie plate), while other kits, like Lippert, will require changing out to the U-bolt plate.
- Using the hardware provided, secure the upper mounting bracket. This may require drilling holes for the mounting bolts. Closely follow the manufacturers’ instructions for measuring the correct location for the holes before drilling.
- Once you have installed the lower and upper mounts, proceed to step 5.
5. Install the New Shocks
- Position the new shocks in place by aligning the studs of the shocks through the holes in the mounting brackets. Correctly place any washers or grommets before inserting the shock stud into the corresponding holes. If the shocks have eyes on the ends, align the eyes with the corresponding holes, then bolt them in place.
- Tighten the bolts /nuts securely to the manufacturer’s specification using a socket set/box wrench followed by a torque wrench while ensuring proper alignment.
6. Reinstall the Tires/Wheels if You Removed Them To Install the Shocks.
Torque lugs to specifications.
7. Double-Check Installation
- Are the shocks securely mounted? Check that all nuts and bolts are in place and aligned with the suspension components.
- Torque all nuts and bolts to the manufacturer’s specifications.
- Perform a visual inspection to double-check that there are no loose or missing components.
8. Lower the Trailer
- Using a jack, carefully lift the weight of the trailer off the jack stands.
- Remove the jack stands from under the trailer. Caution: Never crawl under a trailer without the proper supports. Do not depend on a jack as the sole support.
- Slowly lower the trailer completely to the ground allowing it to rest on its suspension.
- Remove the jack.
9. Test Drive and Adjustment Your Upgraded RV Suspension
- Take the trailer for a test drive to evaluate the performance of the new shocks.
- Pay attention to ride quality, stability, and handling characteristics.
- If necessary, adjust the damping settings on adjustable shocks to achieve the desired ride comfort and stability.
Wrapping Up RV Suspension Upgrades
Upgrading or adding shocks to your trailer’s leaf spring suspension system can significantly enhance its ride quality, stability, and durability. By choosing the right shocks and following proper installation procedures, you can enjoy a smoother and safer towing experience on your next adventure.
Whether you’re navigating winding roads or traversing rough terrain, upgraded shocks will provide the comfort and confidence you need to make the most of your travels.