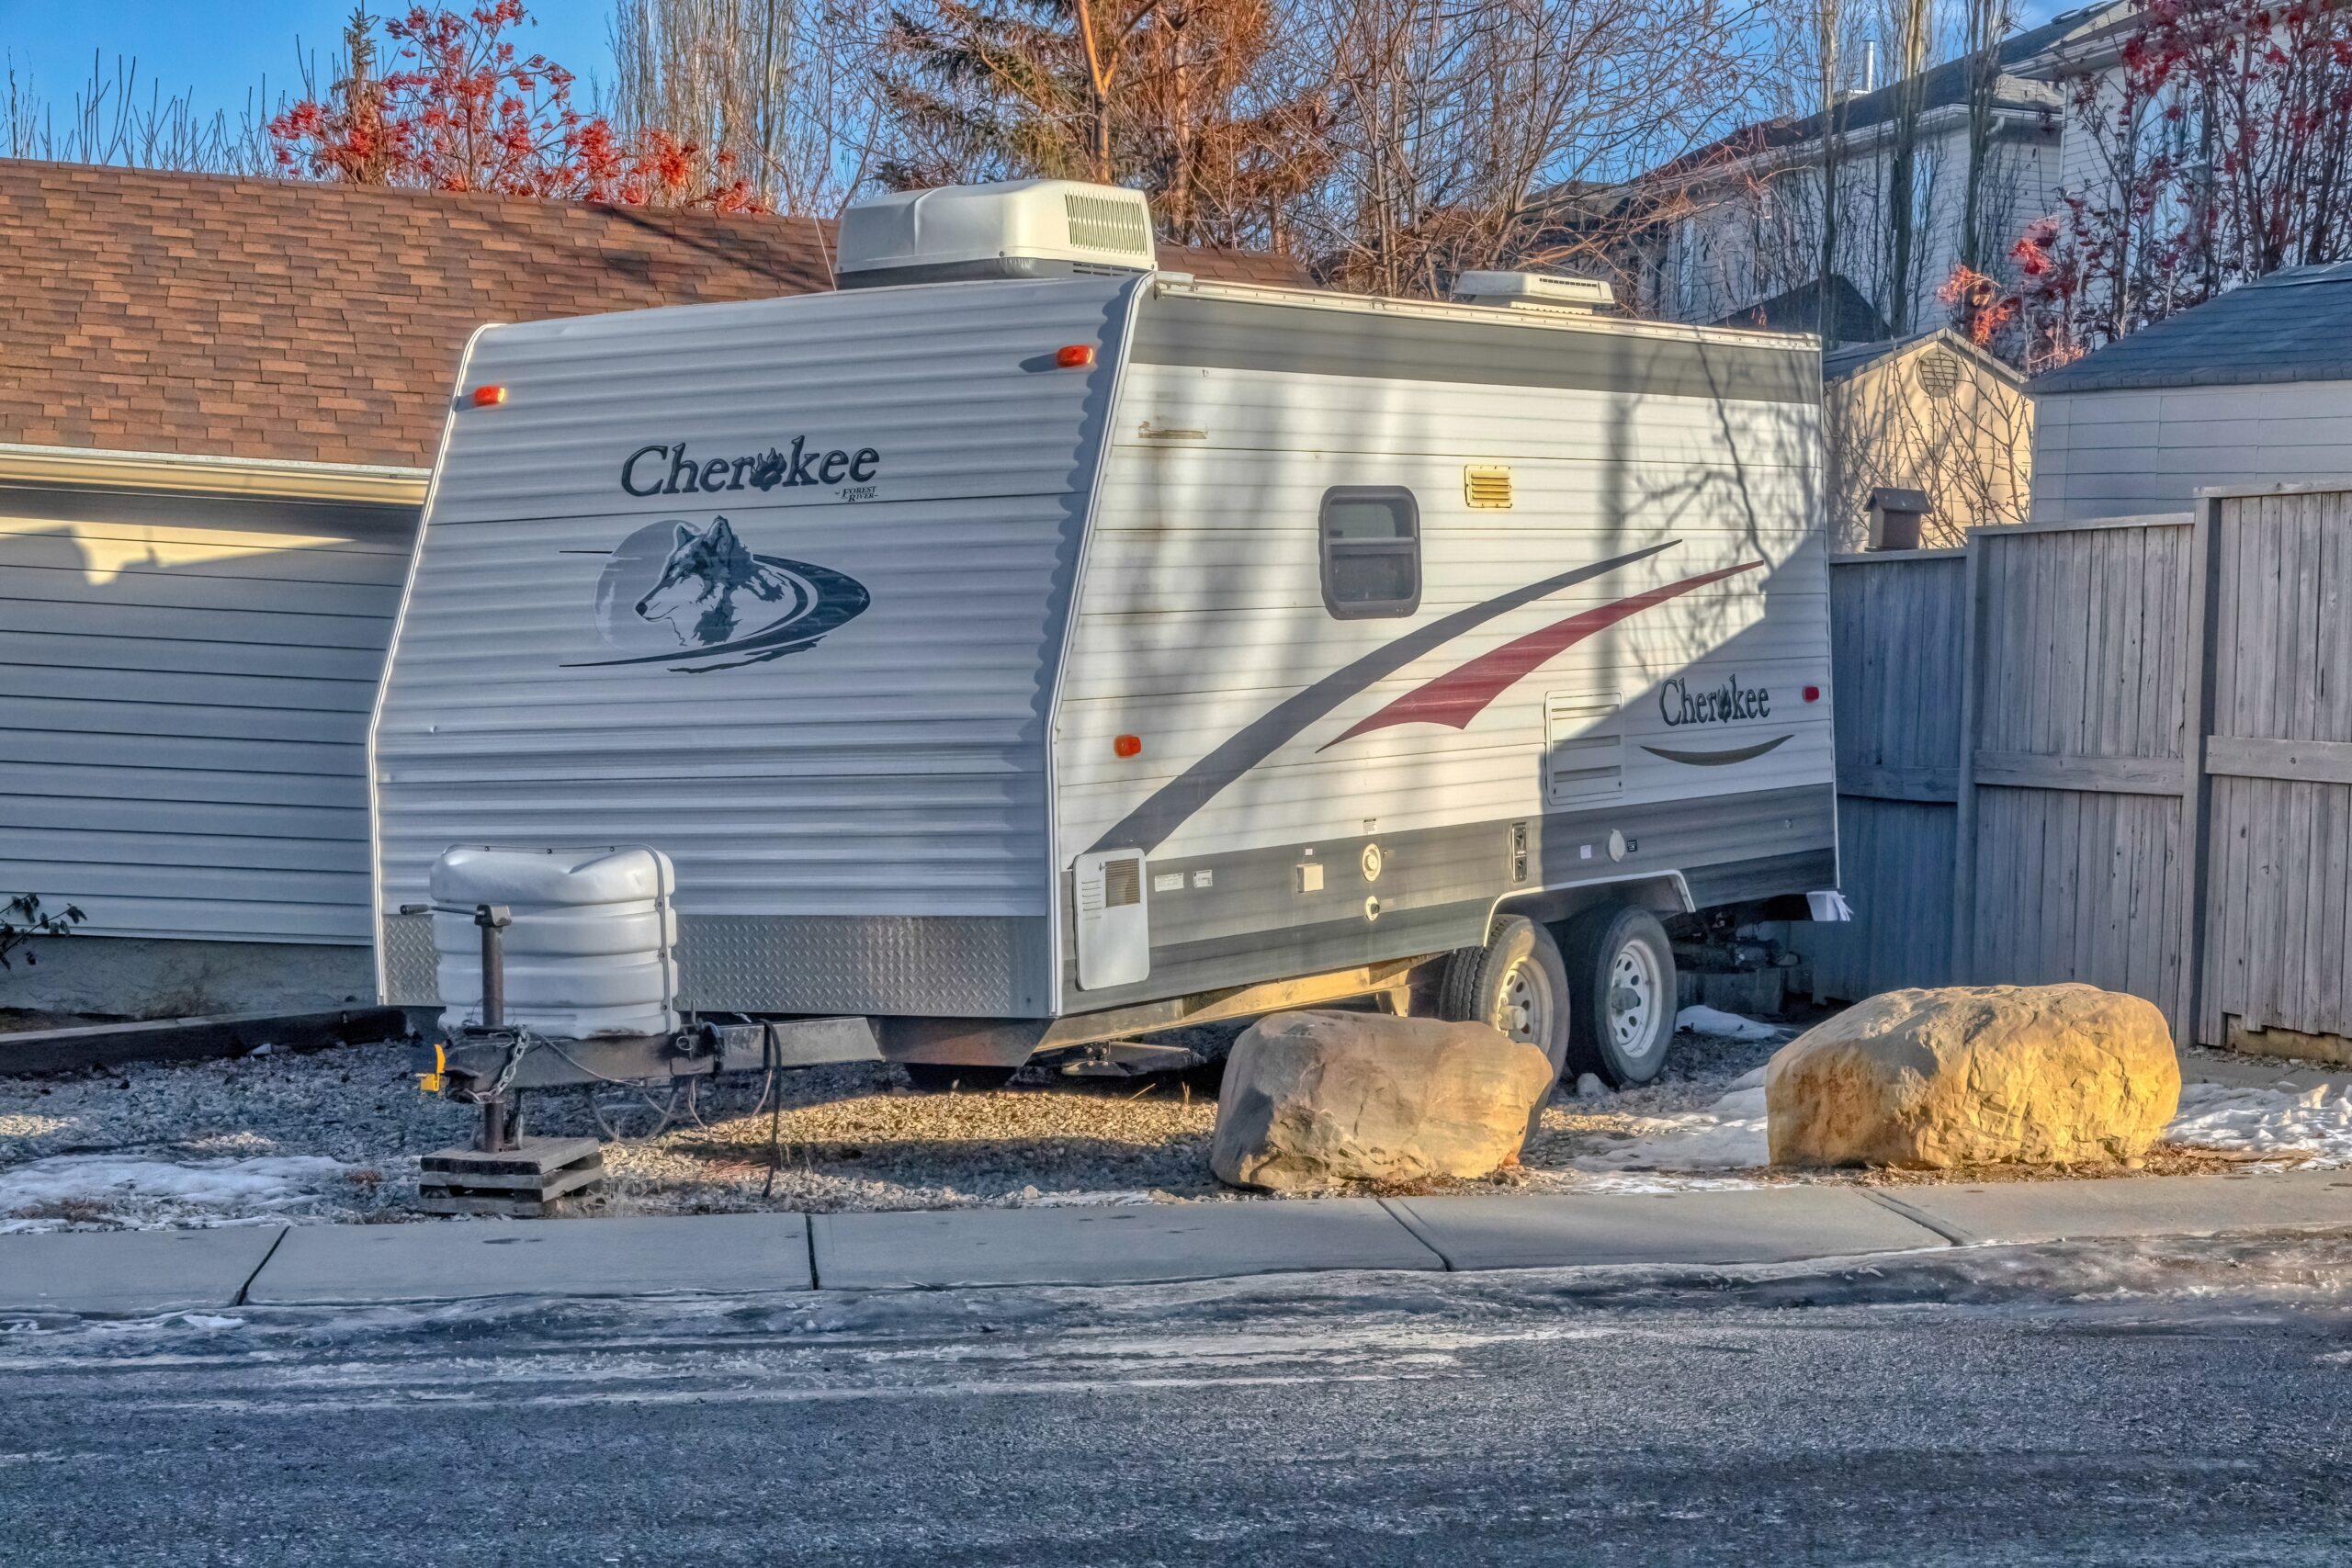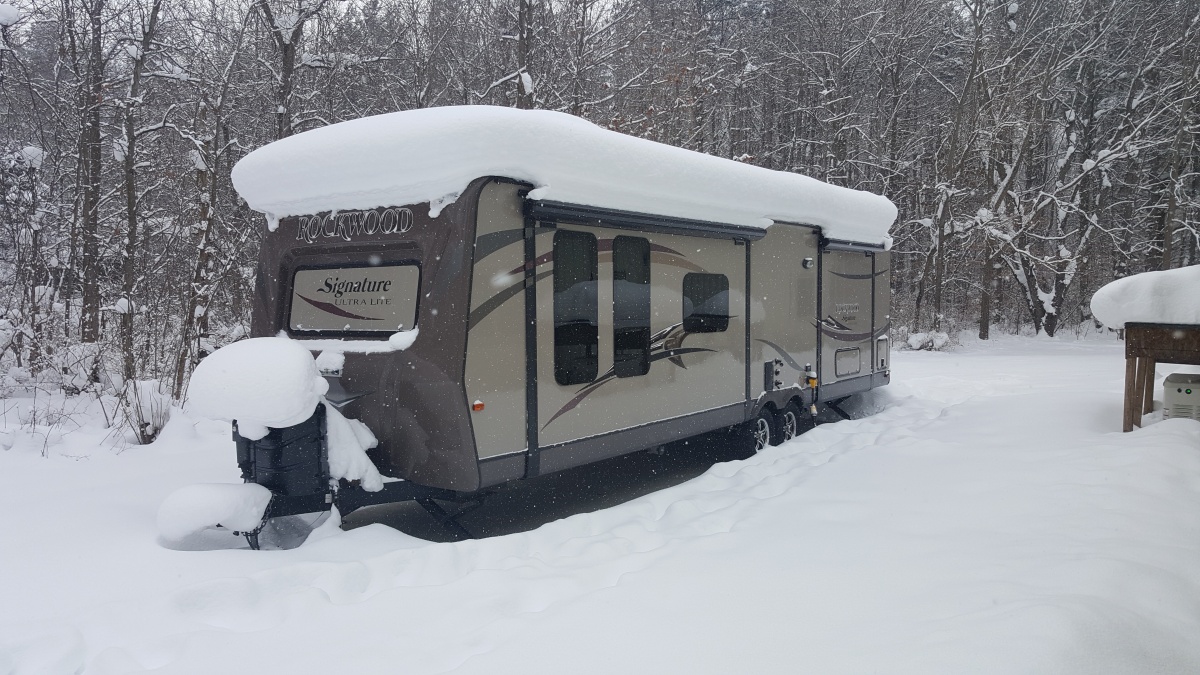
Don’t Forget This Important Step When You Winterize Your RV
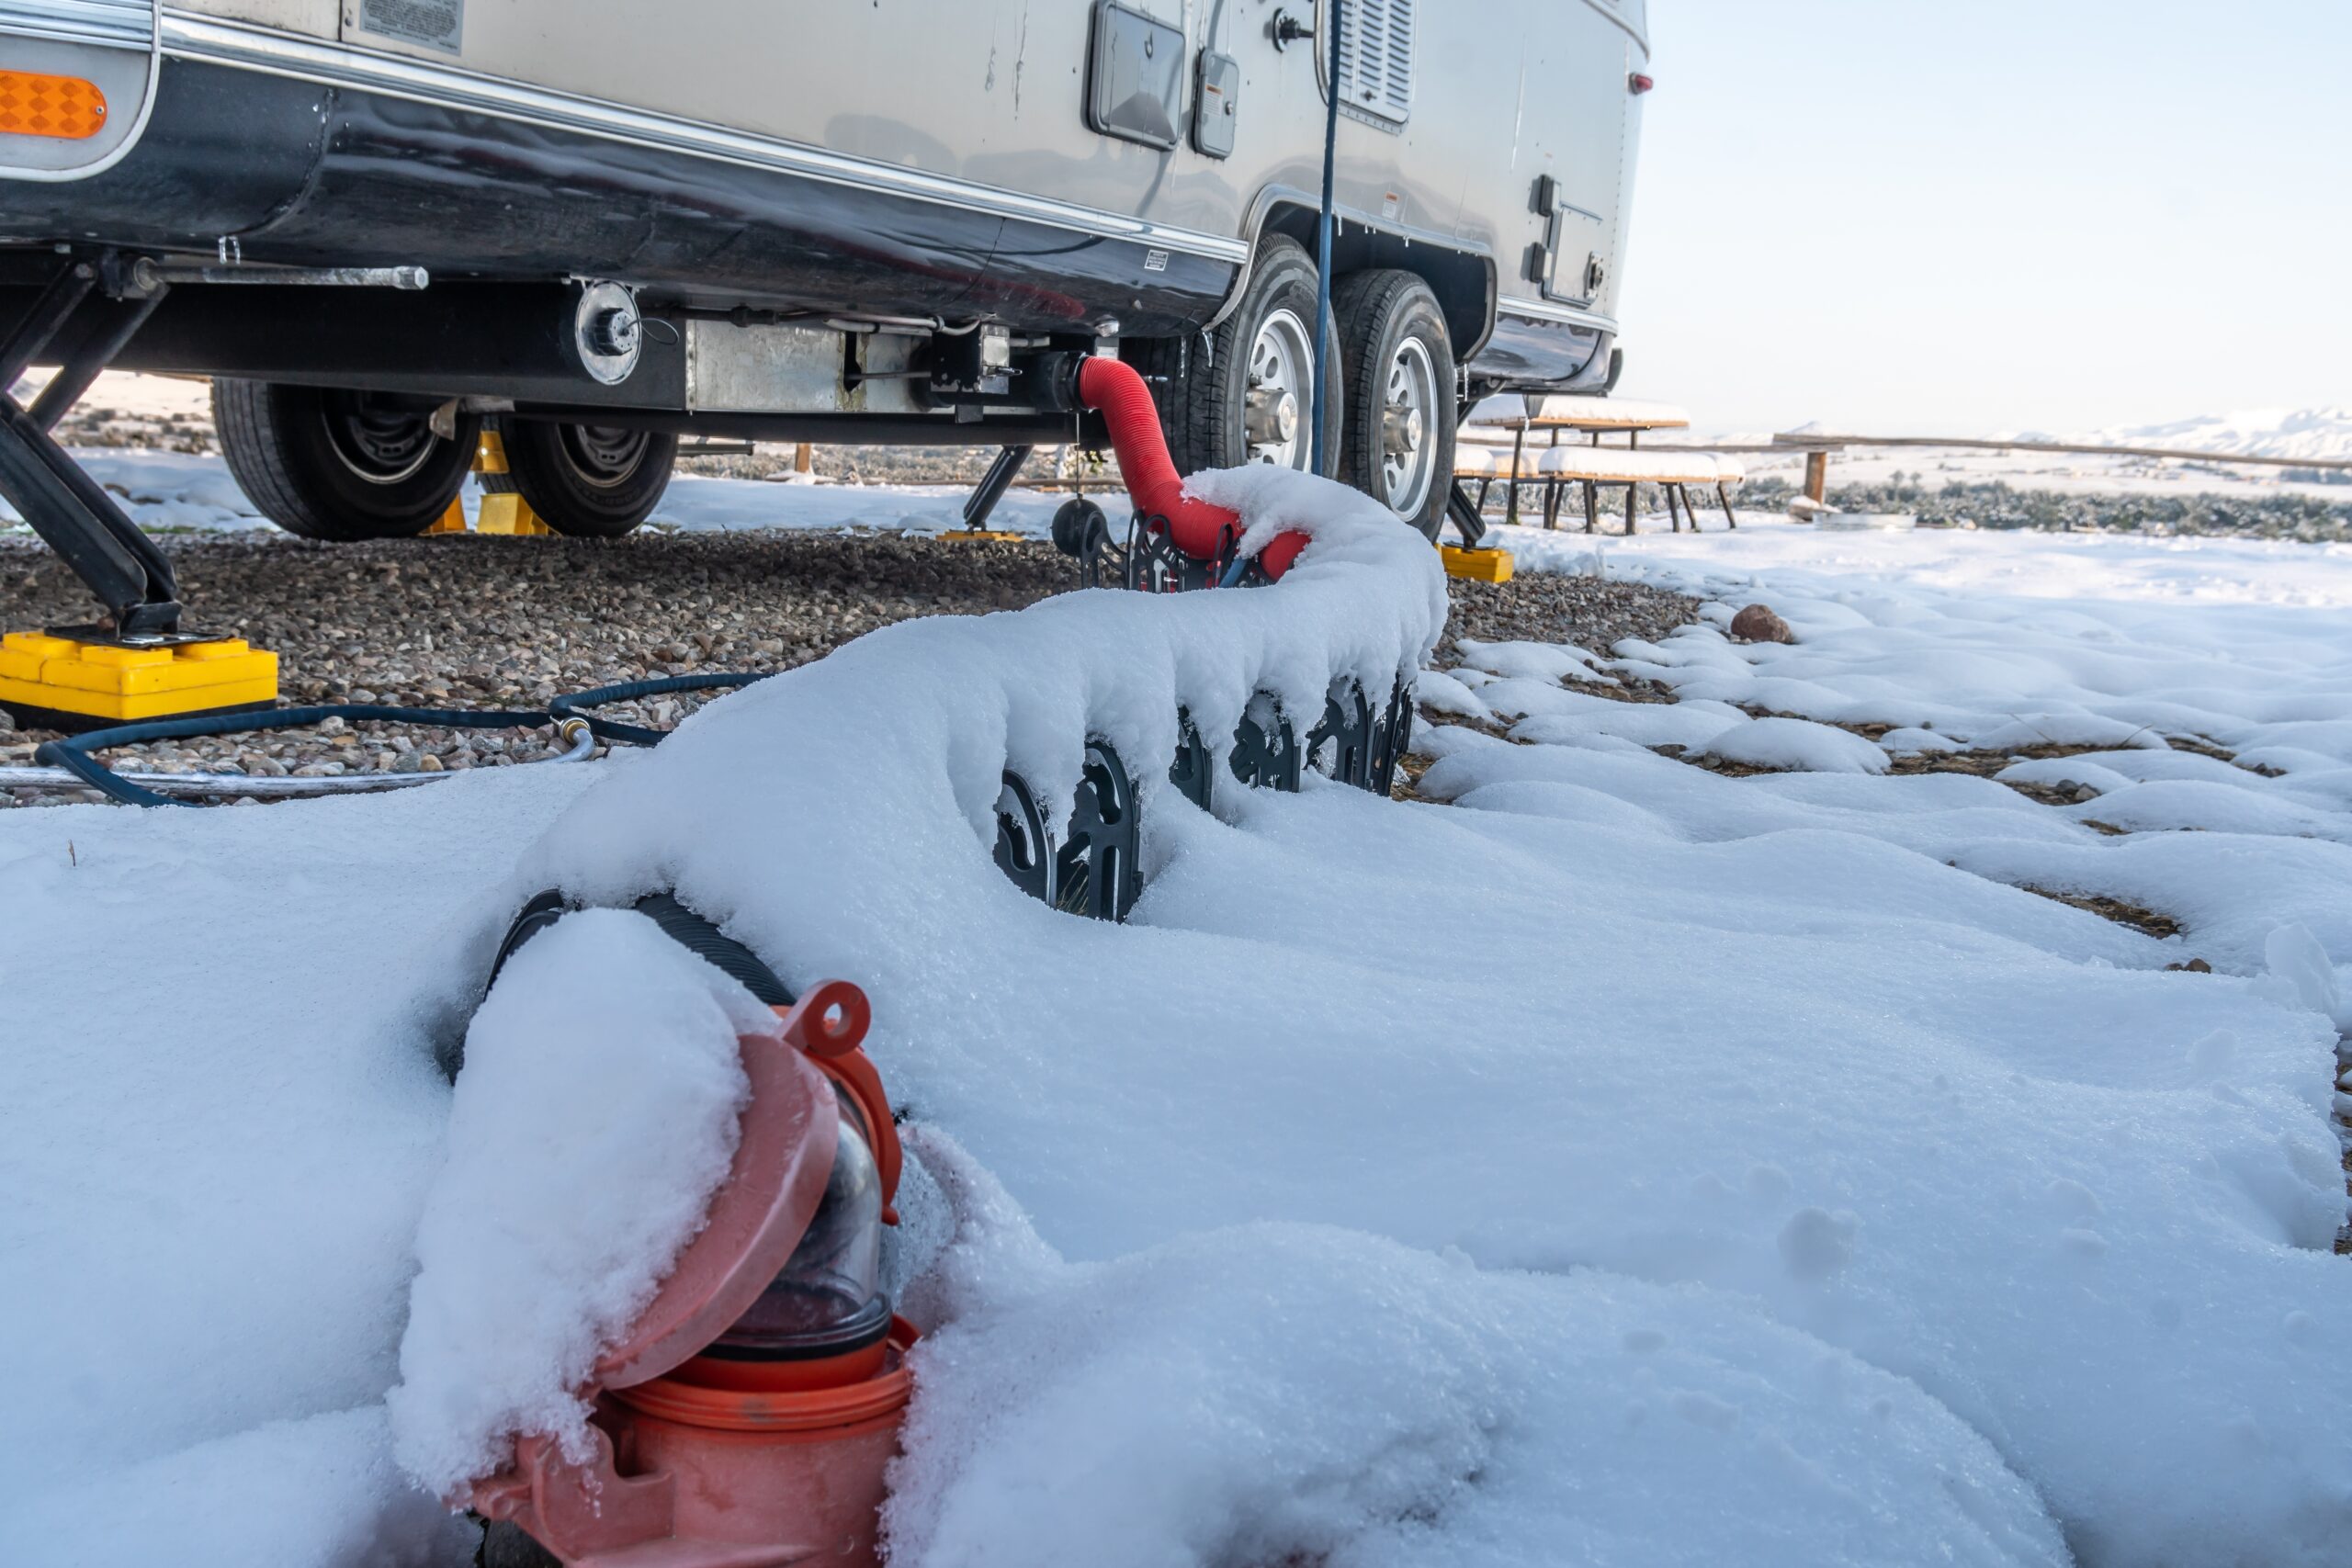
While there are many steps involved to properly winterize an RV for winter storage, the most important step is to protect the plumbing system from freeze damage.
“If you do not protect your RV and its plumbing system, water left inside your pipes or tanks can freeze when temperatures dip below the freezing point. When water freezes, it expands and can cause significant damage to your pipes, tanks, and fittings. “
Says Blogger Mike Scarpignato
Older RVs with PVC or copper tubing used in the plumbing system are especially prone to damage if not properly drained and protected. If your water heater is equipped with an electric heating element, be certain it is turned off before draining your water heater.
How to winterize an RV plumbing system
There are two general accepted methods to winterize an RV. Those that want to make sure their plumbing systems have maximum protection from freezing will often combine both methods.
- The Dry Method involves “blowing out” the water in the RV’s fresh water plumbing system using a large volume of compressed air. This method requires the use of a blow-out plug, a properly sized air compressor, and possibly a wrench to drain the water heater.
- The Wet Method involves the use of RV antifreeze to displace the fresh water in the RV’s plumbing system.
Here is a video from RV Habit that shows how to winterize an RV using the dry method followed by employing the wet method:
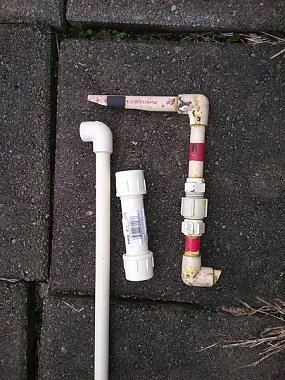
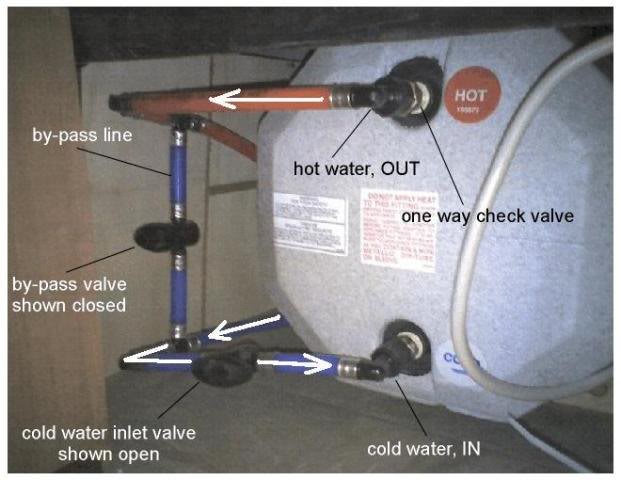
What if my water heater isn’t equipped with a bypass?
- Install a temporary “seasonal” bypass line between the water heater inlet and outlet each time you winterize.
- Install a permanent bypass kit.
- If you blew the water system out using the dry method, the water lines and fixtures on the outlet side of the water heater shouldn’t have any water in them to freeze causing damage. If you are comfortable that they are dry, then there is no need to do anything else.
- Use an RV antifreeze hand pump to force water back through the hot water side of the RVs faucets to the outlet side of the water heater. This will protect the hot water sides of the faucets and the water lines coming from the water heater.
- Use enough RV antifreeze to fill the water heater until it is pumped out the outlet side of the water heater through the hot water pipes to the faucets.
What if I don’t have a tee valve that allows antifreeze to be pumped through the RV’s fresh water system?
- Install a tee valve
- Use an RV antifreeze hand pump to pump antifreeze into the RV’s city water hookup and in turn through the RV’s fresh water plumbing system until it reaches the faucets and fixtures.
- Pour the RV antifreeze into your RV’s fresh water tank and use the RV’s water pump to pump the RV antifreeze throughout the fresh water system.
Since the water pump acts as a check valve, antifreeze is unlikely to enter the water pump or pick up line from the water tank using this method. This leaves the water pump and pick up line vulnerable to freeze damage.
Typical RV water heaters range from 6 – 10 gallons requiring a substantial amount of RV antifreeze for those choosing this method. If you choose this method, consider capturing the RV antifreeze in the spring and reusing it the following fall.
If you choose to use only the dry method to winterize an RV, keep in mind compressed air will not have blown through the water pump during the blow out process. Water can remain in the water pump which could freeze and cause damage.
Possible solutions include removing the pump, adding RV antifreeze to the pump, and/or maintaining a heat source near the pump to protect it from freezing.
Learn more about how to winterize an RV
Be sure to keep track of all your RV maintenance with a tool like RV LIFE Maintenance. For more information, check out these articles: