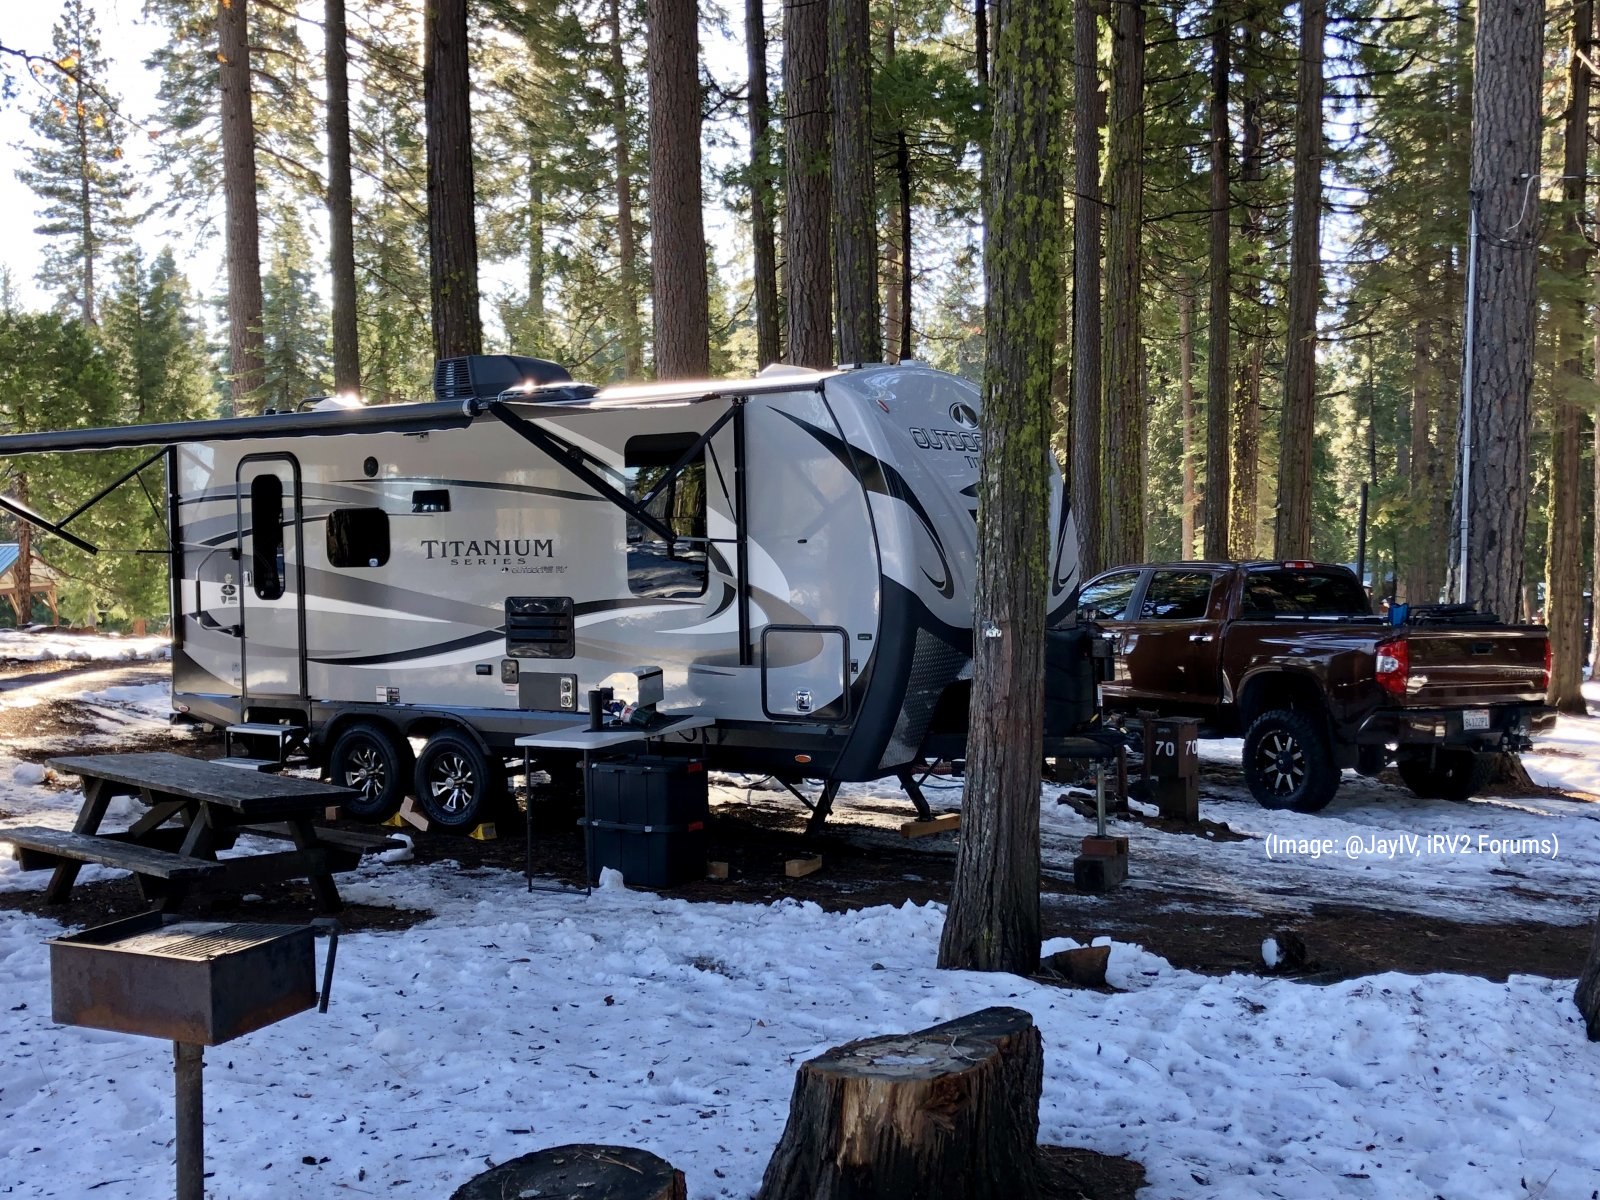
10 Items You’ll Need To Winterize Your RV
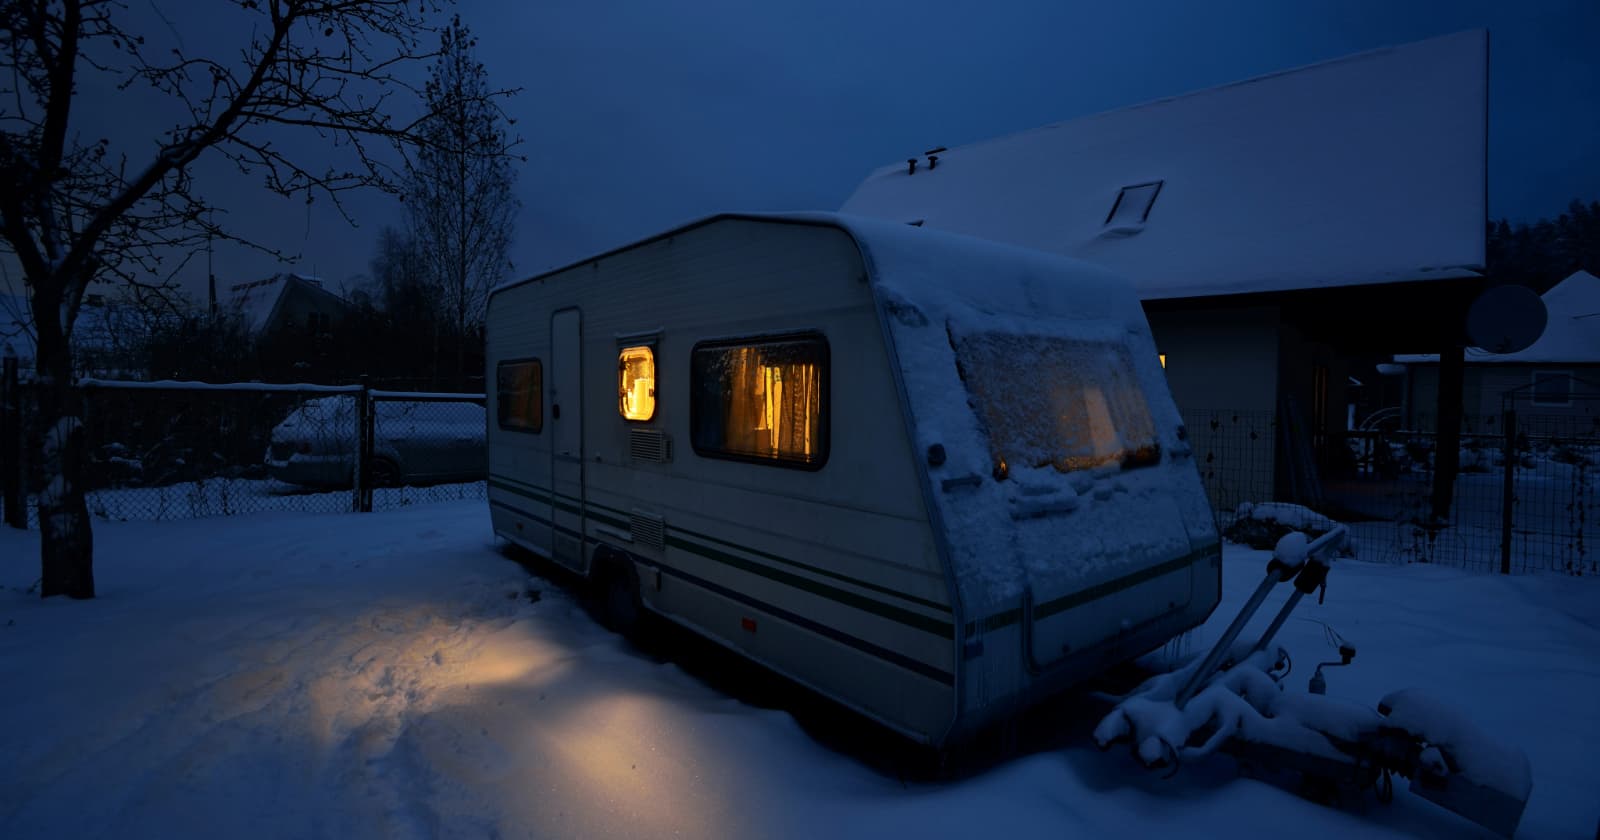
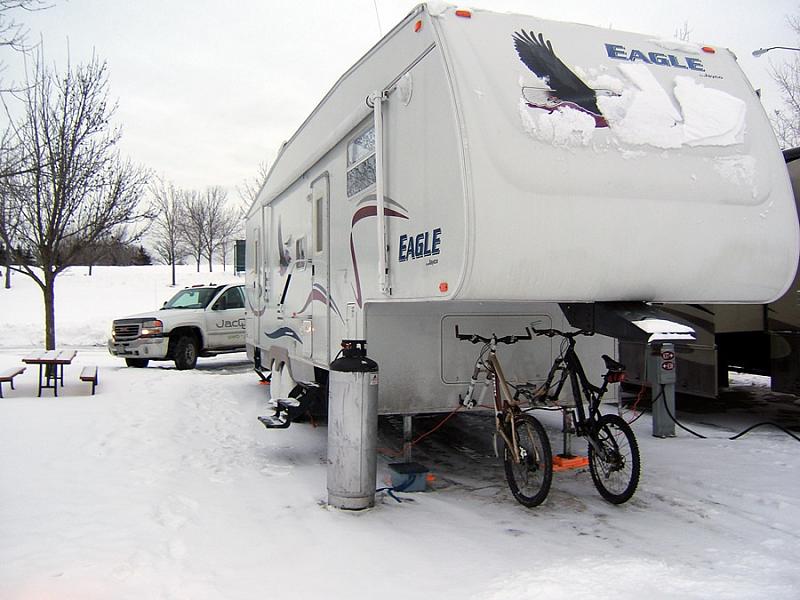
Every fall when many RVers are heading south for the season, others are beginning to hang up their keys for the winter. If your camping season is over, it’s vital that you winterize your RV before storing it away until next spring.
Not properly winterizing your RV can cause expensive issues like water leaks, rotting, and even ruptured pipes. Rainfall and UV rays can damage the exterior, while mice and insects can find their way inside.
In order to prep your rig for storage, make sure you have all of these essential items on hand. You may also want to refer to your RV or trailer’s owner manual for more detailed instructions on winterizing your specific model.
1. Non-toxic antifreeze
Antifreeze won’t only keep your RV’s pipes from freezing, but more importantly, it prevents them from rupturing. Pipes can burst during the winter because the water inside them expands as it gets close to freezing, causing an increase in pressure.
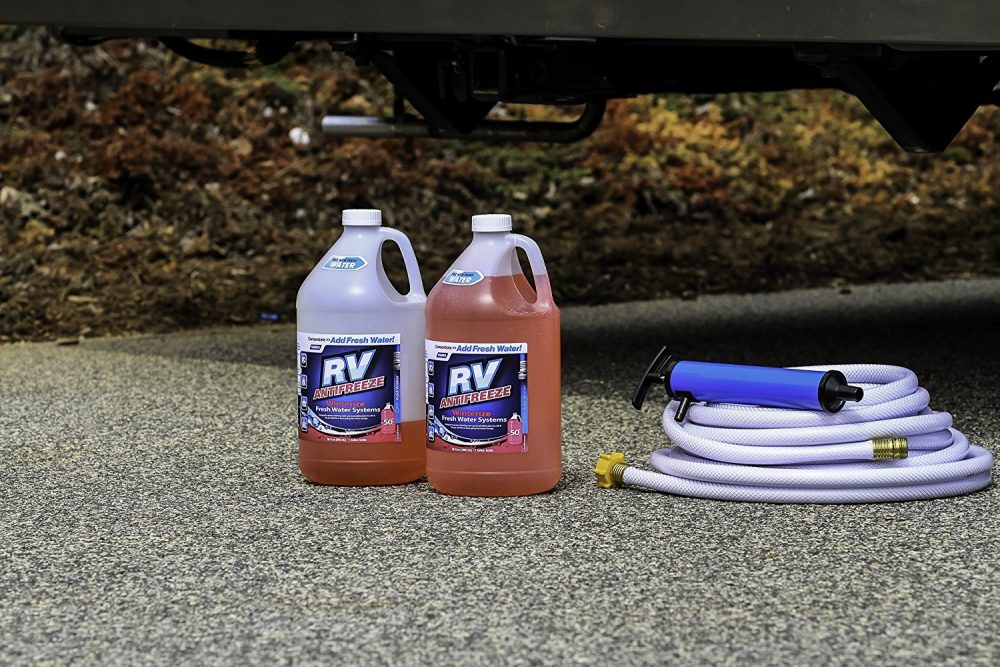
The amount of antifreeze needed varies, but two or three gallons will usually do. Make sure you’re using an antifreeze that’s non-toxic, like this one from Camco.
2. A water pump converter kit
Once installed, these water pump converter kits can be used year after year. They allow you to bypass your fresh water supply line and use your RV’s water pump to fill the fresh water lines with antifreeze.
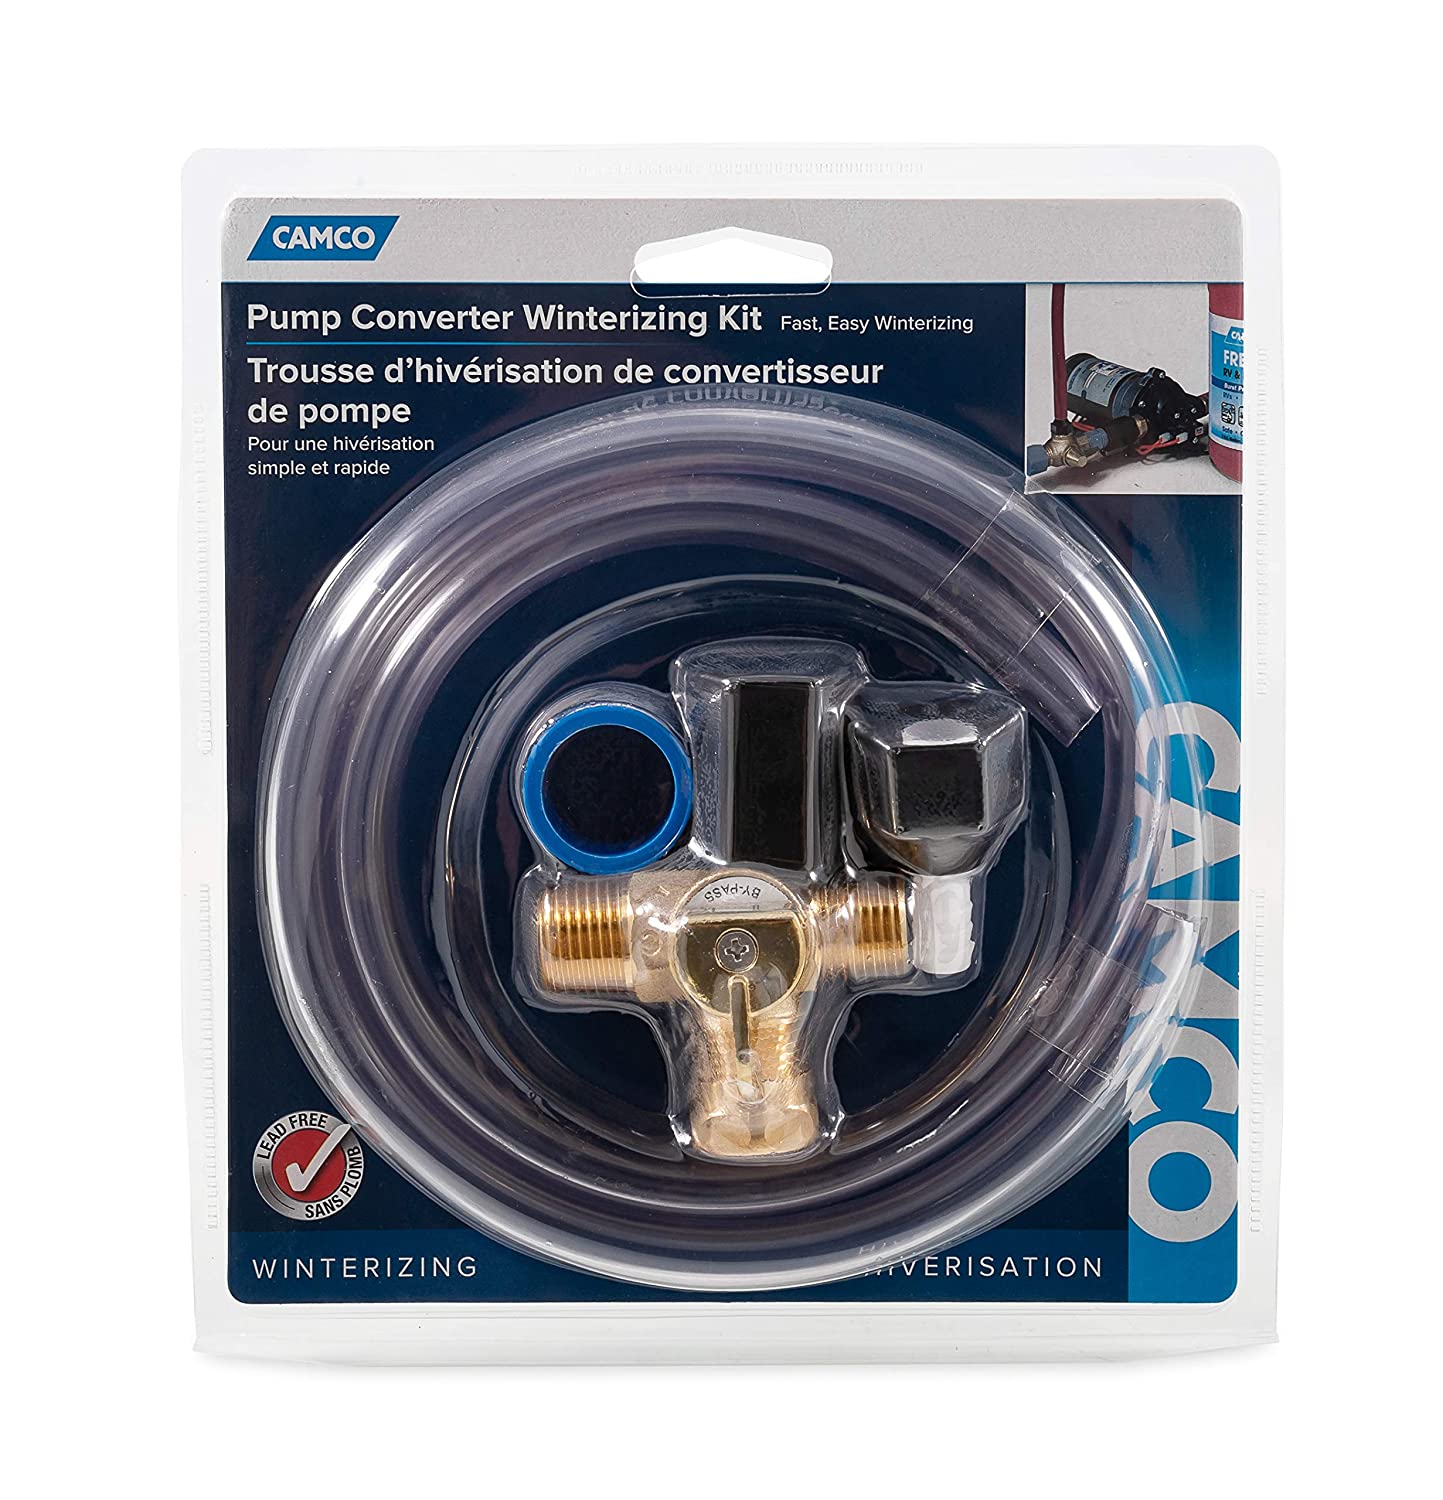
The kits include a 3-way valve cap, 32″ siphon hose, Teflon tape, and pump adapters, and they can easily be installed using an adjustable wrench. You can find them for about $13 on Amazon here.
3. A wand to clean out your holding tanks
If your RV doesn’t have a built-in tank flushing system, you’ll need a wand to fully clean out your holding tanks.

To make the task easier, use a tank wand like this one by Valterra with a shut-off valve and spray nozzle. It will help get rid of bad odors, keep your tanks sanitary, and clean off tank sensors if they are not reading correctly.
4. A water heater by-pass kit
Without a water heater by-pass kit, your RV’s water heater will fill up with antifreeze before it goes through the water lines. This will just give you a headache and waste gallons of antifreeze.
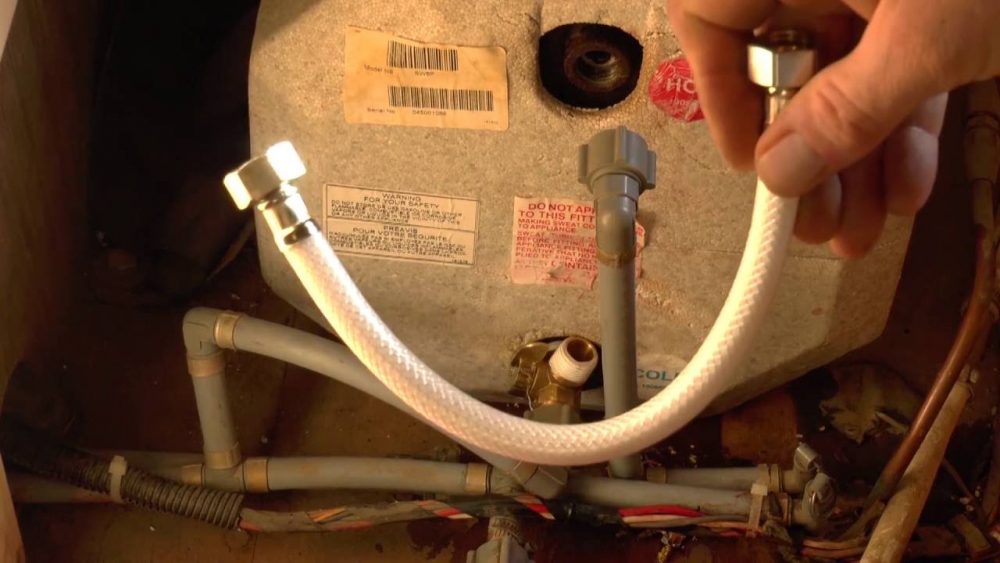
The water heater by-pass kits are easy to install, and they can be removed in the spring when you’re reconnecting the system.
5. Silicone spray
Silicone spray is great to have on hand to lubricate slide-outs and get rid of squeaks. By winter, it can also waterproof your vehicle against inclement weather to help prevent rust.
Coat rubber surfaces with this Liquid Wrench silicone spray to keep them flexible. The spray also works on plastic, wood, and metal.
6. Sealer to fix cracks and/or roof coating
If there are any cracks in your RV’s roof, now is the time to fix them. Simply use a sealer like this clear flexible sealant to fix any small holes or areas where water could leak through.

In addition, if your roof is starting to show signs of aging, paint on a coat of liquid rubber. The thick membrane will keep your roof solid for at least another five years.
7. Mothballs, mousetraps, and/or steel wool
While your RV is sitting idle during the off-season, it is not uncommon for mice and other rodents to find their way in.
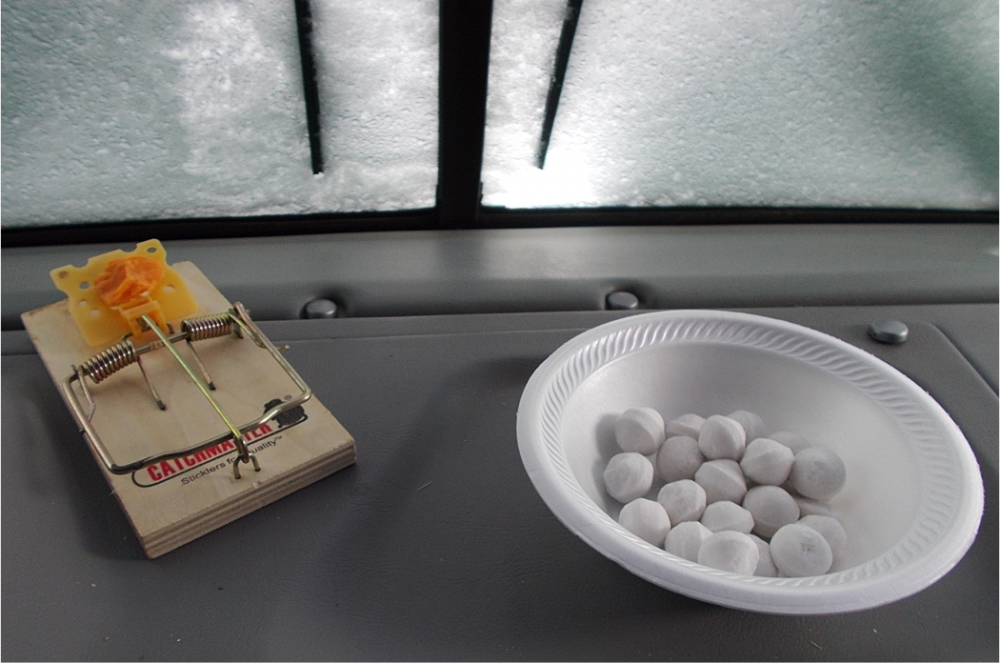
Some RVers leave mothballs and mousetraps around their rig before putting it in storage, but we’ve also found great success by plugging up holes and crevices with steel wool.
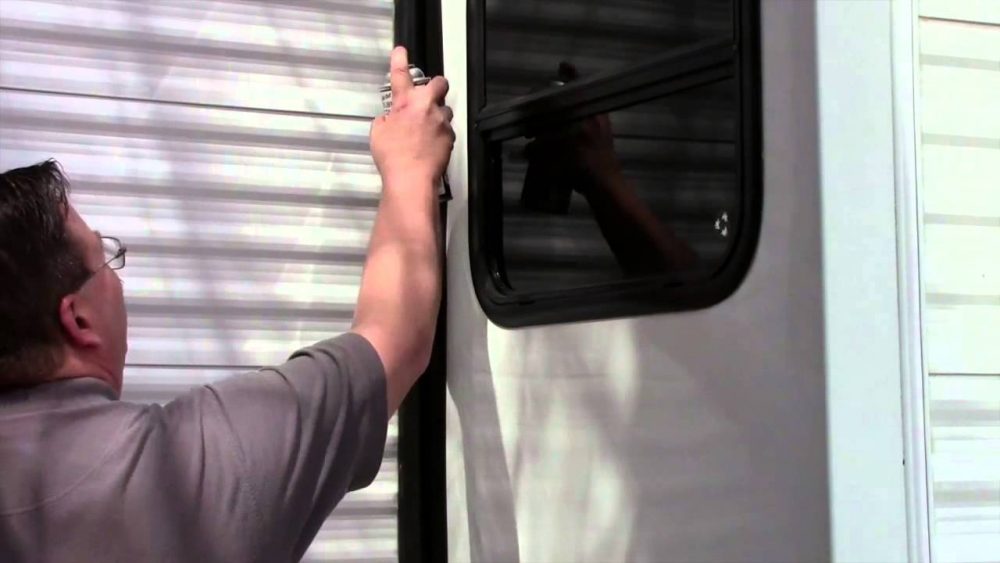
8. Bug screens
Come spring you will not want to learn your RV has been infested with ants, cockroaches, or any other insects.
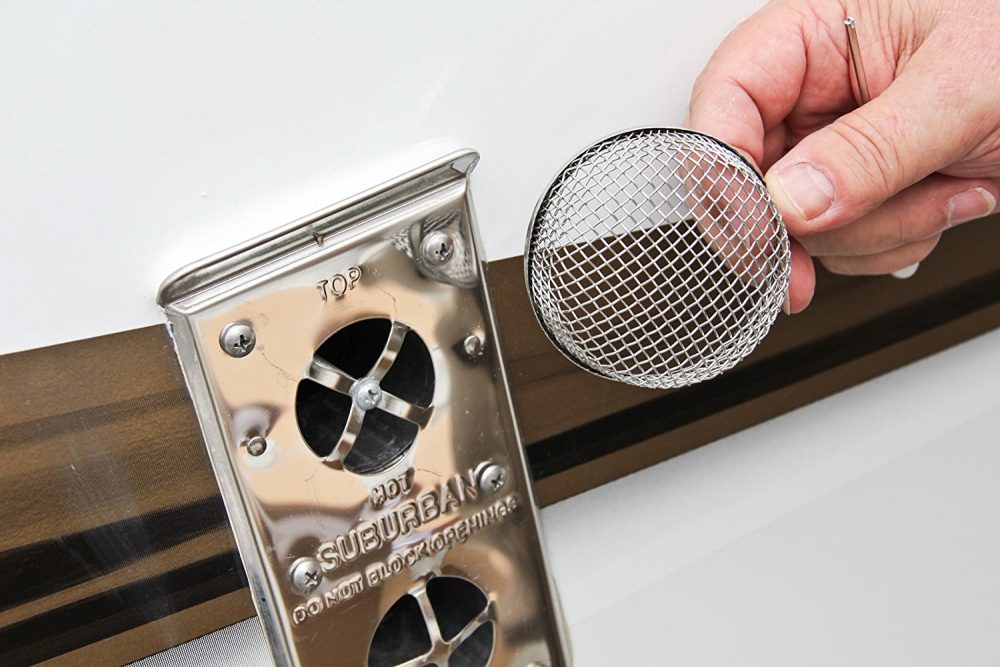
Spray areas like the doorway with a natural pest repellent and install RV bug screens over your furnace and water heater vents to keep the creepy-crawlies out.
9. An AirDryr or dehumidifier
If you live in an area like the Pacific Northwest that gets a lot of wet winter weather, you may want to leave a small dehumidifier in your RV to soak up some of the moisture in the air.

As we discussed in this article, AirDryrs work great for preventing mold. These dehumidifiers draw in moist air through the bottom, heat it up to dry it out, and release the air back through the top. They’re designed to run quietly and safely 24 hours a day and they have a thermal cut-off switch for extra safety.
10. An RV/trailer storage cover
You’ll want to cover your RV to protect the exterior so it will look just as good in the spring as you remembered. A variety of covers are available in different sizes: this one made by ADCO fits RVs and trailers measuring 24’1″ – 26′ in length.

If money and space permits, you may also want to park your rig under a carport for added protection.
Be sure to check on your RV periodically throughout the winter so that there will be no costly surprises in the spring. Of course, these are just basic tips on what you’ll need for winterizing—for step-by-step guidelines, refer to your owner’s manual, Youtube videos, this checklist from WikiHow, and these helpful tips for off-season storage.
Stay up-to-date on your RV maintenance with an online tool such as RV LIFE Maintenance. Not only can you keep all your maintenance records and documents in one place, you’ll receive timely reminders via email when maintenance is due and potentially avoid a costly repair or serious accident.