How To Replace The Foam In Your RV’s Seat Cushions
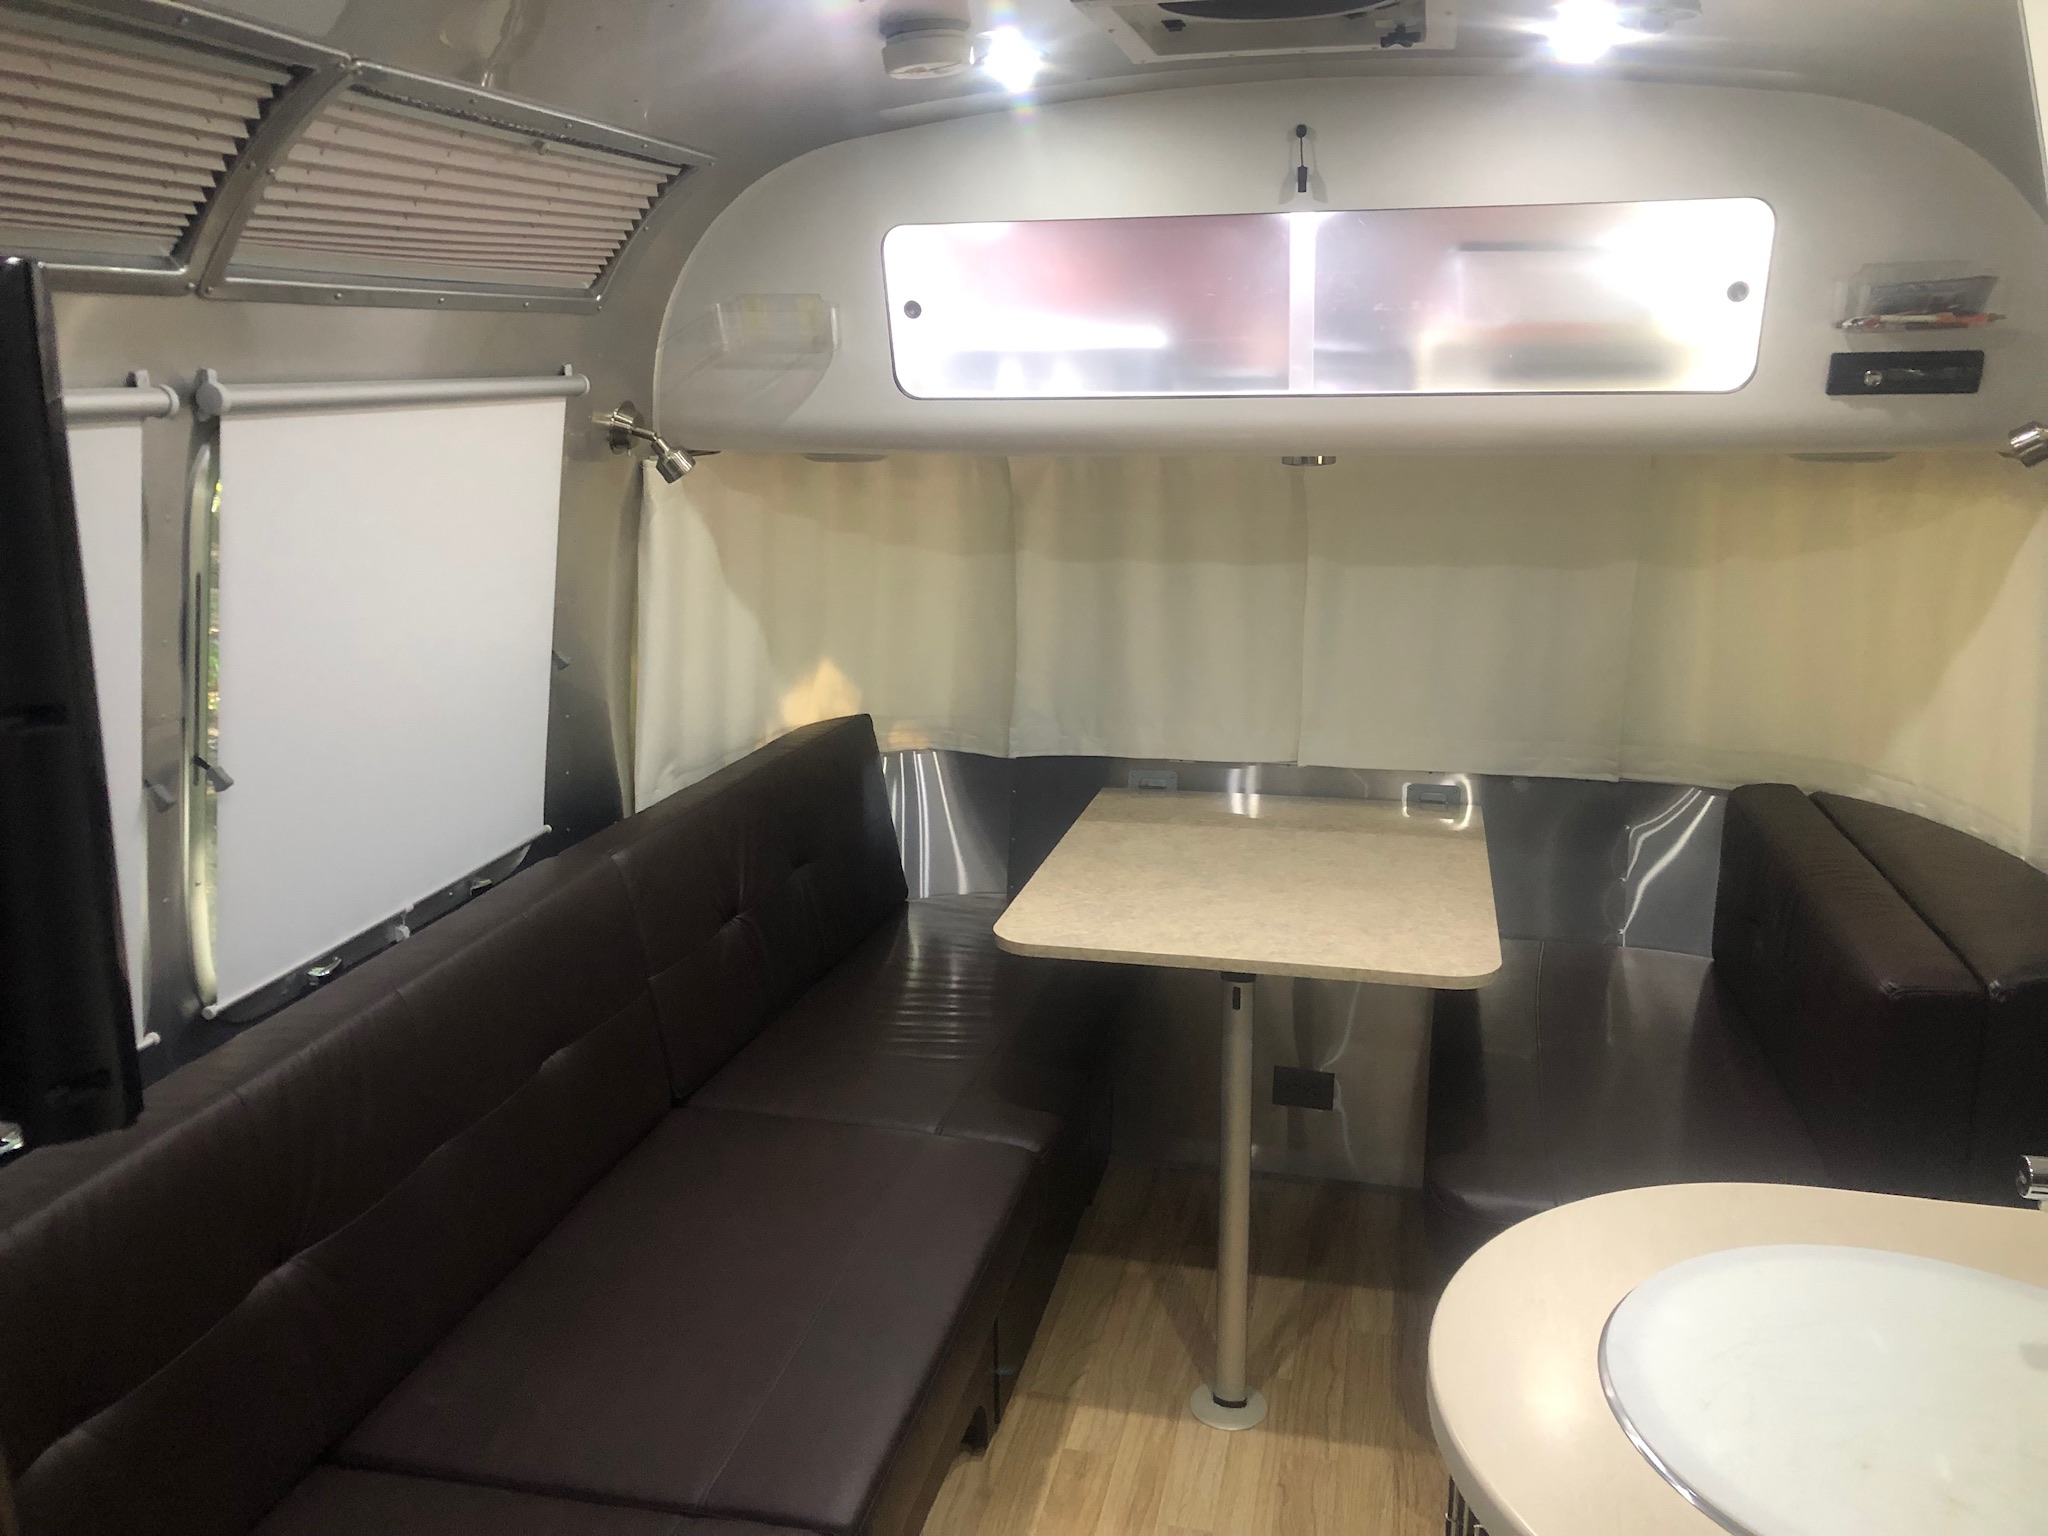
The factory seat cushions in our 2014 International 23D Airstream were not very comfortable. The foam in the cushion was way too soft and squishy to offer very much support. Sitting at our dinette for just a short period of time would cause my lower back to start hurting. I looked for a solution for quite some time, but I never would pull the trigger on new foam.
Well, I finally broke down and decided that based on the amount of time we spend in our trailer, I would replace the factory seat foam with firmer Lux-HQ foam from Foam Factory. I purchased a FULL 82”x76” sheet of their premium 5” thick LUX -HQ. The total cost of the foam was $208.99 with free shipping.
It arrived via FedEx a couple of days after I placed my order in a vacuum-sealed bag, rolled up inside a smaller-than-expected cardboard box. There was a sticker on the back of the packing slip that recommended opening the vacuum-sealed bag immediately. The foam requires 24-48 hours to expand in order to become full-size. This step must be completed before working with the new foam.
Opening the vacuum-sealed bag was quite entertaining to watch. There is a lot of missing air in that foam. It expanded quite a bit once the seal was broken. I would not recommend opening it in the back seat of a car!
I did this project by myself. It only took 2 1/2 hours from start to finish! This was a SUPER EASY project that proved to be a huge upgrade to our Airstream’s seat cushions.
What you’ll need to complete this project
- Uncomfortable cushions
- Lux-HQ foam from the Foam Factory in the same thickness of your current cushion’s foam.
- Dacron Upholstery Batting
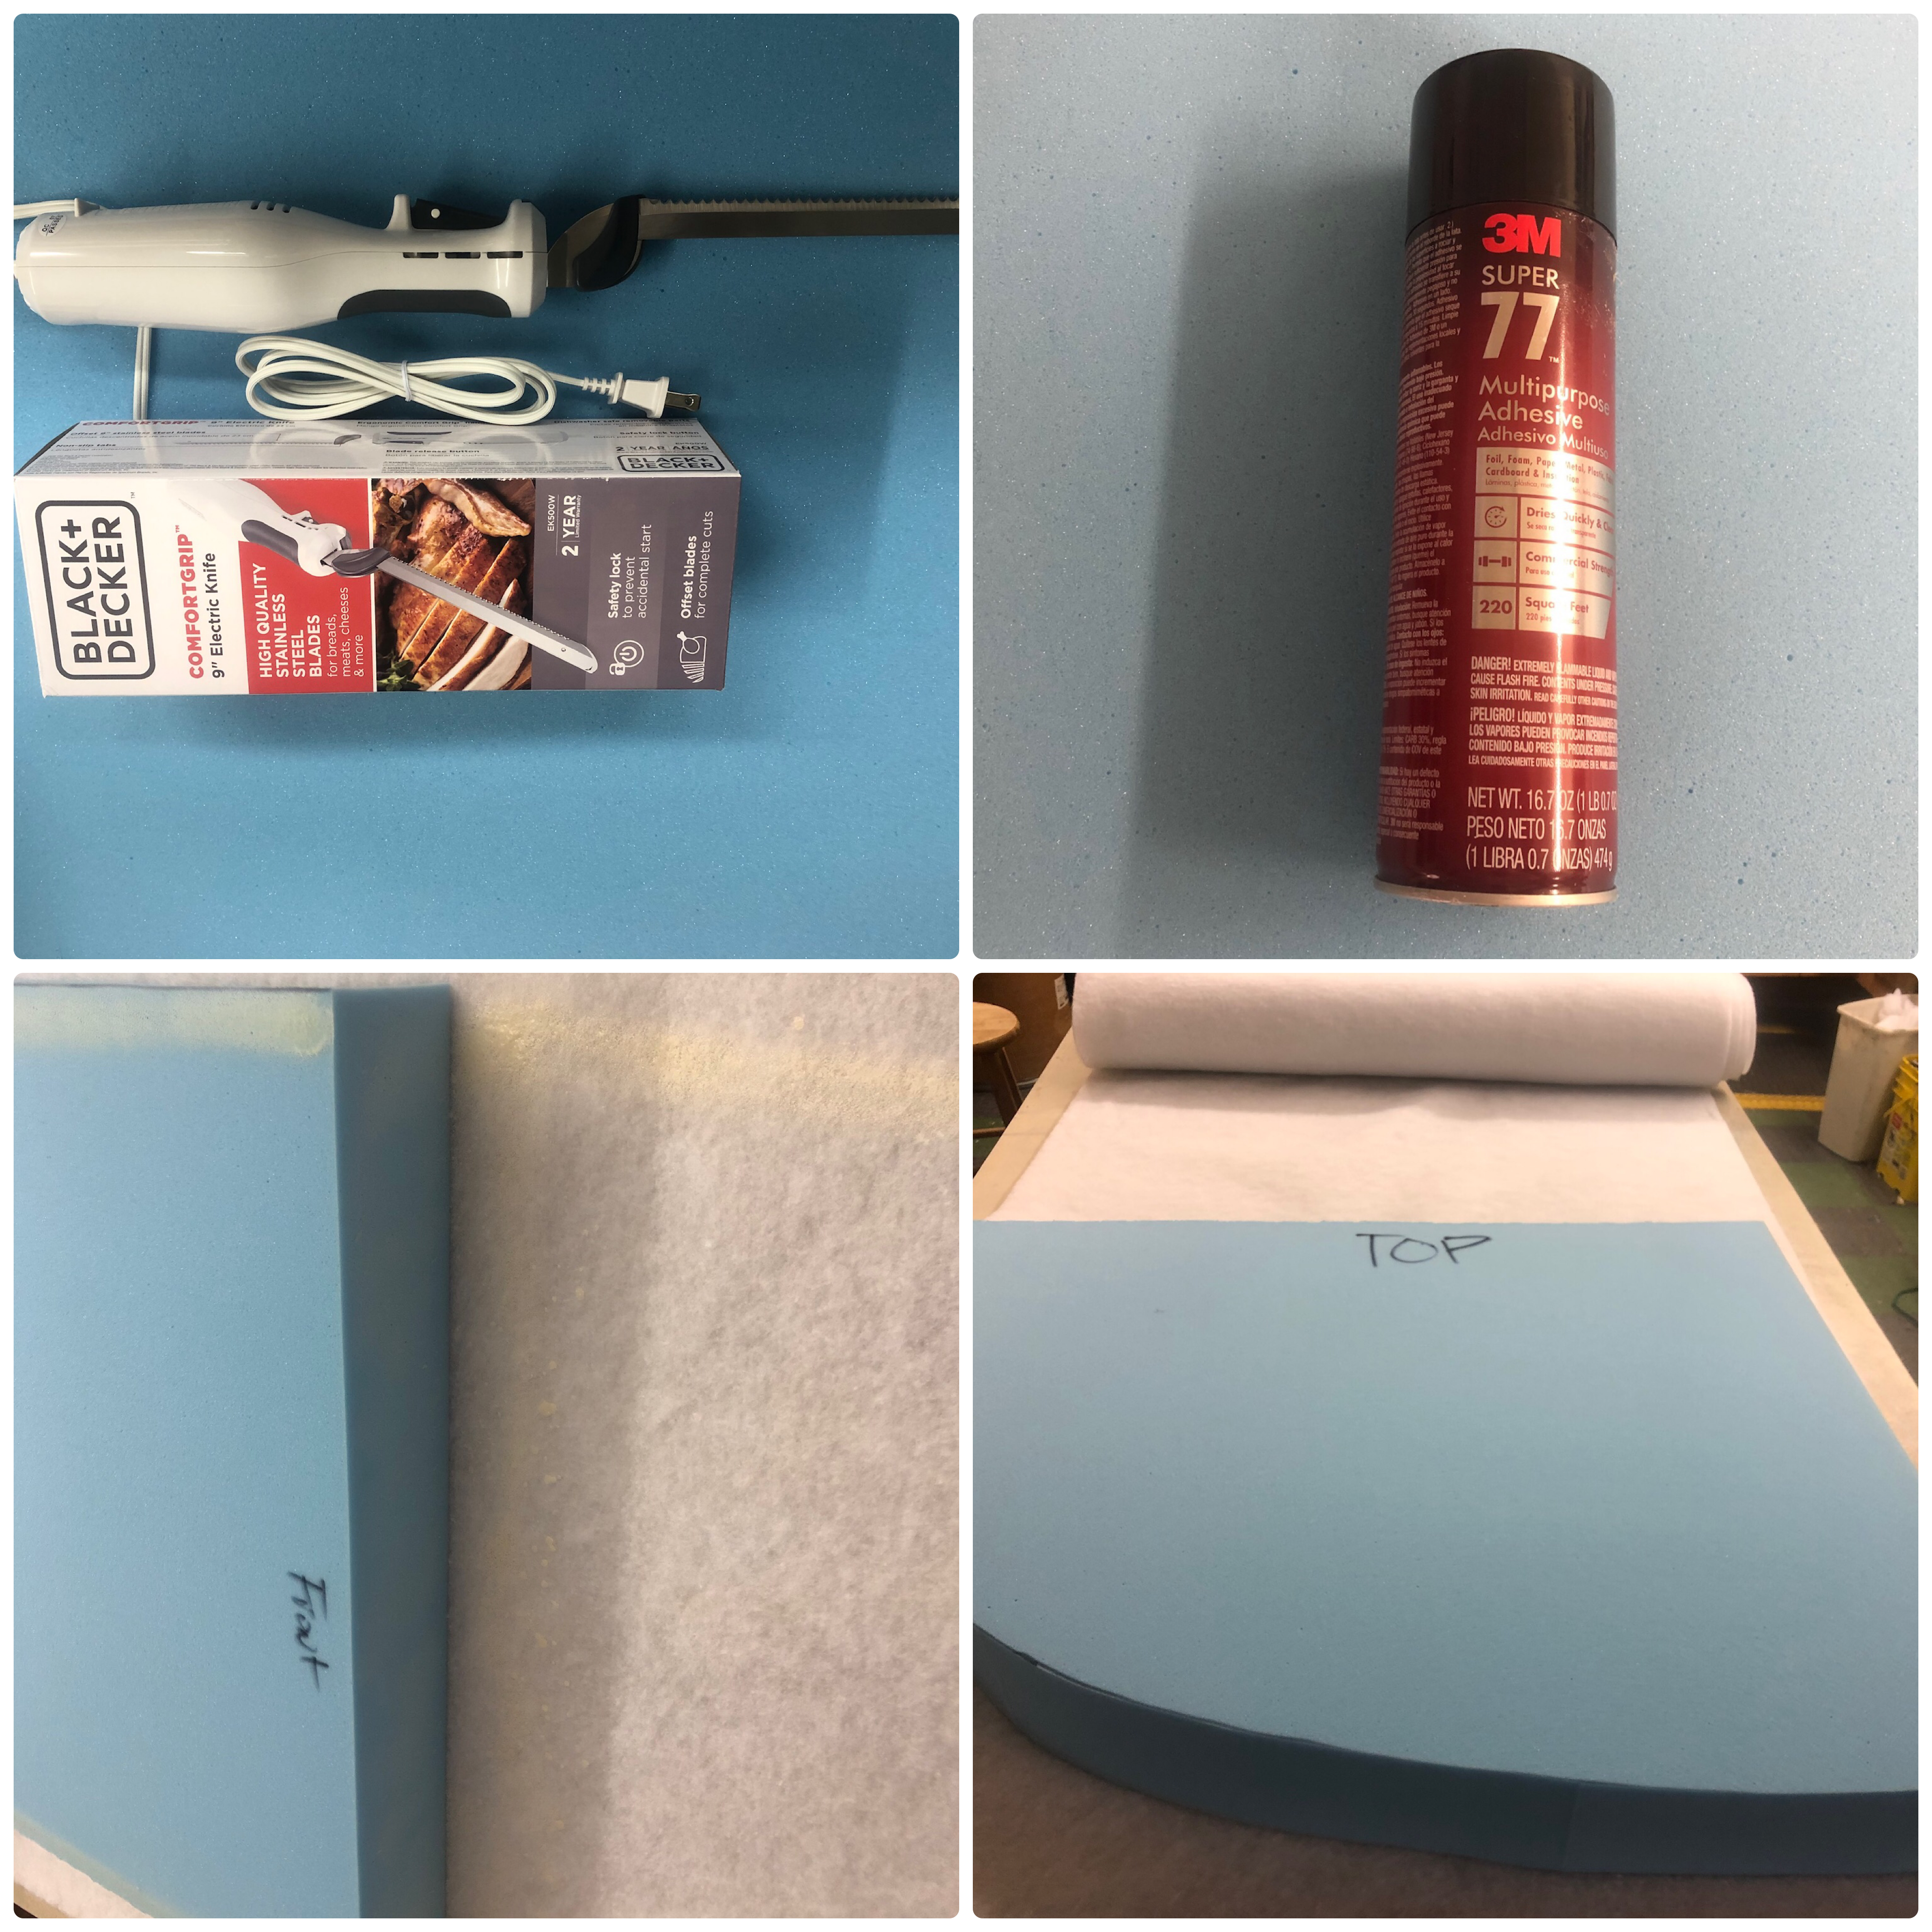
- 3M Super 77 Spray Adhesive (1 can cover 220 square feet)
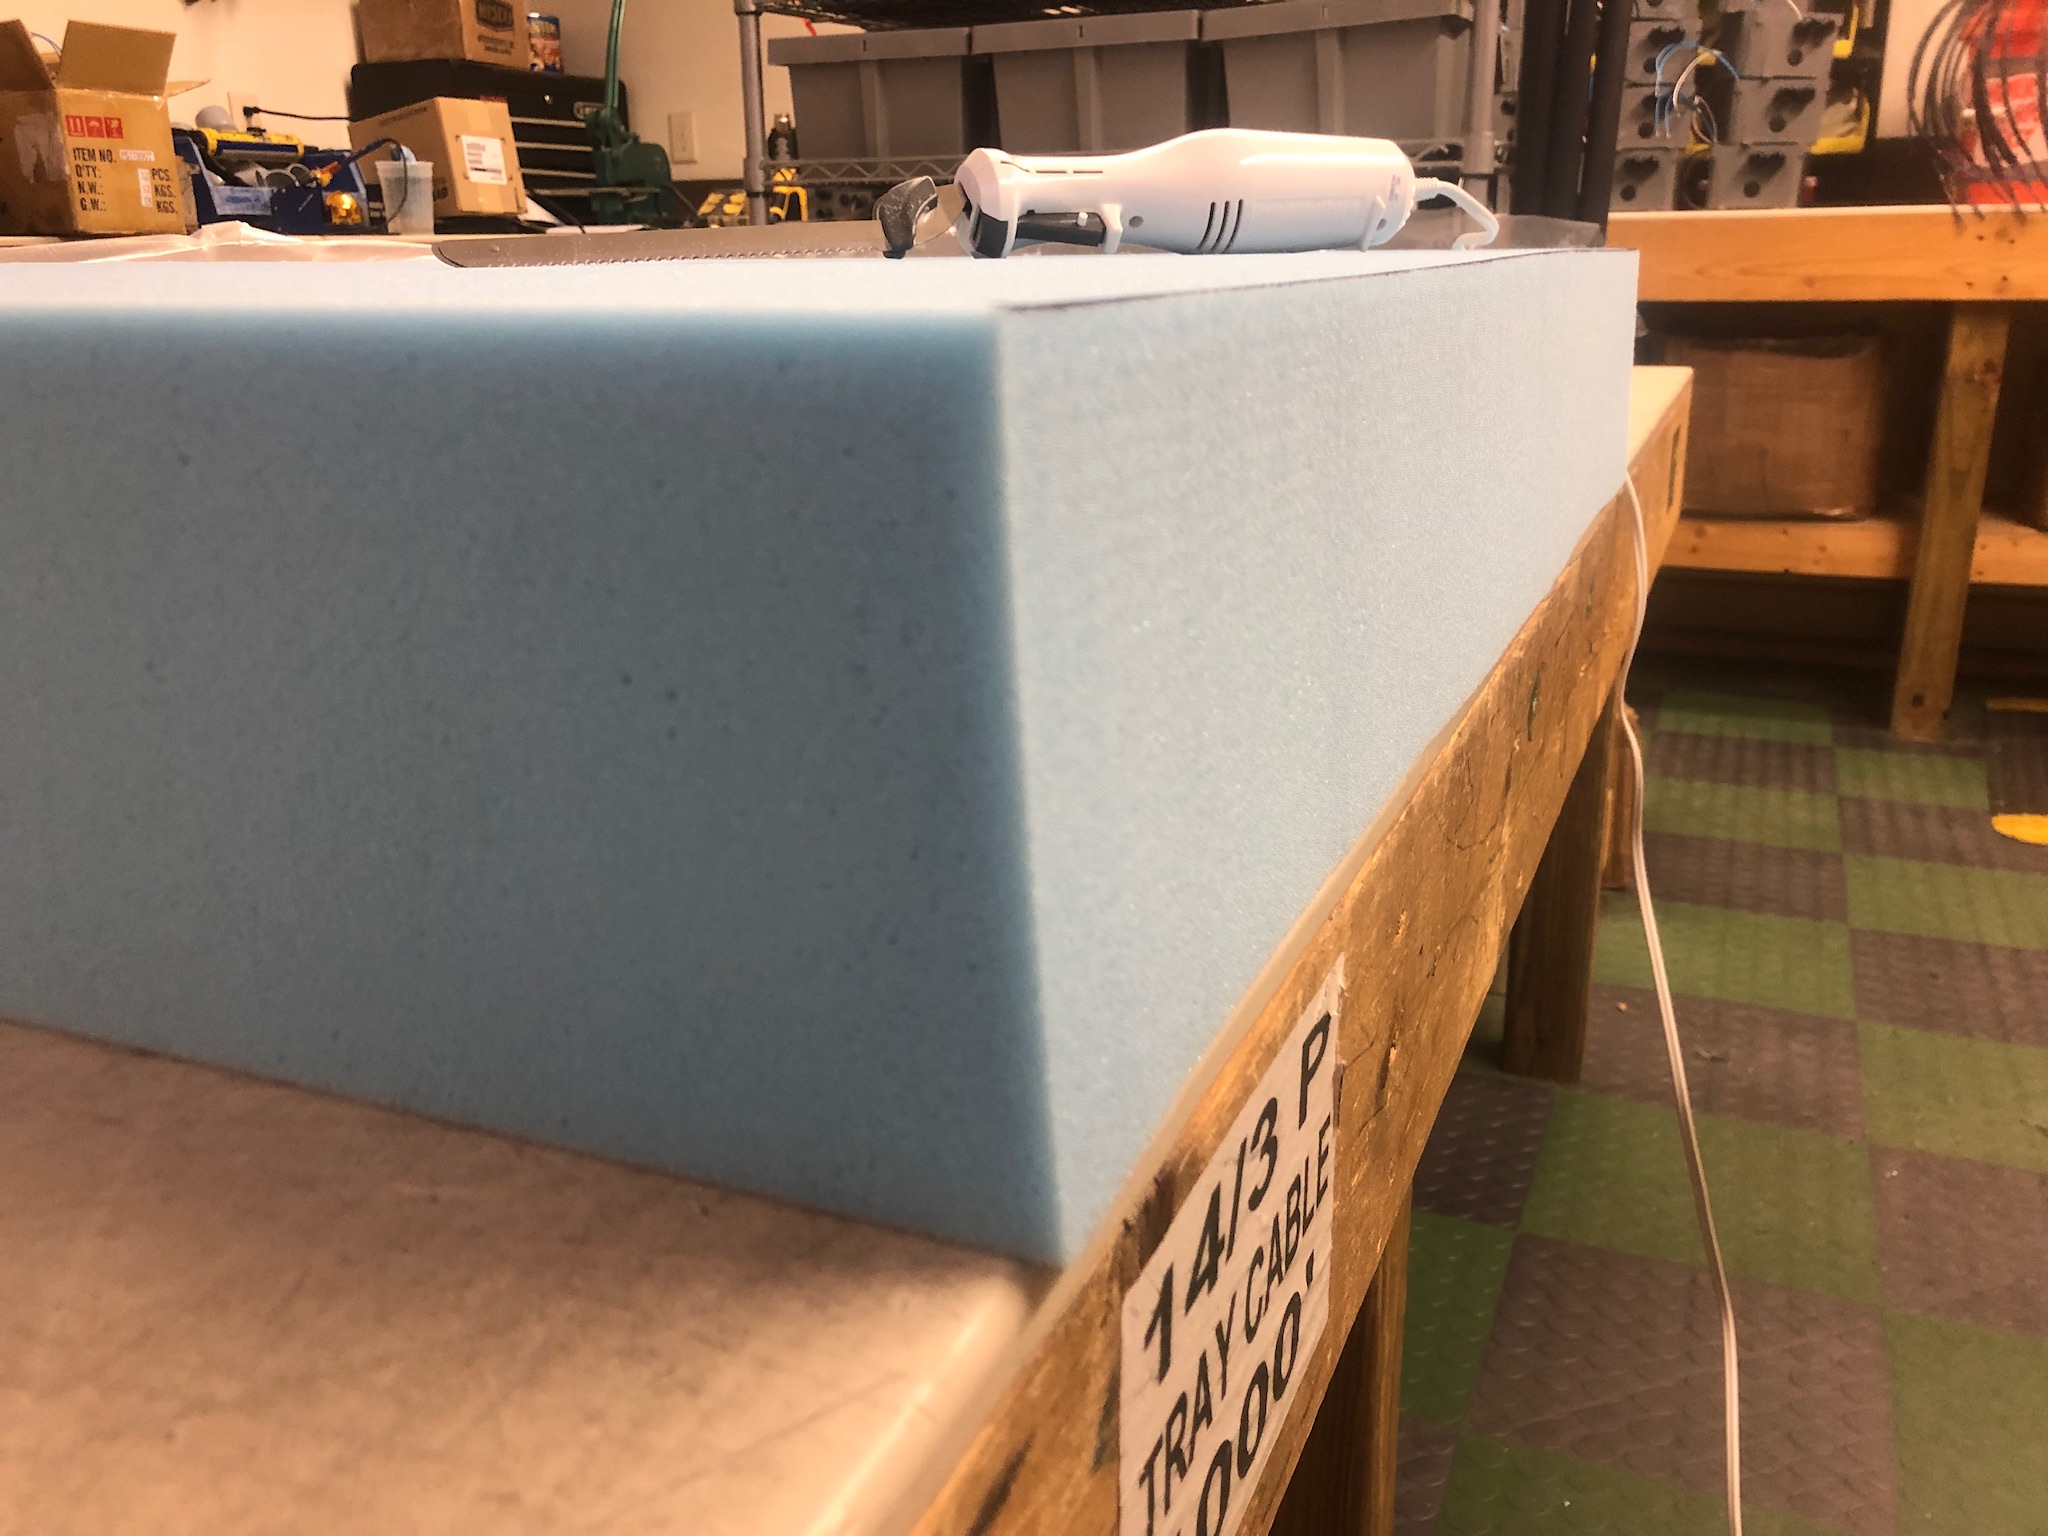
- Electric carving knife
- Sharpie marker
- Large clean workspace
- 2-3 hours of time
The process
- Remove the seat cushion covers from the factory foam and lay them aside for now.
- Determine the best layout and lay the factory foam pieces on top of the new Lux-HQ foam. Try and use the factory edge of the new foam as much as you can to reduce the number of cuts you have to make.
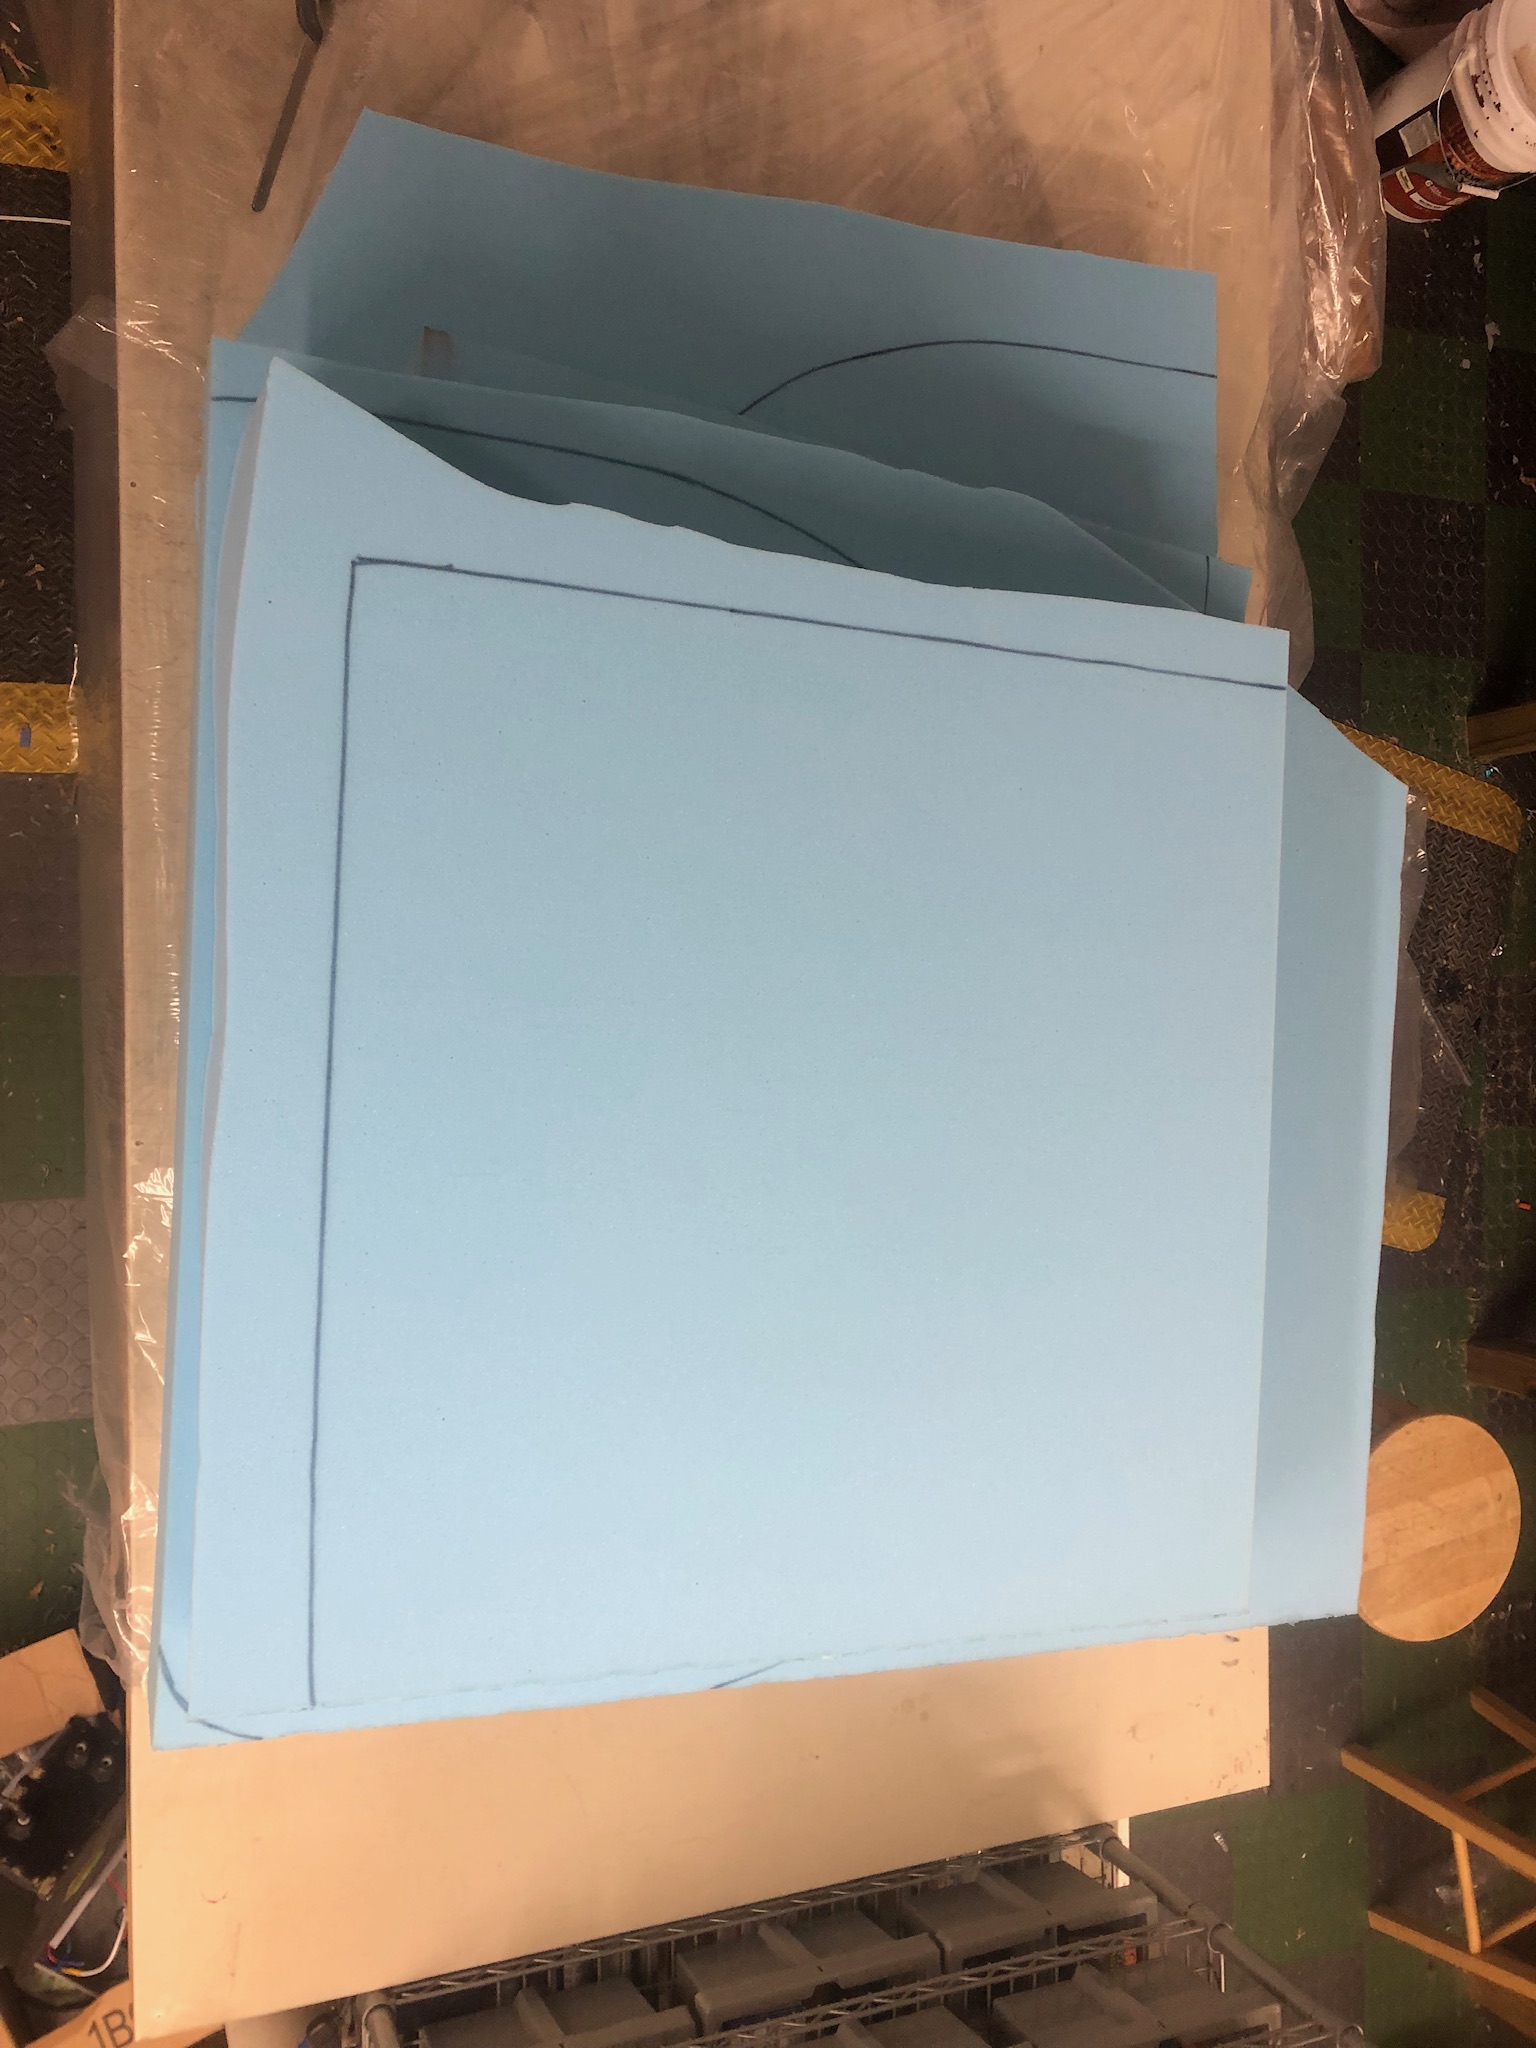
- Using the factory foam as a pattern, trace the cushions using a Sharpie marker onto the Lux-HQ.
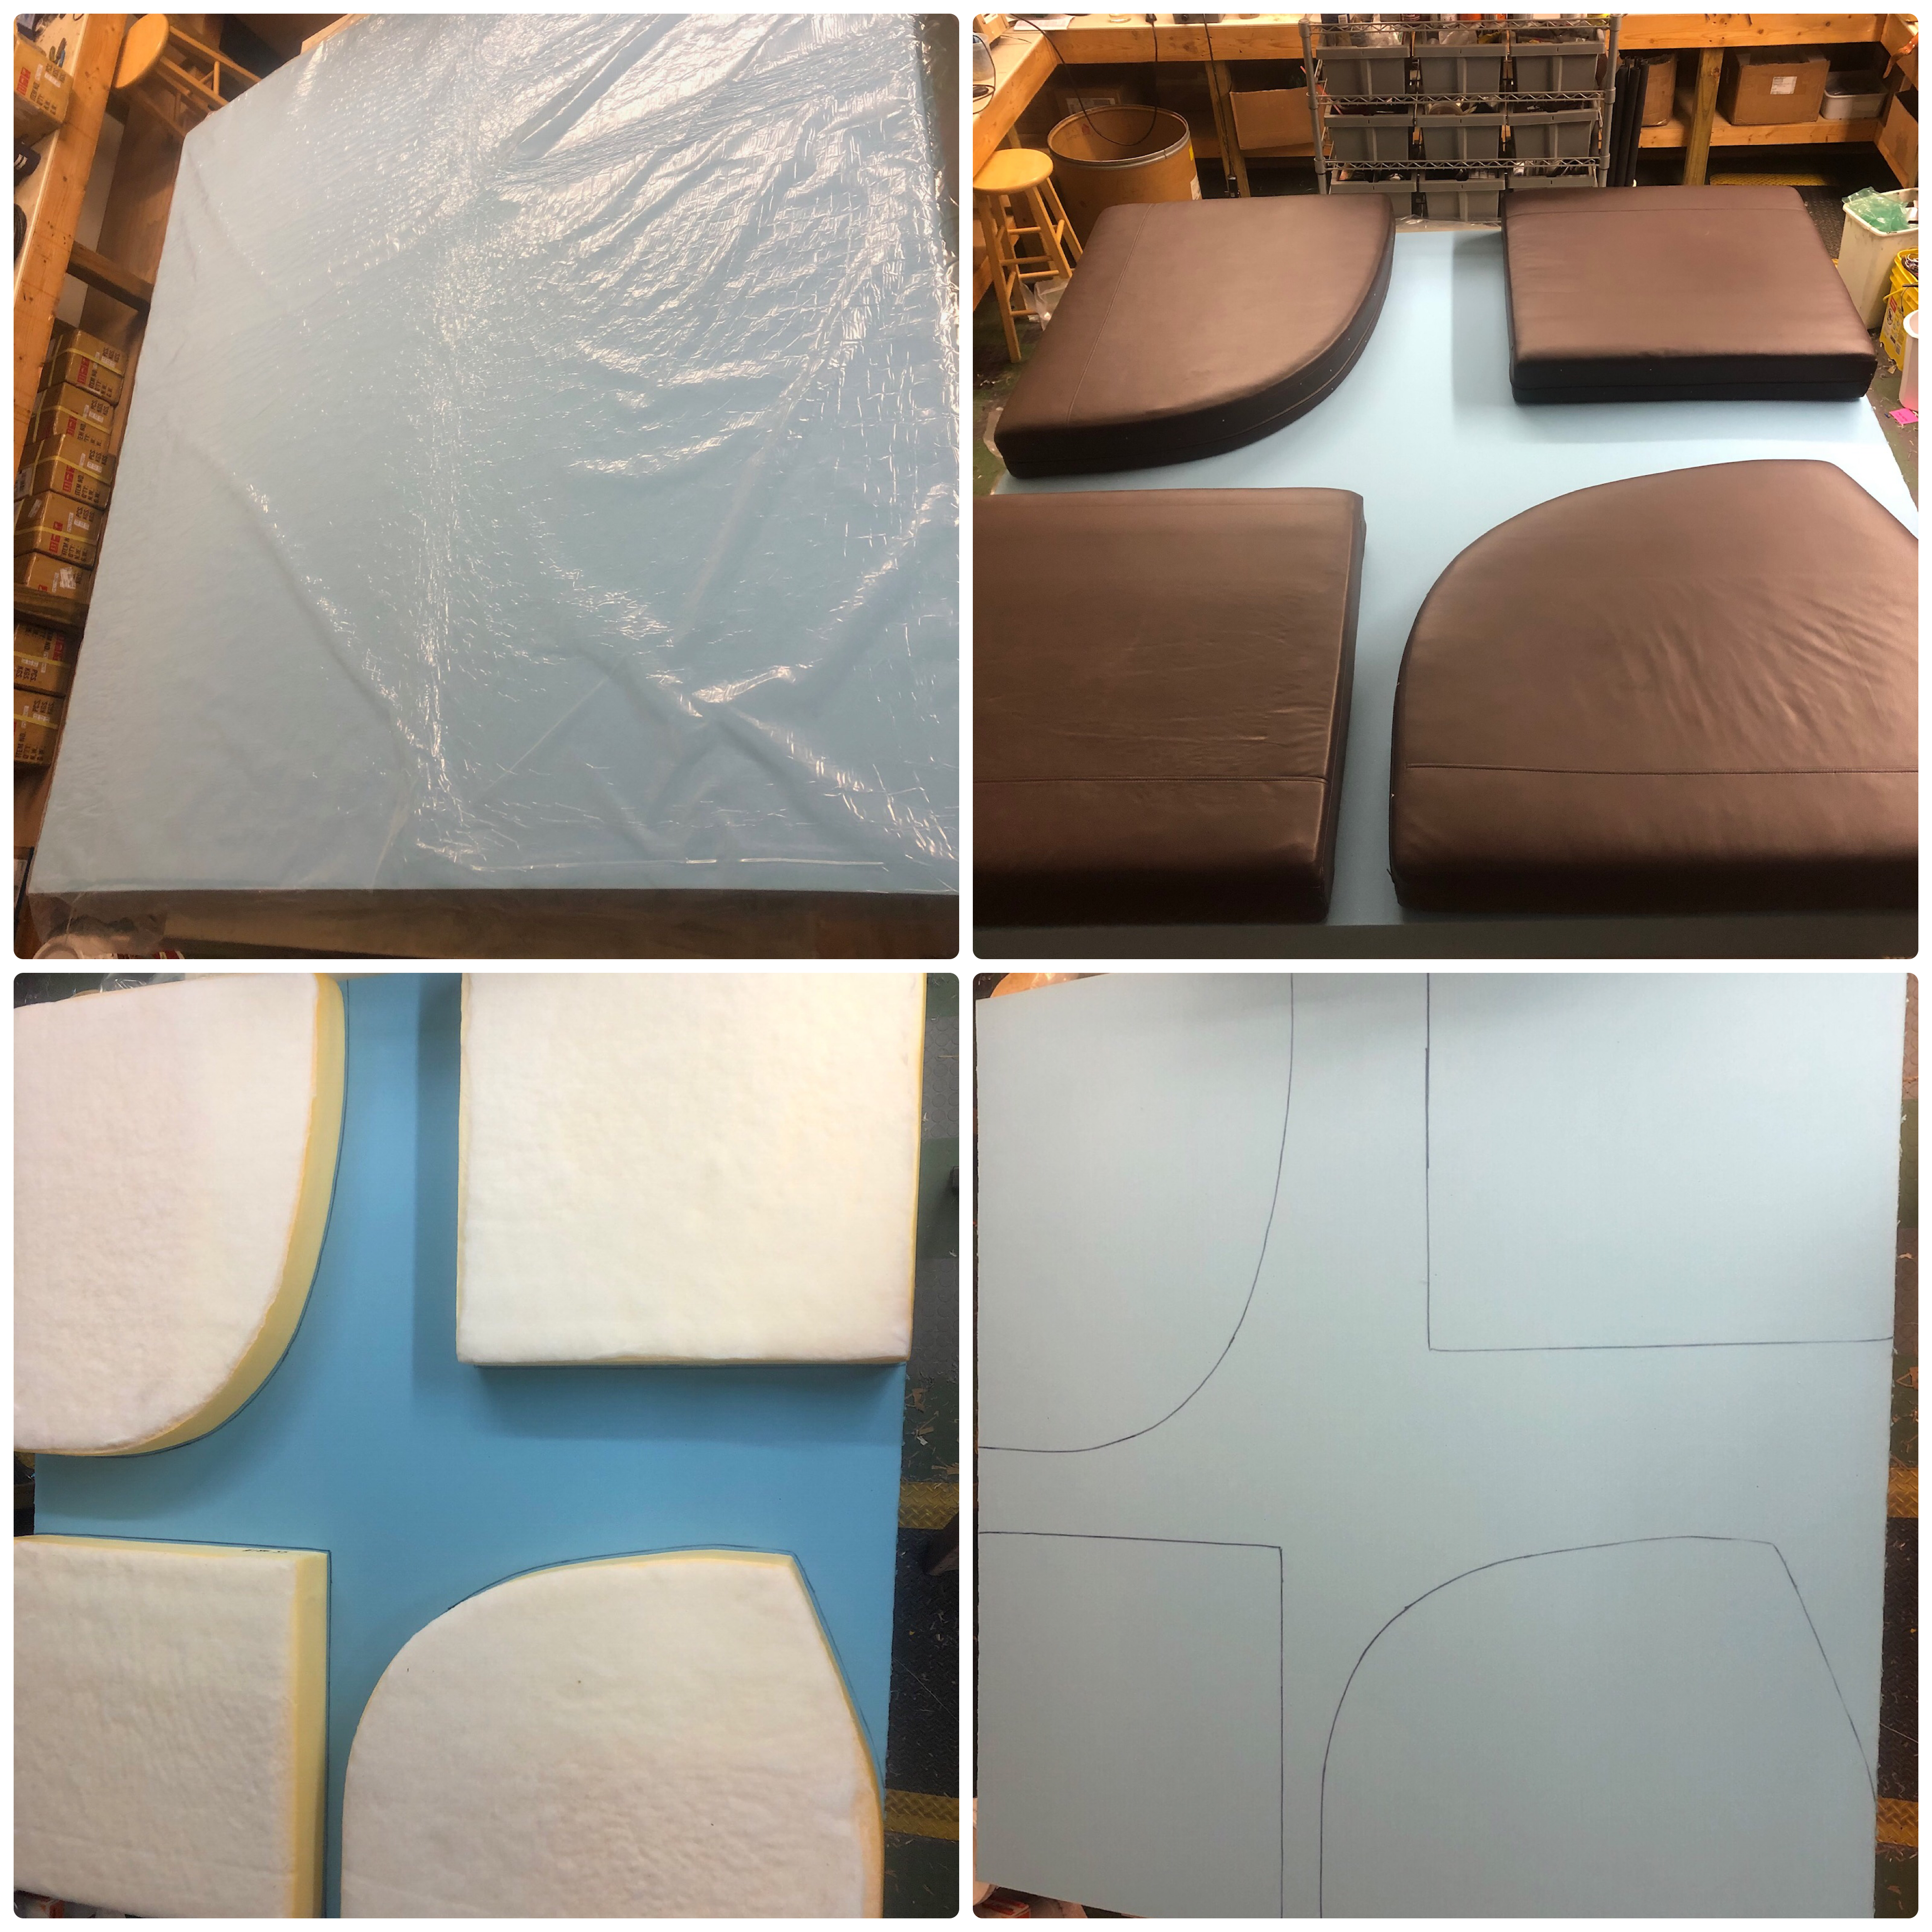
- Using an electric carving knife (I borrowed mine from my wife, SHHHHH…), rough cut-out the cushions. Cut the cushions out staying away from the finished edges at this point. You just want to get them down to more manageable size pieces from the full sheet.
- Once the cushions are roughly cut out, you can now work with the smaller pieces of foam to finish cutting the cushions. Follow the lines traced earlier on the foam with the electric carving knife. Carefully hold the electric carving knife straight up and down, allowing it to do the work. Do not apply too much forward pressure. This will insure you get nice and smooth square cuts.
- Once the cushions are cut to shape, you will want to wrap the cushion foam in Dacron. Dacron is a padded material used in quilting. The Dacron will help smooth out the corners and edges of the Lux-HQ foam.
- Attach the Dacron to the foam with 3M Super 77 spray adhesive. Spray the edges of the foam and Dacron. Press them together. Wrap the top, front, and bottom of the cushion. Leave the sides and back uncovered.
- Carefully reinstall the cushion cover over the new foam. Take your time and get everything nice and straight. Now is not the time to rip a seam or bust a zipper. A trick, which I did not use but would work well, is place the foam inside a thin garbage bag. While holding the mouth of the bag pursed around a vacuum cleaner hose, suck the air out of the foam. This will shrink the foam making it easy to slide into the cover. When the foam is in the cover, release the suction and adjust the foam. When everything is in place, simply remove the plastic bag by tearing it off the foam.
- Finally, carefully zip the cushion’s zipper closed by compressing the foam with your hand as you zip it.
There was nothing technically wrong with the factory foam. It was just too soft for my liking. That is a personal preference. With the new firmer foam installed, sitting at our dinette is much more comfortable and enjoyable. I’m what you would refer to as, “A Happy Camper!”