So, you have a trailer you’d like to remodel and you’re not really sure where to start. Once the mechanics (plumbing, electrical, and travel systems) are in order and you have a solid envelope to keep the weather out, the sky is really the limit on what you can do.
We wanted to show you some ideas for easy ways to upgrade without breaking the bank or taking six months for a complete gut and overhaul. So, we took a cue from Country Living magazine when they were given three days to spruce up a vintage travel trailer owned by Heidi Byerly of Atlanta, Georgia.
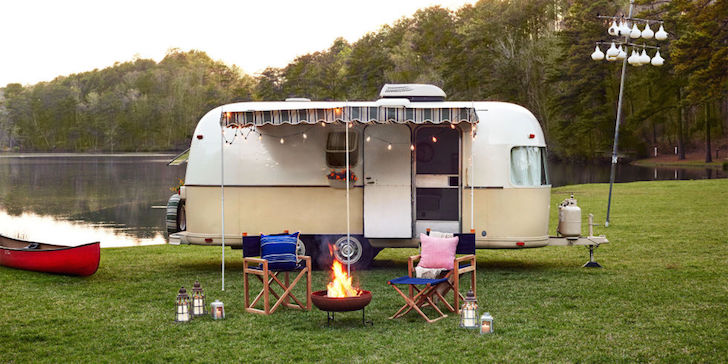
The Country Living crew were working with an American classic, the 1973 Airstream Argosy. This trailer is a champ in its class. It had good bones and had been fairly well-maintained, but it needed a serious upgrade aesthetically. Here are six areas they tackled that most any DIY-minded RVer could handle on their own.
1. Install new flooring
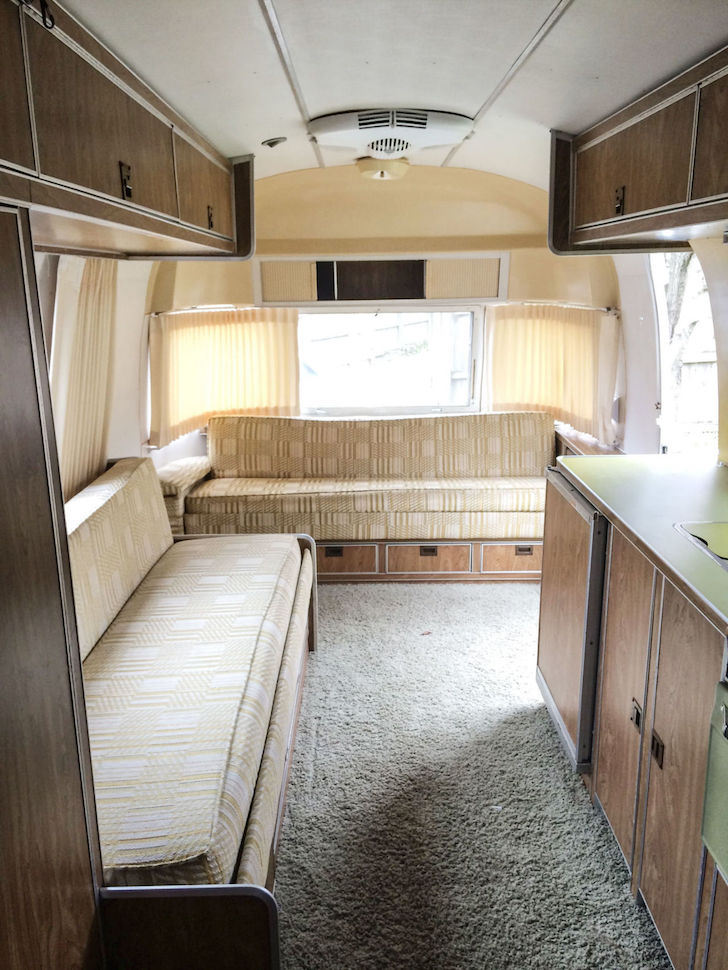
In this renovation, the old carpeting had served its time and was ready to go. They chose a vinyl flooring product from Graphic Image, but in today’s market, there are dozens of options for DIY flooring replacement, including interlocking wooden planks from Allure or Pergo flooring, like in this GMC motorhome.
While we have shared RV renovations that used both laminate and hardwood flooring, a laminate material might work best for a couple of reasons:
- Wear—the stuff is tough and it will move with your trailer. It’s also waterproof, which is a HUGE plus in travel trailers.
- Ease of installation—it does not get any easier than a product that can be cut with a box knife or stout scissors and snaps together with no glue.
2. Replace dated and worn fabrics
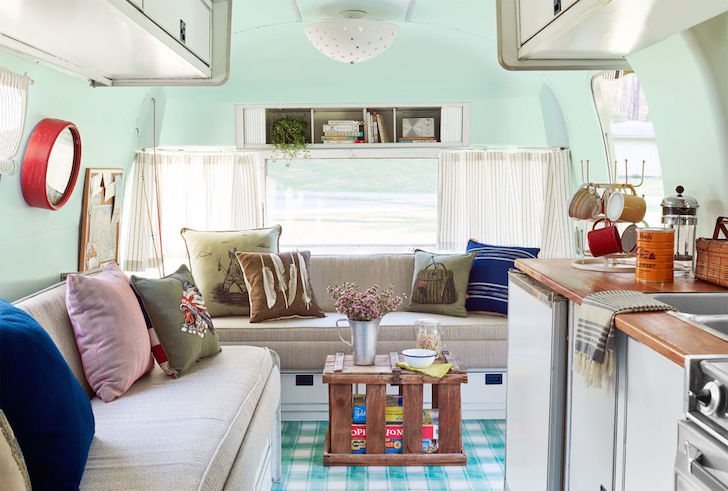
Draperies and upholstery have a big impact on your trailer’s look. In their case, the Country Living design team chose fabrics from Sunbrella and Kravet. Some tips you might consider when choosing fabrics for your RV makeover:
- Choose vibrant colors in easy-to-care-for fabrics.
- Make sure your fabric choices will stand up to sun fade, moisture, and grime.
- Rather than match your color scheme, consider fabrics as a “pop” of color and go with complementary tones.
3. Repaint, repaint, repaint
There are paints available for almost any surface. Choose the right paint and make sure your prep work is solid. Some tips on making sure your interior paint job goes smoothly:
- Clean all surfaces before painting, even if it doesn’t look like they need it. Grime and grease prevent good paint binding.
- Scrape and sand to remove loose paint and use a primer to seal any stains or problem areas.
- You don’t need the most expensive paint but don’t cheap out. Good deals can be had in premium paints if you look for mistints in colors you like.
4. Change out lighting fixtures
Many vintage trailers have 110V electrical systems, even for lighting. Today’s huge selection of low voltage and specialty LEDs lets you illuminate your RV like never before. Swap out your old fixtures and add some new ones for a great update.
- Consider wiring in low voltage LED lights so that lights can be run off 12V batteries when needed.
- Look for small-scale fixtures with low or recessed profiles to save space.
- Add wireless battery-powered lights in less common but critical places (like under the cabinets) for more visual interest and increased illumination.
5. Consider a wooden countertop
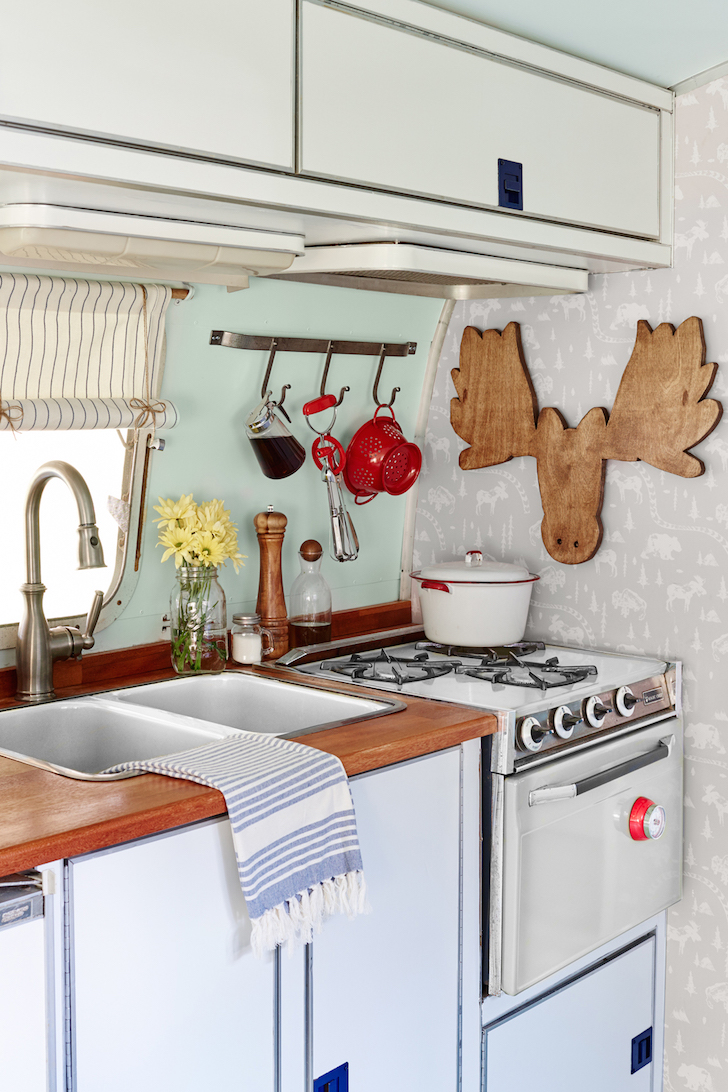
Granite is all the rage, but for trailer owners on a budget, simple lumber counters can also be a great way to go. They are easy and inexpensive to build. Heck, most DIY types already have all of the tools and skills required!
- Go simple with pine, or choose a more exotic wood.
- Counters can be stained in a huge range of wood colors, but bright colored stains, such as red, green, and blue are also available. My home kitchen has gray wood counters. We love them!
- Wooden countertops are also highly durable and the more they get used, the more beautiful they become. Keep stain and finish on hand for touch-ups.
6. Don’t forget the exterior
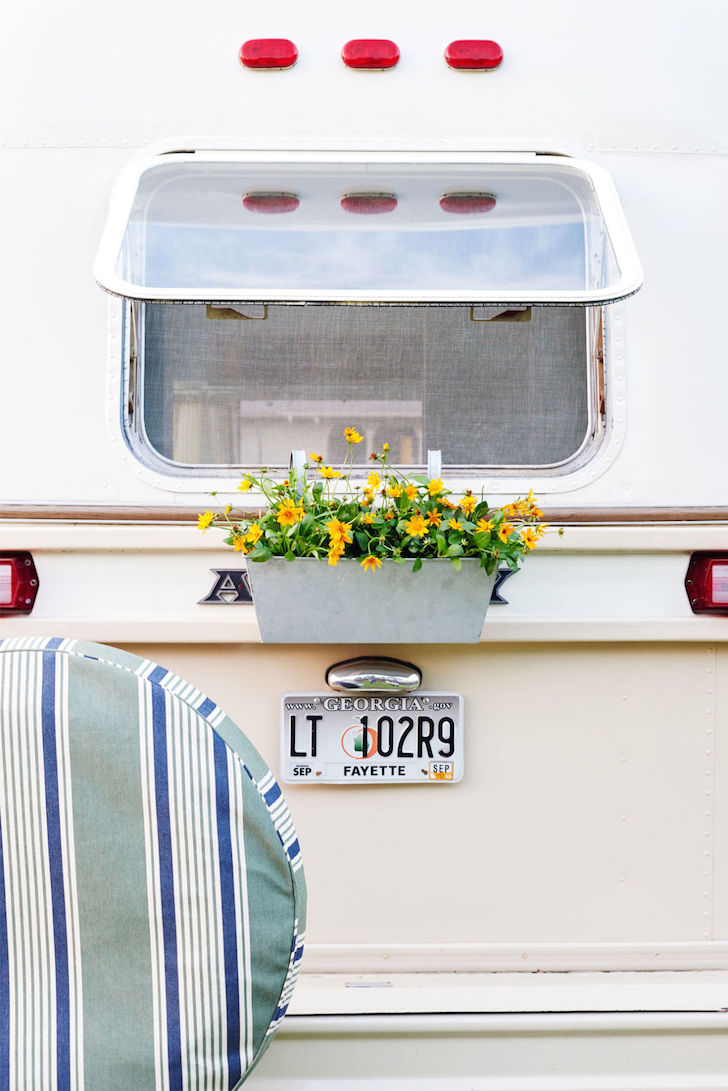
In this particular renovation, the Country Living team added a window box and awning for not a lot of money or time that expanded the outdoor living space and gave the camper a homey touch. Be creative in how you handle your exterior.
- Think of adding value as well as appearance. We have shared stories that featured simple mounts, such as a flag holder or a wall-mounted bottle opener.
- Decals, vinyl, and prefab stickers are a great way to get the look you want, especially if the paint is already solid. You can also remove the original vinyl decals on your camper.
- A paint job is typically an investment that pays off. It will increase the resale value, protect the trailer from the elements, and enhance your own enjoyment of the trailer. Hire a pro for best results—or do it yourself if you’re ready to use some elbow grease!


Although, the redo is nice, why on earth did they ruin what appears to be a stunning original Airstream/Argosy Minuet ??
There are not that many left in original condition.
Next time, choose something not an original classic to restomod, ok?
RESTORE= Make as it was when new using only period correct/original items/materials
RESTOMOD= Repair/modify/fix to a usable condition using modern and/or vintage items/materials
Enjoy LIFE, go RV’N !! craig
I am removing the boarder in my camper and i am not able to get the glue off the walls. I have tried the store bought stuff and home made stuff. Any suggestion are greatly appreciated.