How To Install A New Side & Rear Awning On Your RV
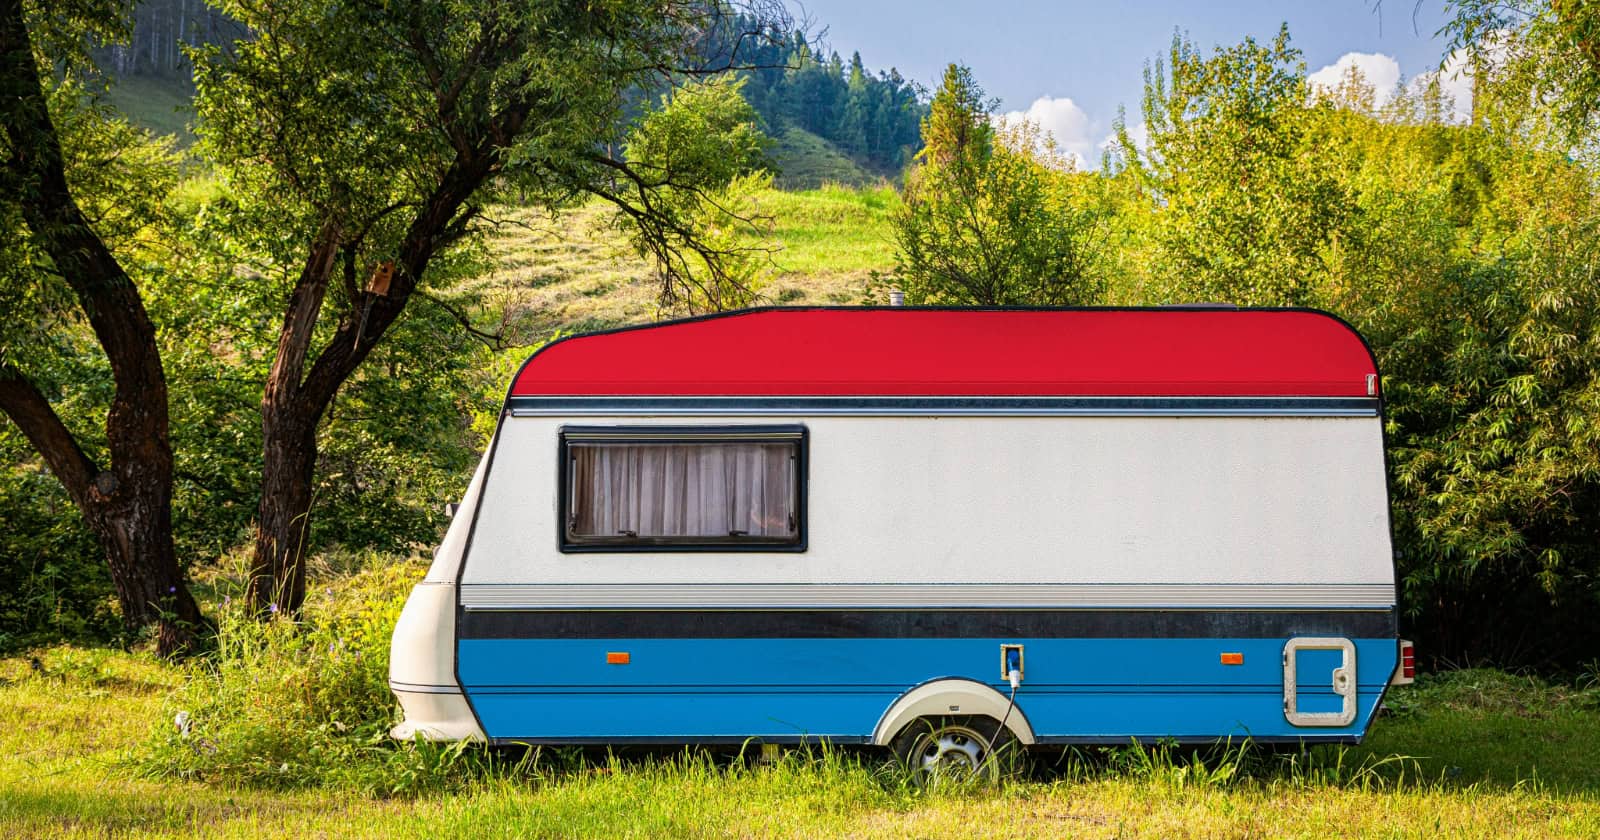
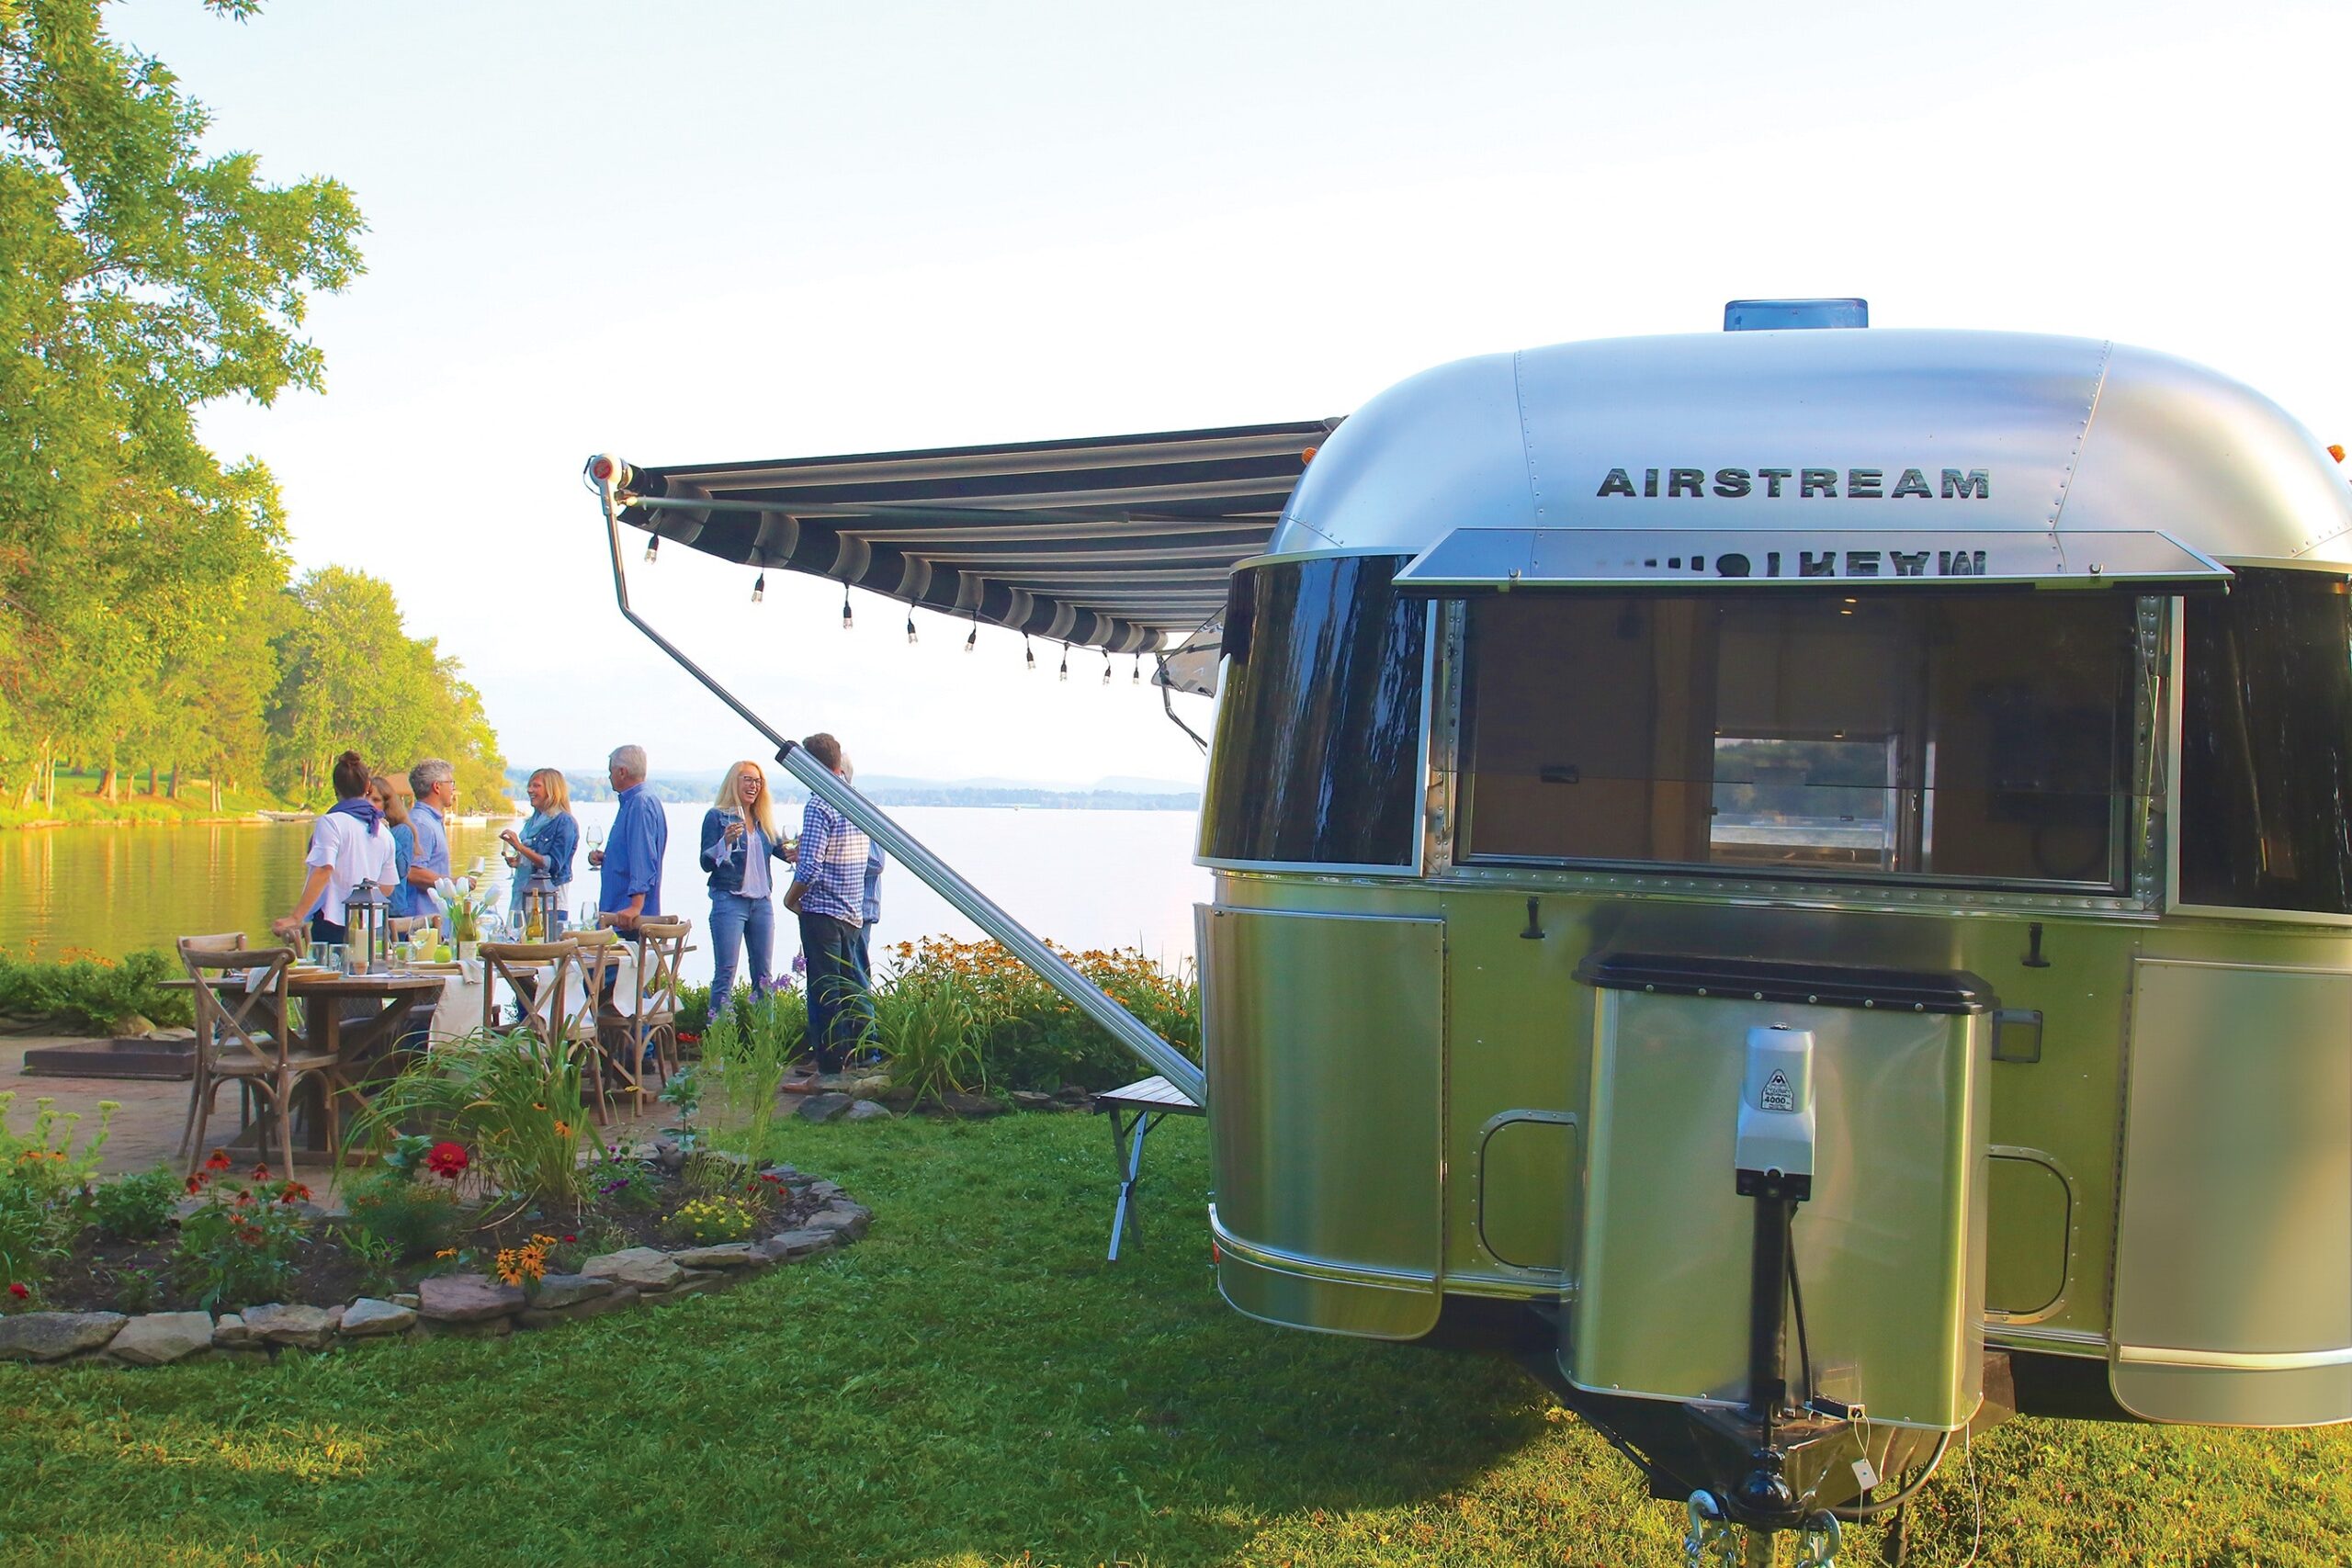
When we purchased our 23D Airstream International, it did not come from the factory with the optional street side and rear awning package. These awnings work great to help keep the trailer cool in the summer by providing shade from direct sunlight.
This “little” project is on the high-end of the skill set chart and requires good planning and at least one set of extra hands to complete. It took a total of 5 hours and 45 minutes to install both awnings.
On a difficulty scale of 1 to 10, I would give this project a 7. This project requires some technical skills like the ability to measure accurately, use sealants properly, and the courage to drill holes in the side of your Airstream.
This is my “Unofficial Guide” to installing a Zip Dee street side and rear awning on an Airstream.
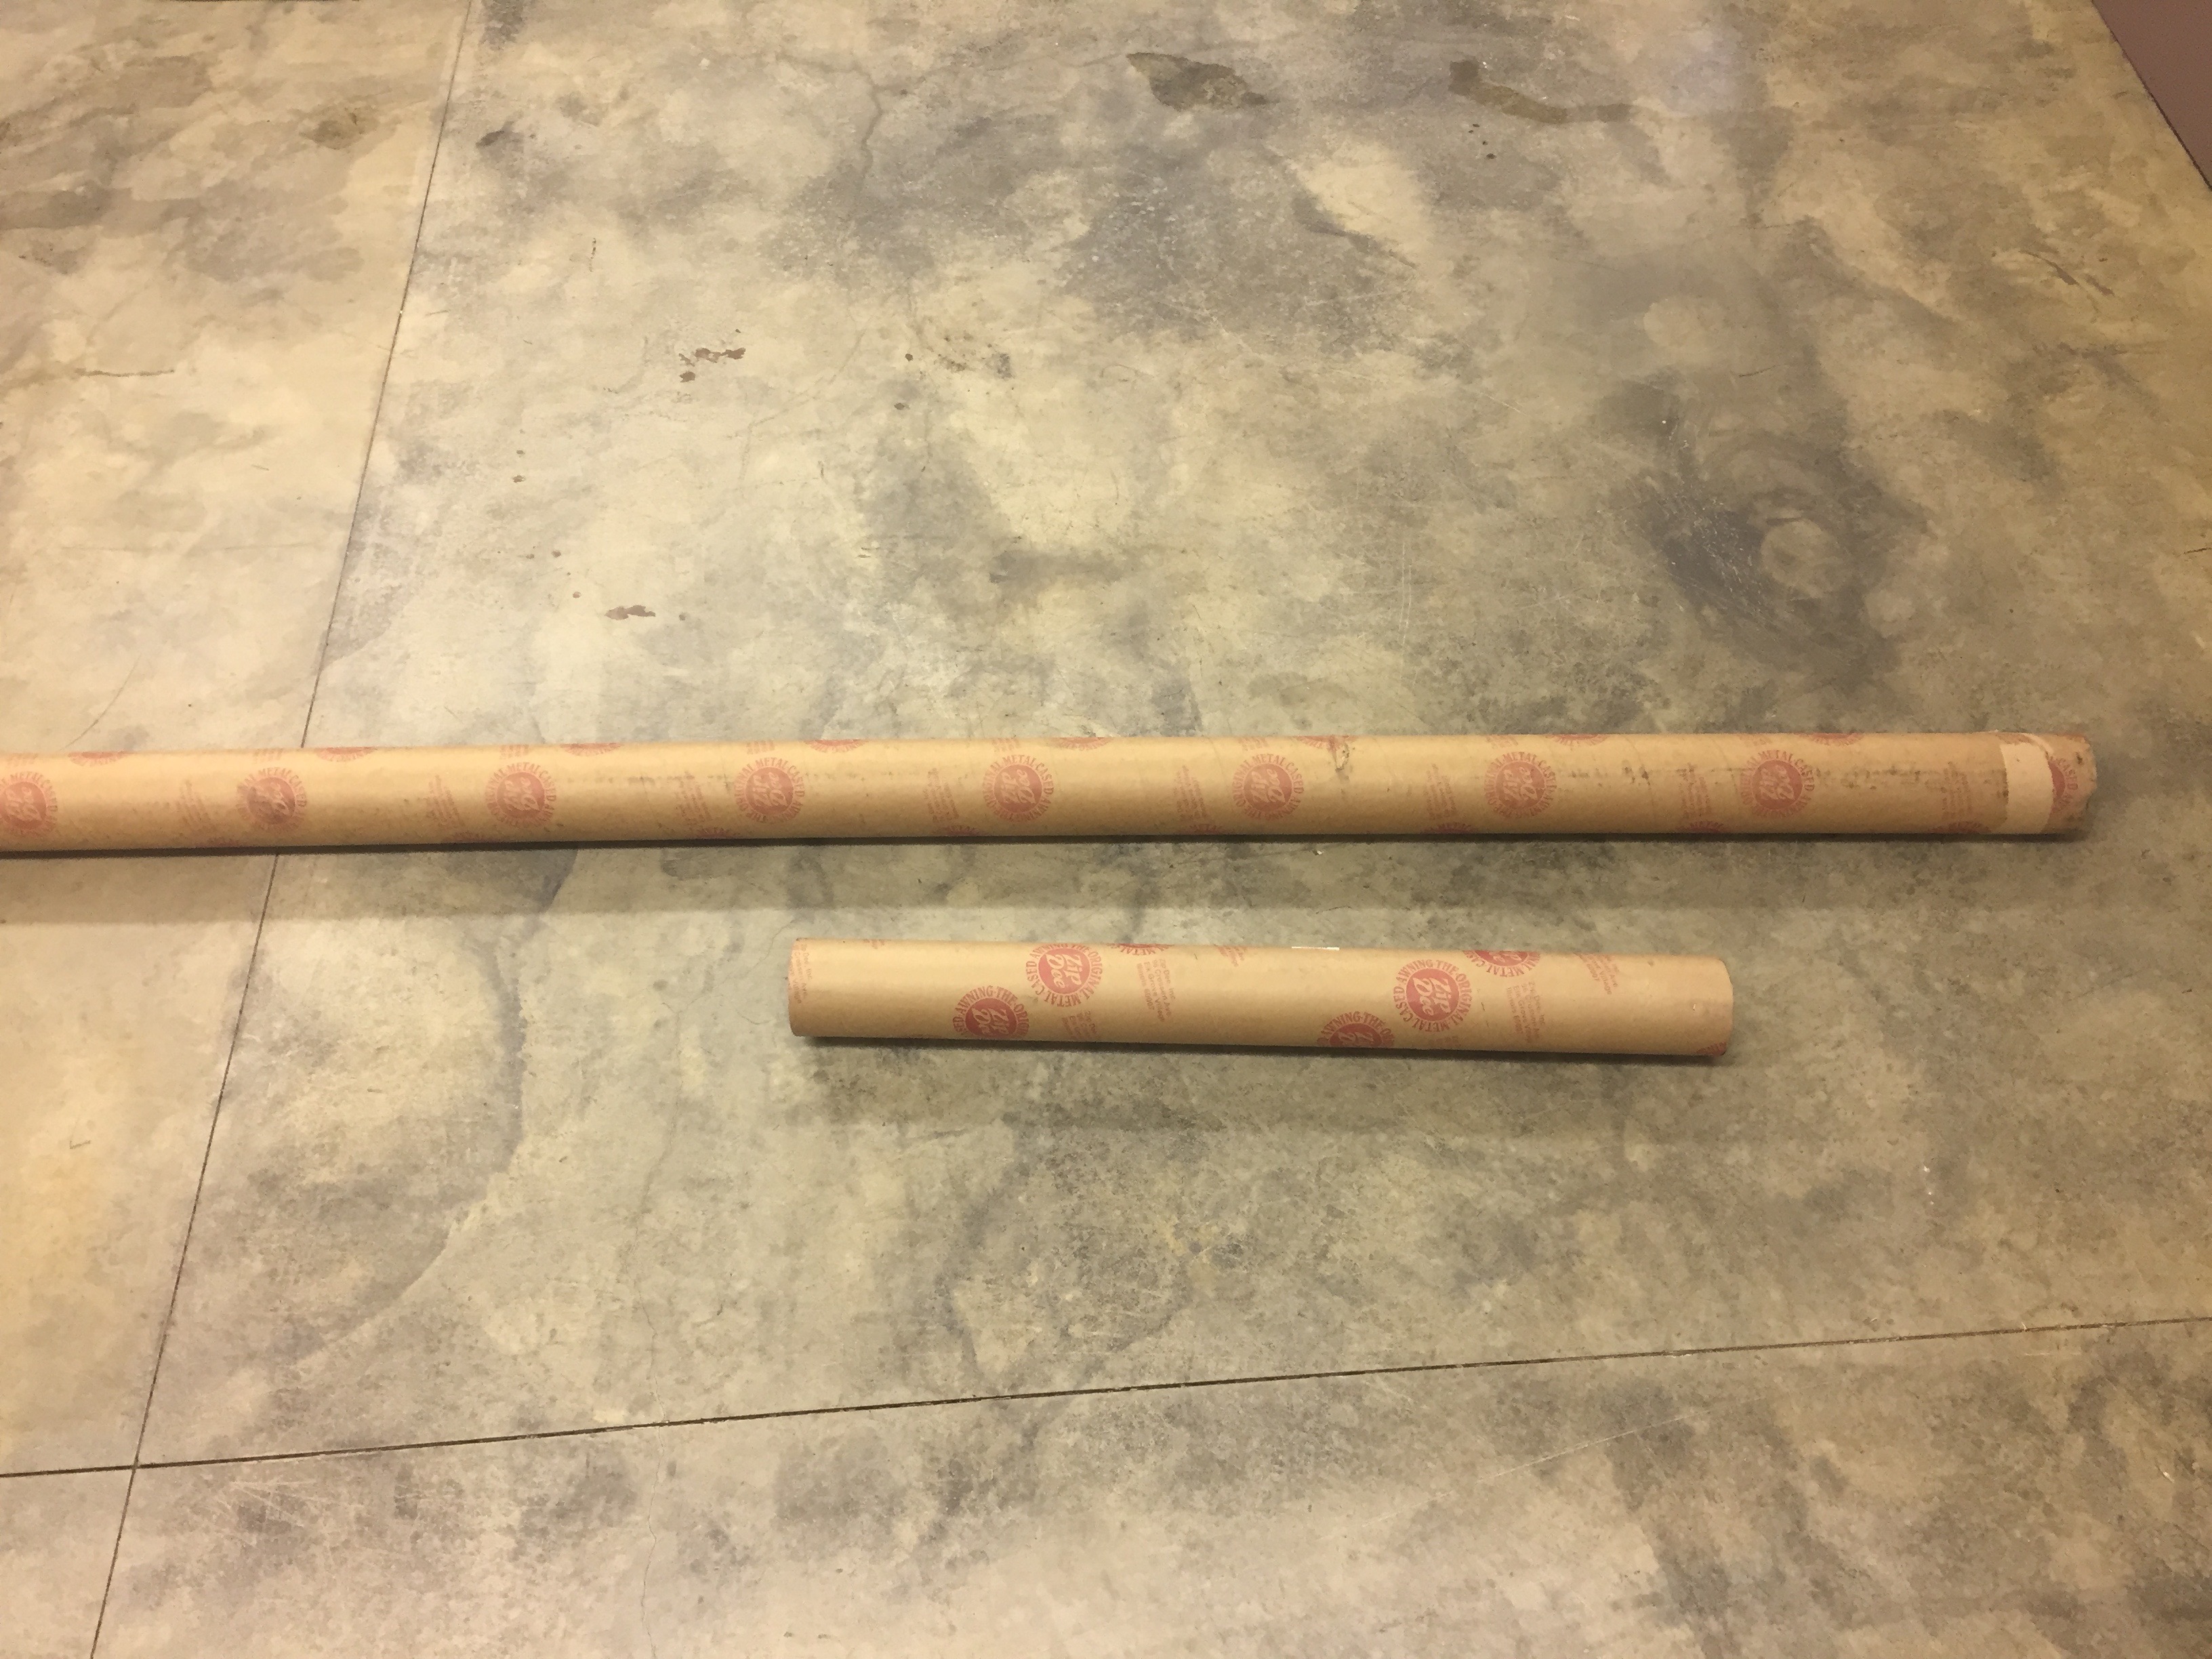
I ordered the awning straight from Zip Dee. Jimmy, in customer service, was awesome to work with. He asked for the year and length of my trailer. From that information, he knew the awning lengths (13′ 5 1/4″ and 47″), color (charcoal tweed), and mounting hardware.
The cost of the awnings was $892.00 for the street side and $308.00 for the rear plus $286.00 freight. The awnings shipped eight days after I ordered them and arrived two days later to my home. All of the mounting hardware was included in the kit, and all that was needed to complete the project is listed below.
Tools needed:
- Cordless drill
- Tape measure
- 16” flexible ruler (for fine measuring)
- 2 ladders (at least 6’ workable height)
- 5/32 inch drill bit (I cut mine off, so they only extended past the drill chuck 3/4”)
- 13/64 drill bit (This prevents the bit from being too long and drilling through interior skin)
- (2) 7/16 inch wrenches
- 2 tubes of Sikaflex 221 caulk
- Painter’s tape or Stucco tape
- Pop rivet gun (I have an Alcoa pneumatic rivet gun. It made this job easier than using a manual pop rivet gun.)
Laying out and mounting the awning rail
The first step was to lay out the awning rail using the measurements provided in the installation instructions. From the top of the window, you will establish a mark on each end and the middle of the trailer. I chose to use tape to hold the awning rail in place so that it would lift up like a hinge for cleaning debris out after drilling.
Use a piece of tape on the bottom of the awning rail to secure it while drilling holes. This allowed me to lay out, mark, and drill all the holes with the awning rail secured.
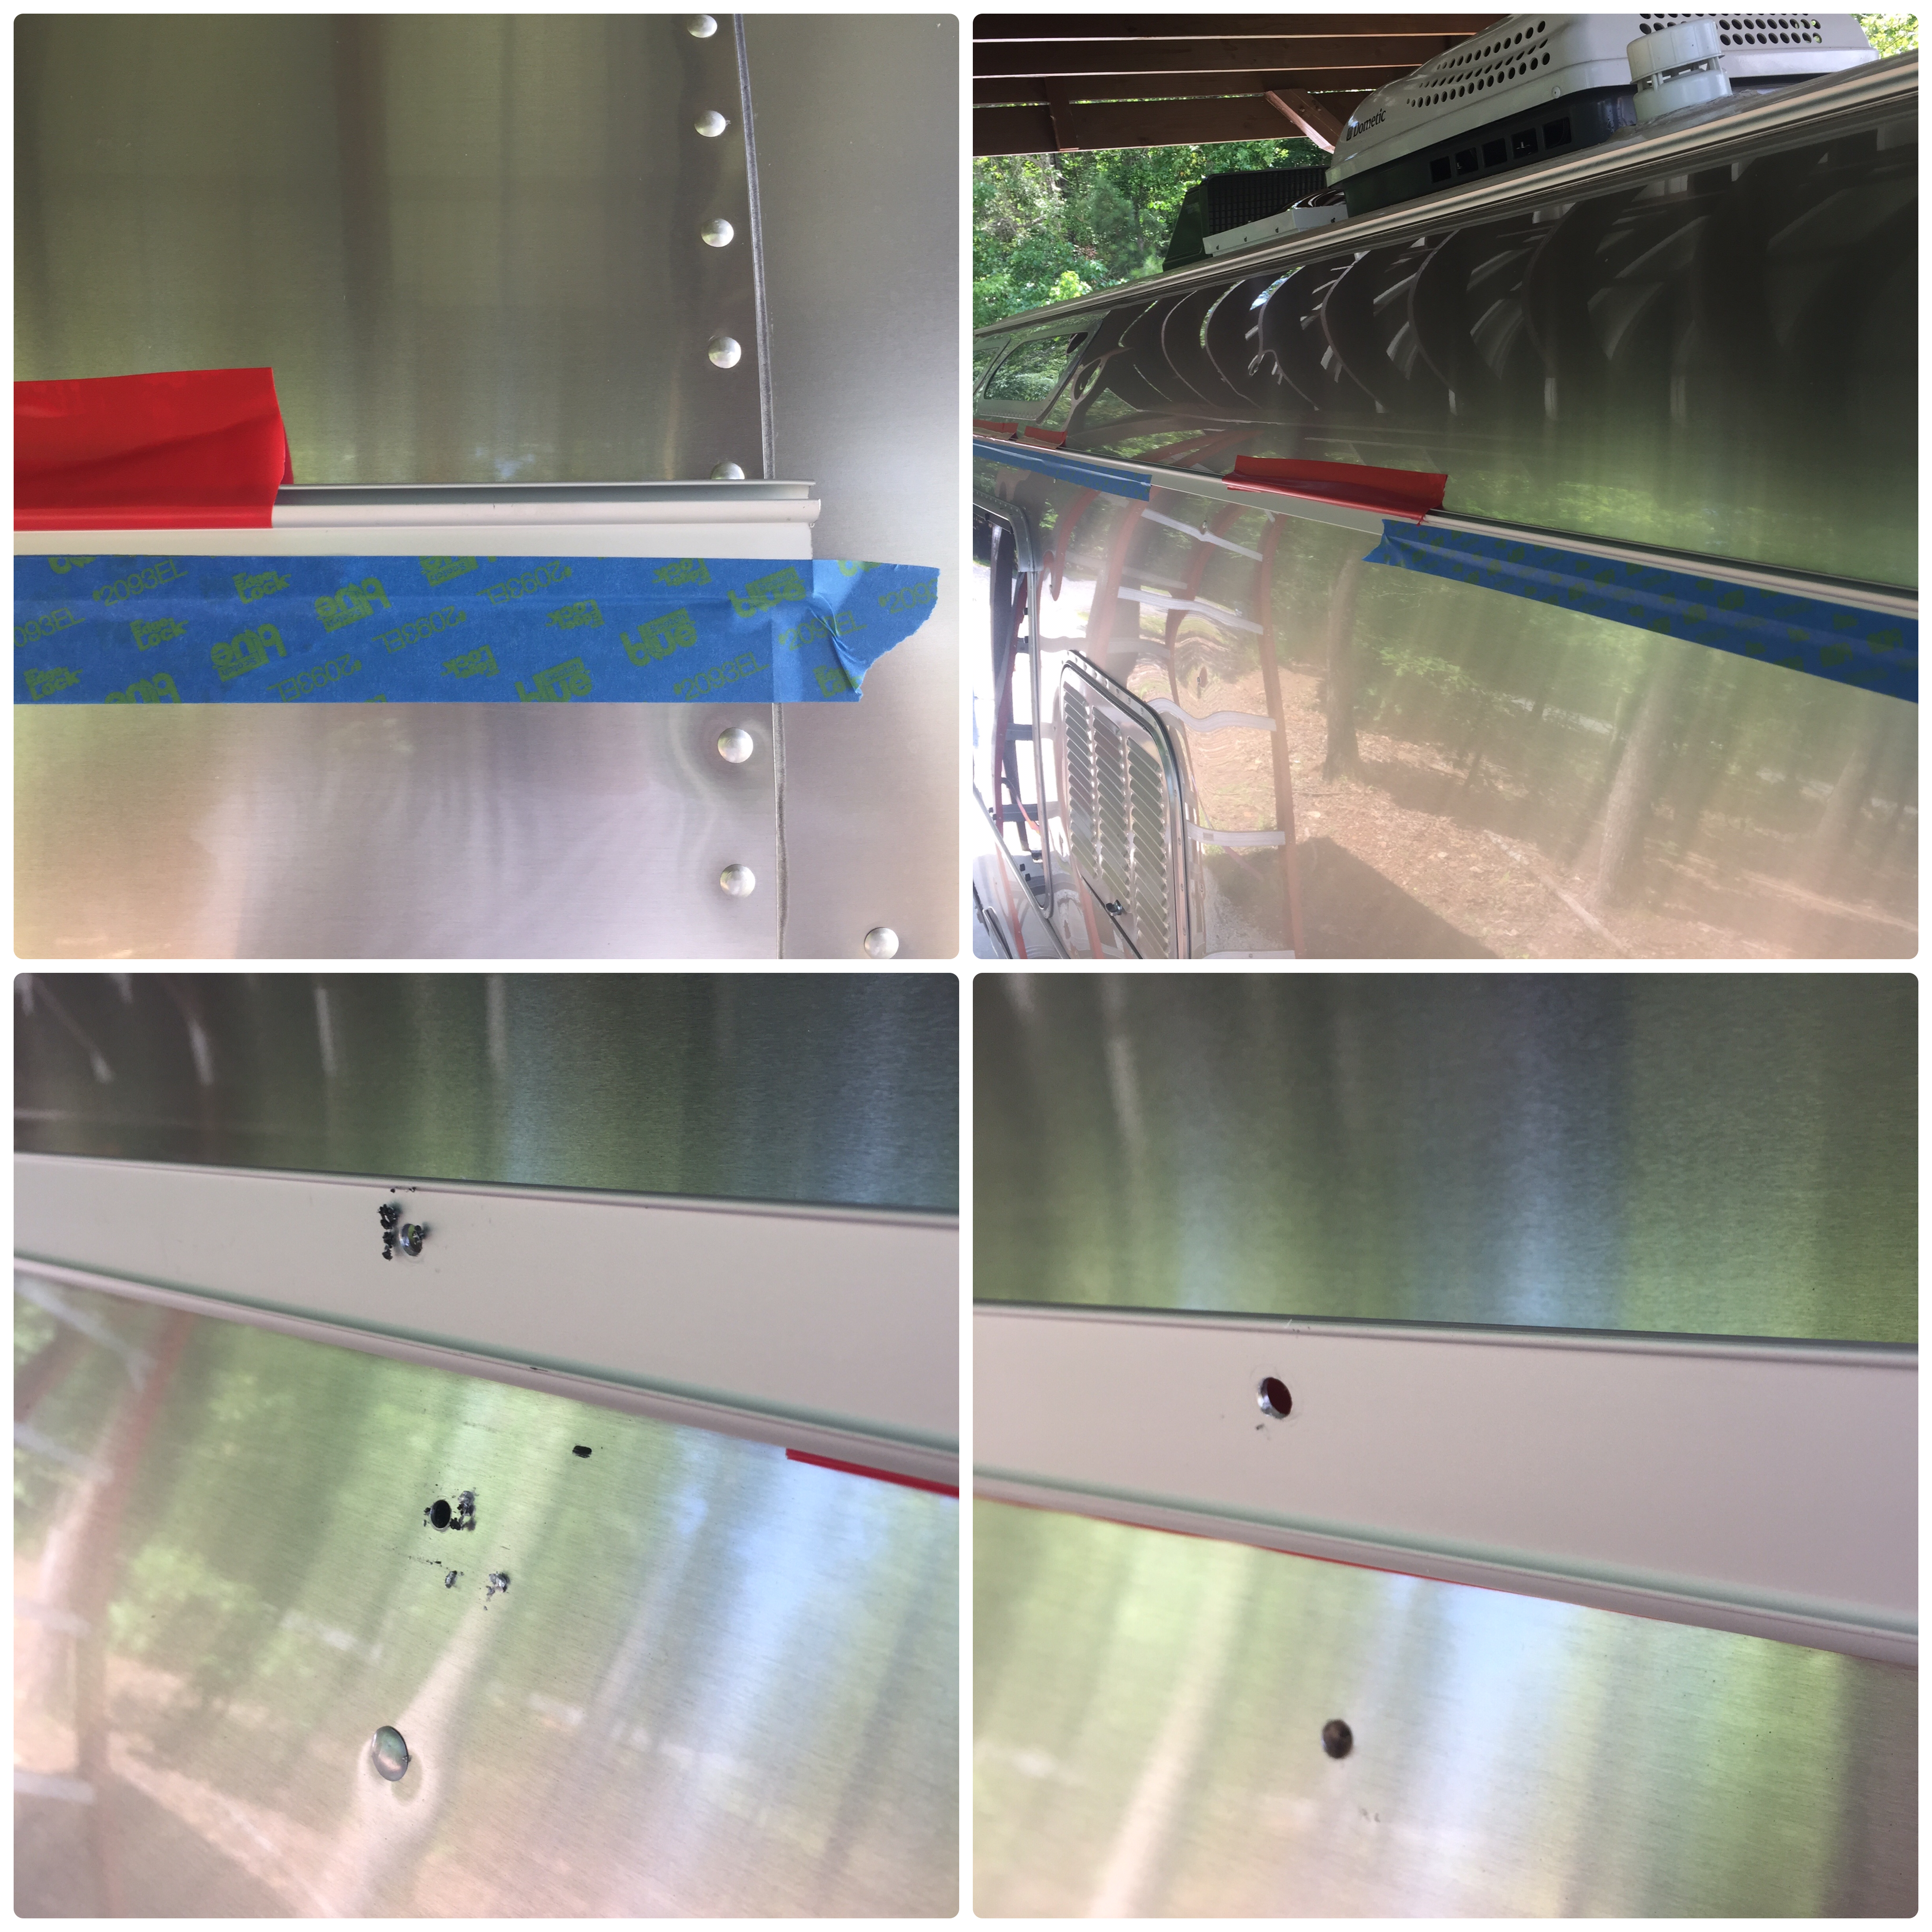
Then remove the bottom tape, lift up the awning rail, sweep away any drill shavings, and apply a bead of caulk under the rail before pop riveting in place. Stucco tape works great for holding the awning rail in place and can later be removed without leaving any sticky residue.
Rivet the awning rail in place
As you drill the holes for the awning rail, make sure to insert the supplied Olympic pop rivets into each hole as you go to ensure proper alignment. Note that the excess sealant around the Olympic rivets in the photo will be removed with mineral spirits once the rivets are expanded and installed in place.
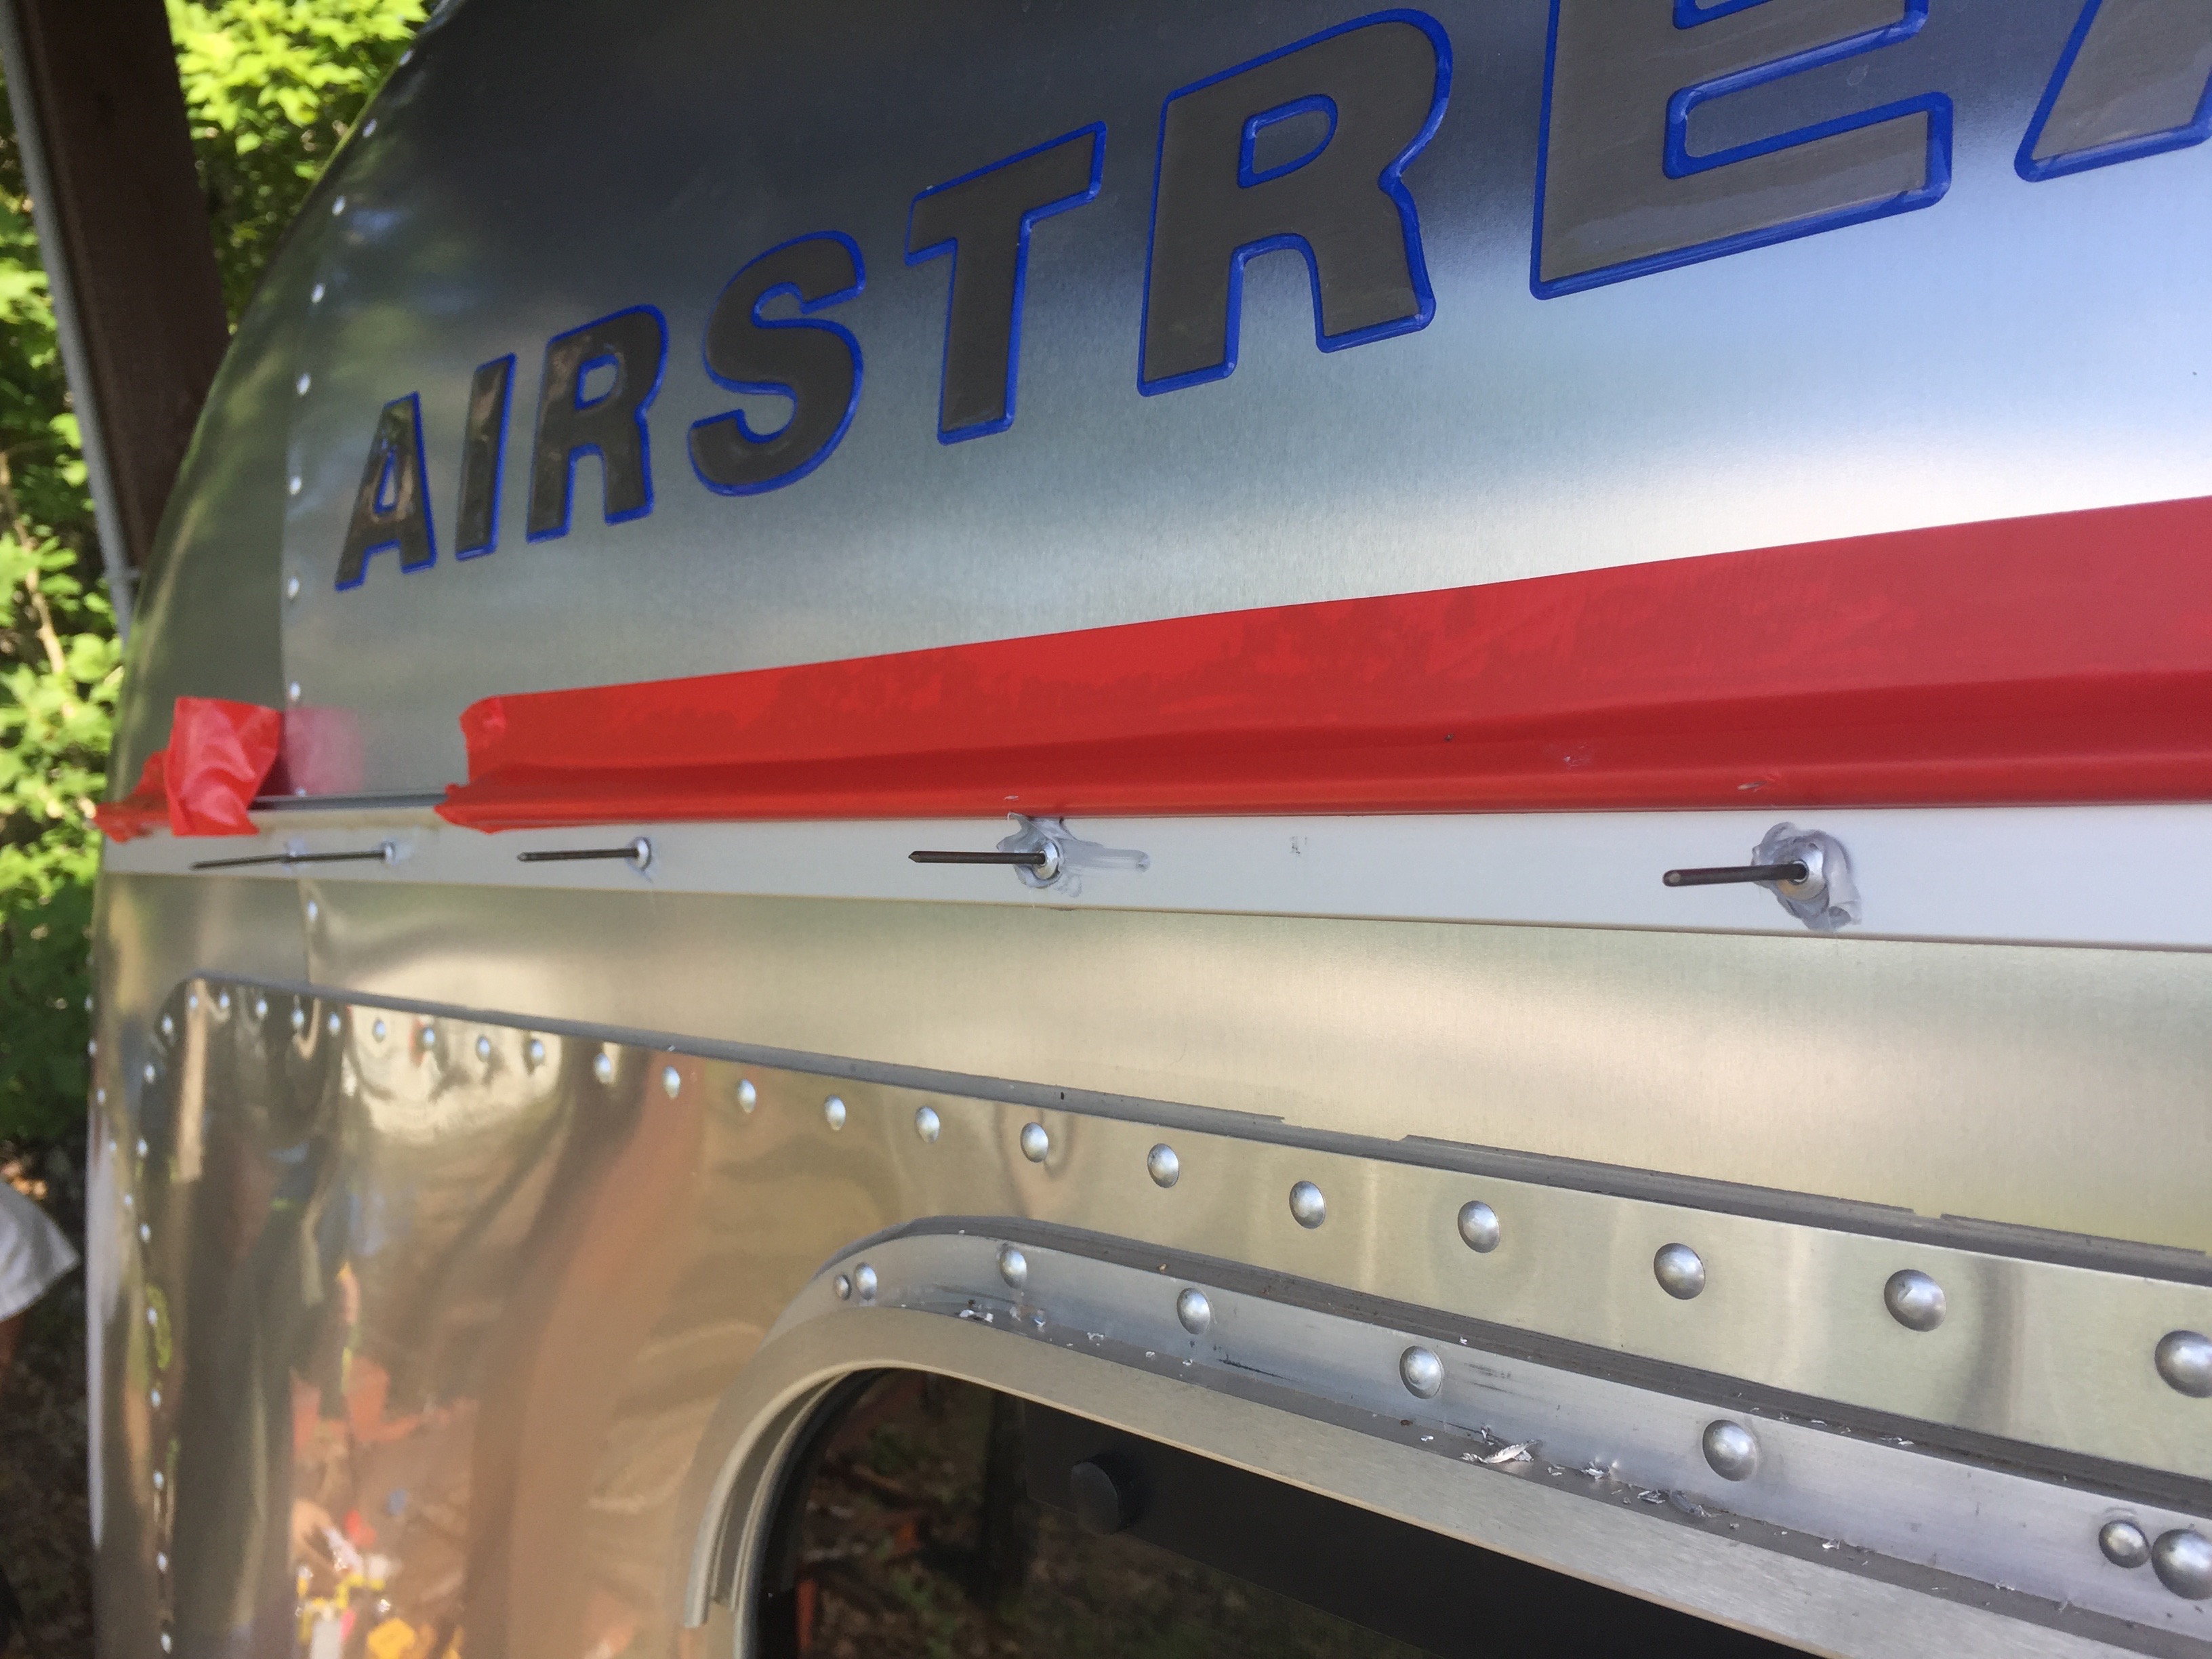
Seal the awning rail
With the rail now riveted in place, use painter’s tape to mask off a straight line above the rail for caulking. Caulk the top edge of the awning rail with Sikaflex and bed/smooth the bead of caulk with your finger. Once you remove the tape, you get a nice straight line.
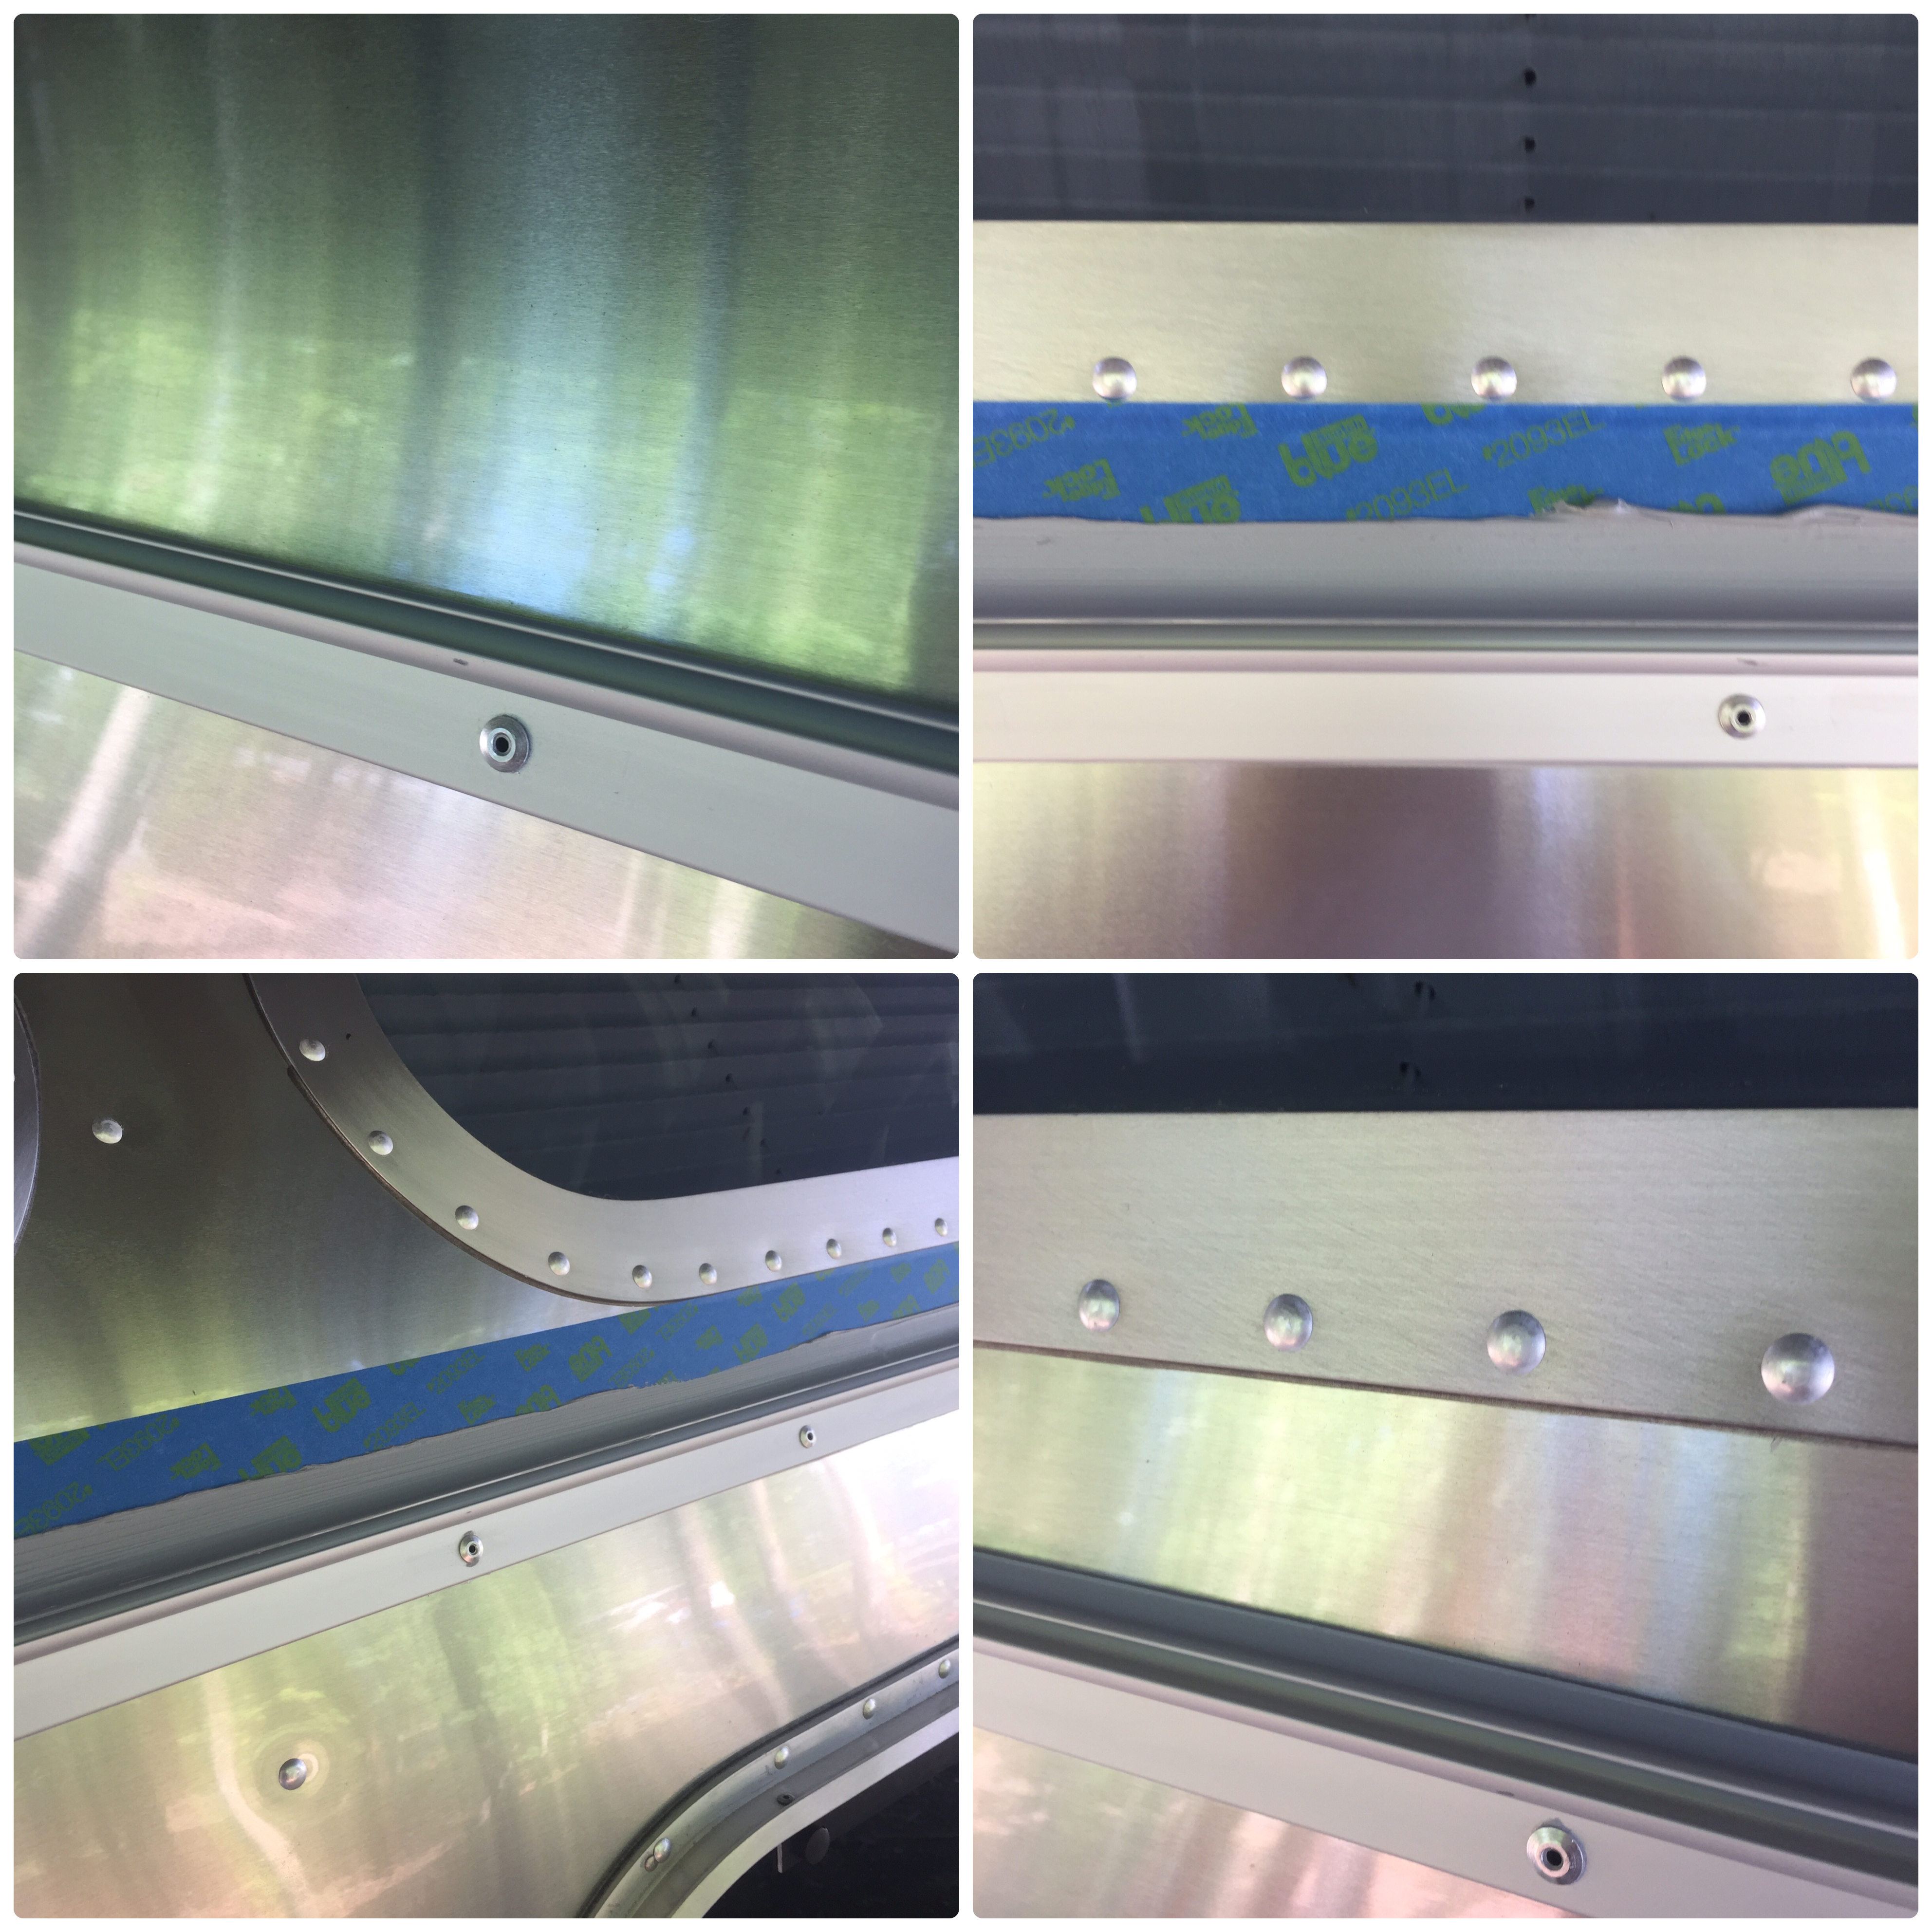
Mount the awning arms
Mounting the awning arm hardware was the same process using the measurements that Zip Dee included in the instructions. Drill holes in the appropriate locations from the measurements provided, apply a small amount of Sikaflex down in the holes drilled, hold the awning arm brackets in place, and use the supplied Olympic rivets to mount in place.
Any Sikaflex that squeezes out from under the awning rail or around rivets should be removed and cleaned with mineral spirits and a soft cloth.
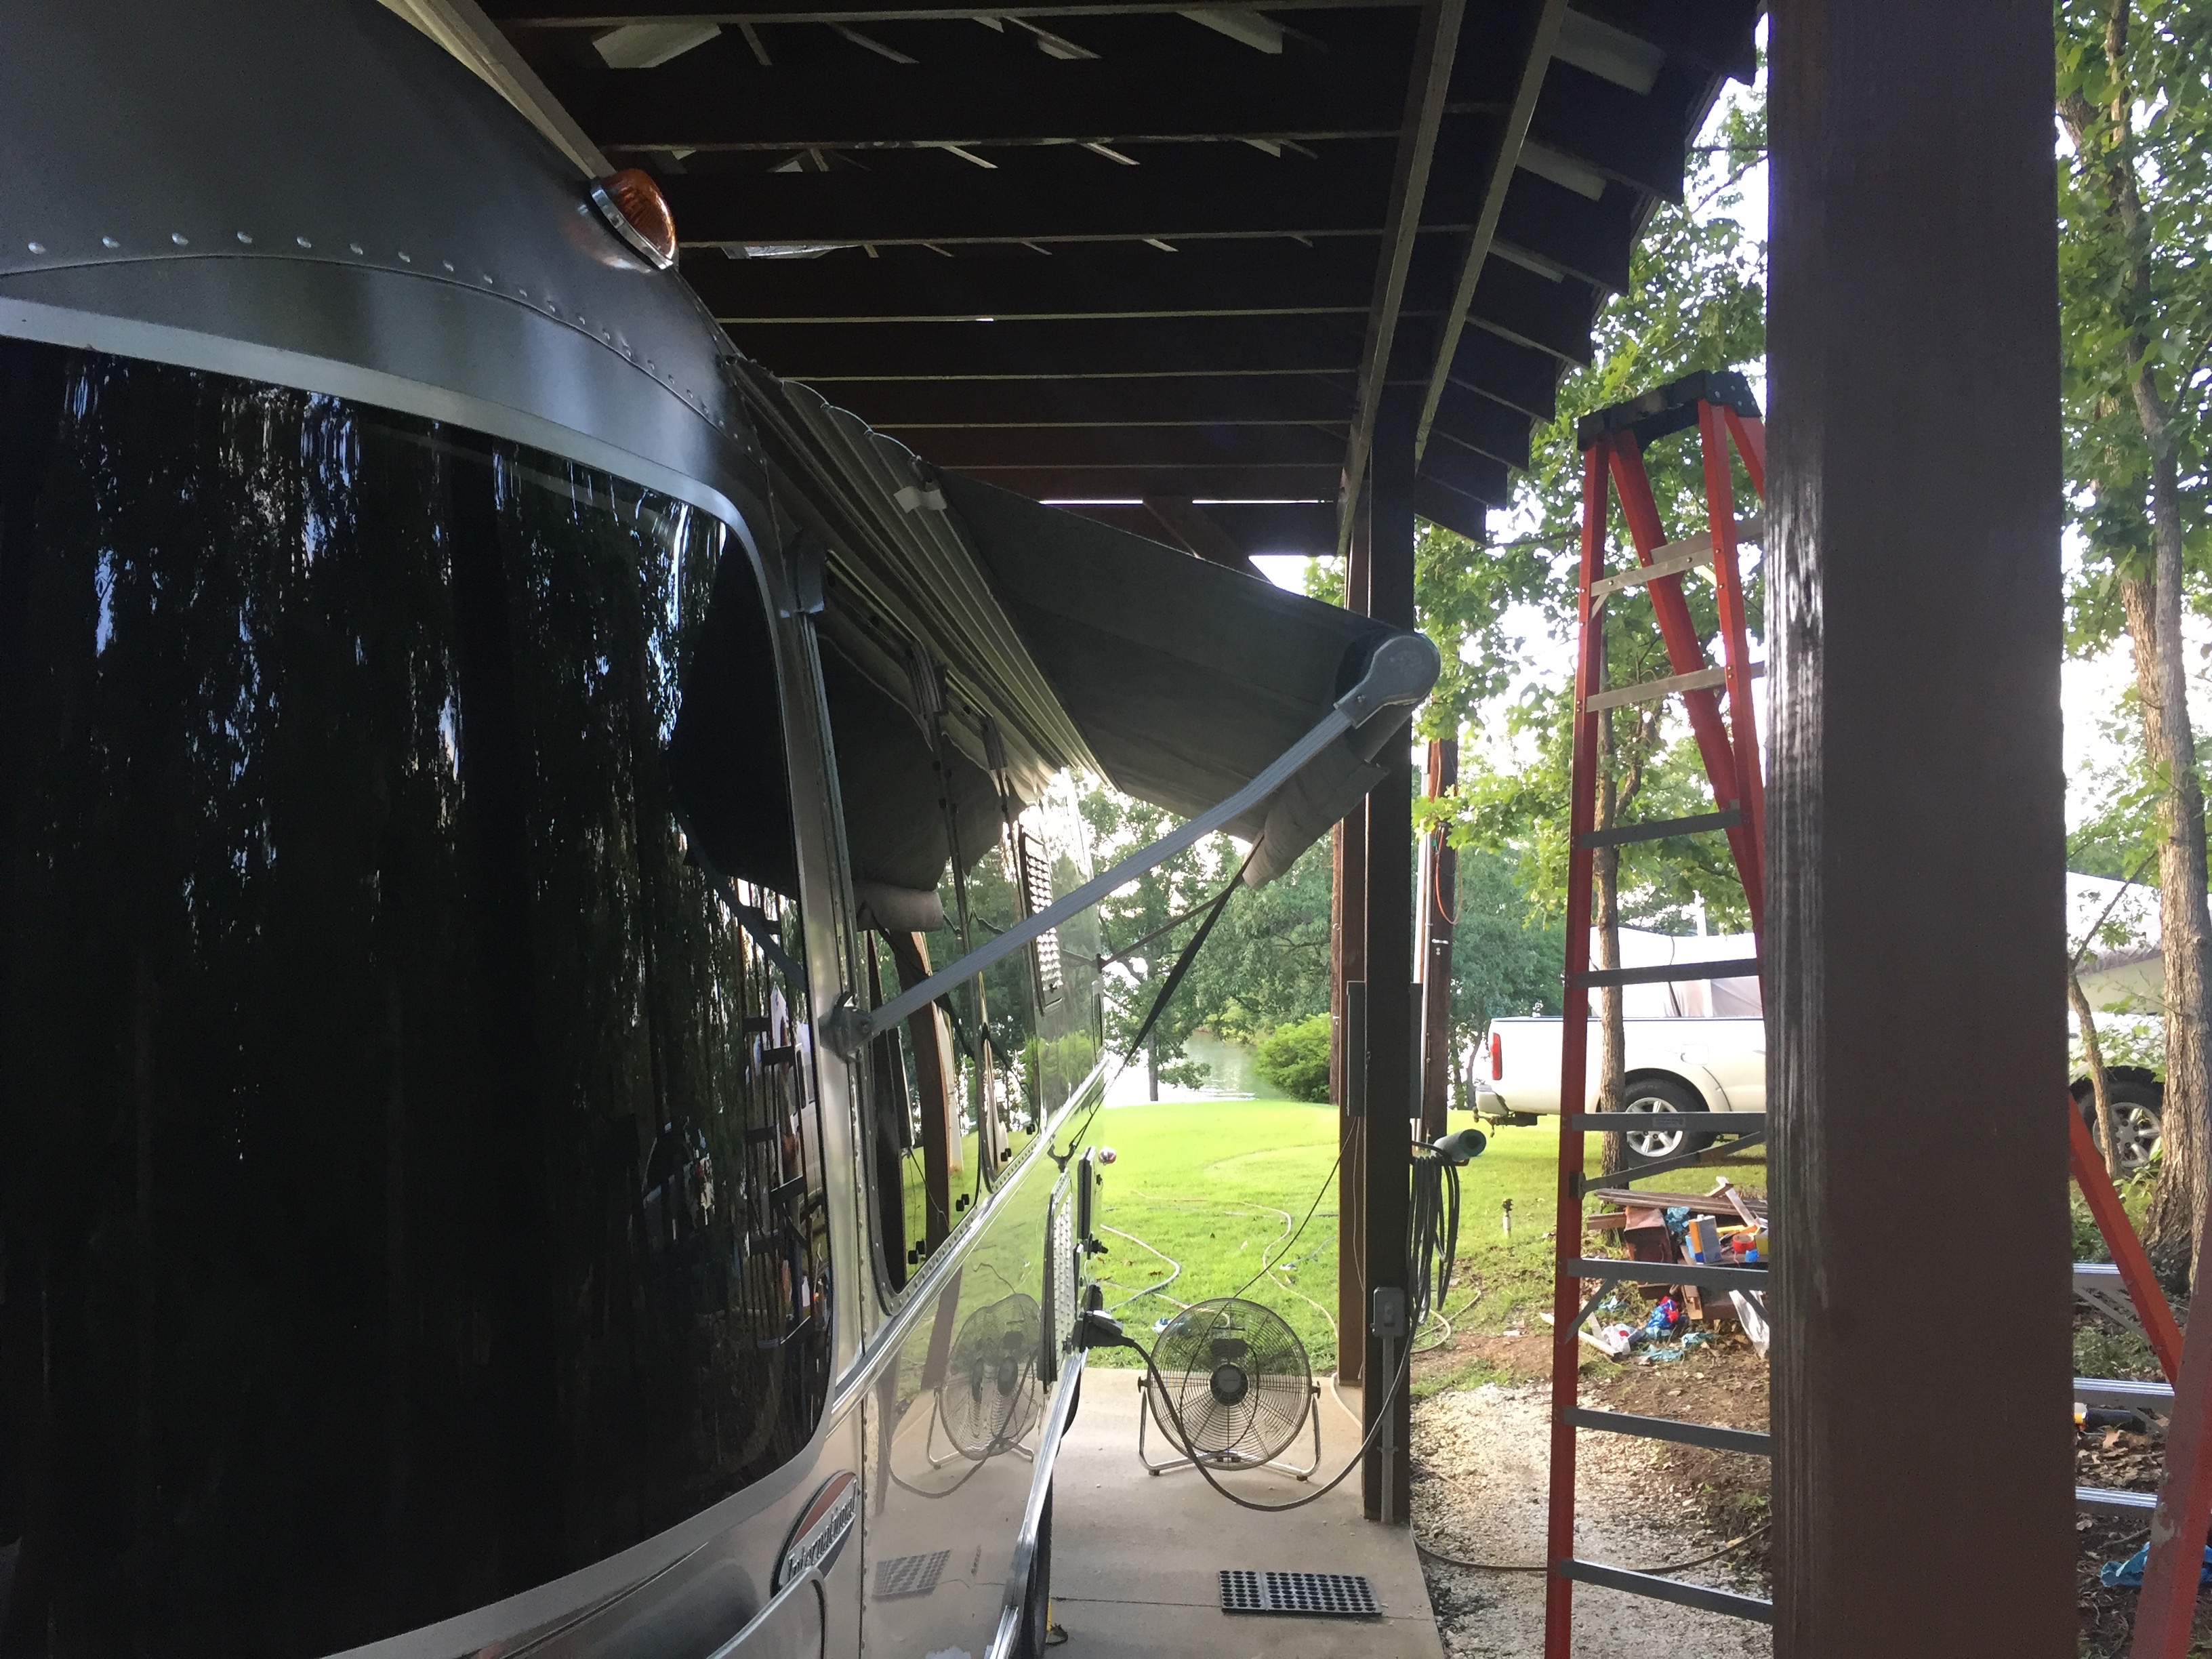
Slide the awning into the mounted rail
Now is where you really need that extra set of hands. The next step is simply sliding the awning bead into the awning rail’s C-channel.
With your helper supporting one end of the rolled-up awning, carefully slide the mounting bead into the awning rail’s C-channel while preventing the awning from hitting the side of the trailer.
Charge the awning spring
Next, connect the awning arms to the awning roller and charge the awning spring the proper number of turns. This is accomplished by turning one of the awning arms clockwise (15-17 turns for mine). Once charged, bolt the awning arms into the awning arm lower brackets previously mounted to the side of the trailer.
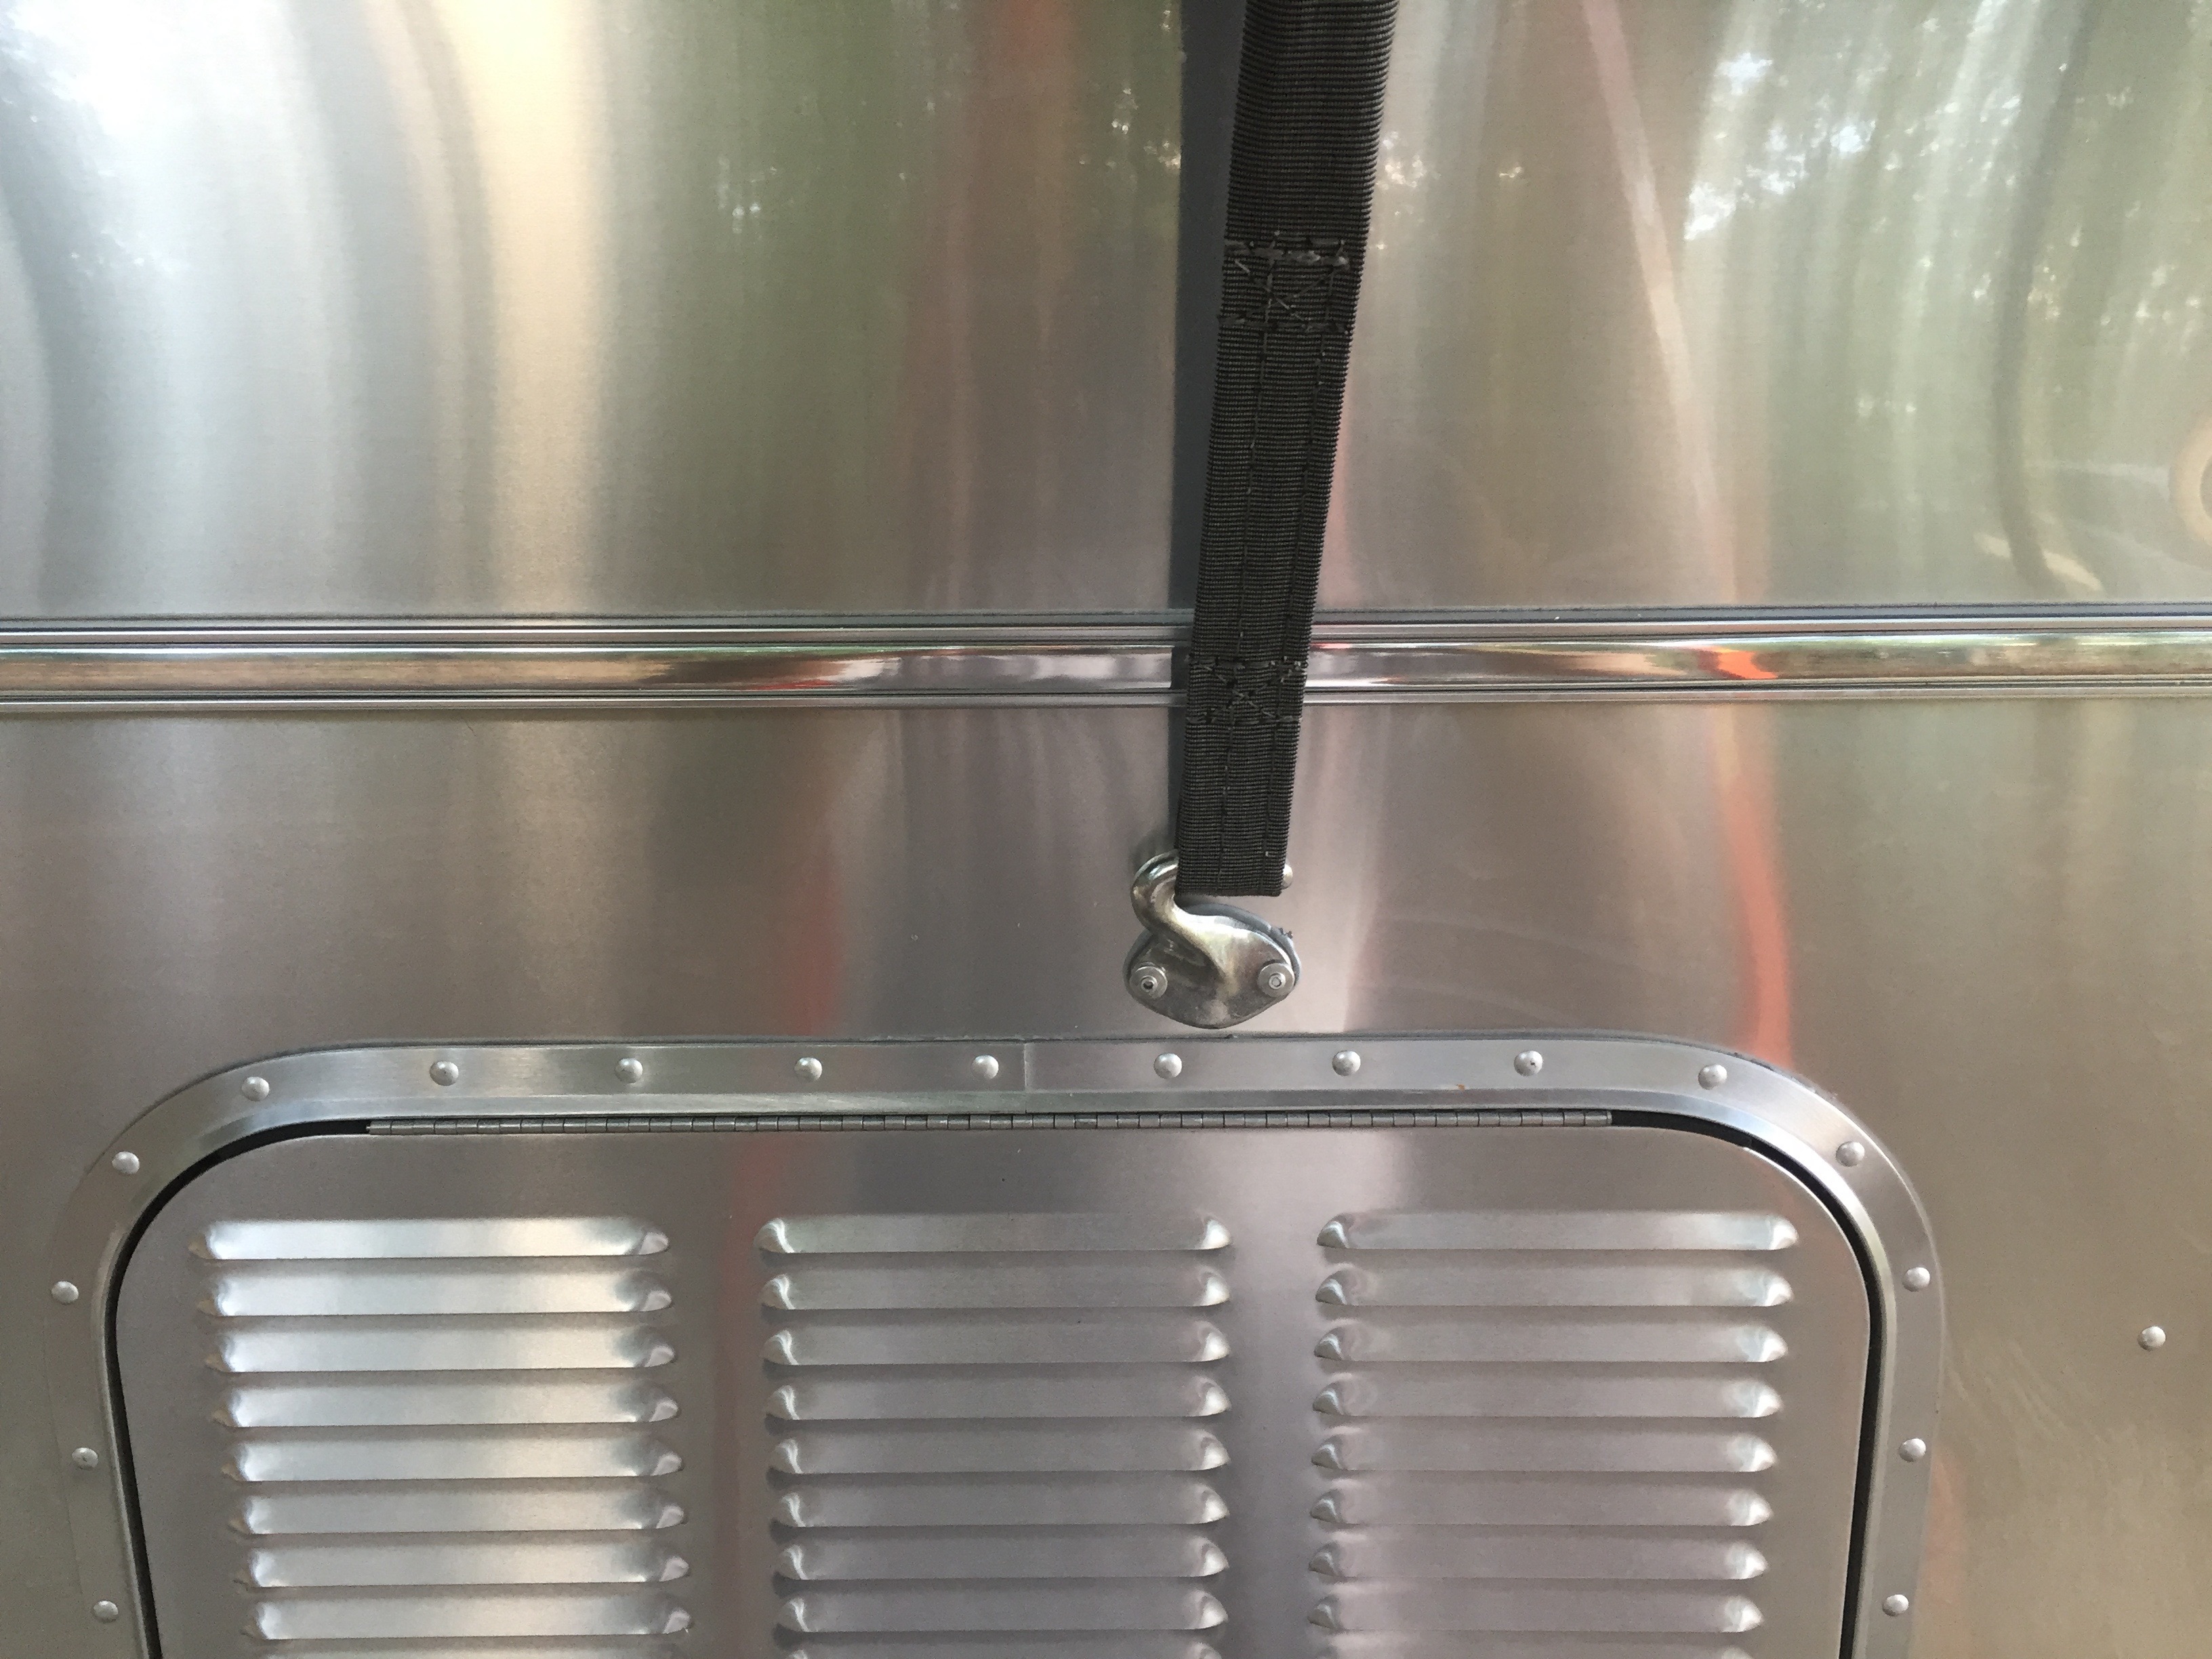
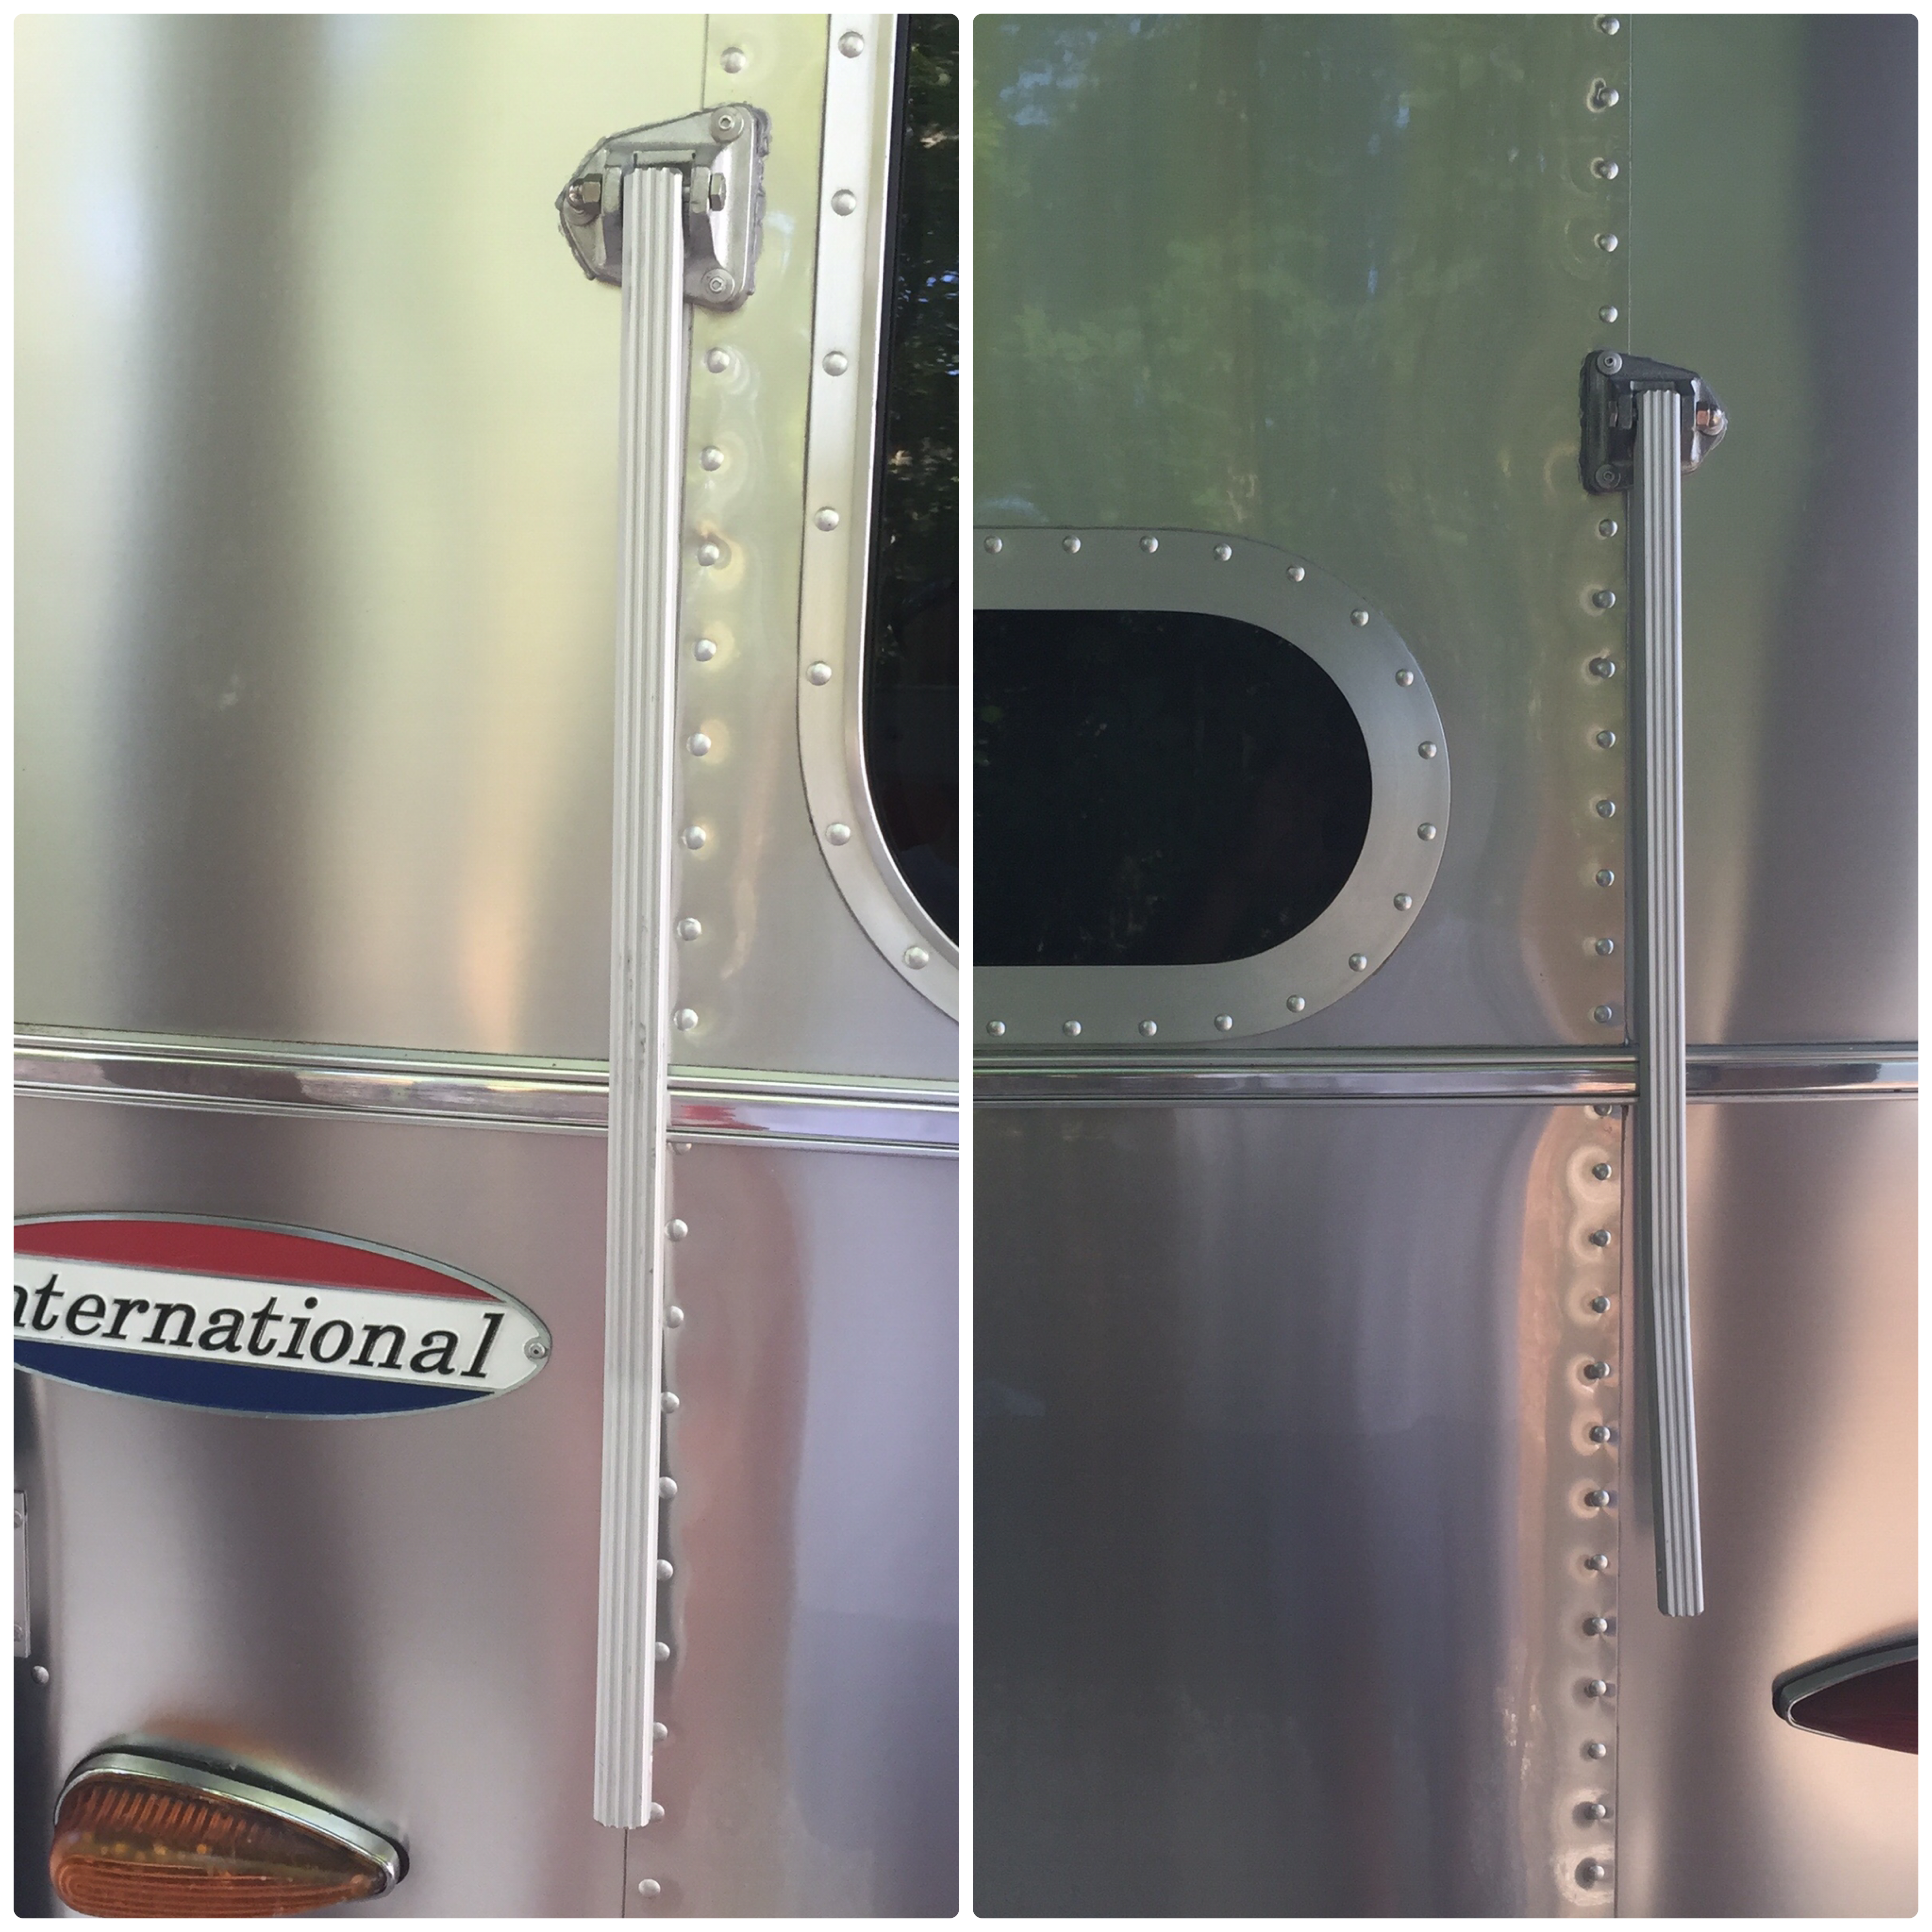
Mount the retention hook
Once you have charged the awning spring to the proper number of rotations and secured the awning arm into its bracket, you are ready to install the awning hook. Pull the cloth strap out to deploy the awning. While holding onto the strap, locate the appropriate mounting spot for the retention hook.
Do this by simply hooking the hook into the retention strap. Next, with the awning fully deployed, swing the strap towards the trailer until it makes contact with the trailer’s skin.
Have your helper mark this location with a Sharpie marker. Once the location is marked, drill the holes and mount the hook with the supplied hardware to the trailer’s skin.
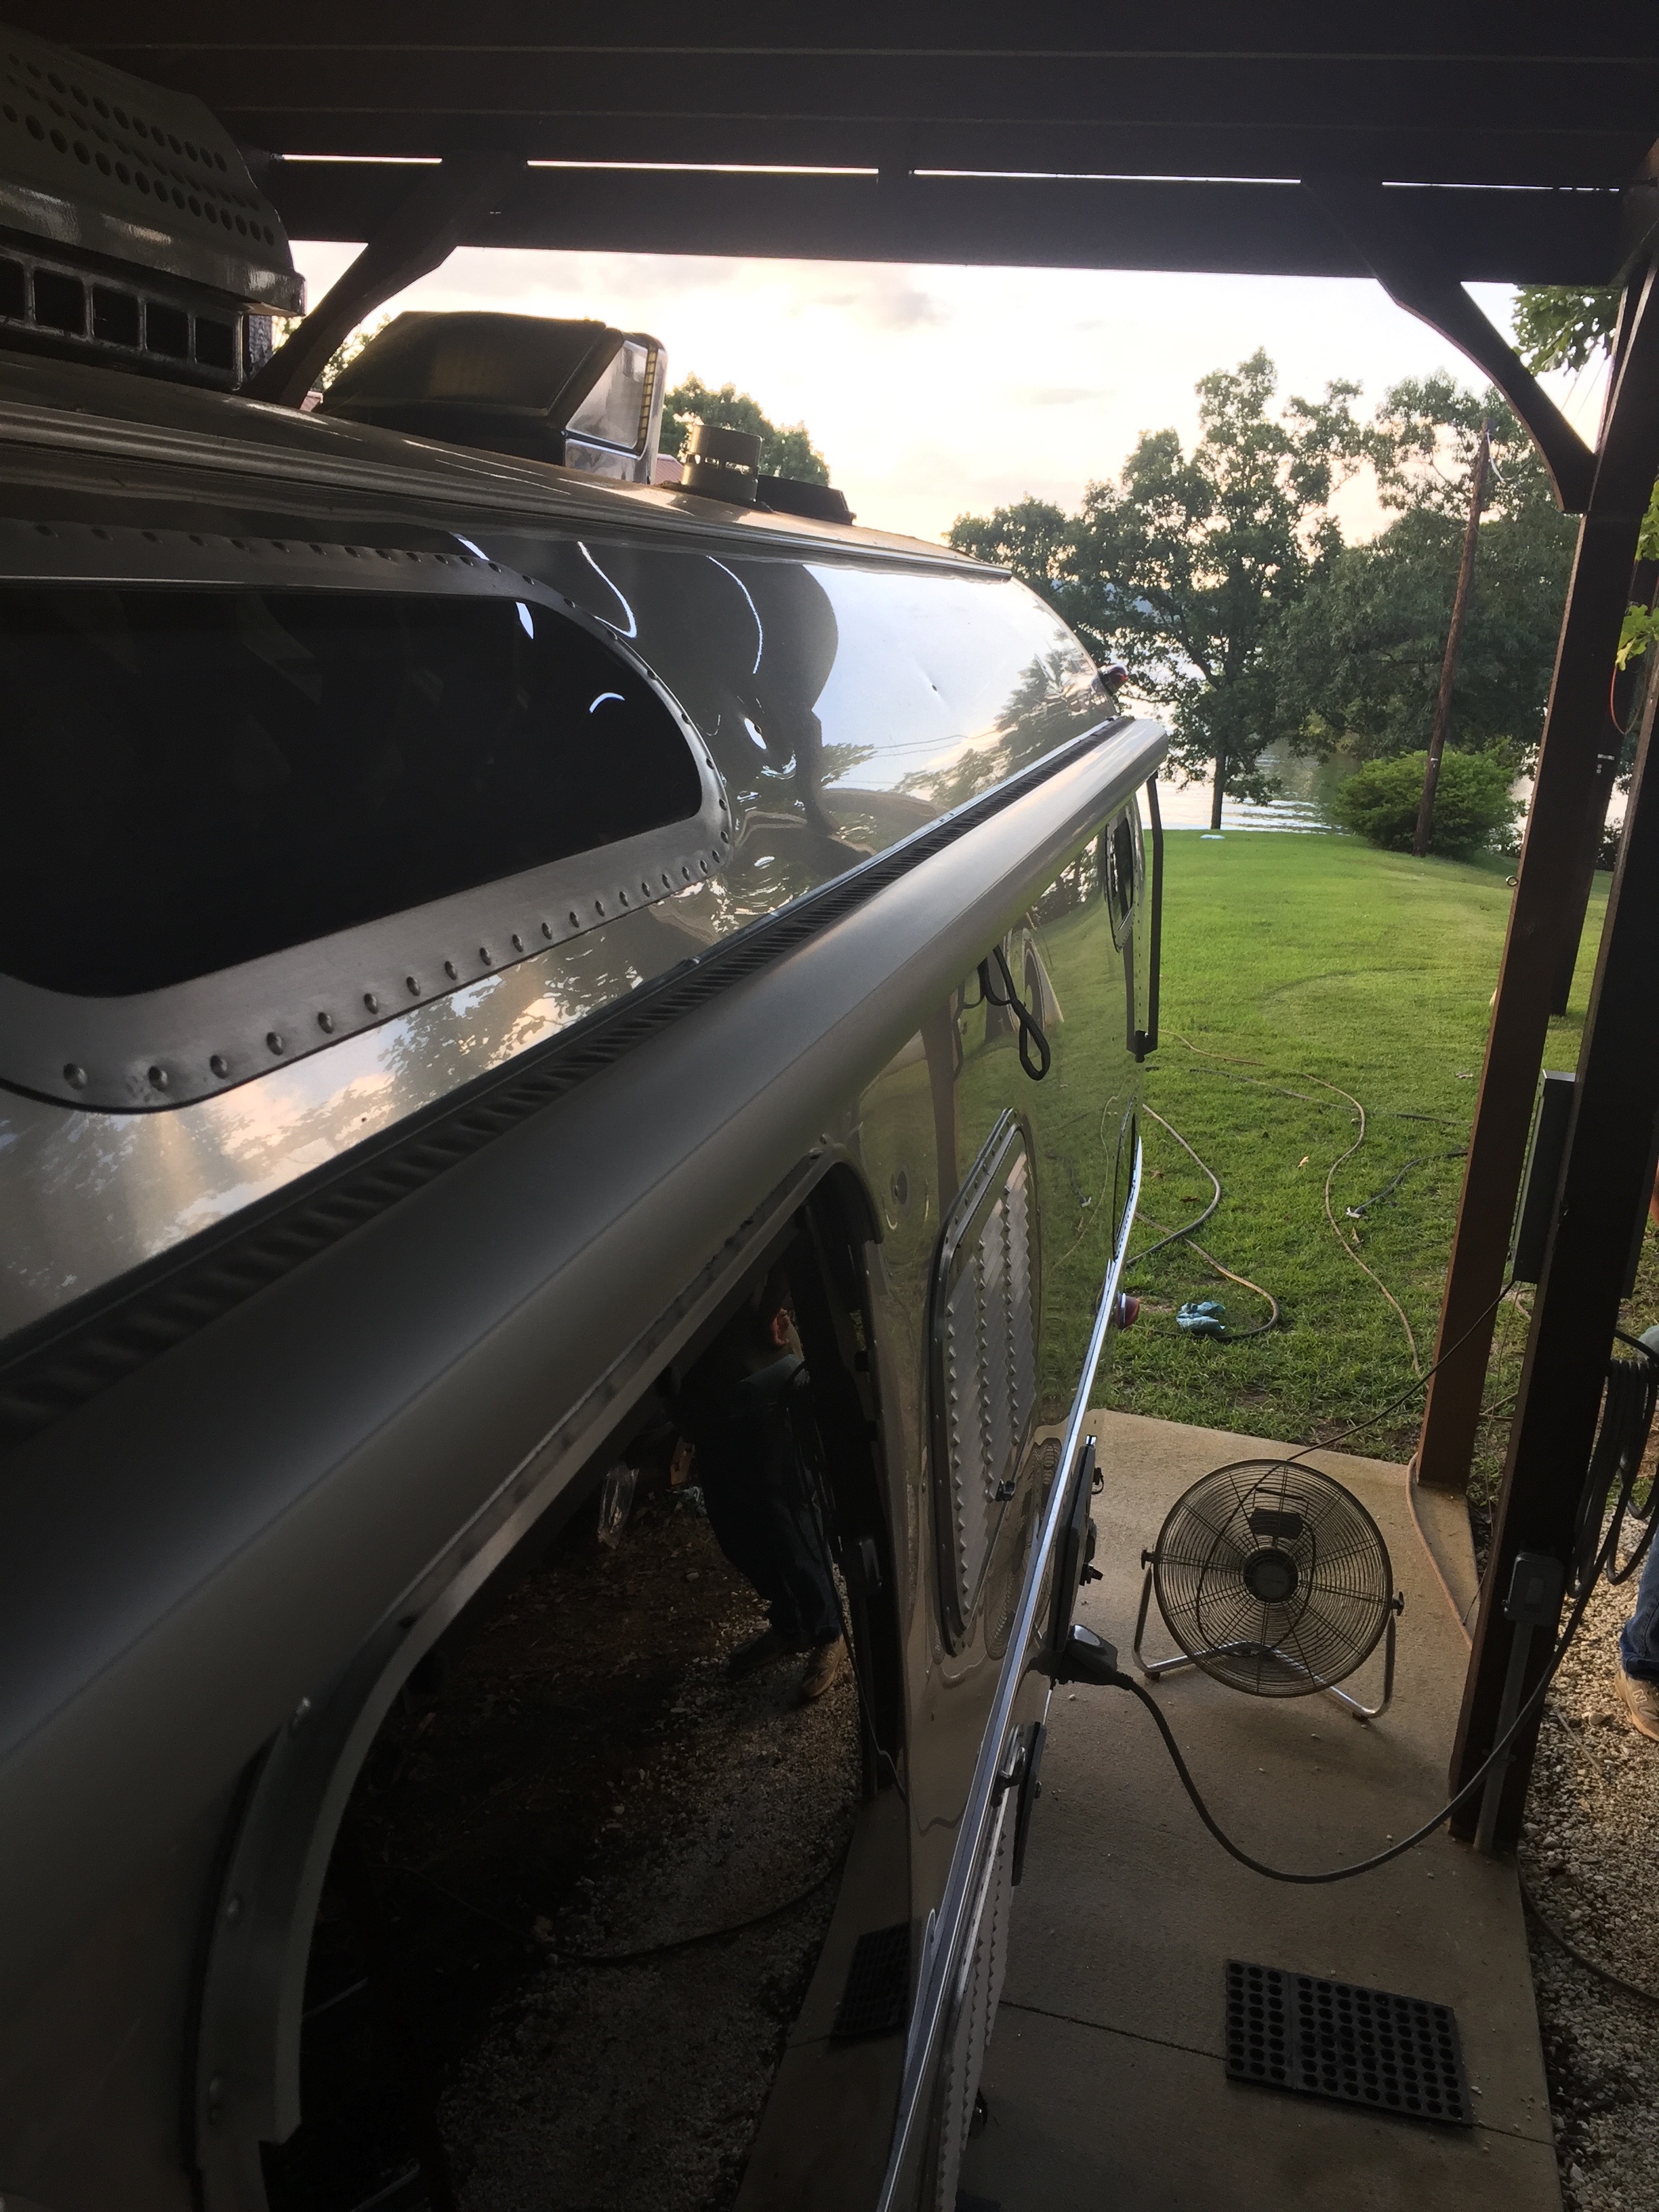
Square everything up
Finally, once everything is mounted in place, close the awning against the side of the trailer. Then adjust the top of the awning so that it is centered in place. The awning arms should go straight up-and-down. Adjust this by sliding the awning bead inside the awning rails C-channel until everything looks nice and square.
Once that is done, Zip Dee provides 2 set screws which you screw through the awning rail C-channel into the awning bead on each end. This pins everything in place and prevents the awning from sliding or moving. All that is left to do is enjoy your new awnings.