How To Choose The Right Camper Paint For Your RV Renovation
Painting your camper is a great way to give your RV a makeover or a refresh. This is a popular RV renovation among full-time RVers. You can paint your camper inside and out – but what is the best camper paint?
Depending on your RV renovation, you may need to choose a different type of paint. In order to choose the right camper paint, define what your project is. Are you repainting the outside of your camper? The walls? The cupboards?
We will tell you how to choose the best camper paint for your project.
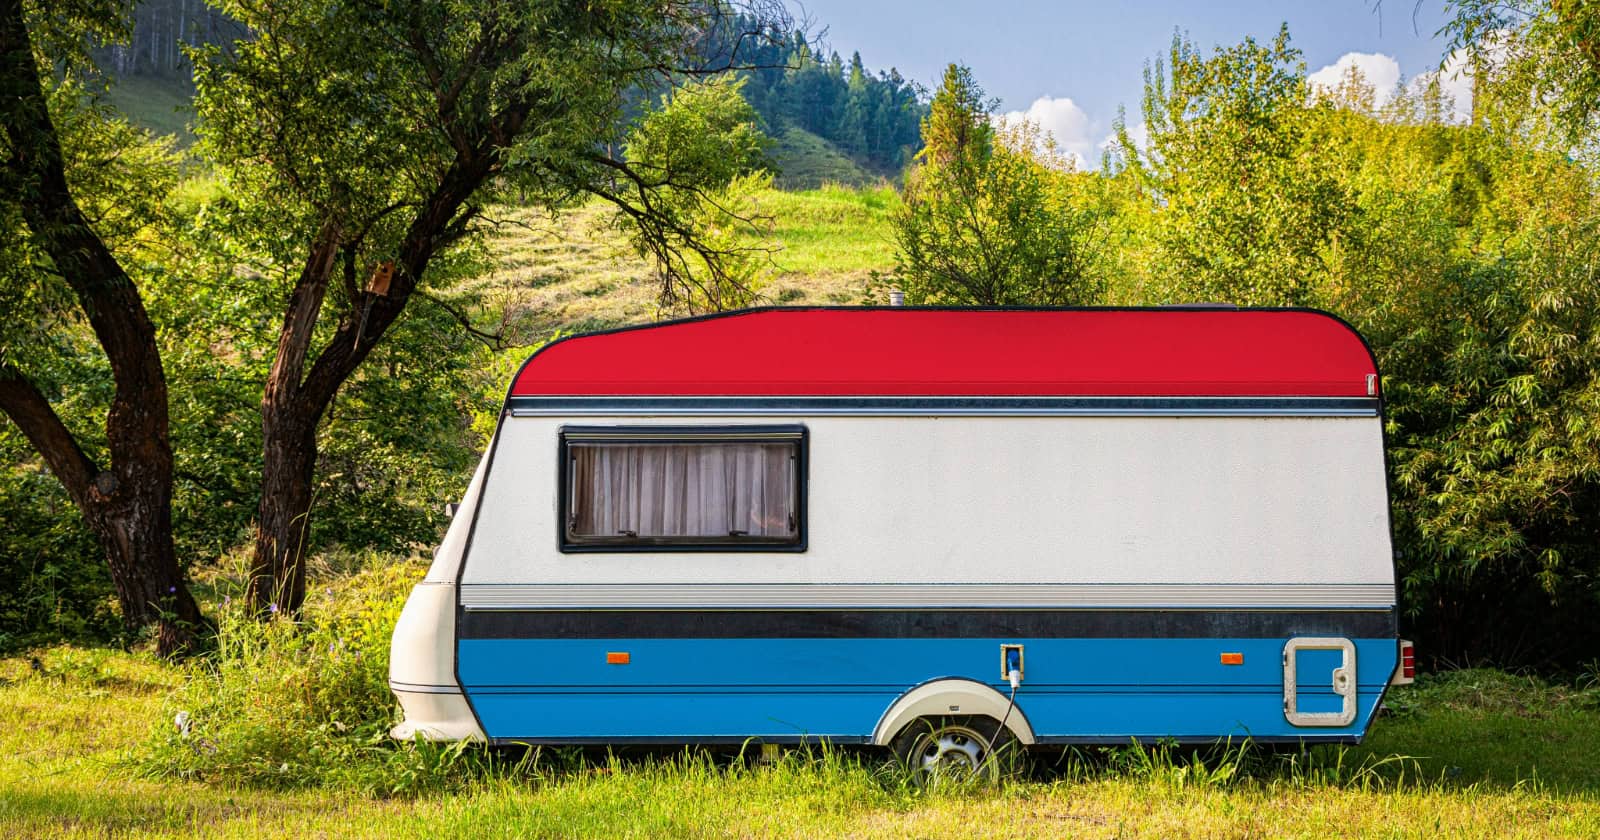
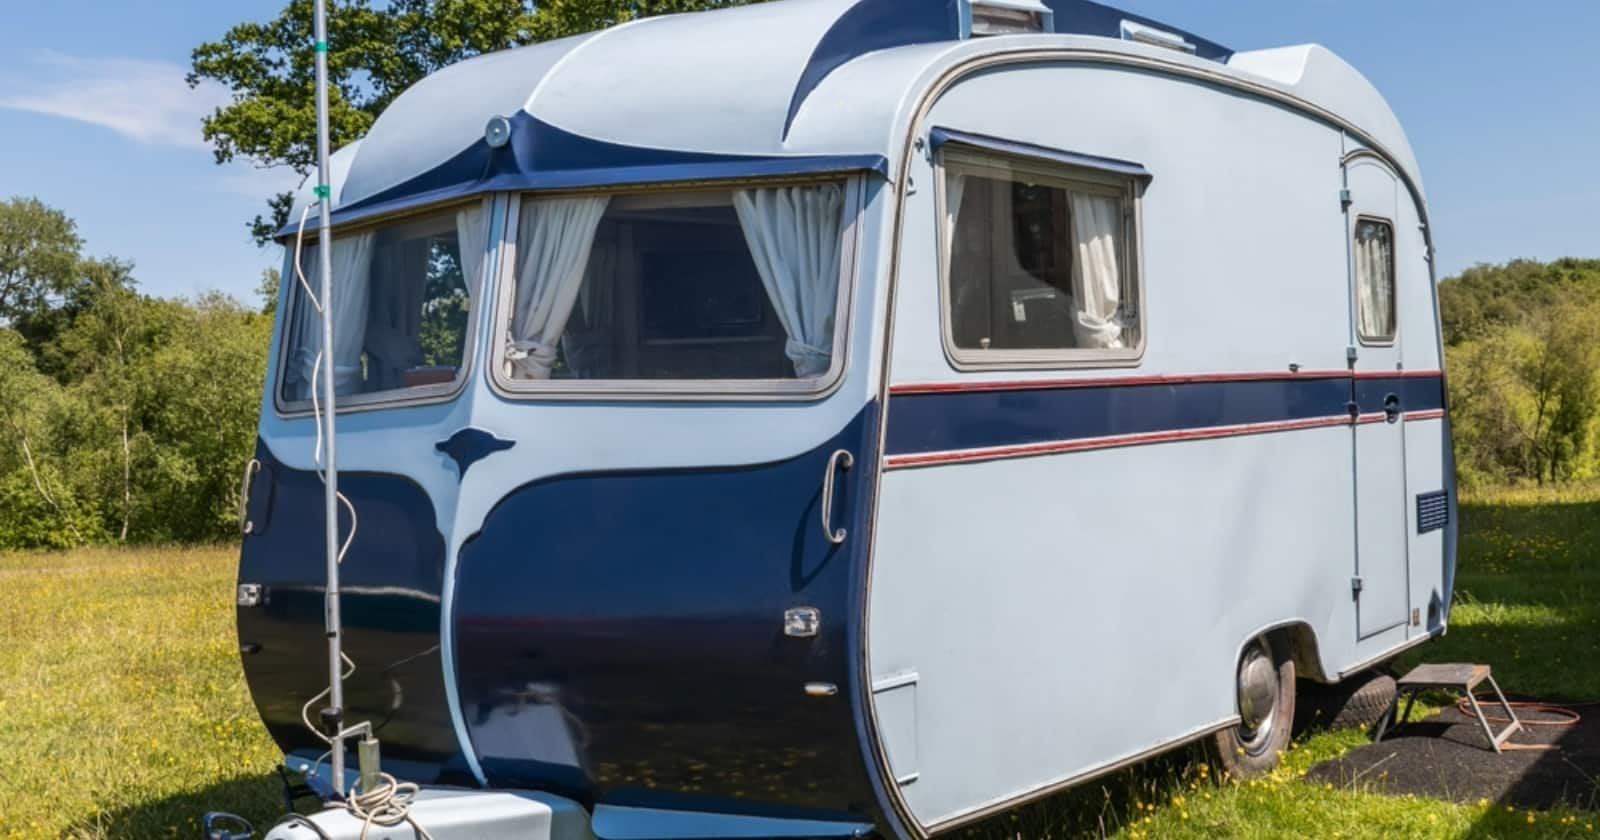
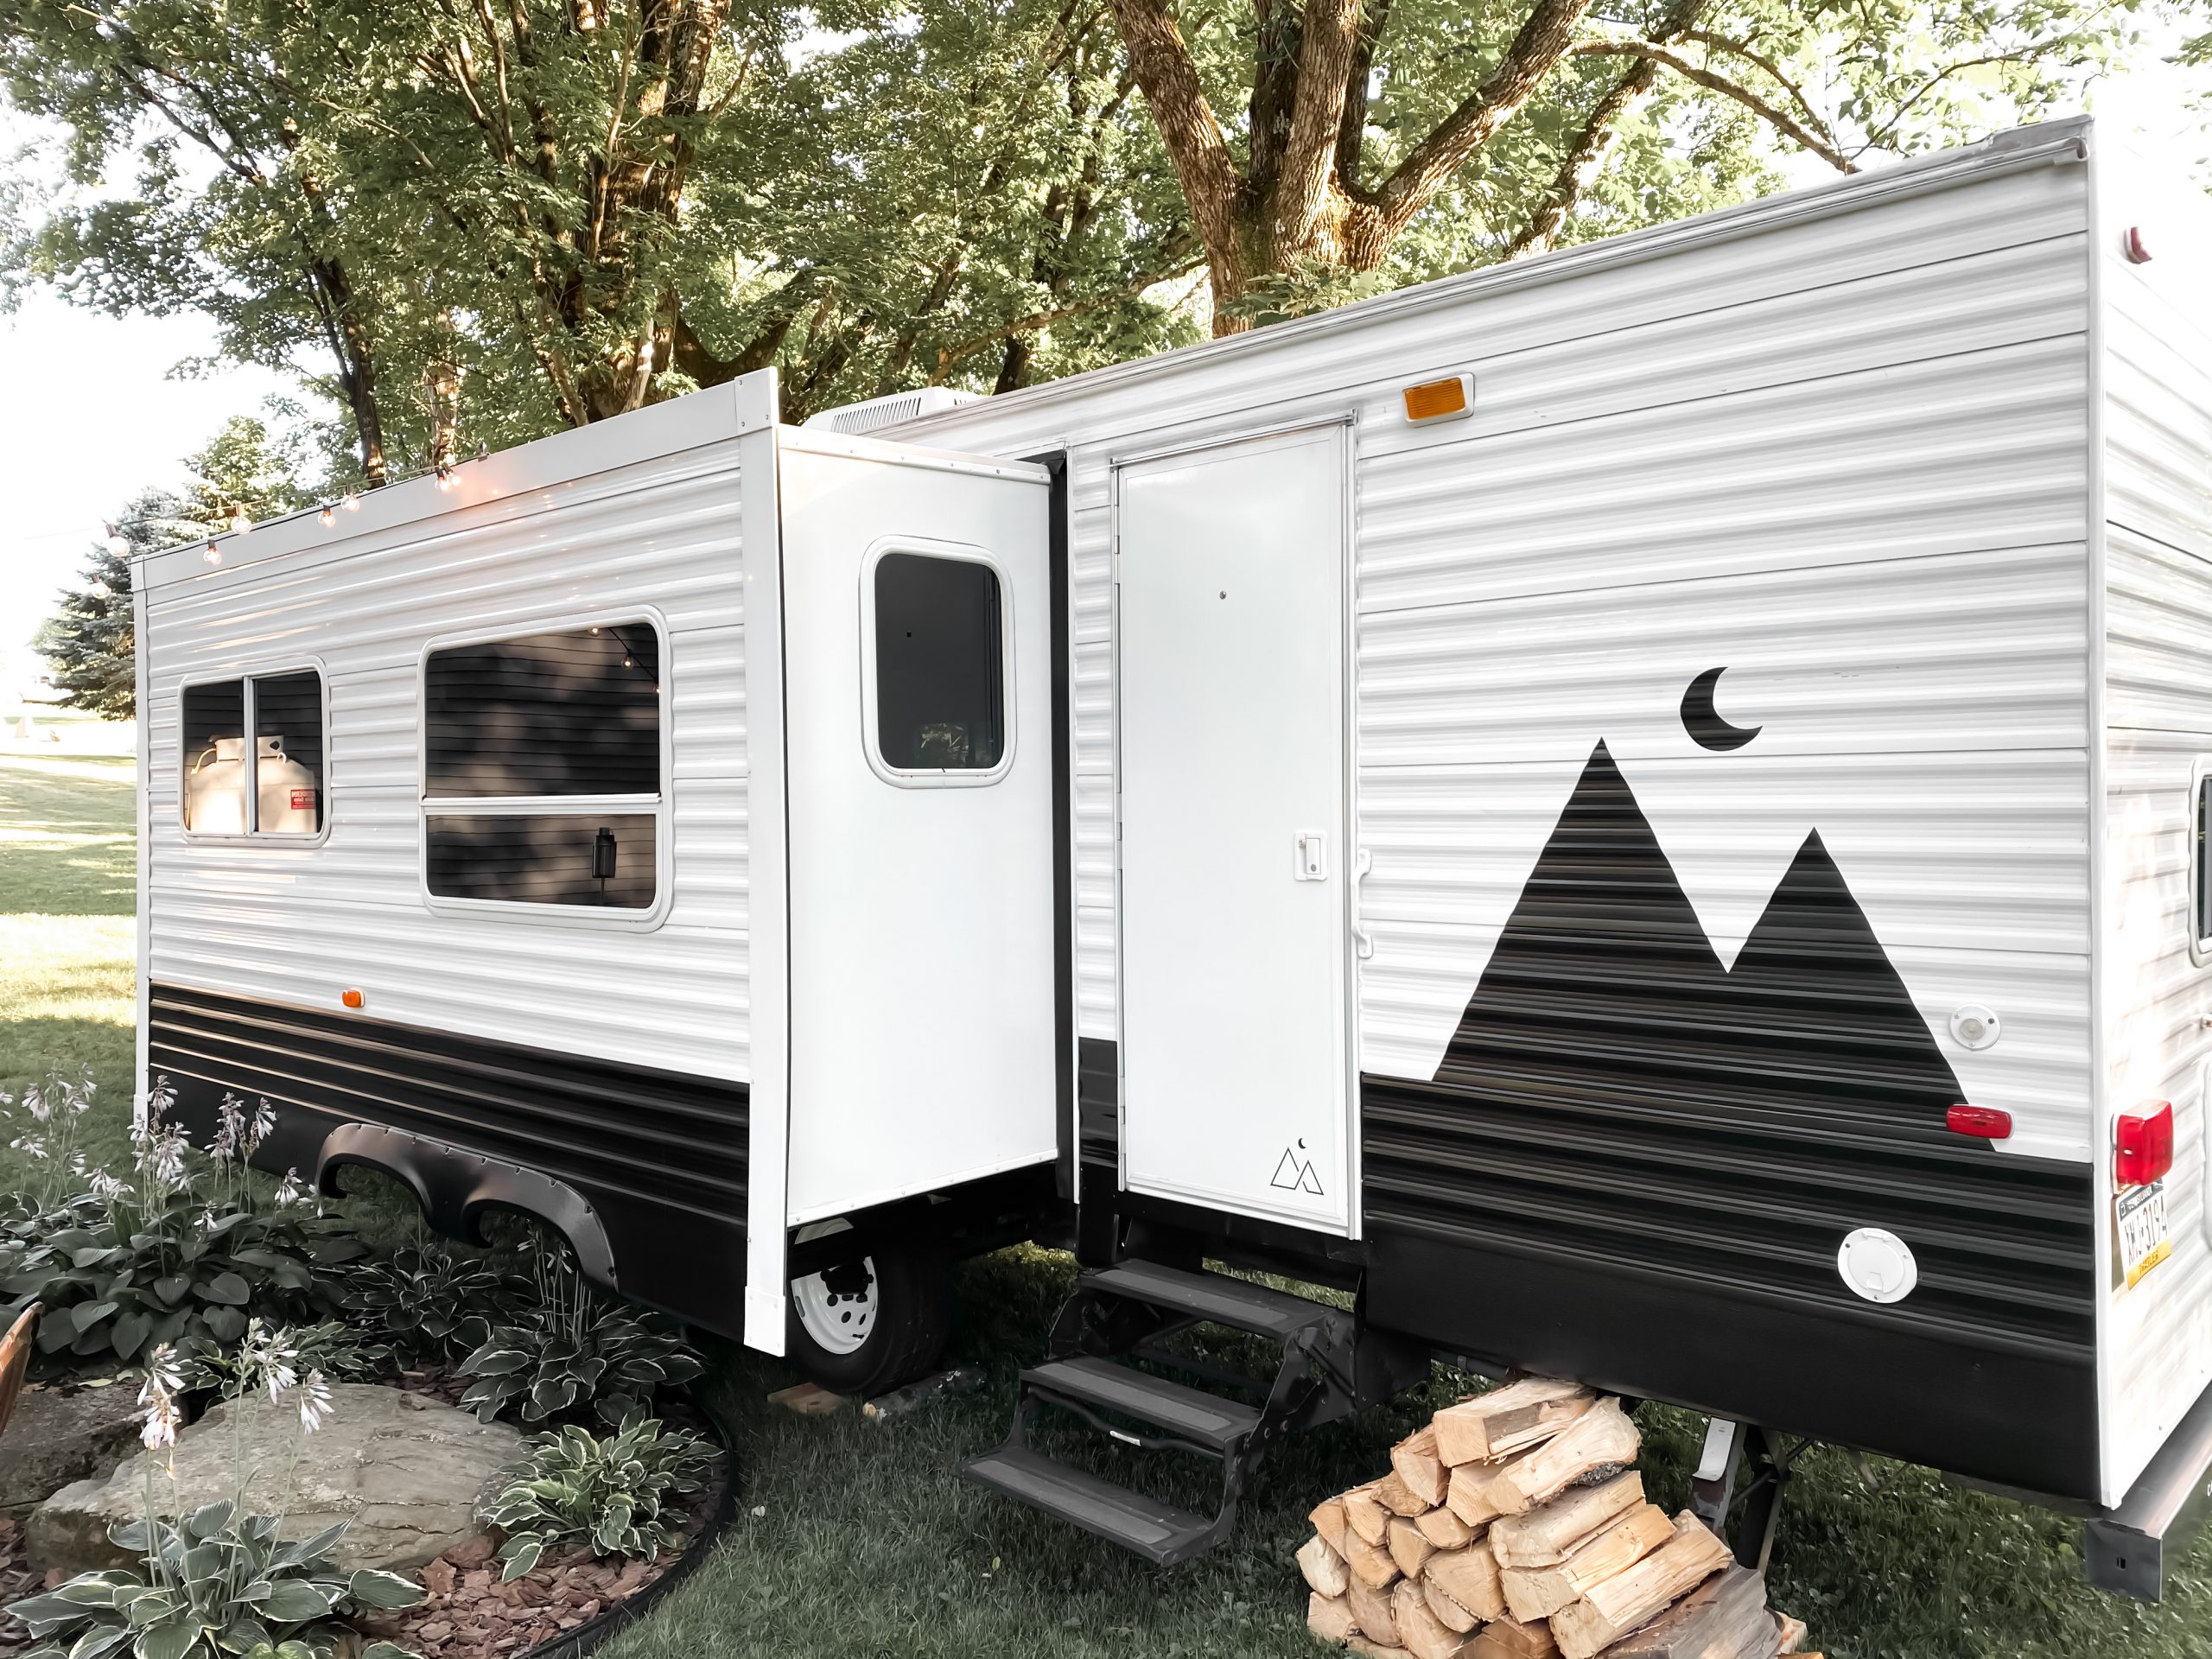
Camper’s exterior
Painting your camper’s exterior is a great way to give your old RV a refresh or give your new RV a unique look. But in order to ensure the paint job lasts the test of time – it’s a tough road out there for RVs in the elements – you need the right camper paint.
Kelsey from @thehappyglamperco is the queen of RV renovations and owner of The Happy Glamper. Here are her professional recommendations.
First, ensure you start with a good, high-quality paint primer. The primer allows for proper adhesion and also helps unify the surface, allowing for proper paint coverage.
Recommended exterior primer: Dupli-Color BSP100 Gray Paint Shop Finish System Primer
Once your primer is completely dry, go in with your camper paint. Between coats of paint, gently scuff the surface to allow for good adhesion.
Recommended exterior paint: Dupli-Color BSP200 Jet Black Paint Shop Finish System
Finally, to keep everything looking crisp, apply a coat of clear coat. This final layer will give your camper paint a finished look. It also protects the paint from chipping and fading.
Recommended clear coat: Dupli-Color EBSP30000 Clear Coat Paint Shop Finish System
RV decals
You may choose to tape off your RV decals in order to keep them looking fresh. You can use a contrasting color to give your RV decals a new lease on life as well. Alternatively, you can remove your decals using a heat gun.
Camper’s walls
One of the first things we did when we started renovating our travel trailer was paint the walls. They were a dark beige color in some areas and a dark brown in others. The dark colors made the RV feel small and well… dark.
Warning before you start
The walls of an RV are different than sticks-n-brick houses. They are coated with a wallpaper-type material – you’ve likely noticed the texture. Plus, older RVs often have a decorative wallpaper border. You can remove the border with a heat gun – carefully! Do not try to remove the wallpaper in the full plywood sheets though.
Given this different texture, there are a couple of products you should use before you paint the camper’s walls. To start, you need to degrease the walls. Use a product like TSP which easily cuts through the fingerprints, oils, and any grease.
If you think you can skip this step, think again. No matter how high-quality your paint is, if the walls are greasy, your paint will not adhere. If you want a more natural degreaser, try vinegar.
Using the right camper paint for your RV walls
After cleaning, you should prime the walls. Use 1-2 coats of primer on walls where you will be applying color. Follow the manufacturer’s instructions for dry time – but plan for 24-48 hours before applying paint.
Recommended wall primer: PPG Gripper
Next, apply your high-quality paint. RVs are exposed to some tough elements and broad temperature fluctuations. In addition, the walls are touched, rubbed against, and just generally beat up more. Let your first coat dry for about 24-48 hours before applying the second coat. Just like in the exterior, be sure to lightly sand and wipe down the walls between the coats.
Recommended wall paints: Behr Marquee, Benjamin Moore Regal Select, and Sherwin Williams Duration.
For best results, use an eggshell or satin finish.
Note that the Behr Marquee paint is a paint and primer in one. If you use the paint and primer in one, you may opt to skip priming. BUT – be warned – it will take a lot of coats to cover the RV walls. In our case, painting the walls white, it took about 5 coats.
Camper’s cupboards
Painting your camper’s cupboards is a great way to give your RV a makeover – especially if the wood is a dated stain or is badly beat up.
Your cupboards are exposed to even more daily abuse than your walls. They are right in the thick of kitchen messes, dirty hands, and spills. You need to choose a camper paint that is tough and ready for that kind of exposure.
Just like the camper’s exterior or walls, you need to prep and prime the cupboard surface. The same high-quality primer paint from your walls can be used on your cupboards.
Recommended cupboard paint: Benjamin Moore Advance
Having the right camper paint for the job will make your RV renovation a worth-while investment. This guide should eliminate confusion in the paint aisle and help you choose the right product for the task.
What is your favorite camper paint? Have you used a different type with good results?
Continue reading: