
What Is The Best Camper Roof Sealant (And How Do You Use It?)
When was the last time you resealed your camper’s roof? Hmm… if you can’t remember then it’s probably overdue. It is recommended to reseal your RV’s roof every year – so what is the best camper roof sealant and how do you use it?
One of those pesky maintenance tasks you probably haven’t done in a while is resealing your camper’s roof. According to the Heartland RV owner’s manual, your camper roof should be inspected every 3 months and every year by an authorized inspector.
If you’re inspecting and cleaning your camper roof, you should be checking for tears and voids in the sealant. If your RV’s roof is looking a little worse for wear, you should reseal it in order to maximize the lifespan of your rig and avoid water damage. Generally, you should plan to reseal your camper’s roof every year.
What’s the difference between a sealant and coating?
Before we get started, let’s make sure we are all on the same page. There is a difference between a sealant and coating – they serve different purposes. A coating is a product that can insulate, protect, and add structural integrity. A sealant is a product that can fix cracks, leaks, and small patchwork areas.
So what is the best camper roof sealant? How do you use it? We have you covered!
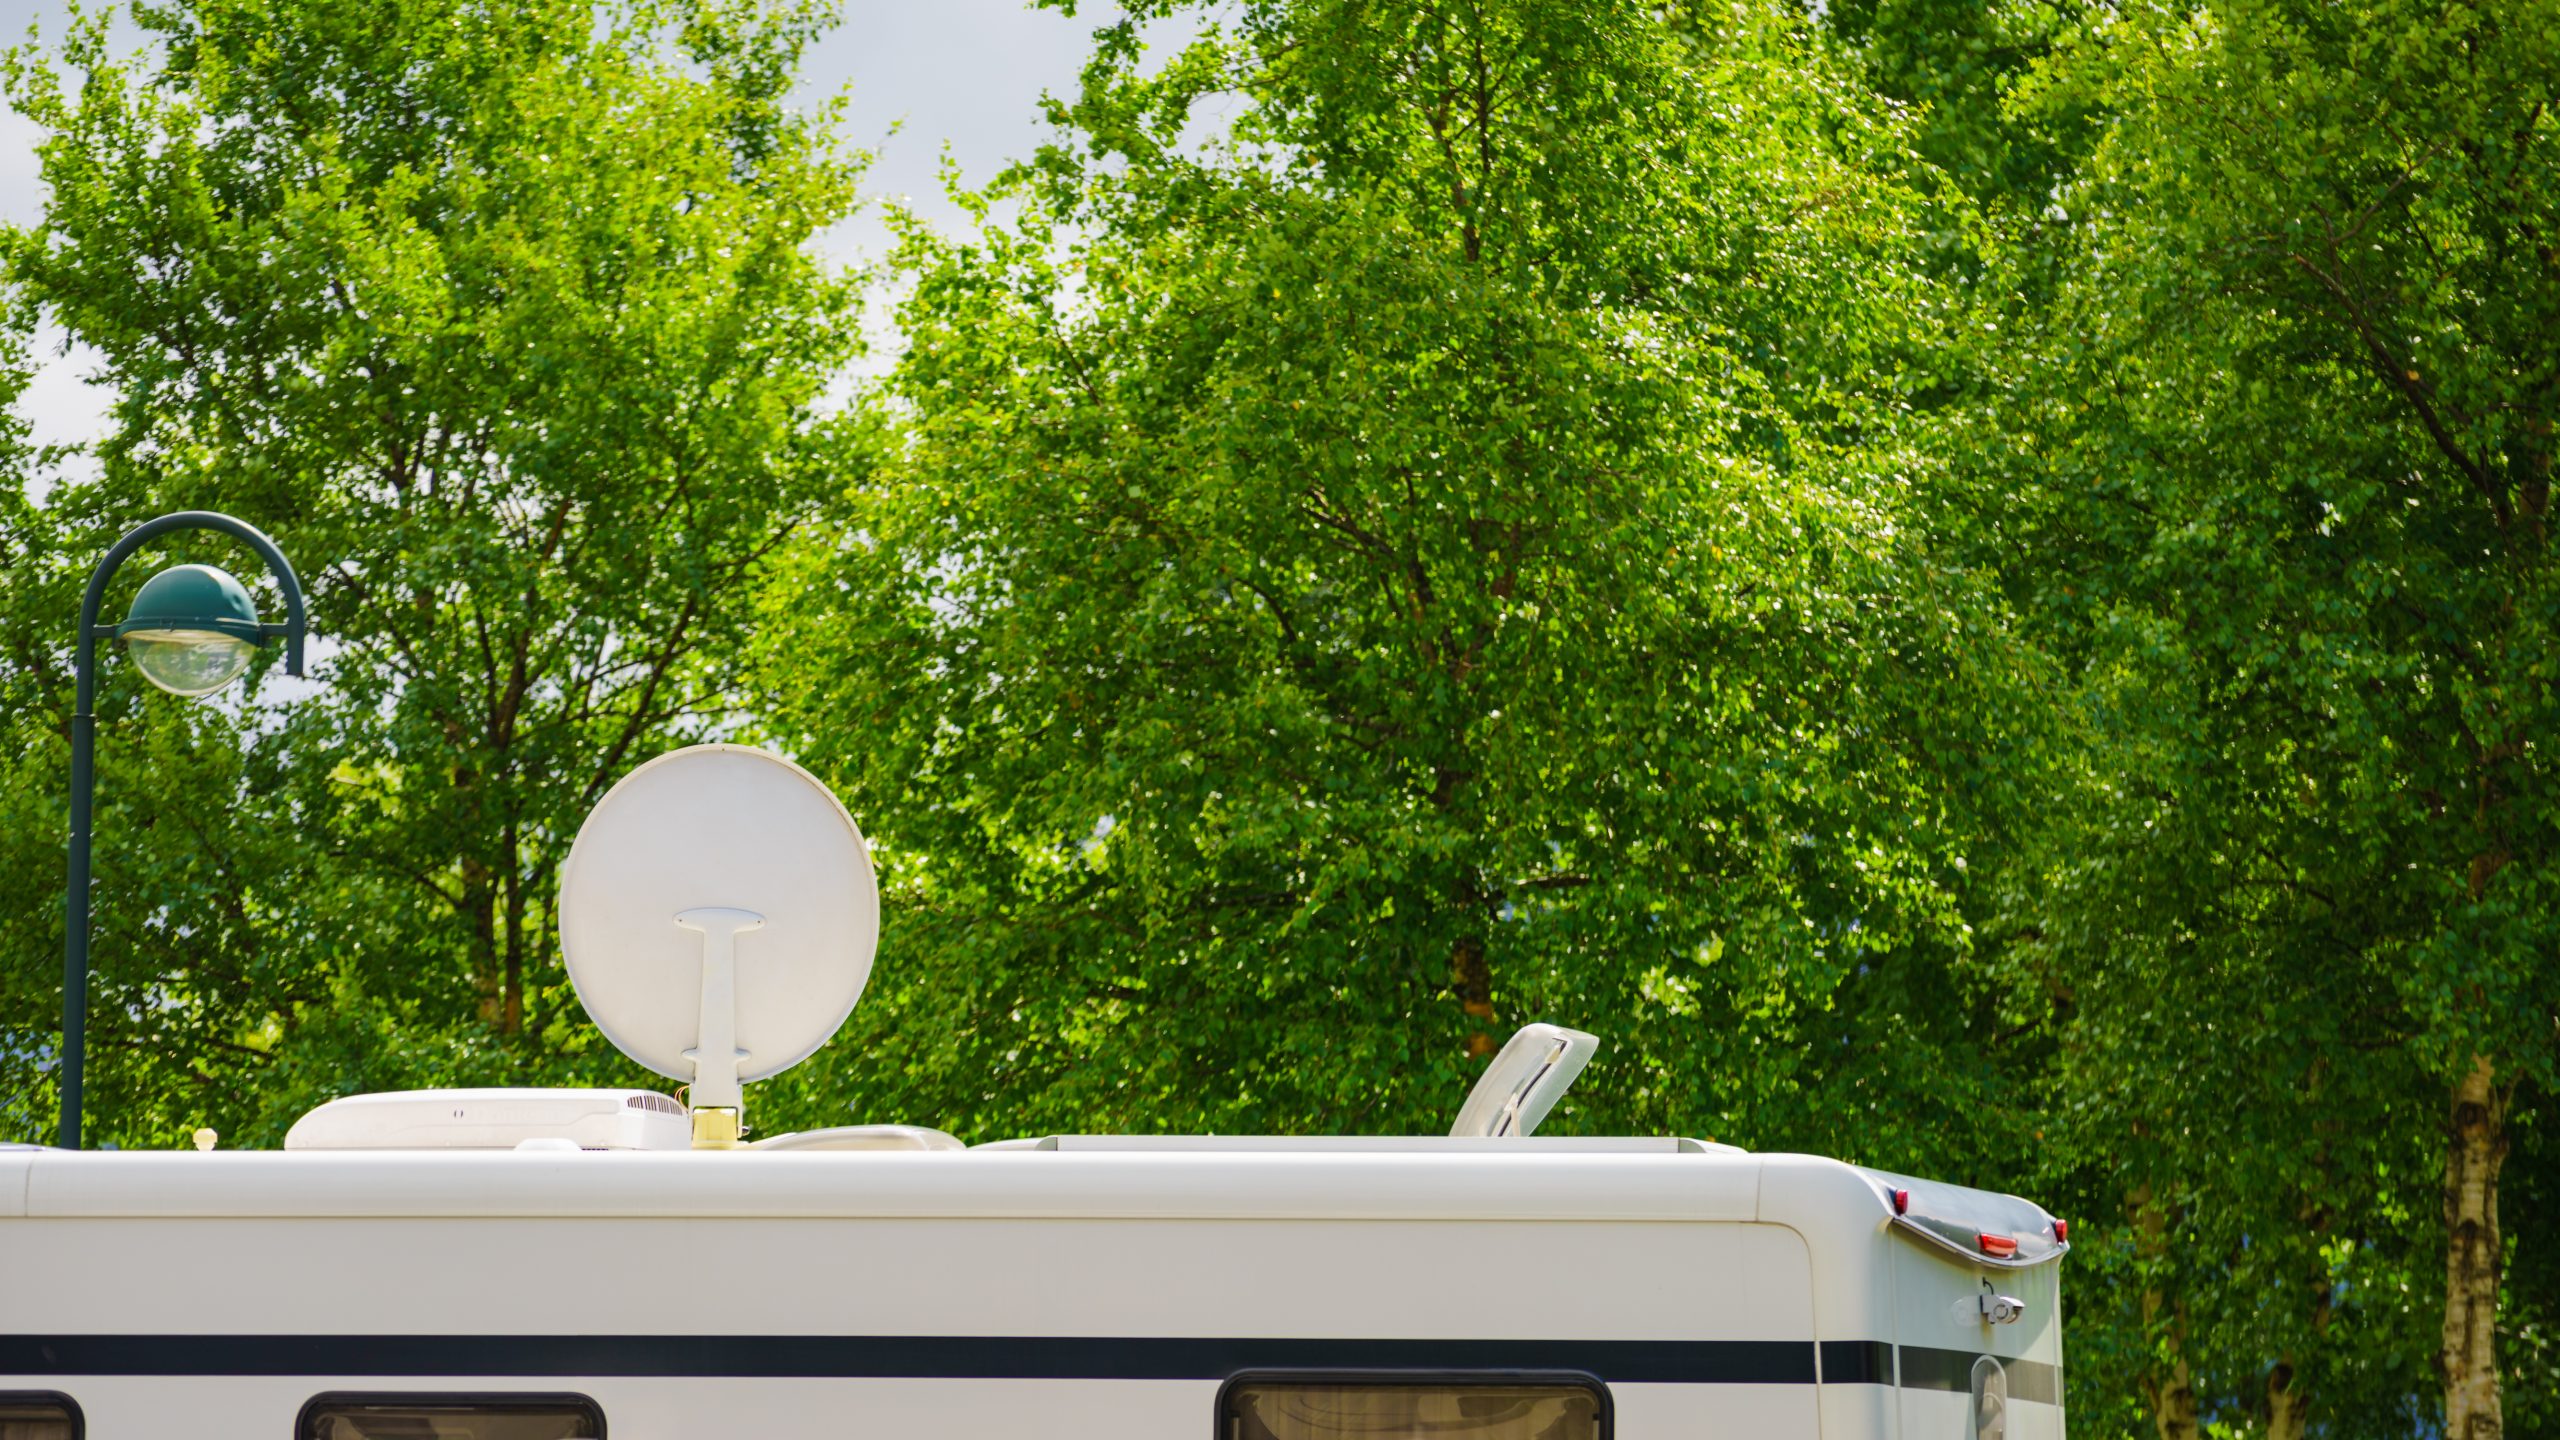
The best camper roof sealant
One of the best camper roof sealant products on the market is Dicor EPDM Self Leveling Sealant. This is a widely popular product for RV enthusiasts and recommended by professionals.
This camper roof sealant product is great for sealing around vents, your A/C unit, covering screw heads, and fixing cracks and tears in your camper roof. It is UV stabilized which helps prevent deterioration and discoloration of your camper roof.
The self-leveling sealant will adhere to a number of different surfaces, making it compatible with EPDM (ethylene propylene diene monomer rubber) and TPO (thermoplastic polyolefin) sheeting. In addition, it blends well with most RV roofs and comes in a range of colors – white, black, grey, dove, and tan – so you can find a color that matches your rig.
Plus, as the name implies, this product is self-leveling. A self-leveling sealant is a sealant that exhibits sufficient flow to level itself by gravity. This is an important feature because it means less fussing for you and a uniform surface. This product is for horizontal surfaces and not verticals.
How to use camper roof sealant
Let’s go through the steps to using your camper roof sealant. First, make sure you have enough product for the job. This product has a smaller tube, so it may take more than 1 (maybe 5) to get the whole roof sealed. This also depends on how extensive the damage is.
1. Clean
Prior to using any camper roof sealant to reseal your RV’s roof, you should clean the roof thoroughly. Definitely have a look at your owner’s manual for specifics. But in general, you should only need to use a mild detergent, water, and a medium bristle scrub brush. If you plan to use something more heavy-duty, check with the rubber roof manufacturer prior to starting.
It is a good idea to remove any old and dried out caulking that may be present. Remove the old sealant and make sure to clean the dirt or grime that may be hiding under it.
Remove all dirt, loose paint, rust, oil, and grease.
Rinse off your now clean camper roof. Pay attention to areas where water is pooling – especially around seals. Once the roof is dry, inspect those areas where you suspect there is poor drainage. Look for any hairline gaps, brittleness, cracks, pinholes, craters, or edges that lift.
2. Prepare
Now that everything is clean, you need to do some more prep work before applying the camper roof sealant.
You may opt to remove the old sealant rather than blob more on. To remove it, use a plastic putty knife or similar tool. Avoid tearing the rubber membrane or scratching the roof. Shimmy the tool around the edge of the sealant until it lifts. If you’re experiencing cooler weather, carefully use a hot air fun or blow dryer to help.
Note: It may not be possible or necessary to remove all the sealants. If you can’t remove the old product without damaging the rubber membrane, then leave it. Get the old product as flush to the rubber surface as possible.
3. Test run
Before jumping into globbing sealant all over your camper roof, do a test run. This will allow you to get a feel for the product and the way it levels. Keep in mind, this may not be the most beautiful job you do.
On a piece of cardboard, layout a screw or bolt. Apply a 3/8 inch bead of sealant along the length of the cardboard and cover the screw. The sealant should start to flatten within minutes – usually a 1/2 inch spread. After 5 minutes, the product should skin over.
4. Apply sealant
Apply the sealant using a standard caulking gun or pumping system. Take care to use a larger amount of product to cover screw heads because it is going to spread out and level.
To keep things looking neat, you may want to keep some dish soap and water nearby. Dip your fingers into the mixture and apply light pressure to smooth the sealant bead into your desire slope and shape. As well, you can use painter’s tape to section off where you are applying the sealant.
Whether you are busy getting ready for your first camping trip of the season or are full-time, make sure you take the time to look after your rig. Your camper roof should be inspected regularly – every 3 months – and resealed annually.
Make sure you keep track of all your RV maintenance with an online tool like RV LIFE Maintenance. Not only does it make it easy to keep all of your documents in one place, but you’ll also receive timely reminders when maintenance is due to help you avoid costly repairs or potentially serious accidents.


