Our DIY RV Cat Porch Modification
When we first moved into our fifth wheel, I knew I wanted to create modifications to help our cat better adjust to RV life. One of the modifications that we made was a cat porch or “catio” in one of the outside storage bins where he could hang out, enjoy the fresh air, but stay safe and secure. Here’s how we did it!
Modifying our RV outdoor storage into a “catio” for our cat
When we first moved into an RV with our cat, Kitty, we made sure to make modifications to our RV to help him get used to (and love) his new RV life.
Kitty used to be an indoor/outdoor cat who thrived on being outdoors and roaming the neighborhood. He loves the great outdoors so we wanted to give him access to that in our RV. A catio seemed like the perfect option.
The first modification that we made for him included making a dedicated area for his litter box in the storage under the stairs in our fifth wheel (a 2009 Keystone Everest).
We removed the vent cover and created a tunnel to the storage area that he could freely come and go to his litter box any time he wanted.
Since Kitty already had access to the storage area to use his litter box, the only thing we needed to do was create a secure cover so we could open the exterior door and let him enjoy the view without him being able to escape.
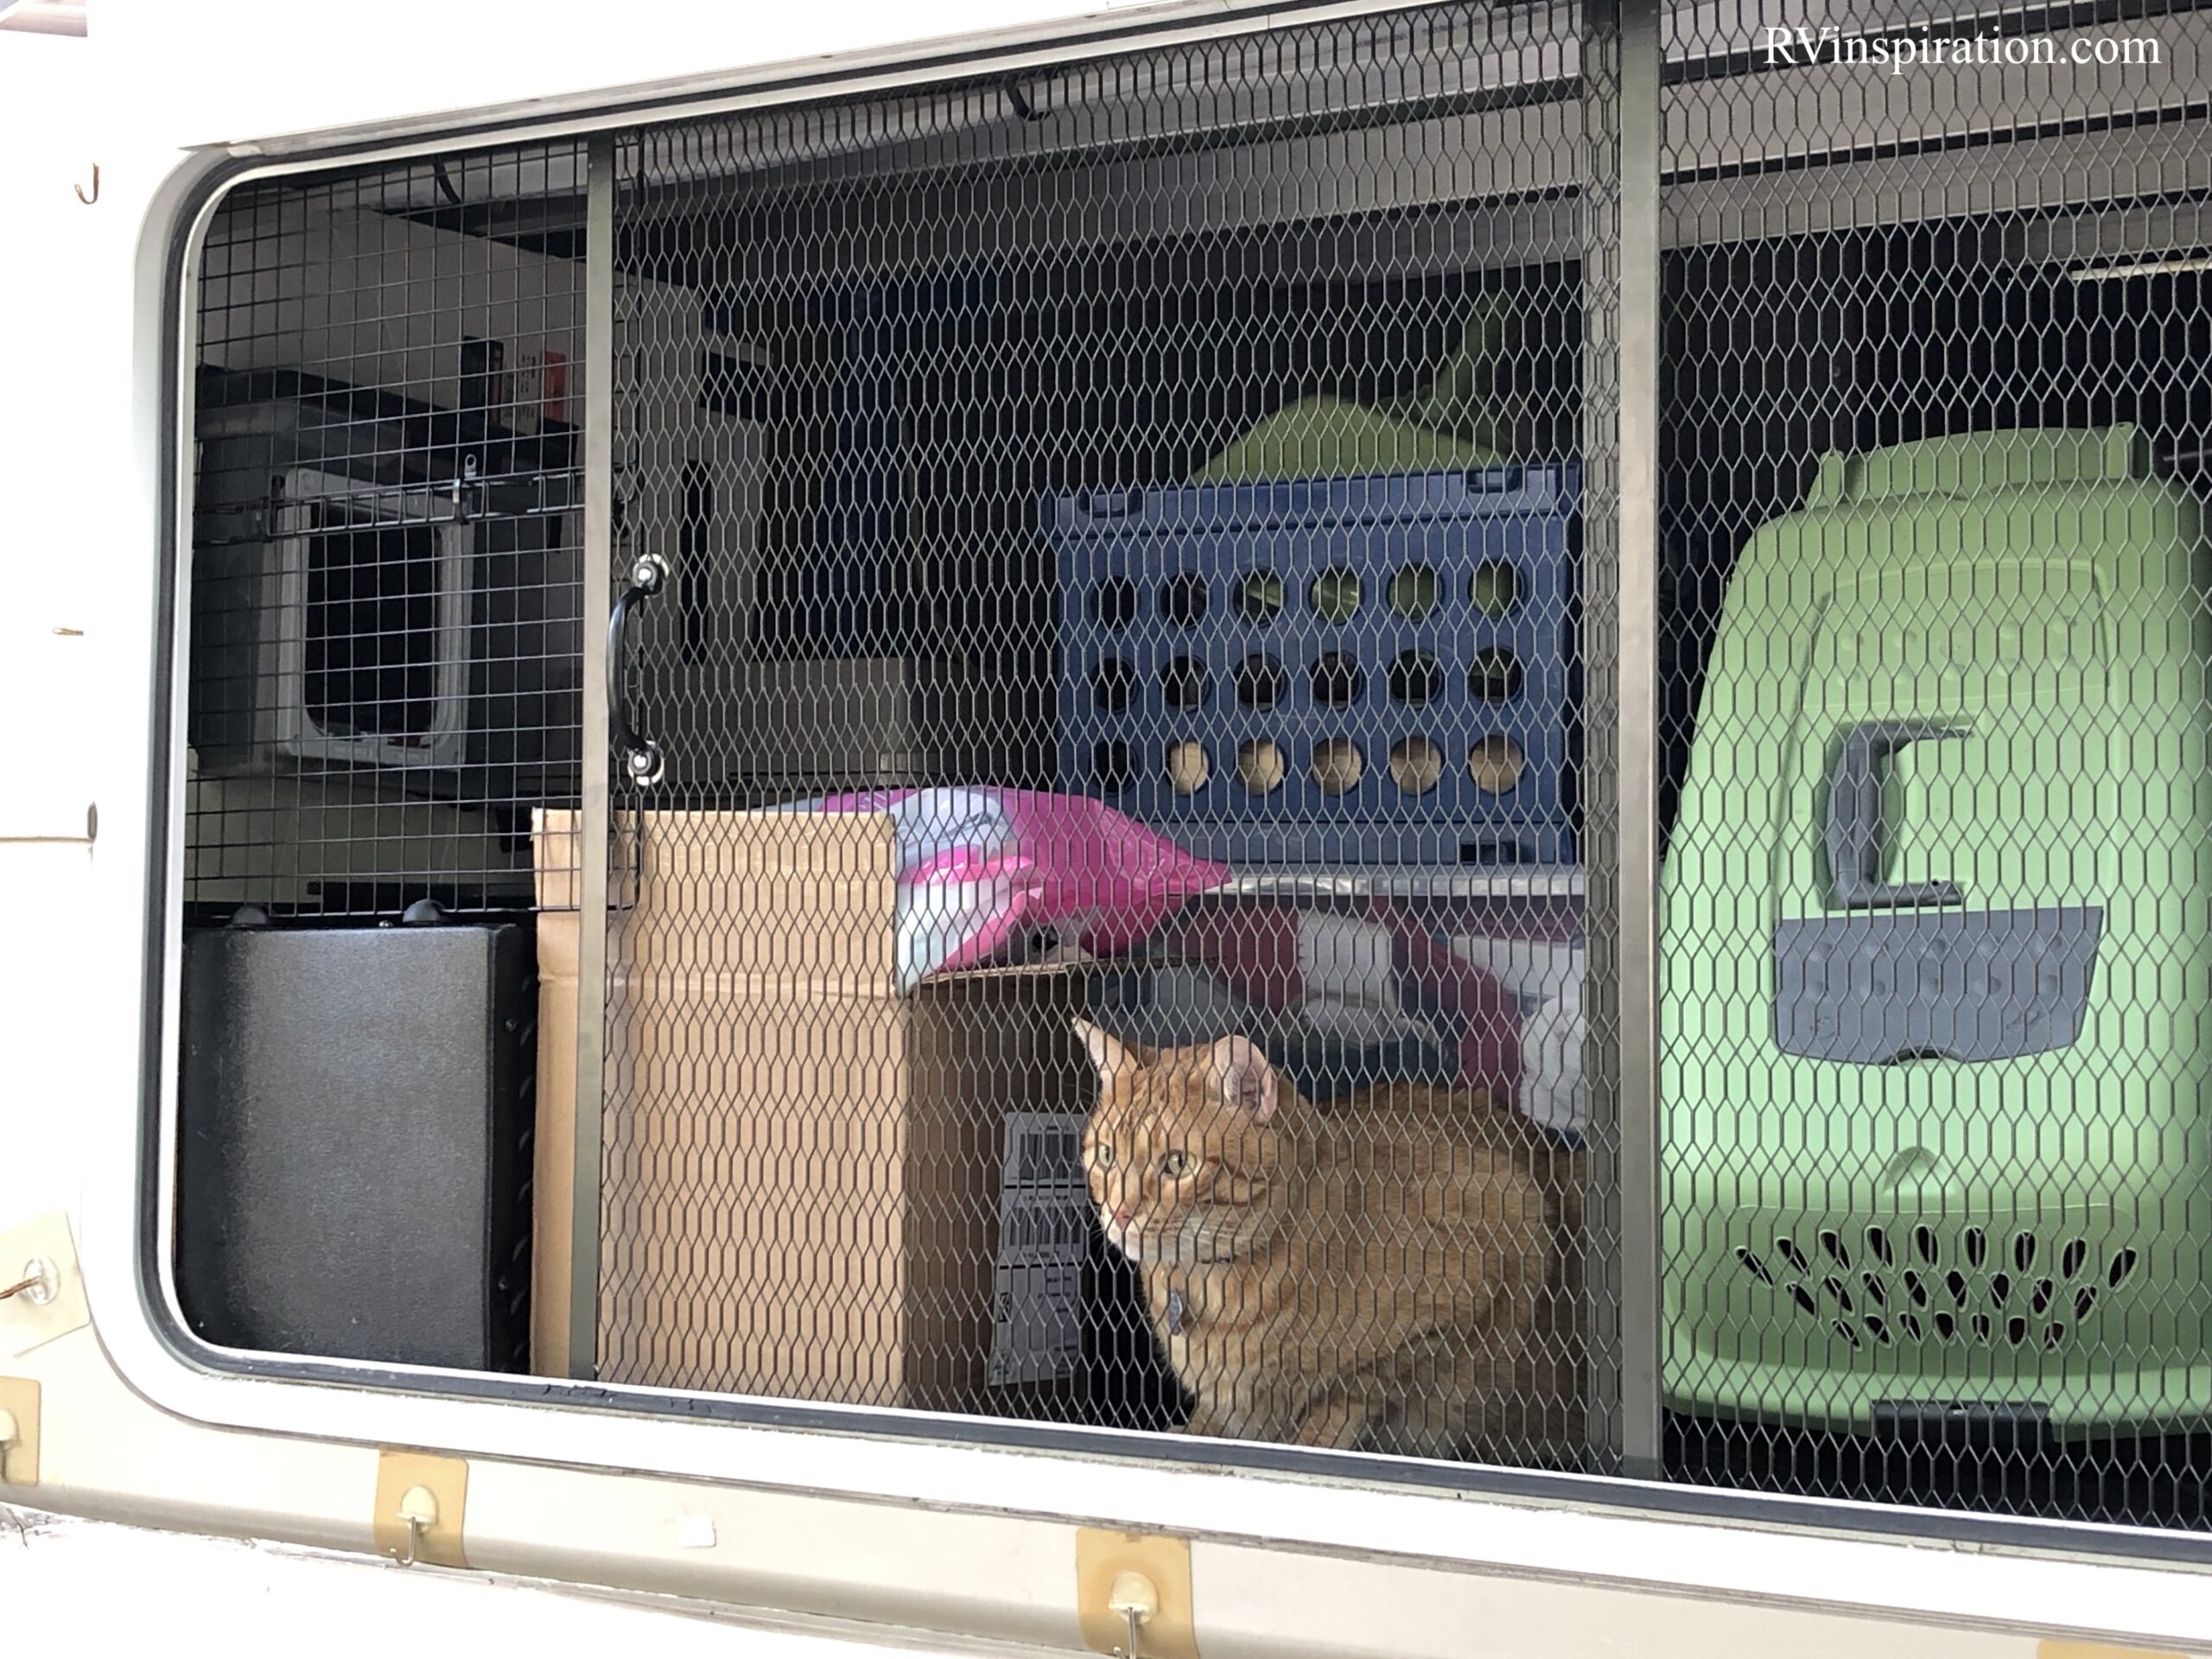
How we built a catio in our fifth wheel RV
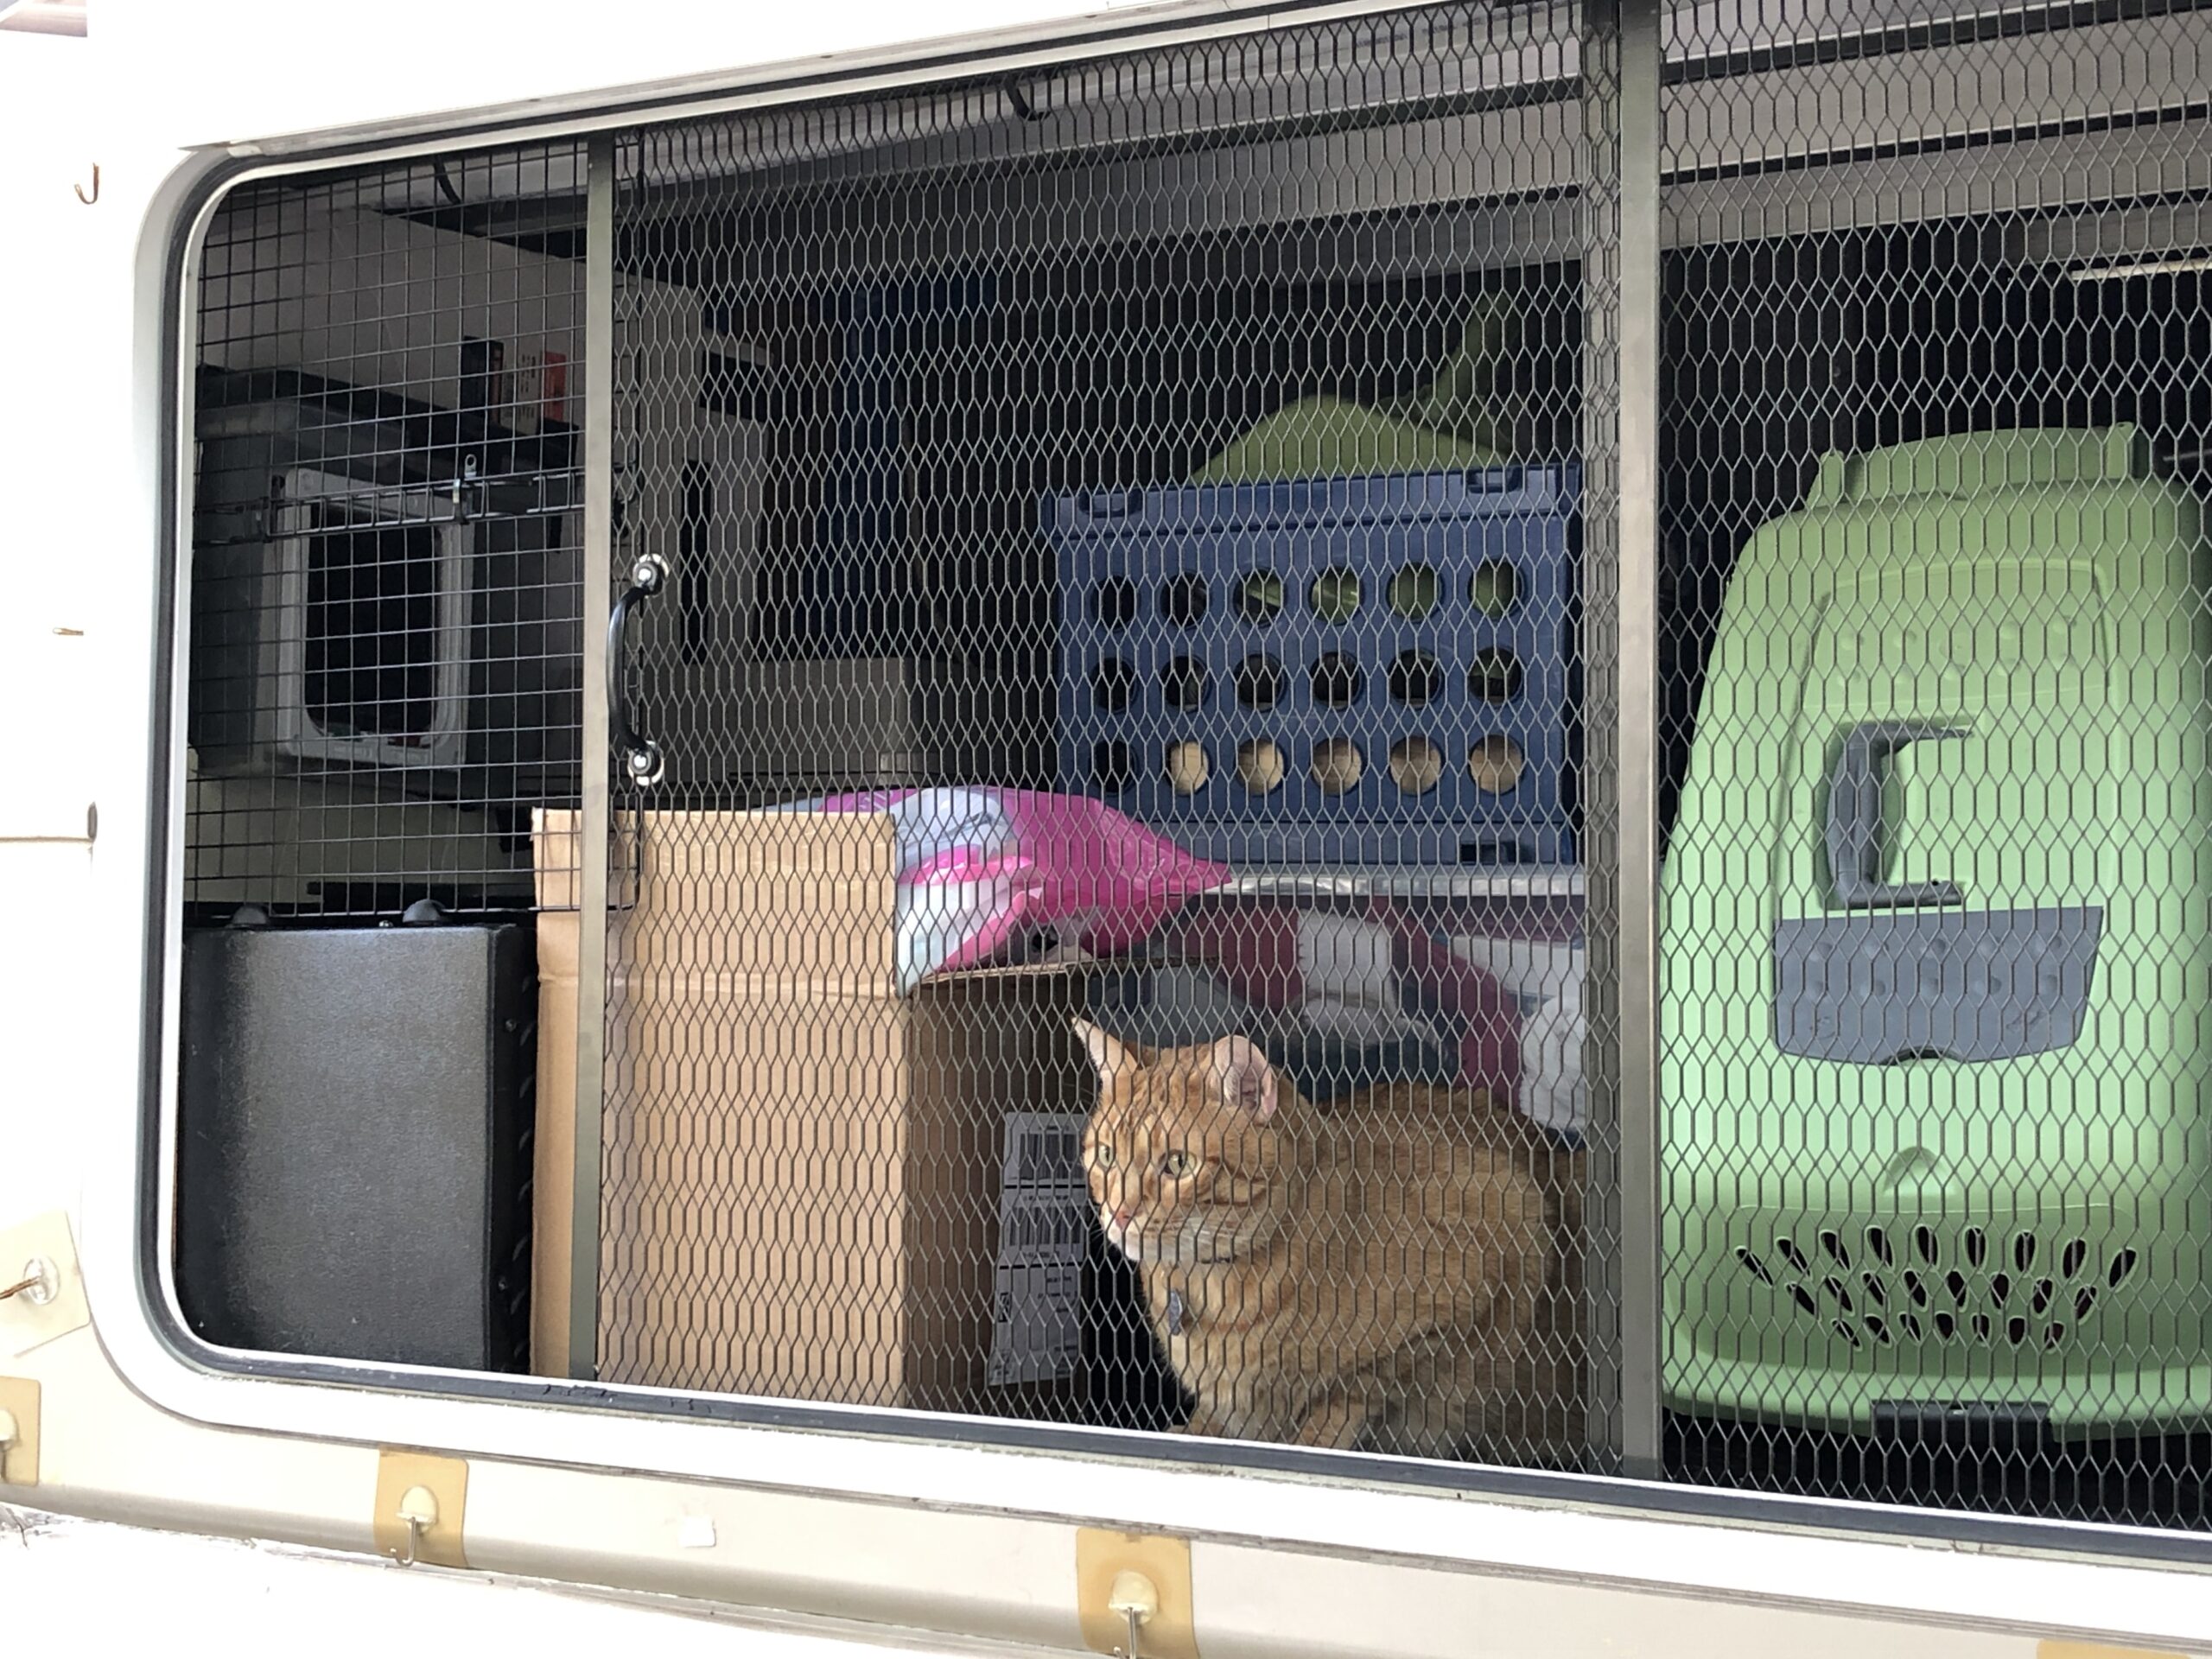
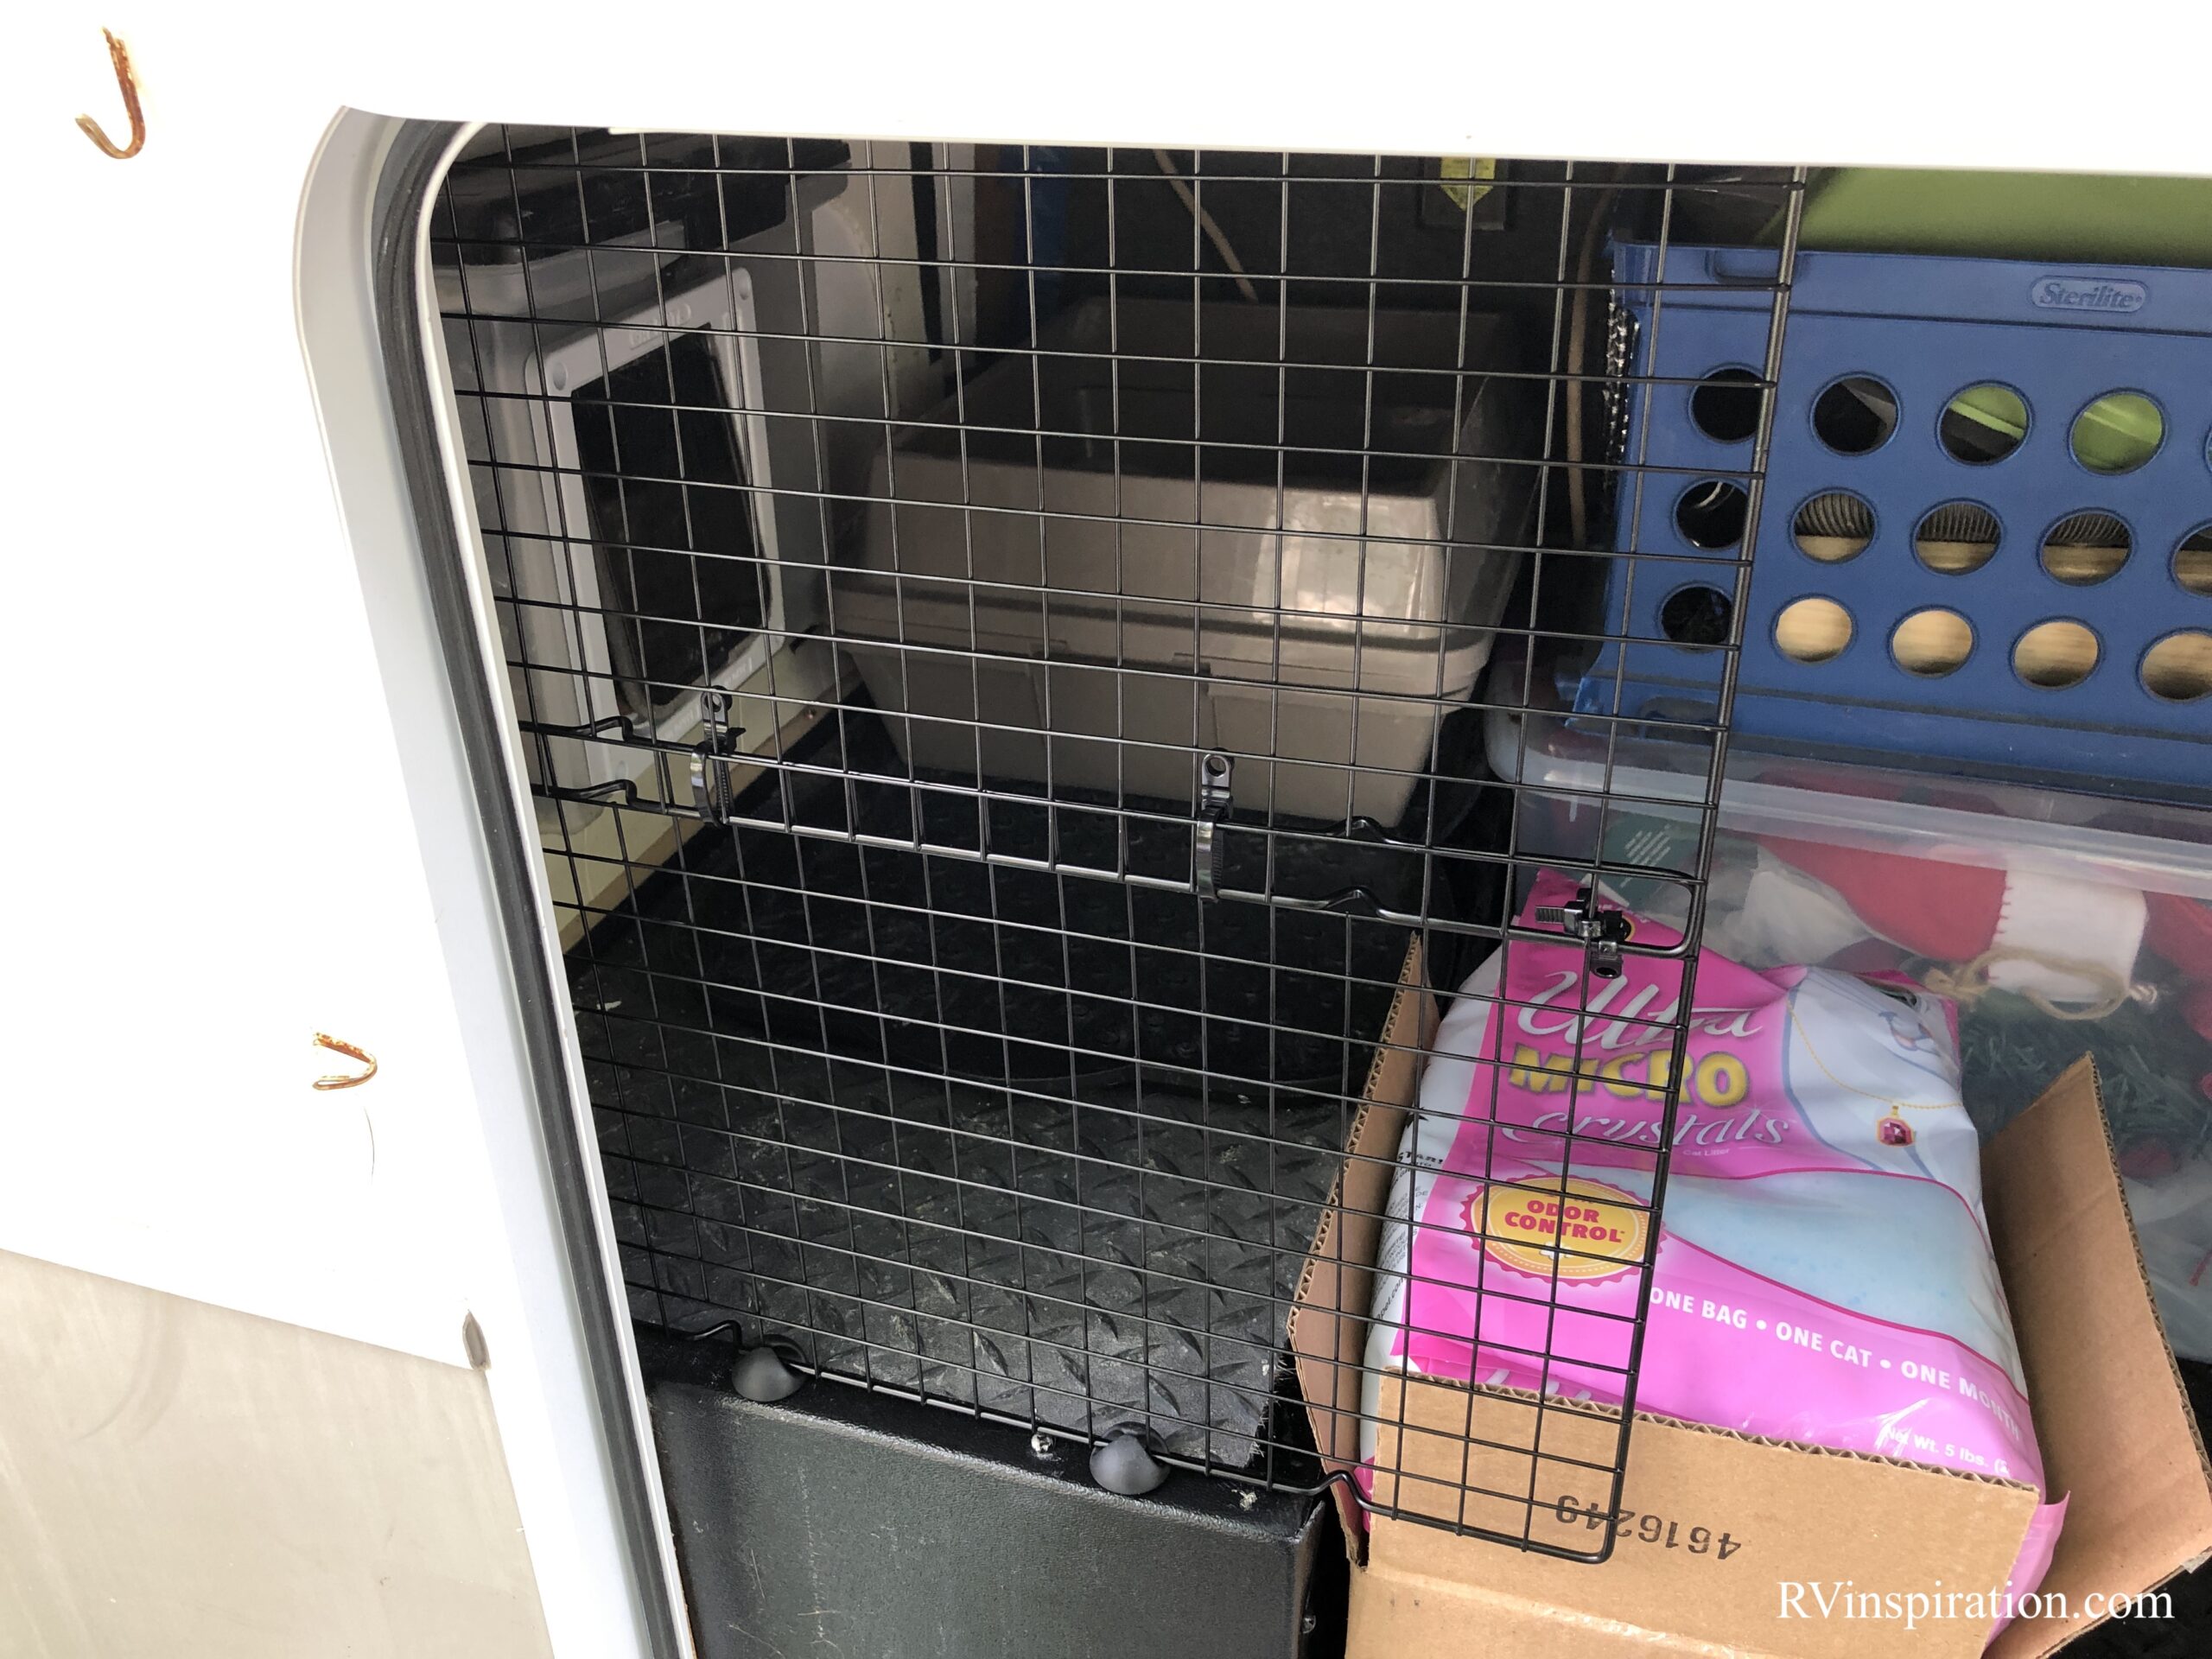
The storage area under our fifth wheel’s stairs was Kitty’s dedicated litter box area. Since the storage area had plenty of extra space and he already had access to it, we decided to use this spot for his catio or cat porch.
In order to make this storage area safe for Kitty, we needed to add cage-style doors that would be secure so he couldn’t get out, but wouldn’t prevent the exterior doors from closing, and would be easy to open or remove when we needed to access the storage area under our RV.
I got some ideas from Facebook and quickly got to work adapting them to my own needs.
Items we used to build our fifth wheel cat porch
Here are the items I used when I created this catio for our Keystone Everest fifth wheel.
- Catio Doors: Two metal screen door protectors / pet grilles. These screen door protectors from Home Depot made for perfect sliding doors on our catio. They come in two different sizes, so if you consider using these be sure to measure your space and pick the best size. Any kind of metal paneling could work, but I was specifically looking for something that wouldn’t require me to purchase any specialty tools to cut it to size.
- C-Channel: To hold the doors in place and make it to where they could slide open easily, we used this ¾ inch aluminum c-channel from Home Depot.
- Cord Clips: For a section that wasn’t covered by the doors, I used cord clips to secure a smaller panel.
- Kitchen Cooling Racks for Second Door: I’ll explain this later, but I created a smaller panel using two kitchen cooling racks from Walmart which I zip tied together.
- Zip Ties
- Acrylic Mounting Tape: I used this tape to mount the c-channel to our textured storage area’s floor. This tape is removable and works better than other types of mounting tape for textured surfaces.
- 3M Mounting Tape: I used 3M mounting tape for the top c-channel. You could use the acrylic tape for this purpose, but I wanted to test both kinds.
- 2 Drawer Pulls: These were attached to the doors to make them easy to open and close.
- 4 sets of washers, bolts, and flange nuts: Used to attach the handles to the door panels.
Prepping the storage area floor and ceiling for the cat porch door
The doors I decided to use to create a catio that Kitty could see out of were a pair of metal screen door protectors/pet grilles. These metal grilles come in two different sizes, so I had to measure our space to select the one that fit the best.
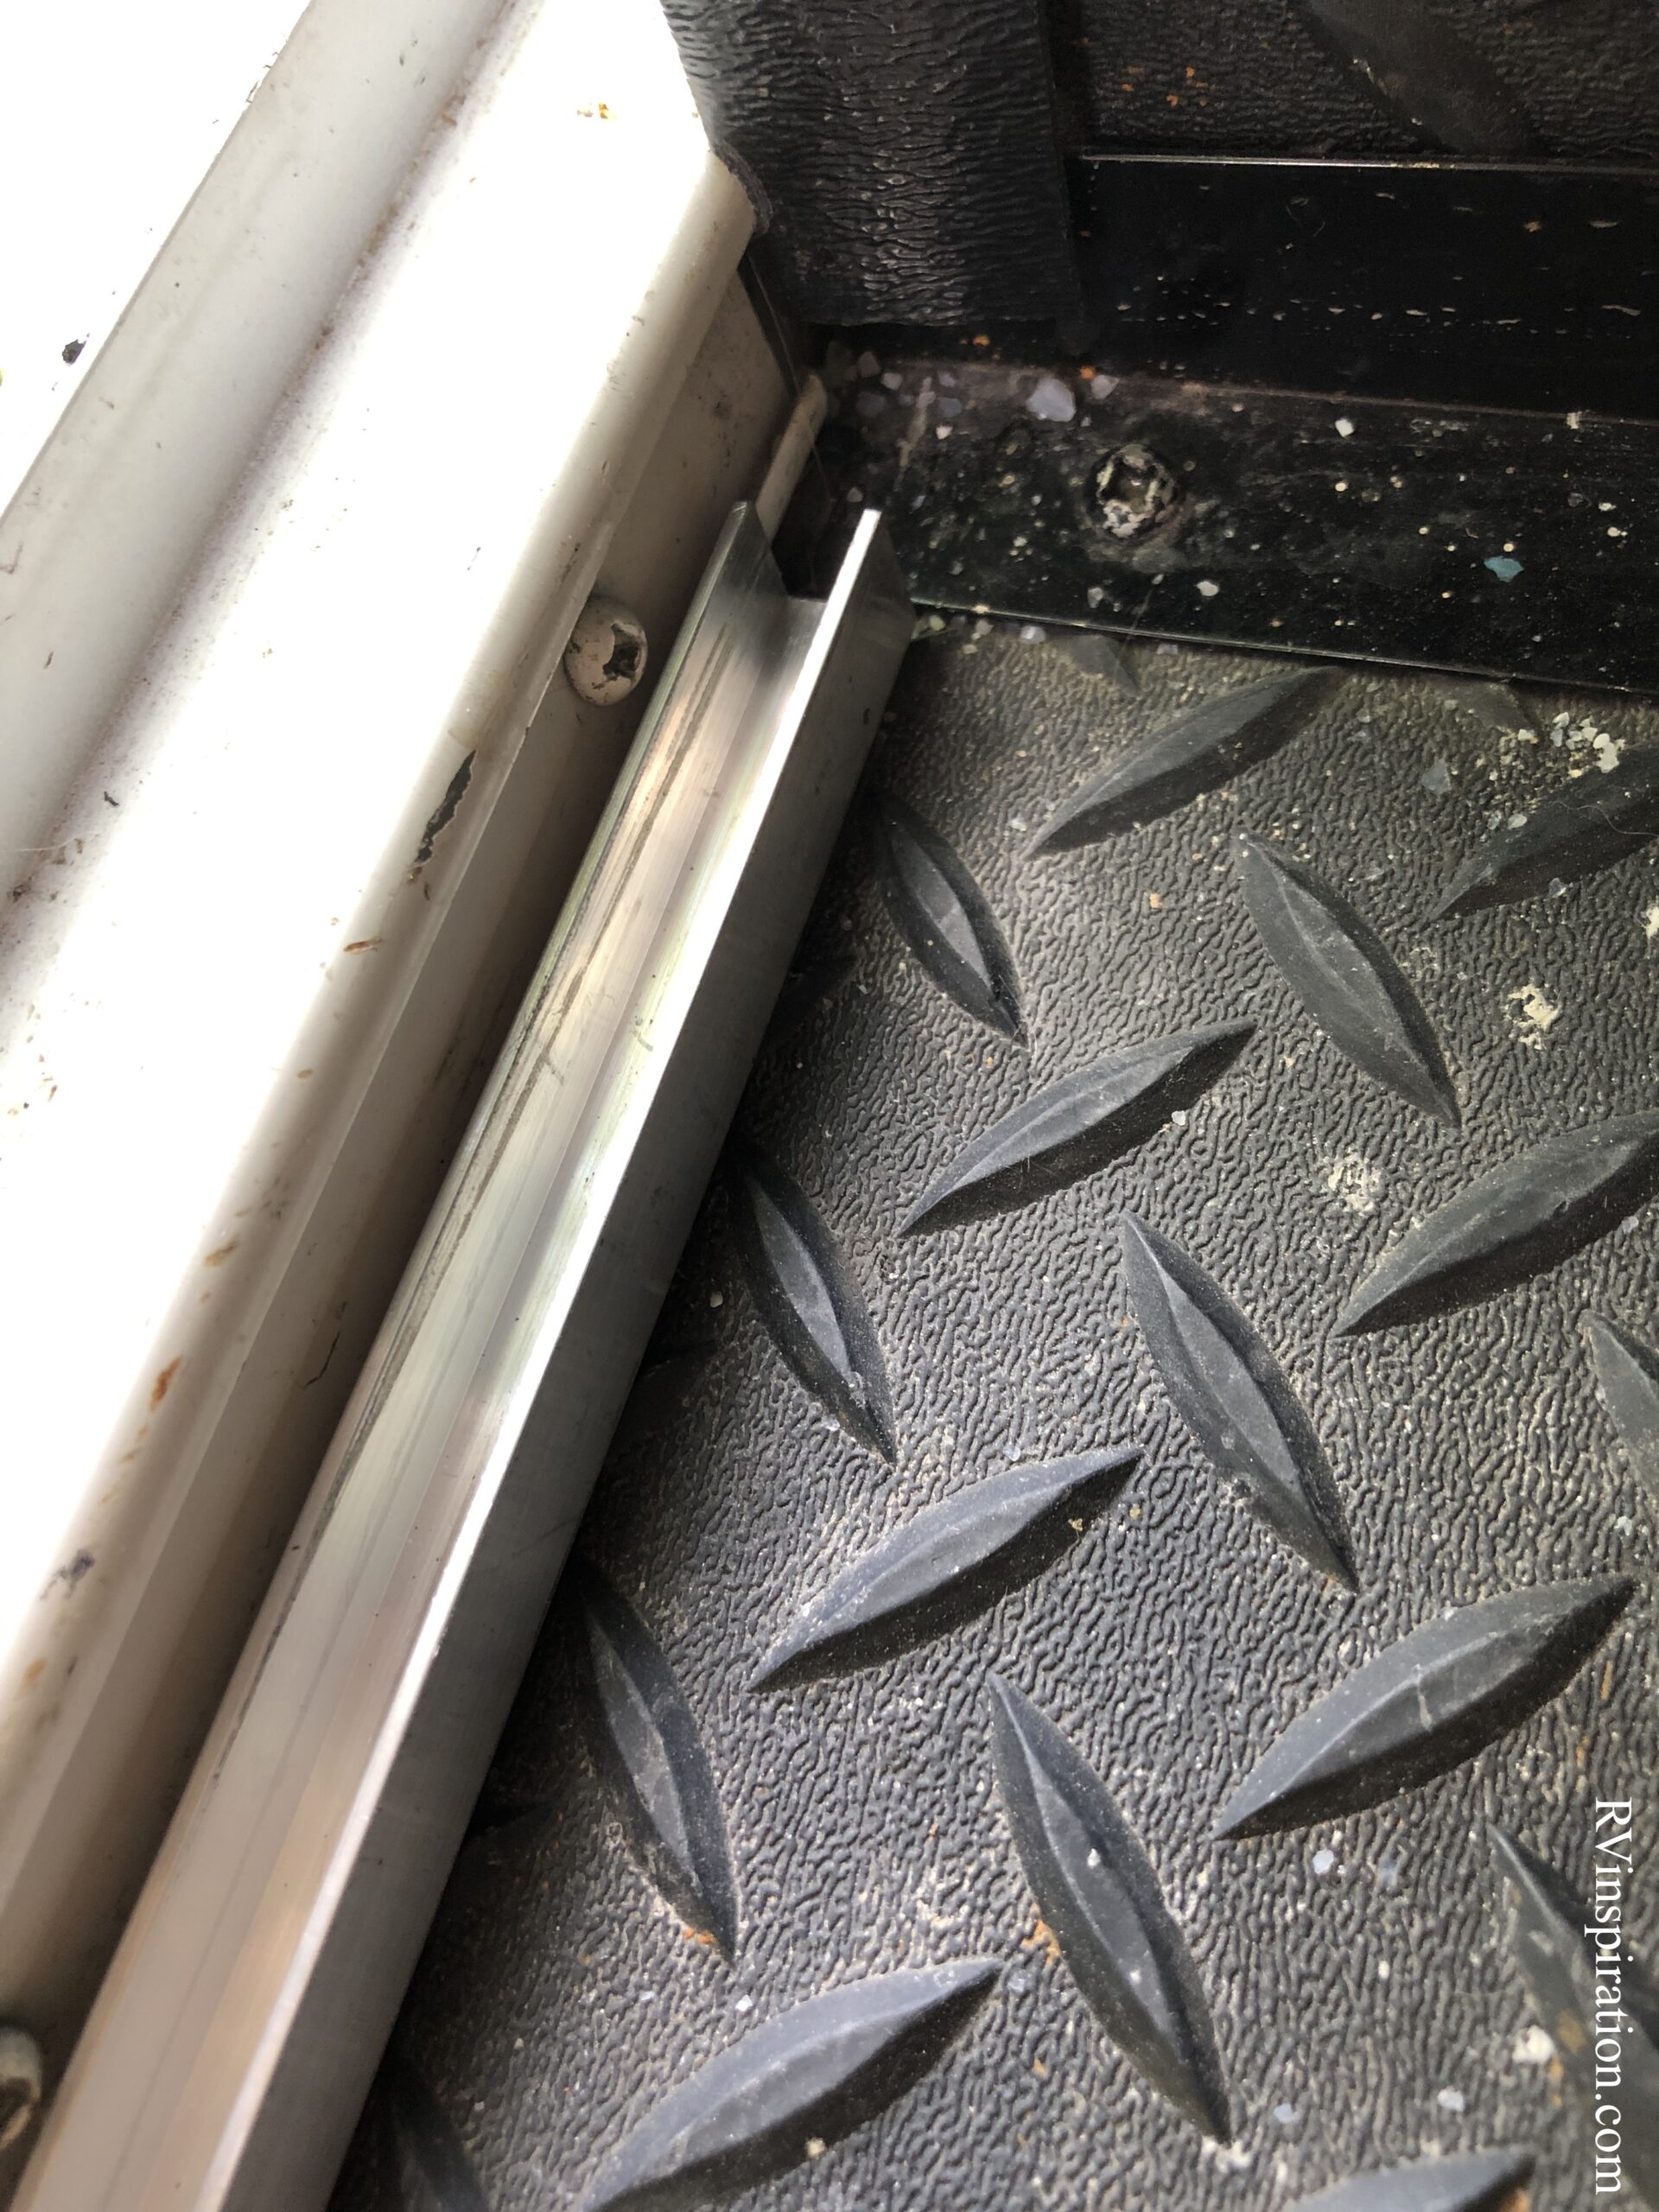
In order to secure the panels and allow them to slide open and closed, I needed to install some type of channel on the floor and ceiling of the storage area.
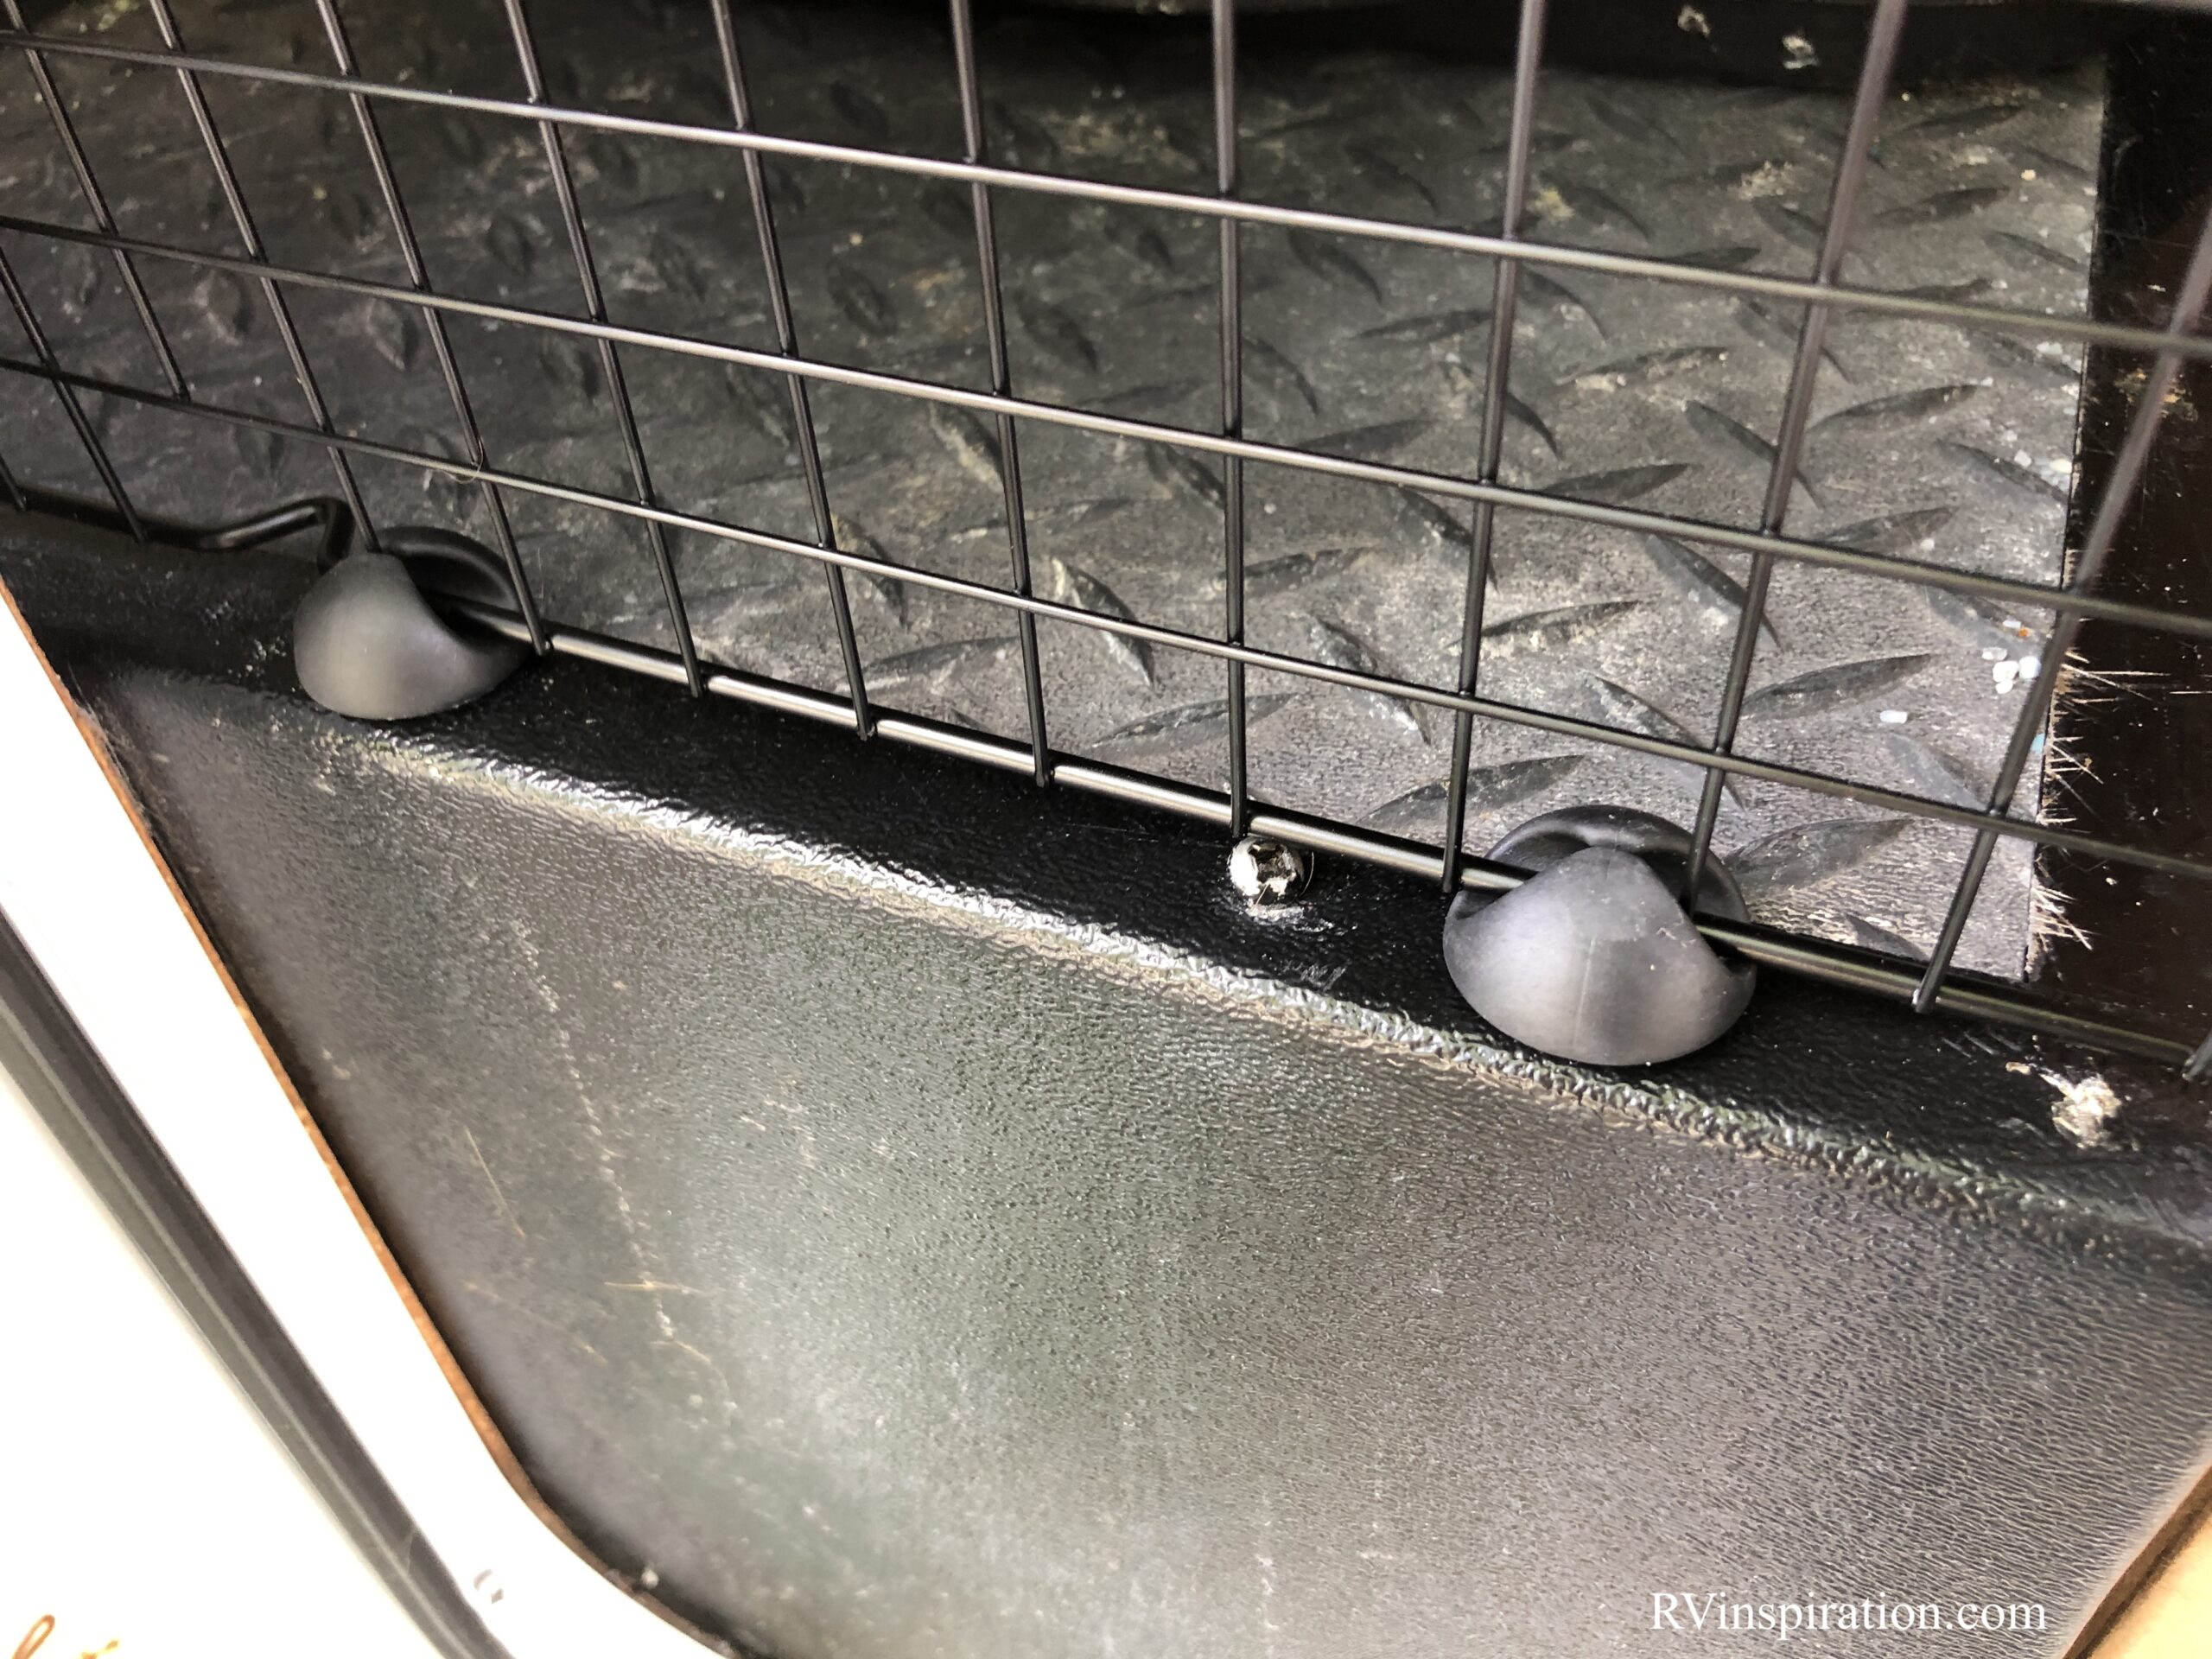
The flooring in the storage area on our Keystone Everest was made out of a rugged and textured mat. I didn’t want to screw anything into the floor, so I used acrylic tape to mount the channel that would hold the doors in place.
Acrylic tape is good for mounting to textured surfaces because of how the rubbery texture conforms to the surface it’s attached to, so I had peace of mind that the channel would be secure. I didn’t need the channel to span the entire length of the area, it just needed to be wide enough to hold the doors in place.
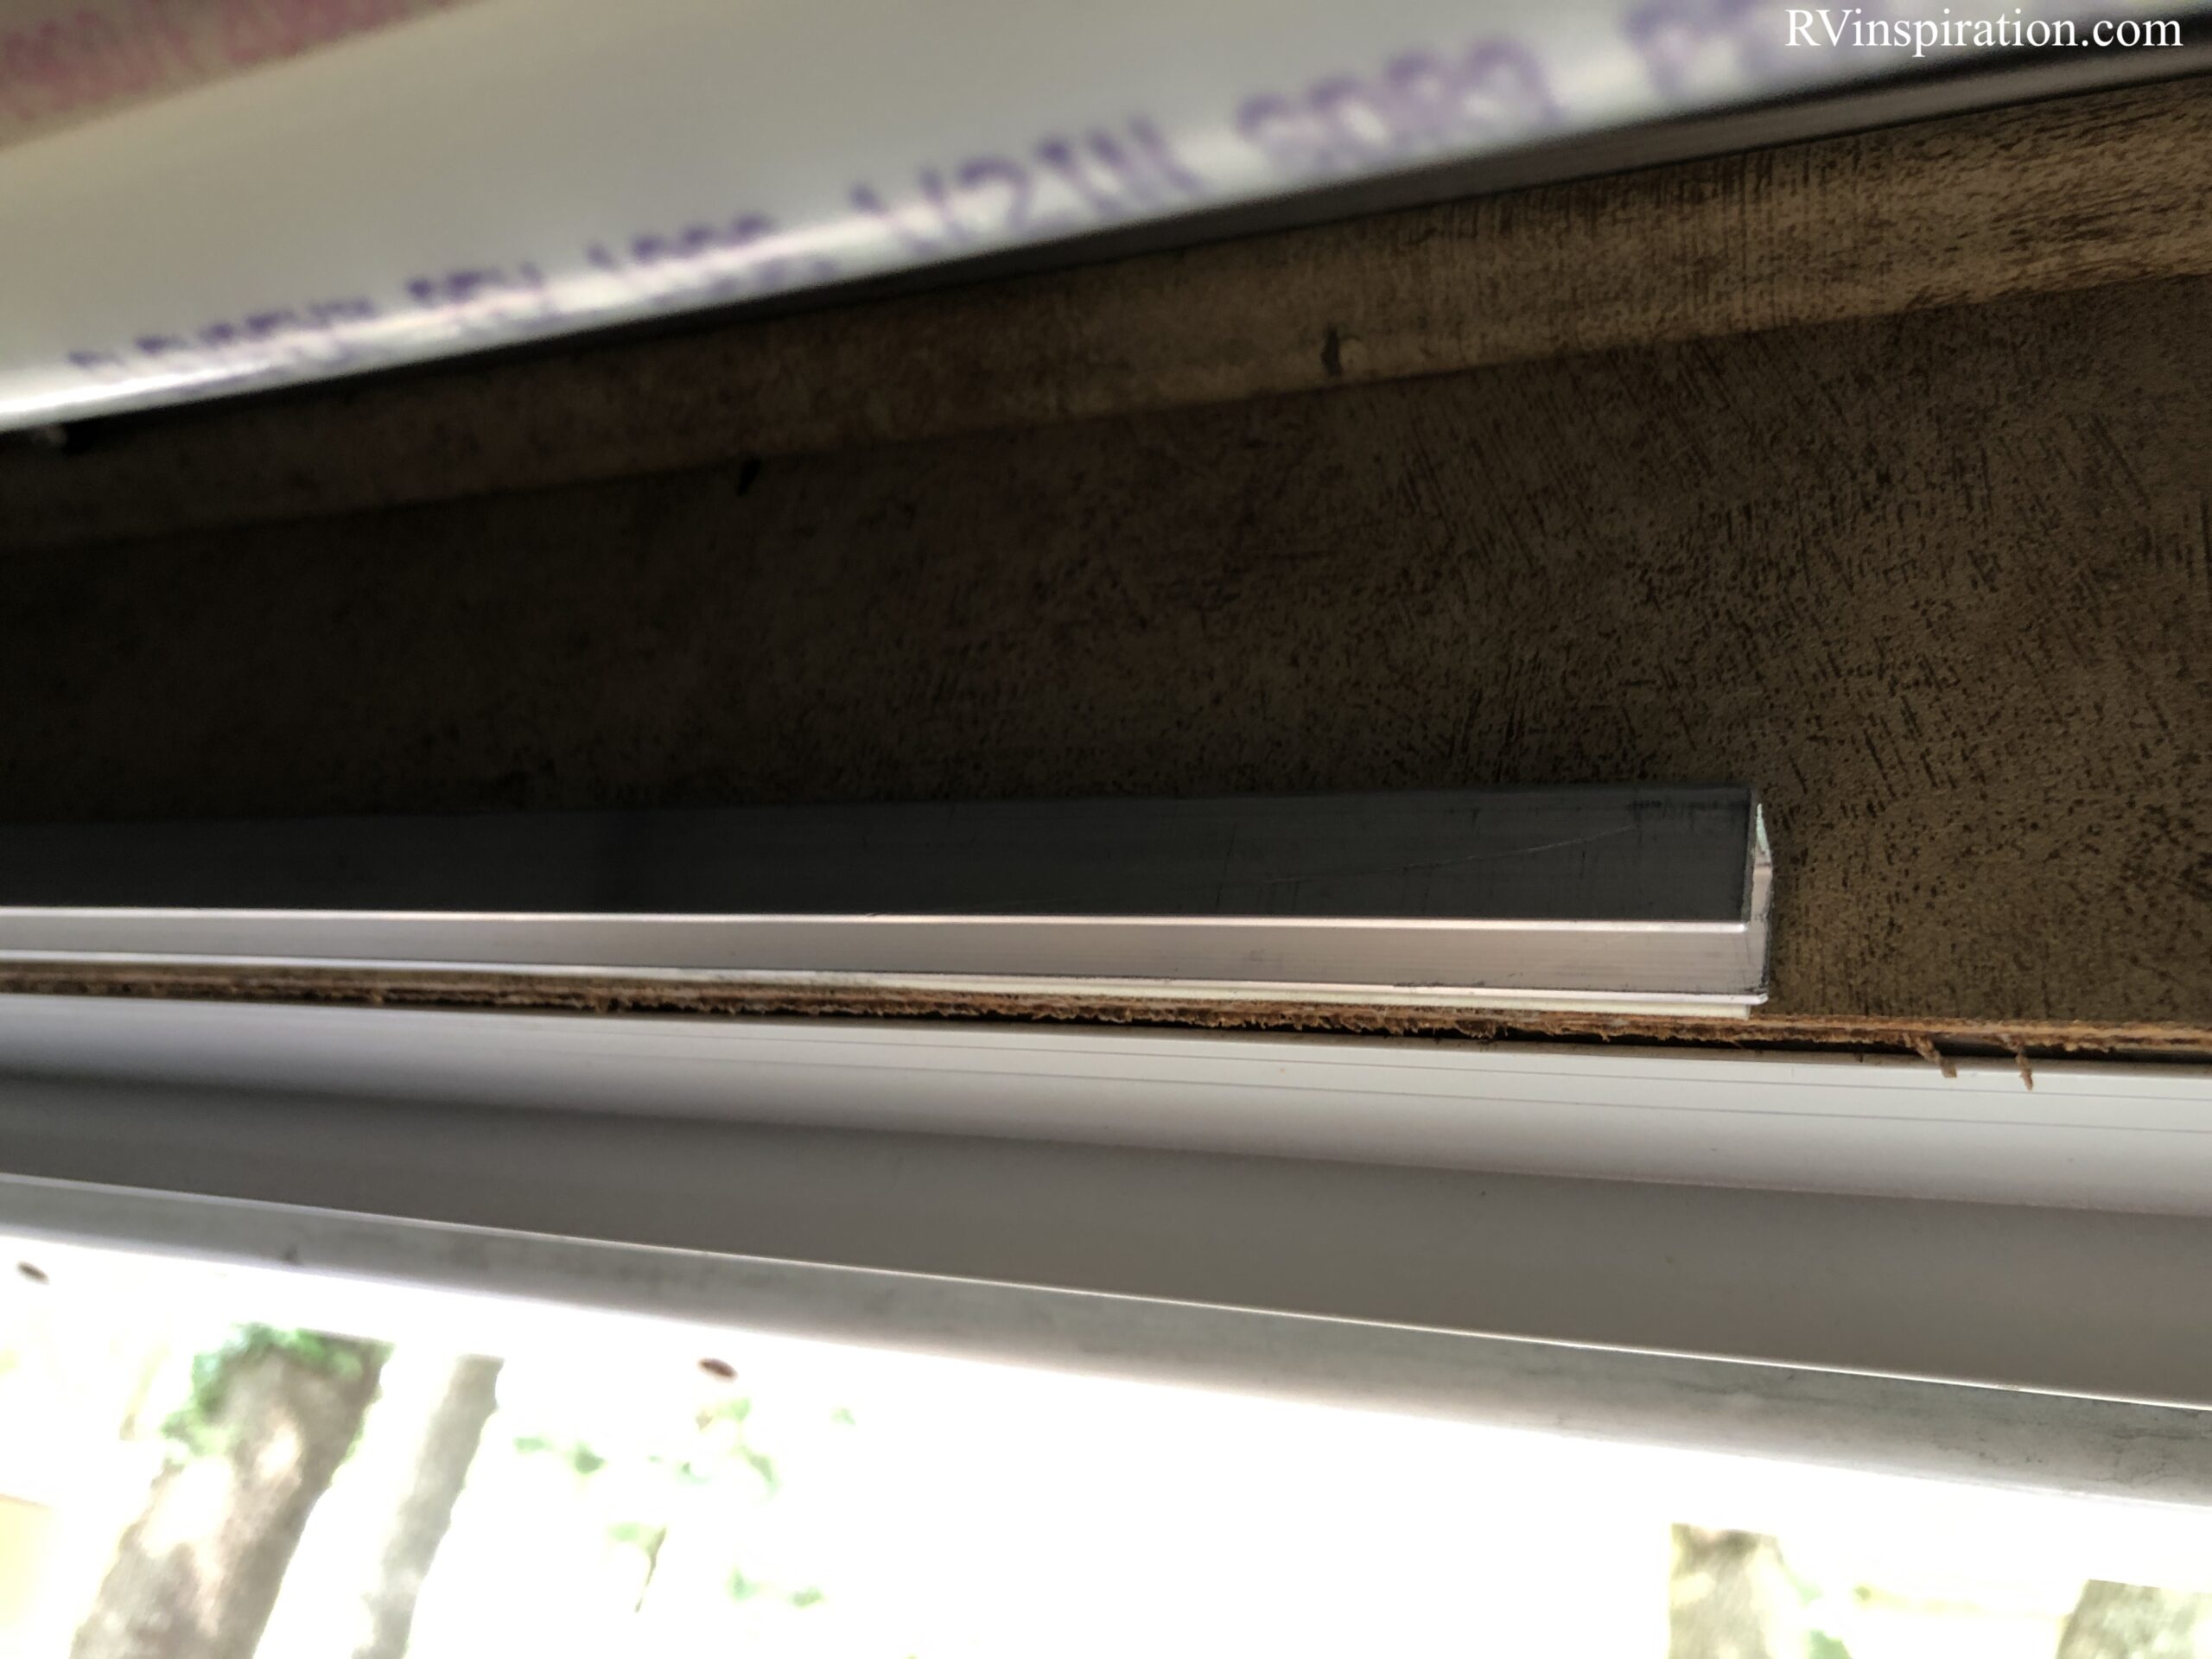
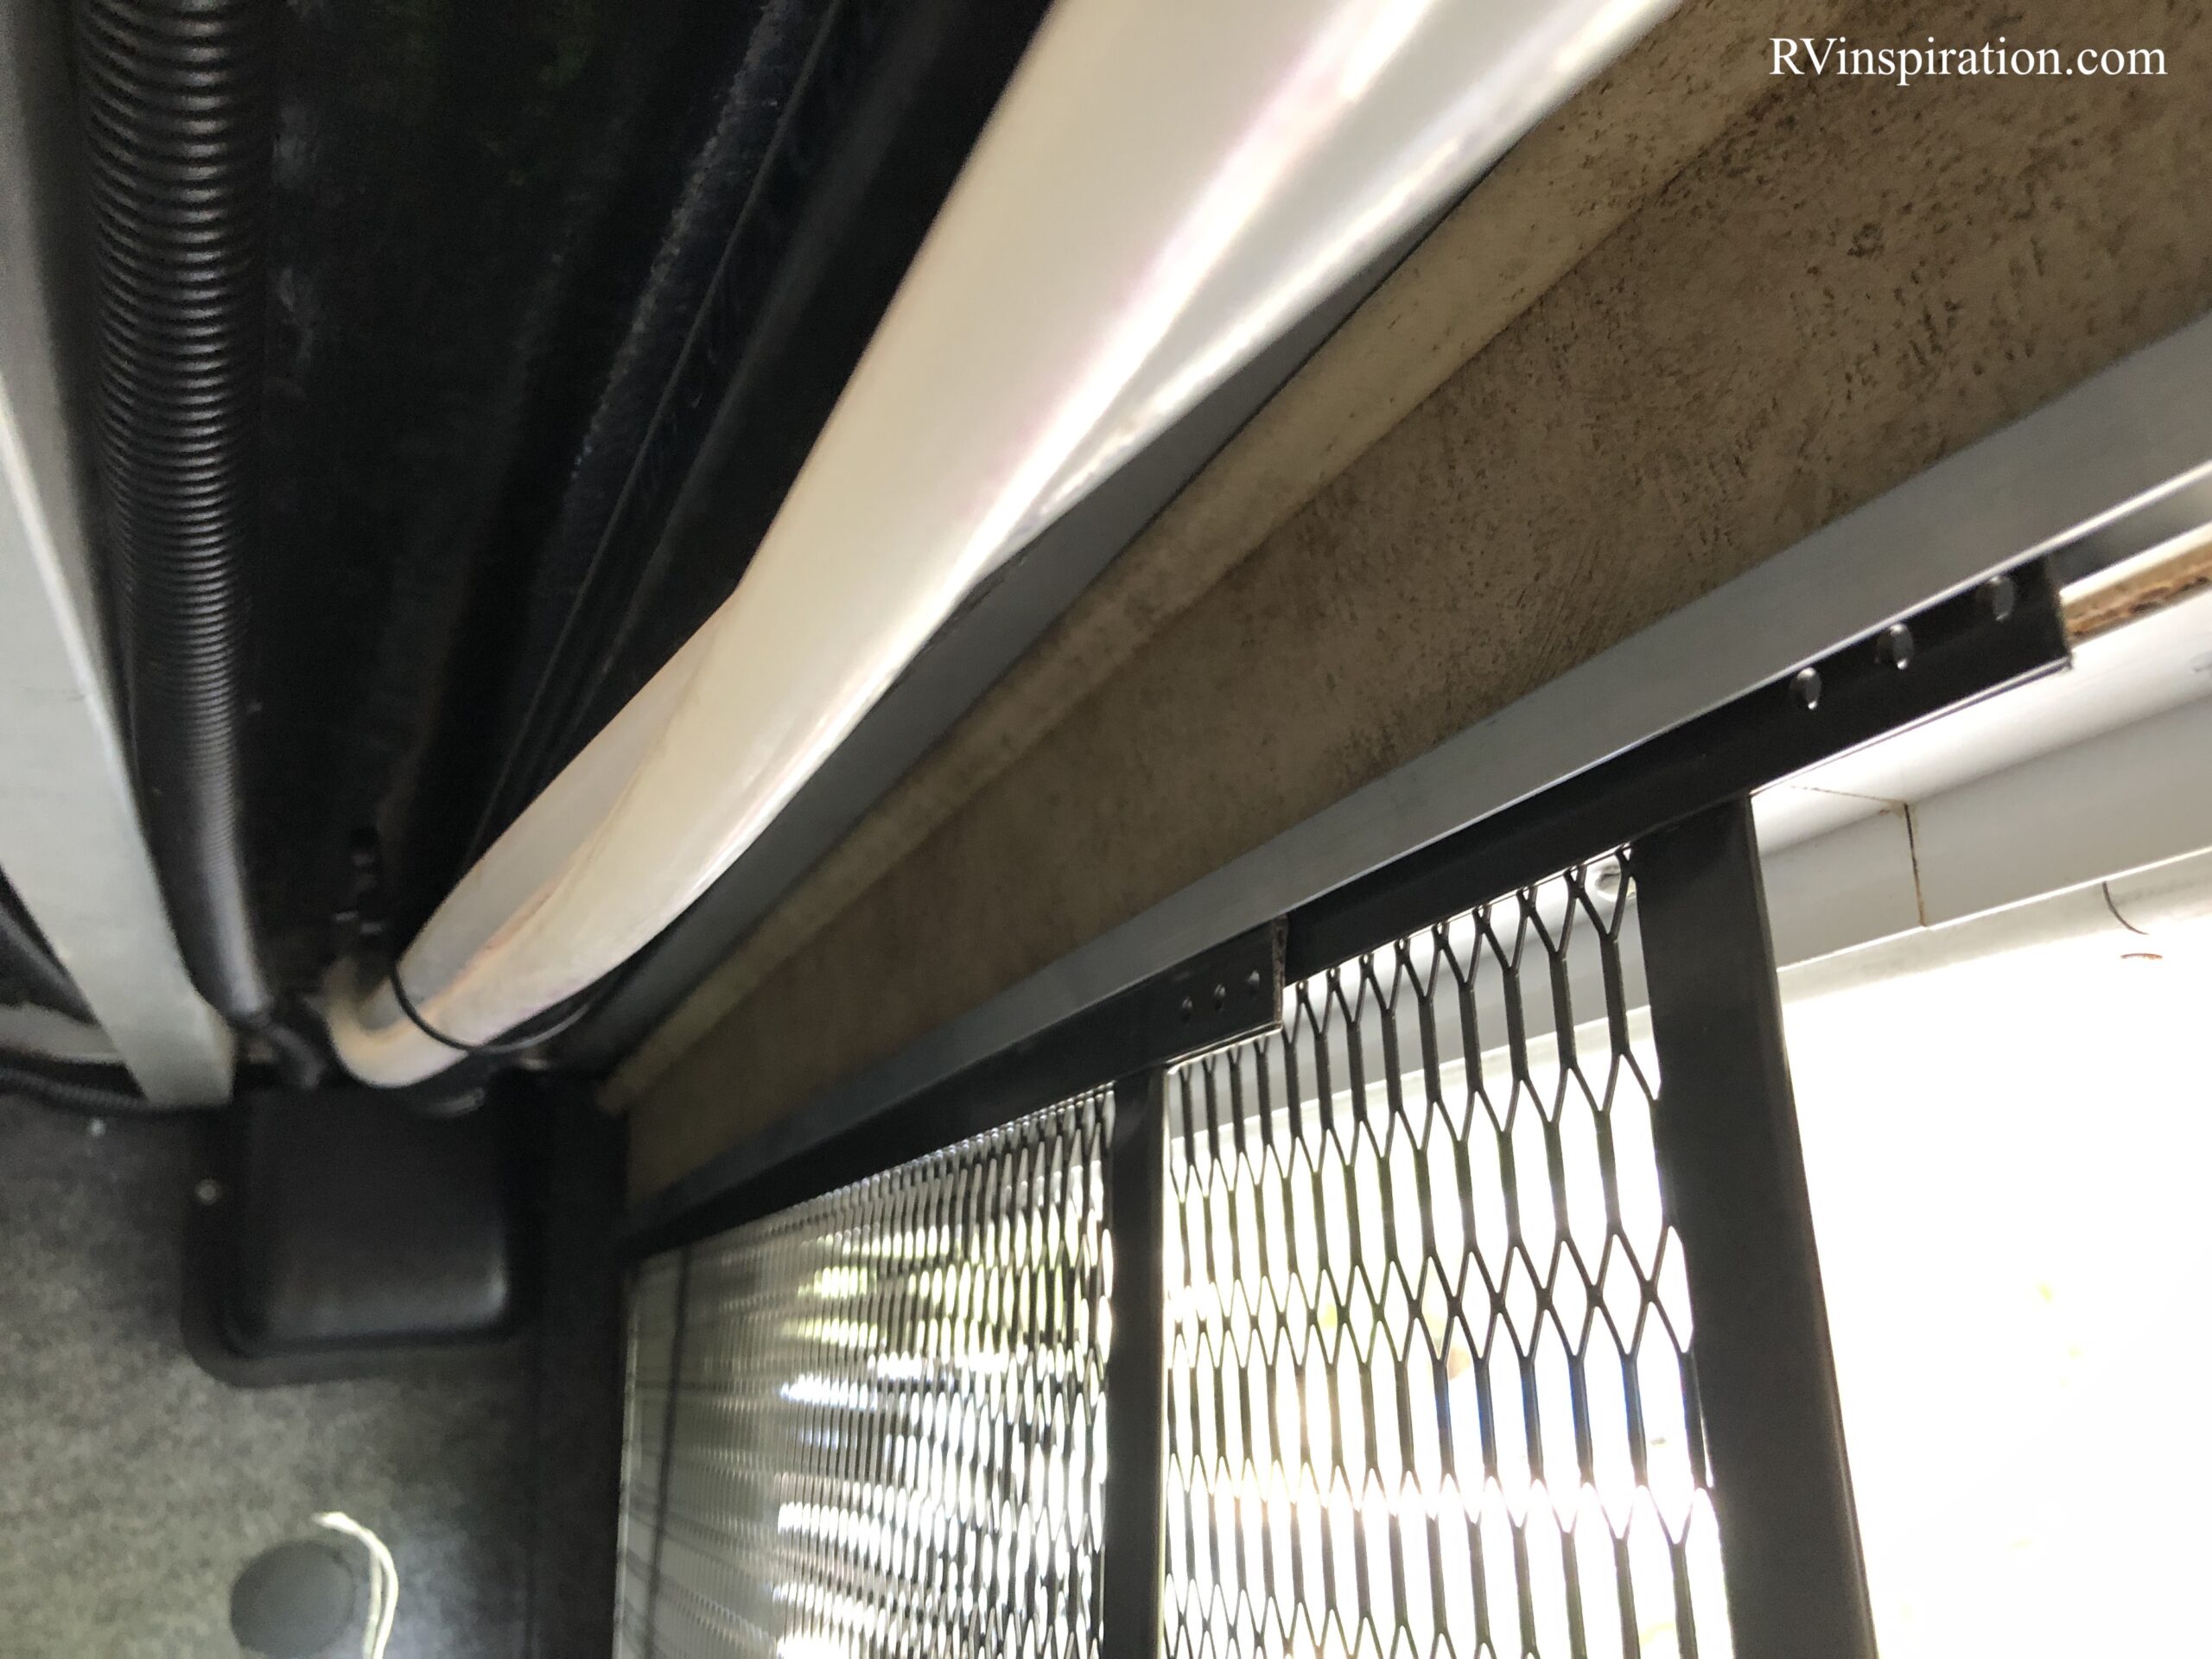
For the top track, I used the same c-channel that I used for the floor, but instead of acrylic tape I used 3M tape. There’s no real reason for using a different tape other than the fact that I wanted to compare the two types of mounting tape.
I mounted the top track just inside the storage area door on the interior wall. I positioned it just high enough to hold the metal grill in place.
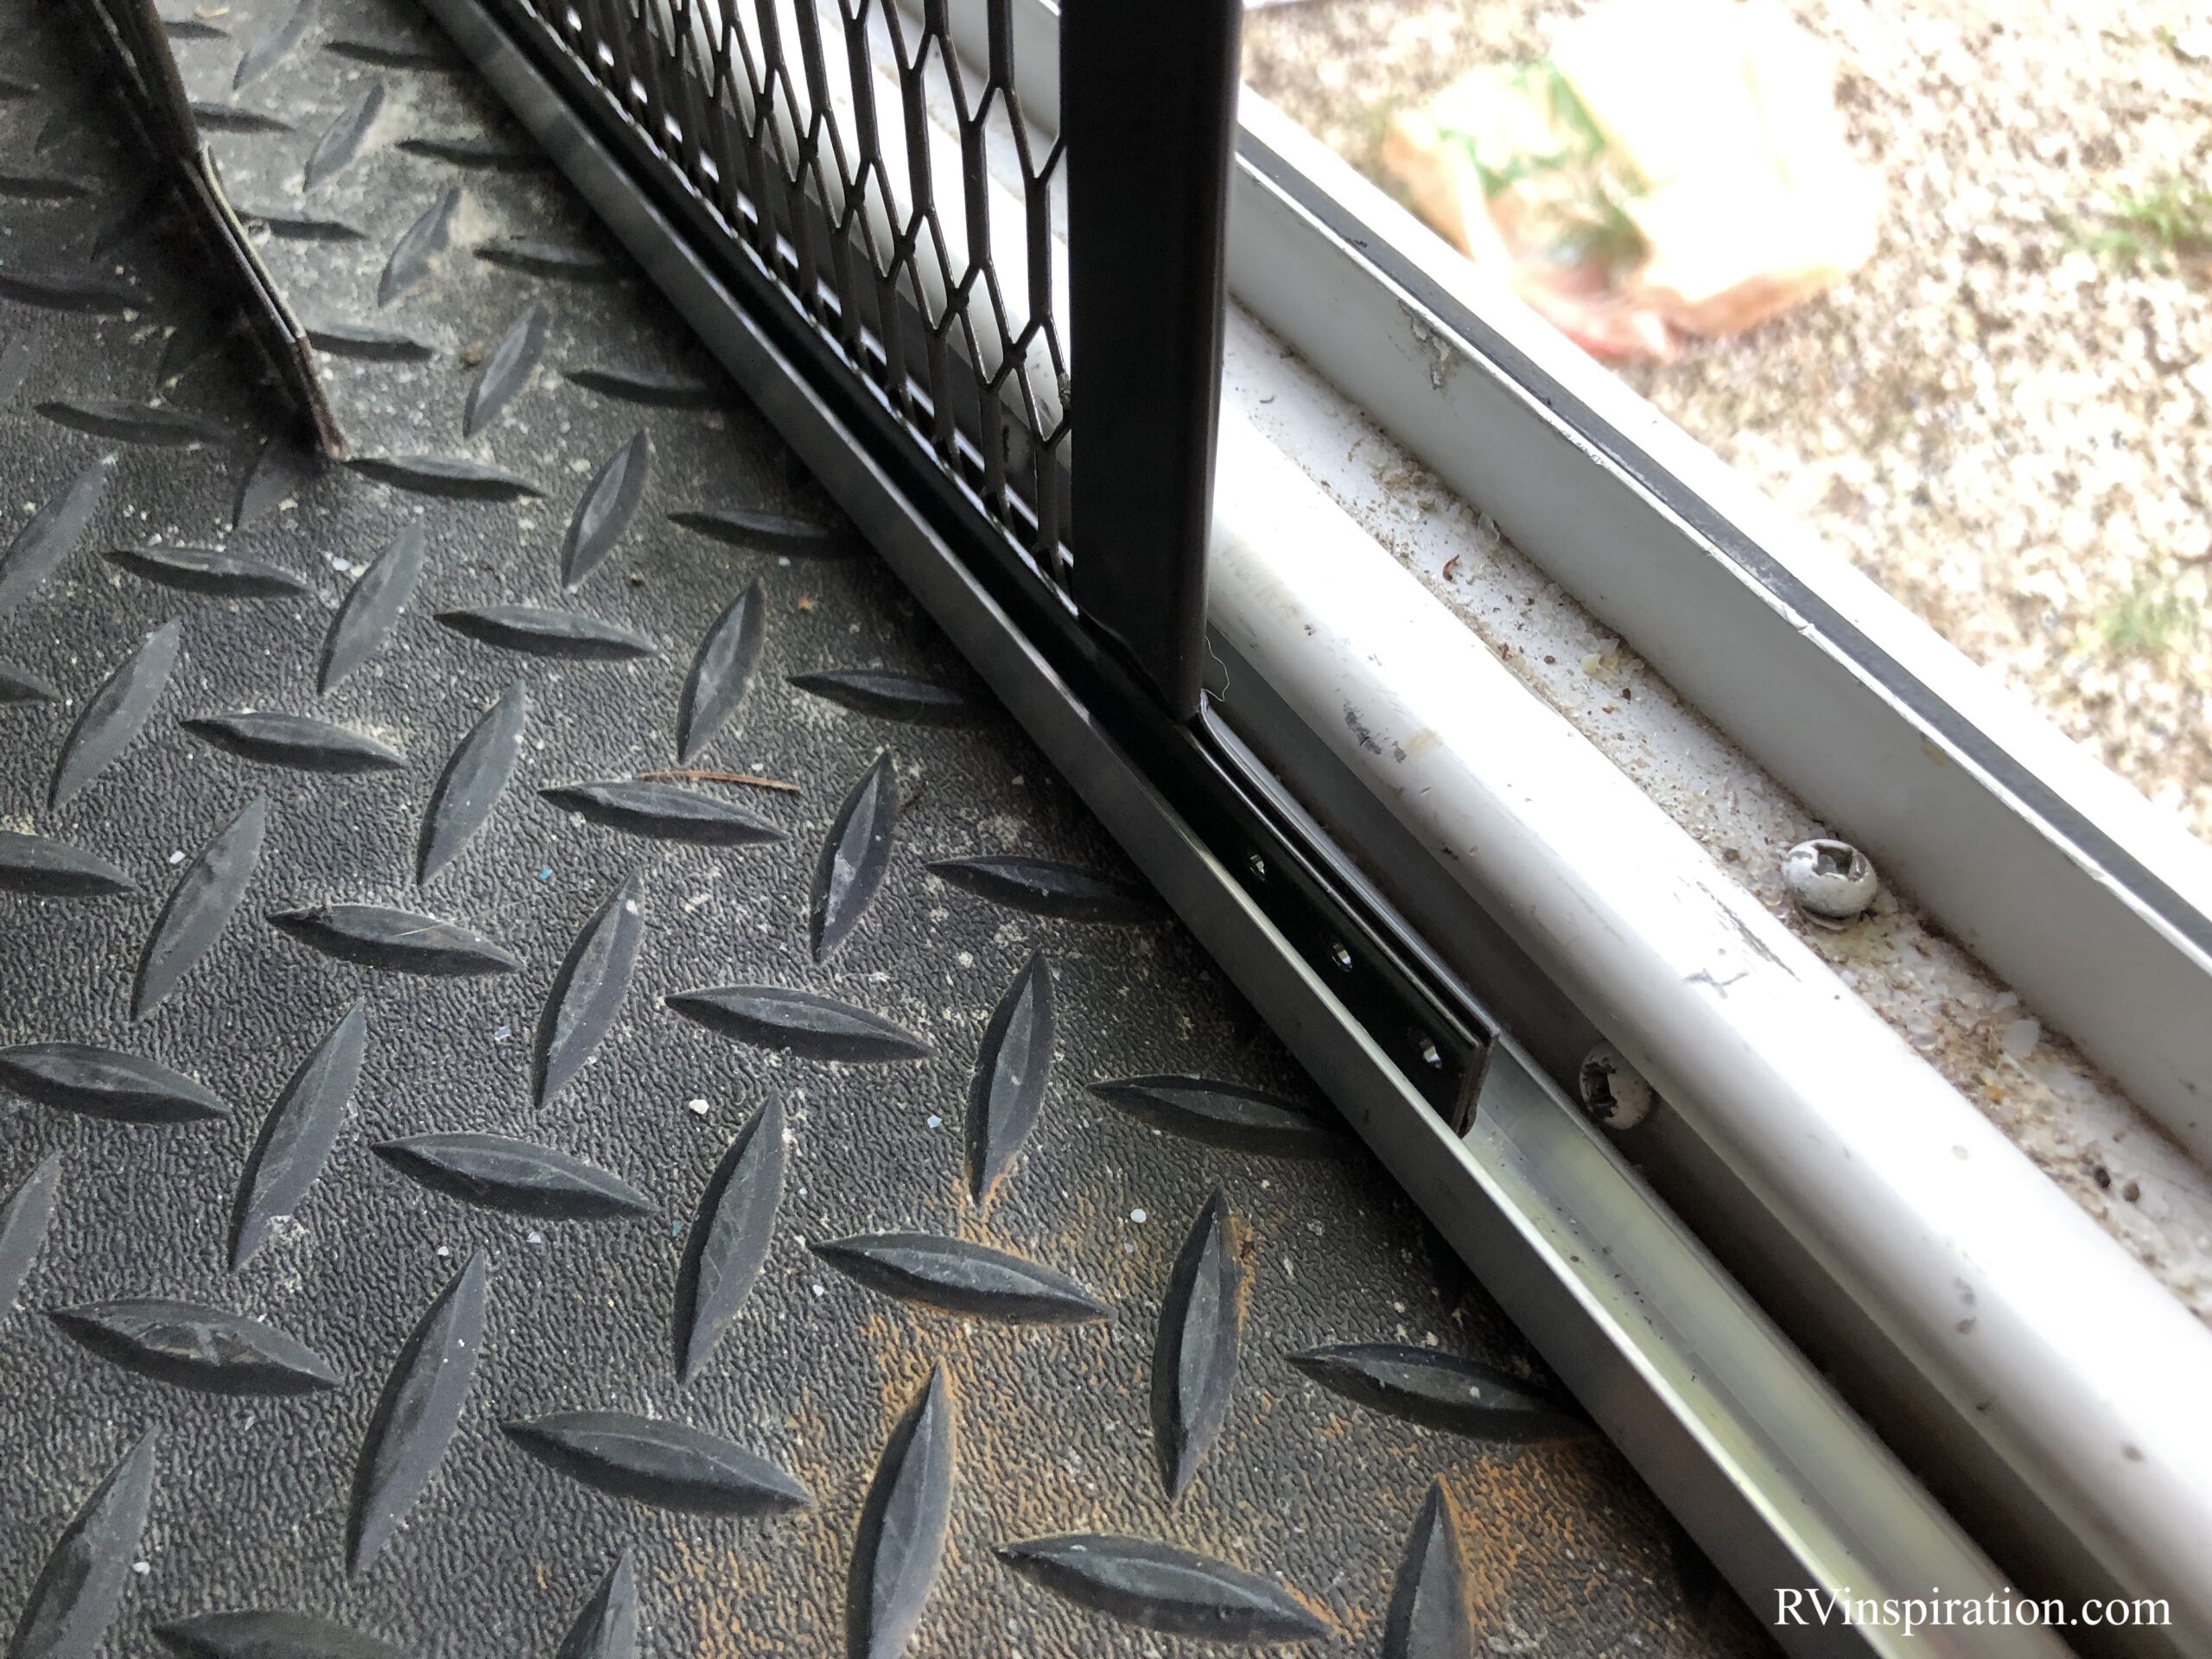
I decided to leave one of the doors outside of the tracks to make it easier to completely remove the door if needed instead of just opening it.
Next, while holding one door in place, I installed the ceiling track with 3M adhesive tape.
Creating a door for an oddly shaped opening
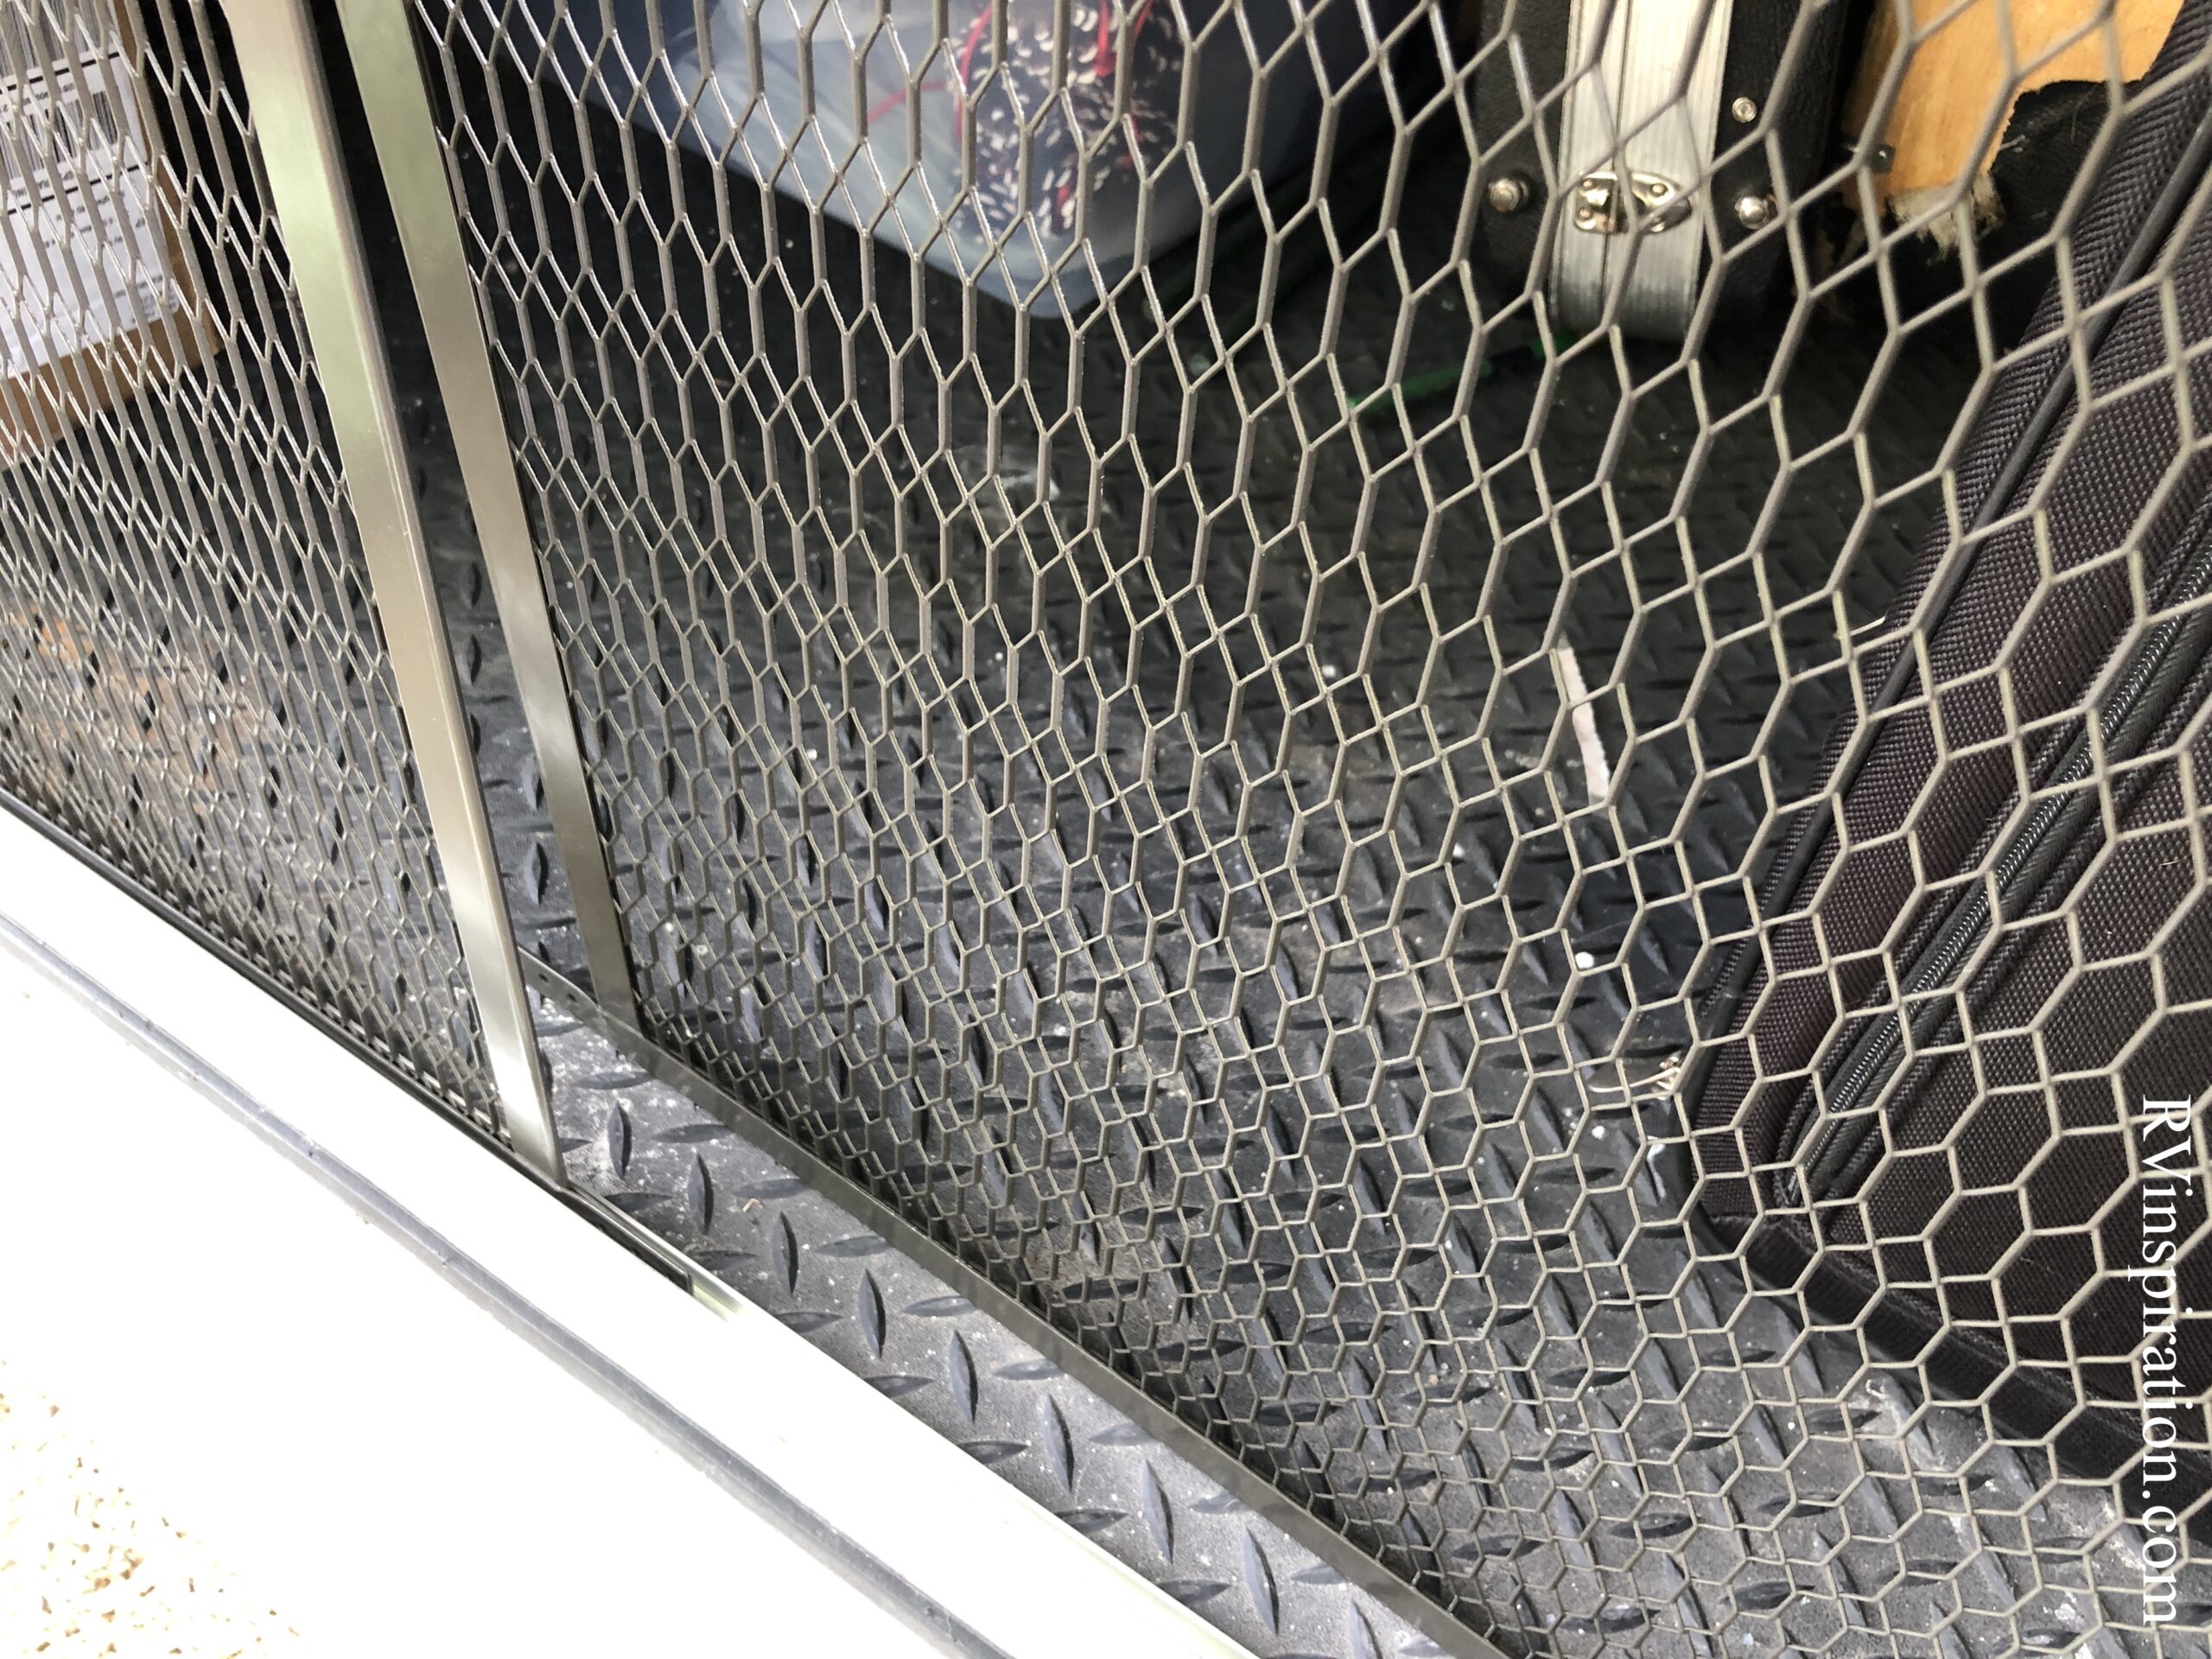
The metal grates that I used for sliding doors on the catio didn’t span the entire length of the storage area. They covered most of the area, but there was a small platform inside the storage area that needed to be enclosed also.
To cover this area, I created a smaller panel out of two kitchen cooling racks that I zip-tied together.
I wanted this part to be easily removable because it was directly in front of the litter box, so I used adhesive cord clips to hold the wire racks in place. The panel was easy to pop out when needed, but I did find that over time I ended up needing to reinforce the adhesive on the cord clips.
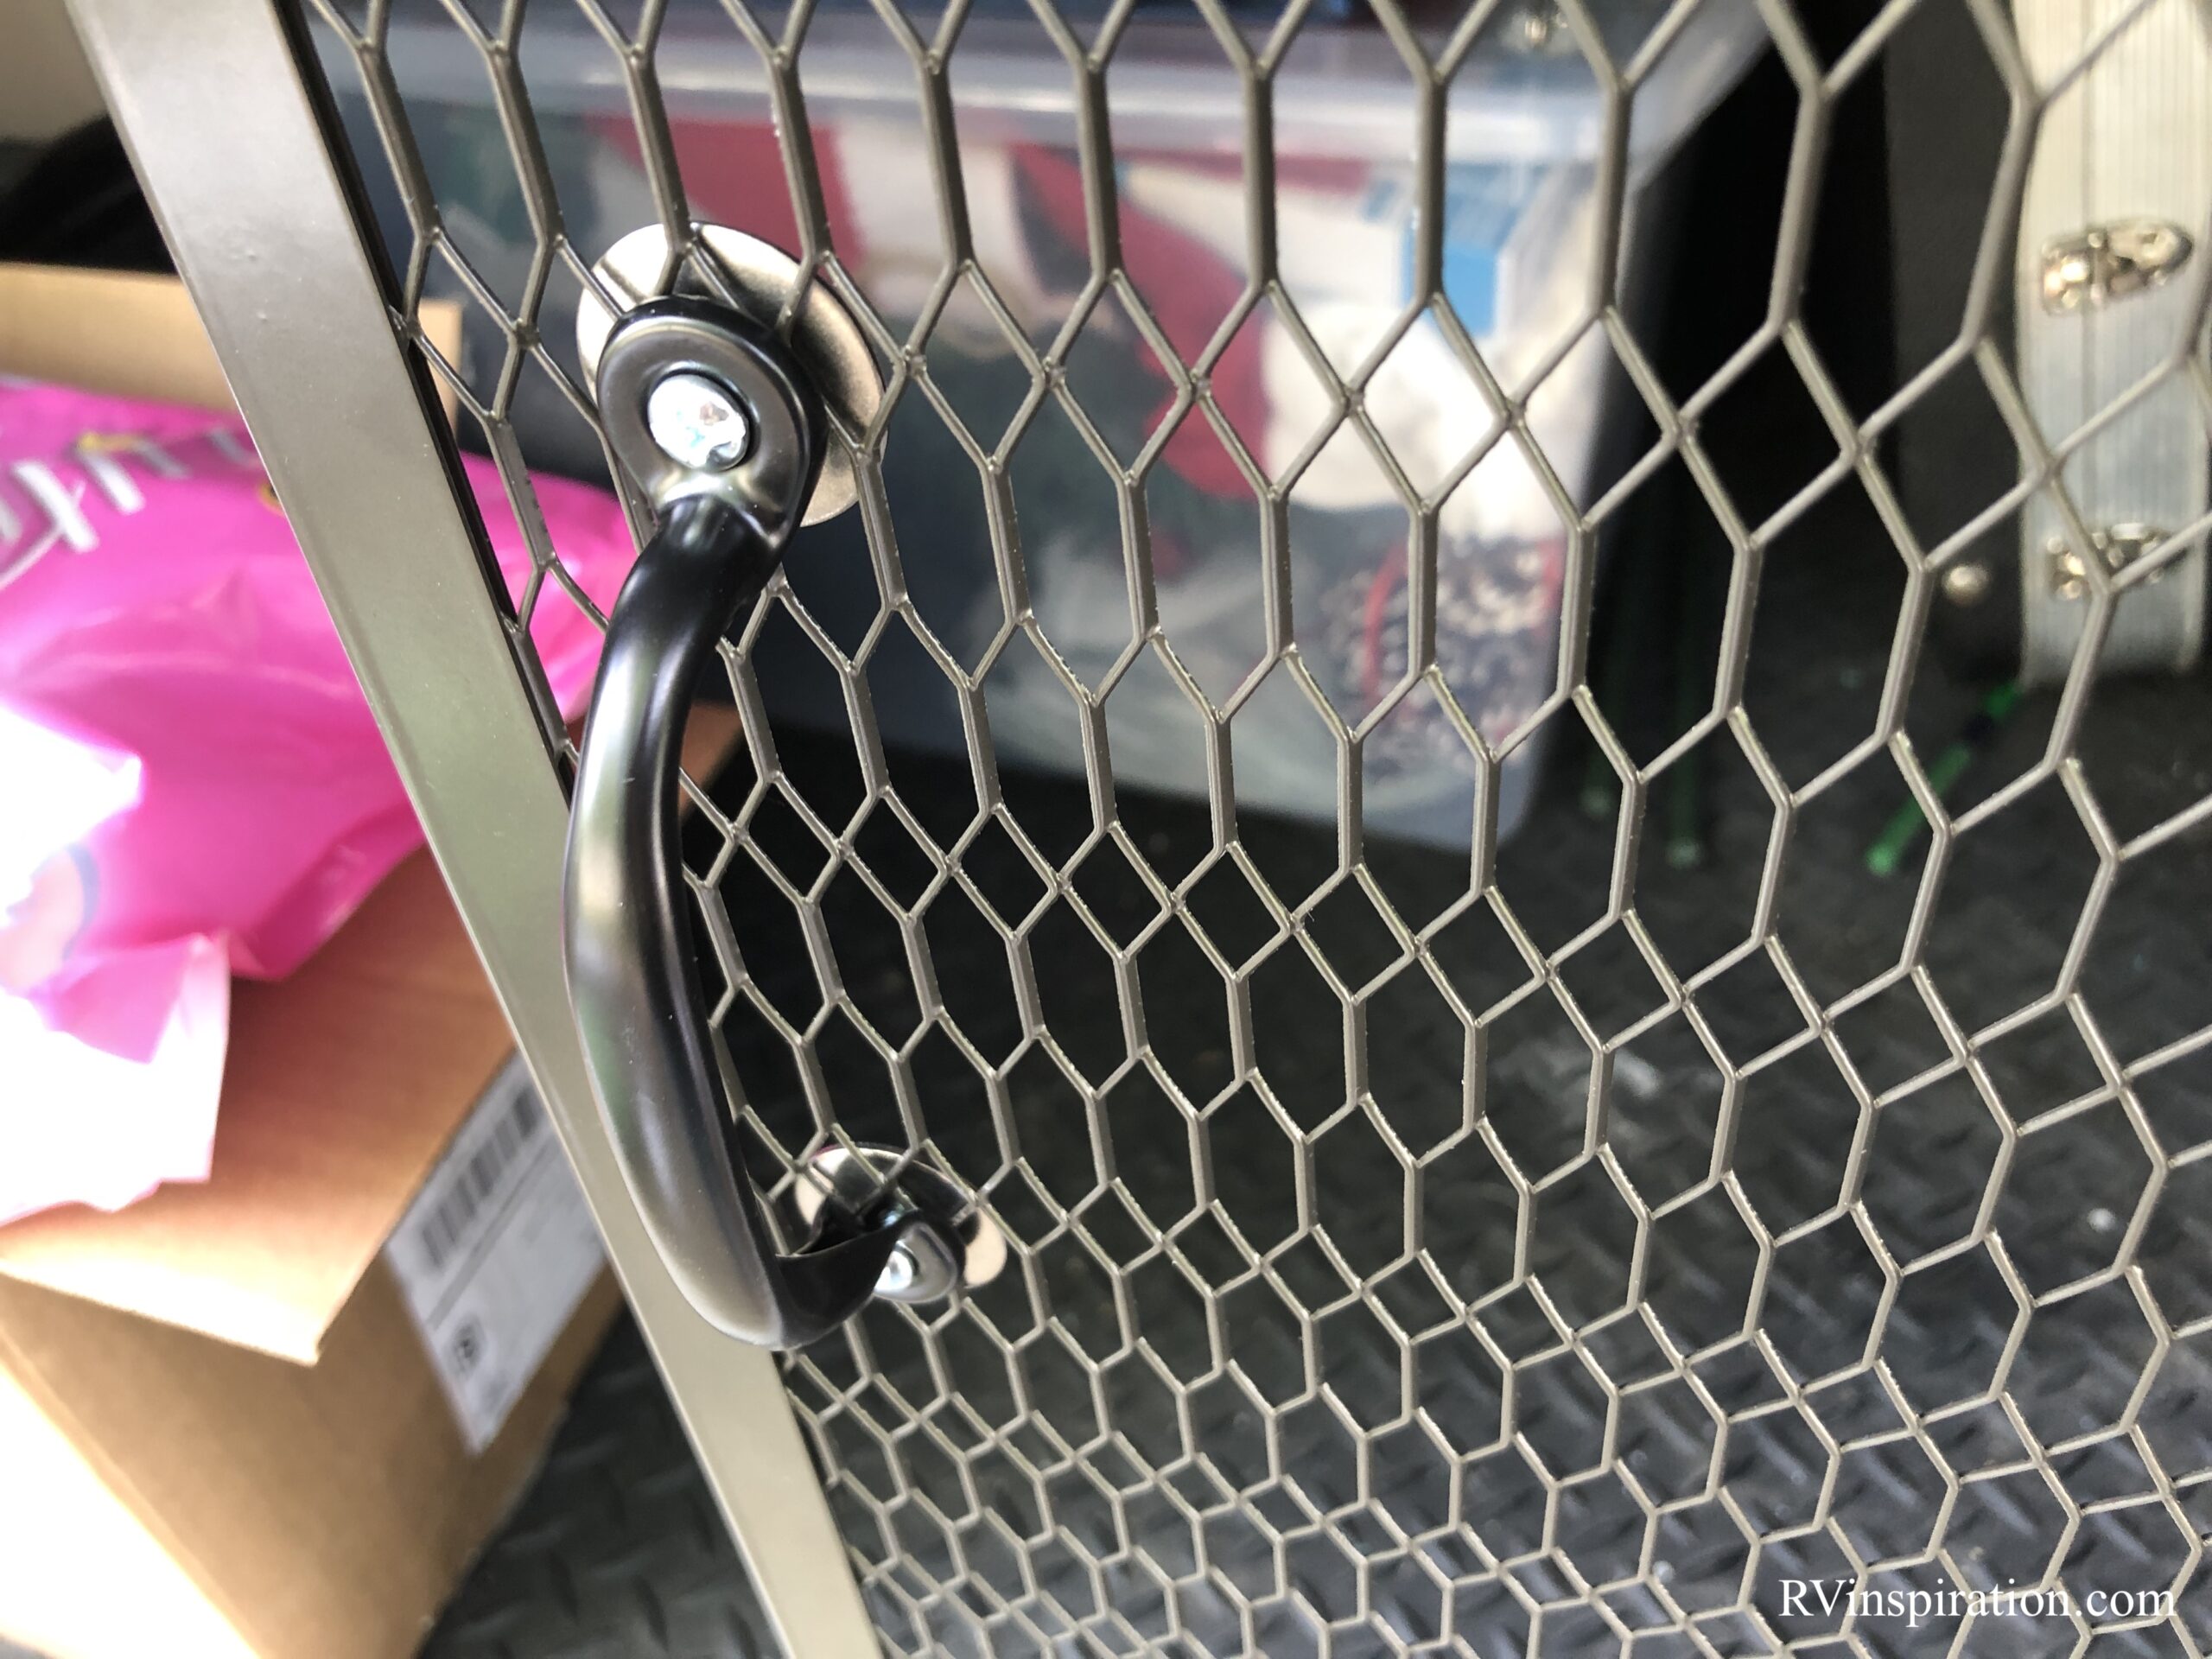
Adding handles to catio doors
I decided to add some handles to the catio doors using drawer pulls attached with washers, bolts, and flange nuts. The handles make operating the doors a lot more convenient and it looks great.
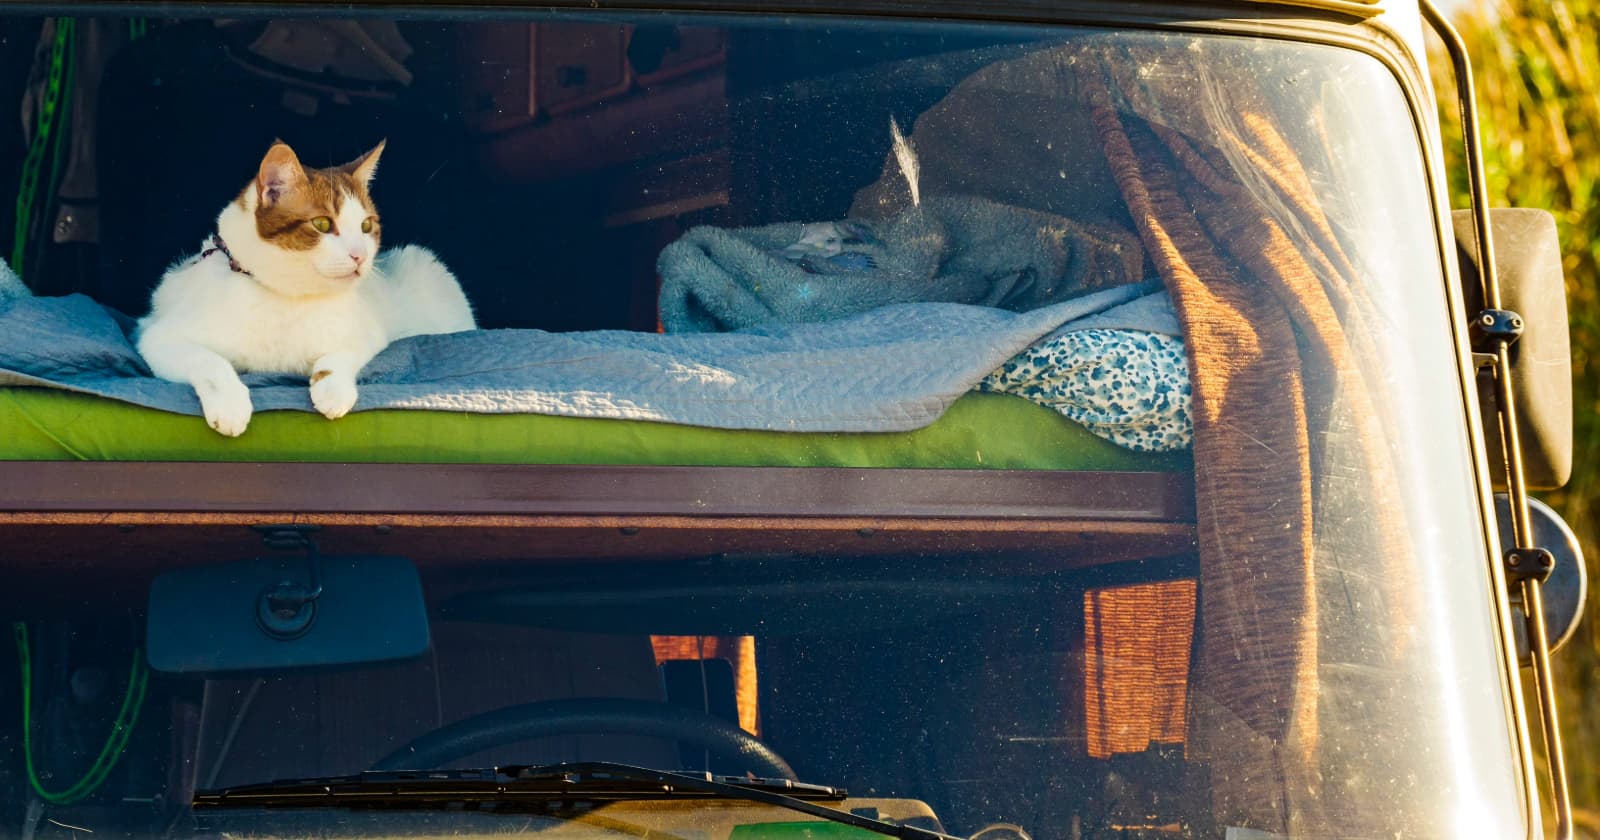
The Verdict Is In: Kitty Loves His New Hangout Spot
It was almost immediately evident that Kitty loves his new hangout spot. He quickly started spending most of his time in his new cat porch, enjoying the sunshine, smells, and sounds of the outdoors.
We have peace of mind that he’s safe and secure, and we still have access to the storage area for cleaning his litter box or accessing things we need.
The panels easily slide open and closed thanks to the c-channels and the handles I added.
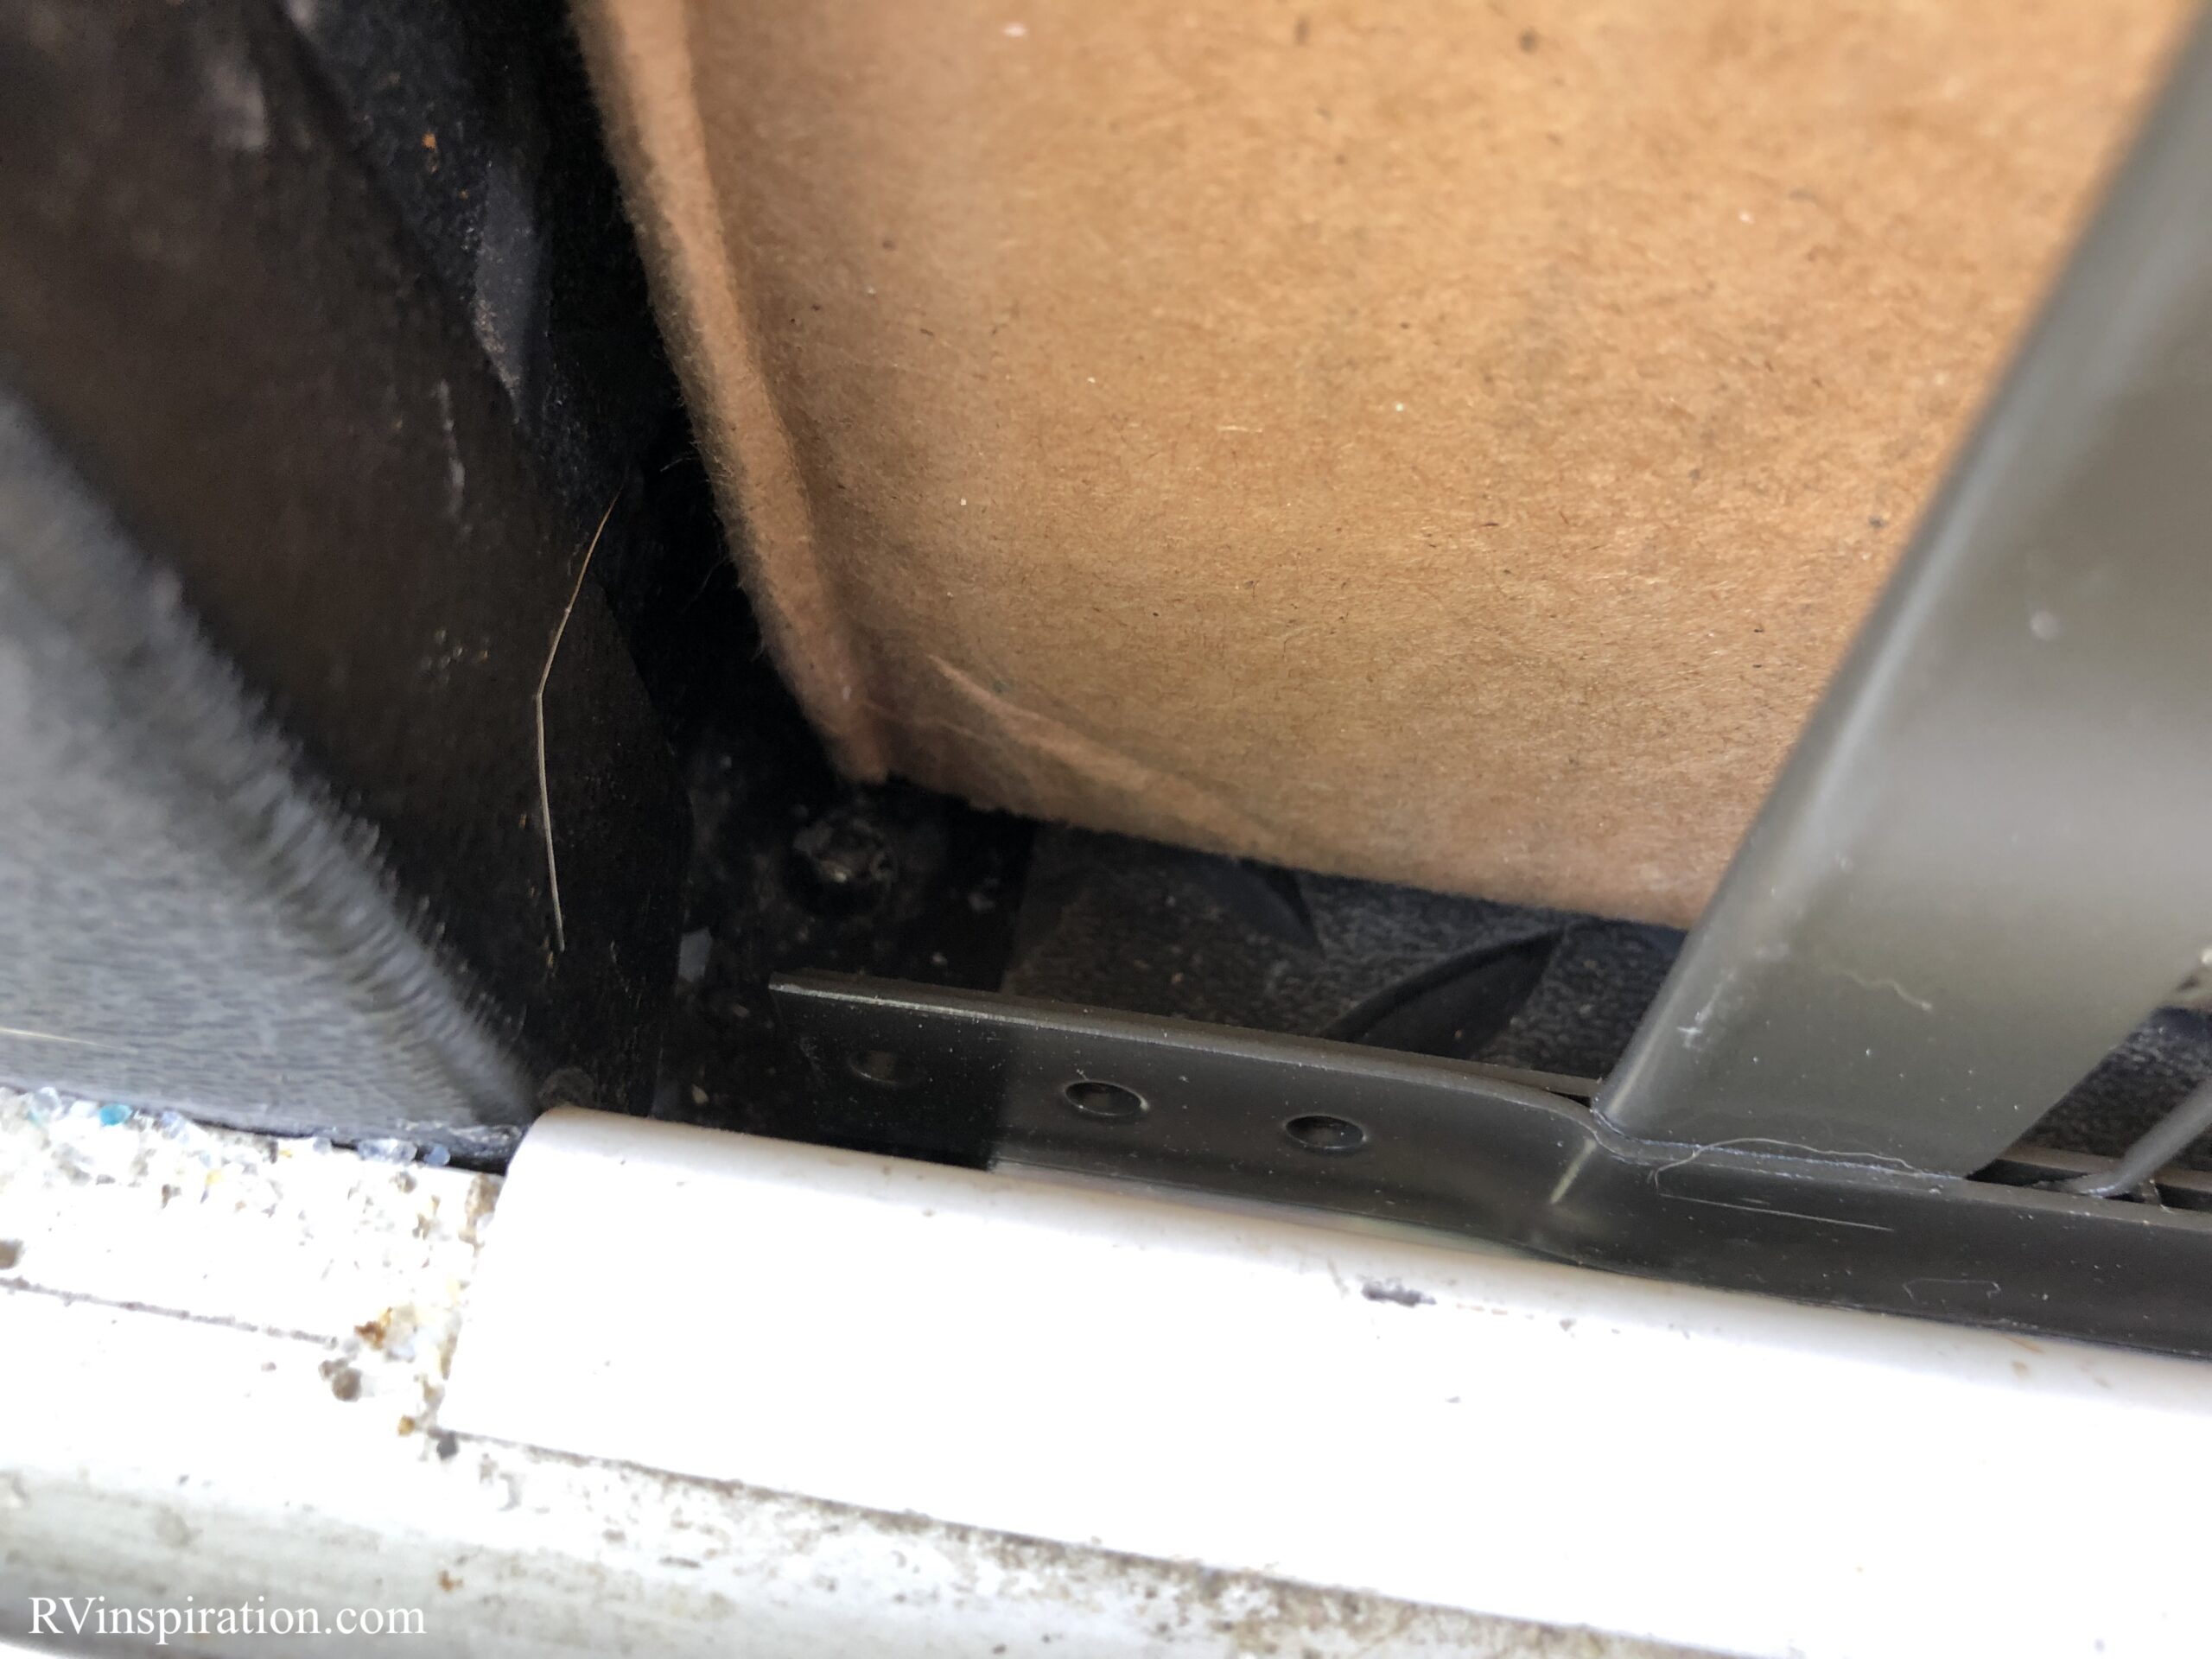
What I would change about this project
The one thing I would change if I had the tools to do so is that I would cut off this metal part that extends beyond the end of the edge of the metal panel and prevents the panel from closing all the way. Since I used metal screen door protectors, there are protruding metal strips on each side that would typically be used to screw the grate onto a screen door.
The space it leaves isn’t enough that our cat can escape, but he sometimes gets distracted by trying so I use a box to hide the gap. If you have some kind of tool for cutting through metal, you can easily fix this.
Other enriching projects for our cat’s RV life
The addition of the cat porch is just one of many things we did to make sure our cat had a great quality of life while living in an RV. We made sure to address everything a cat needs to be happy and safe: food and water, scratching needs, window access and enrichment, and the catio! You can learn more about our other Kitty-approved RV projects here.
Related articles: