How To Dewinterize An RV For Spring
It might not feel like it, but spring is just around the corner! That means it’s time to start planning your upcoming road trips. But first, you’ll need to pull the RV out of storage and shake off the dust of winter.
It might seem scary to dewinterize an RV on your own, but if you follow along with some simple steps, you’ll be ready to hit the road in no time!
Dewinterizing an RV mainly involves a lot of inspecting and testing. Sometimes equipment might fail during the winter months, so it’s a good idea to check everything out before you take the RV back onto the road. This is also a great chance to swap out old appliances, deep clean everything, and start the new season off on the right foot.
10 Steps to Dewinterize your RV
Below we have a 10-step process for how to dewinterize an RV. Most of the steps can be completed within a single day, but altogether it will probably take a few days to finish everything. This is an important process for anyone who stores their RV for the winter, so don’t overlook anything!
1. Check for any new damage
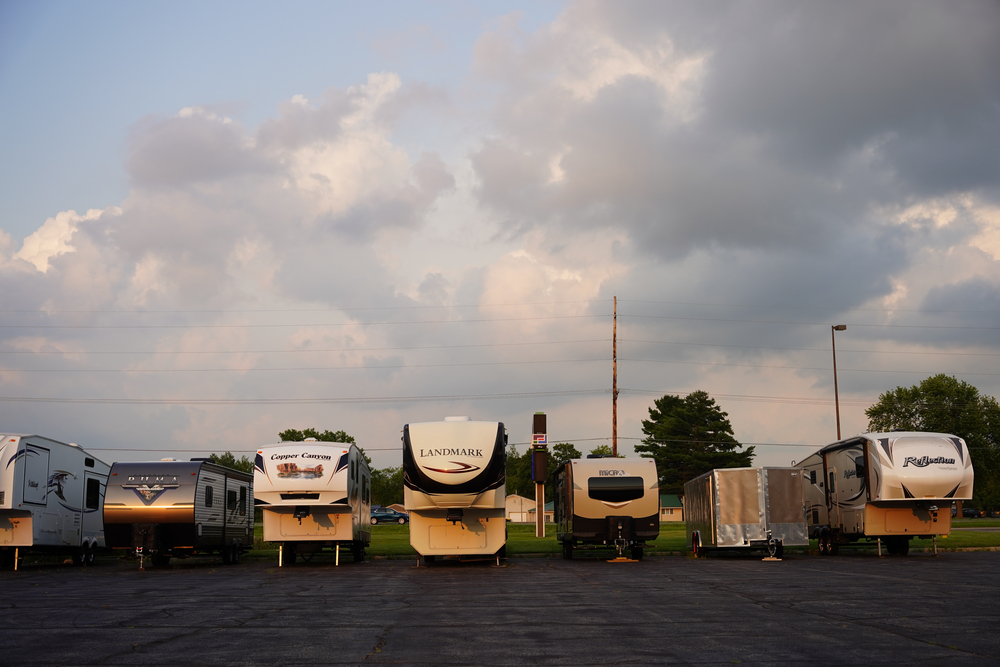
Before you dive deep into the dewinterizing process, it’s important to see how your RV held up during the winter. If you used an indoor storage service, you don’t have to worry too much about damages that were incurred during the winter months (although it’s a good idea to check anyway). But if you stored your RV outside all winter, it’s possible that it became damaged in some way.
Begin by removing any covers or skirting you installed and do a walk-around of your entire RV. Carefully check the exterior for any new cracks, holes, or stains. This could be a sign that you have pests, leaks, or rust problems. Any unexplained dripping should be identified immediately in case you have a problem with the water system or fuel lines.
2. Charge and reinstall the battery
Next up, it’s time to return the battery to its rightful place. Most people remove their RV batteries when they store the vehicle for the winter. This practice ensures that the battery maintains a regular temperature and doesn’t freeze during the storage period.
But you won’t get far in your RV unless you put the battery back! Before you reinstall the battery, make sure it has a good water level (top it off if not) and a full charge. This is also a good time to get a brand new battery if your current one is reaching the end of its lifespan.
3. Inspect/swap tires
Another important RV component to check is the tires. These can sometimes lose pressure during storage, especially if you live in an area with a fluctuating temperature. Consistent freezing and thawing can stretch the rubber and weaken the tire.
Carefully inspect each tire’s pressure and tread depth. You may need to reinflate or replace tires if they have become damaged during the winter. In addition, make sure you’re using the correct seasonal tires before you head out. Winter tires are no longer necessary once the ice melts. You also may want to rotate the tires so that they all wear down at the same pace.
4. Dewinterize your plumbing
Now we come to one of the most important parts of dewinterizing an RV. Chances are high that you drained the water system and filled the lines with antifreeze before you put it into storage. This is a great practice because it protects your RV from water damage. But you can’t exactly drink antifreeze!
Drain the antifreeze
The first step to dewinterize your plumbing is to flush out the antifreeze in the pipes. Do this by hooking up the RV to a source of fresh water.
Open up the water pump valves of your water heater so that the water can run through this as well. Then, open up all the faucets throughout your RV and run fresh water through them until it’s clear of antifreeze.
Sanitize the water lines
That’s the first step, but now you need to sanitize the water system so that it becomes safe to drink from. Create a blend of 1/4 cup bleach to 15 gallons of water. Use this mixture to fill your fresh water tank. Next, run this mixture through your pipes until you can smell bleach. Shut off the faucets when this happens and let the bleach/water blend sit in the pipes overnight.
After the waiting period is over, you can open all the faucets again and run them until the bleach is completely drained. Empty the fresh water tank and refill it with clean water. Run this through the lines until there are no more traces of bleach (you may have to do this multiple times).
5. Prepare your black water tank for travel
Speaking of your water system, don’t forget about your black tank! This was probably drained before you stored the RV, but make sure you give it a thorough rinse and scrub.
In addition, it’s a good idea to add an enzyme cleaner to the tank. This will help break down the waste and minimize the odor. After all, nobody wants their RV to smell like sewage!
6. Test alarm systems
Now it’s time to test all your RV alarms. Your vehicle should be equipped with smoke alarms, carbon monoxide sensors, and LP gas leak detectors. All of these are essential and can save your life, so it’s important to make sure they’re in good working order.
Check the batteries on each of these devices and make sure they have functional lights and audio alarms. In addition, make sure you have an up-to-code fire extinguisher inside the RV. It’s always better to be safe than sorry!
7. Refresh your 72-hour kit and first aid kit
Emergency supplies can save your life when you’re traveling in an RV, so make sure you have all the supplies you need to take care of yourself for a few days.
You should always keep a 72-hour kit somewhere in the vehicle. But these aren’t nearly as helpful if they’re full of old or expired items. So when you dewinterize your RV, you have a good opportunity to inspect the kit and replace any items that are no longer useful.
This includes the first-aid kit as well. Double-check all the supplies to make sure nothing has ripped or spilled. Medications also expire after awhile, so swap out anything that’s no longer safe to consume.
8. Check weather strips around windows and doors
RV insulation is crucial, no matter when you travel. It’s important to be able to regular the interior temperature, but this will be tricky if you have to deal with leaks and drafts. One of the biggest problem areas is around the windows and doors.
RVs have weather strips around these edges, but they can become worn down over time. Take some time to inspect all the strips around your windows, doors, and vents. Replace anything that looks damaged and make sure you can form a good seal.
9. Fill up on gas, propane, and water
Almost done! Now you just need to refill the RV with all the essential substances it needs to run. Fill up your fresh water tank, get some new propane (plus maybe a backup tank), and fill up on gas.
Run your faucets and test out some propane appliances to ensure there are no leaks or problems with the system. Pay attention to your alarms because they’ll alert you to any dangerous leaks.
10. Clean the interior & exterior
Finally, give everything a nice thorough scrubbing. Spring cleaning is called that for a reason! You can dewinterize an RV fairly easily, but it’ll probably feel pretty musty unless you freshen it up.
Seal up any cracks or holes you found in the exterior, and then give it a nice wash and wax. Once you’re done, open up the windows to flush out that stale winter air. Thoroughly dust and vacuum the interior, clean the windows (inside and out), and scrub the floors.
Last of all, don’t forget about the awning! This can sometimes become crusty and moldy during storage, so it’s important to air it out and wash it. Let it thoroughly dry before you roll it back up.

Track your RV maintenance
Make sure you keep track of all your RV maintenance and repairs with an online tool such as RV LIFE Maintenance. Not only can you keep all of your documents in one place, but you’ll also receive timely reminders when maintenance is due to help you avoid costly repairs and potentially serious accidents.
Related Articles:


