Since being in quarantine we’ve been dreaming about the days when we can go RVing again and sit by the campfire roasting s’mores under the starry night skies. We’ve also been looking for DIY projects to stay productive while we pass the time until campgrounds and RV parks start opening up again. So we started wondering, what if there was a way to bring the comfort of a campfire to our own backyard at home?
Building a stone fire pit in your backyard, or on your own lot outside of your stationary RV, is a relatively simple project that doesn’t require any previous landscaping or construction experience. The project costs less than $1000 in materials and takes anywhere from a few days to a week to build. Here’s what you’ll need to get started.
Step 1: Gather materials for your fire pit.
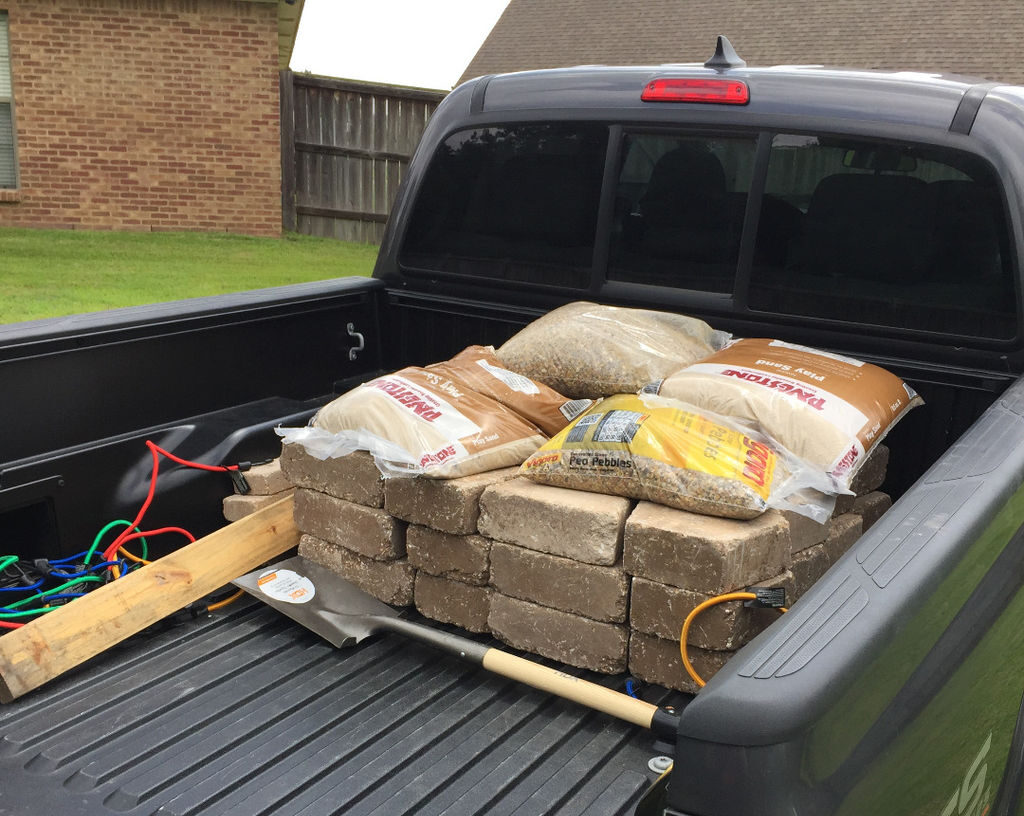
For this fire pit I used the RumbleStone pavers from Home Depot. I decided to make it 4 courses high. For each course I used 12 Traps and 12 Minis for a total of 48 trapezoid blocks and 48 mini blocks.
– Instructables by Bagarrett2
- RumbleStone Concrete Pavers – 12 Traps, 12 Minis
- Landscape adhesive to lock the stone layers together
- A caulk gun
- Marking paint
- Gravel and sand for drainage inside the pit
- Garden twine
Step 2: Determine the location.
Next, you’ll want to decide the location and placement of your fire pit. Make sure it is a good distance away from your house (at least 10-20 feet) so there is no chance of accidental fires. In this Instructables, the user shares, “I went with about 80 feet as I wanted to attach a quasi-winding pathway to the fire pit from our existing patio.”
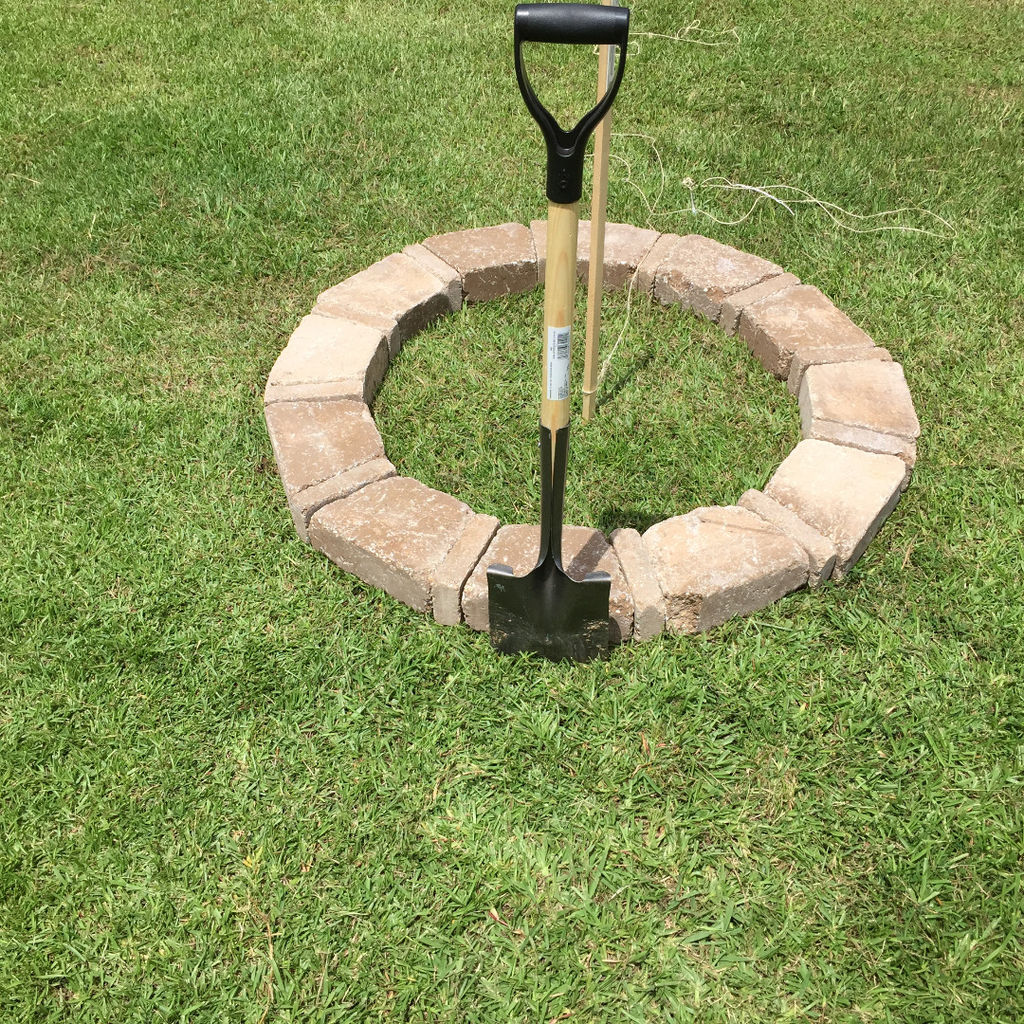
Step 3: Arrange a layer of stones and outline your fire pit footprint.
Arrange a layer of stones in a circle to map out the perimeter of your fire pit. This Instructables used a shovel to etch around the perimeter, but you can also just use a bit of spray paint.
So this is probably the first error I made. I didn’t want to spray paint on the stones, so I lined them up where I wanted, and etched around the perimeter of the stones with a shovel. In hindsight, this layer is almost completely in-ground, so a little spray paint on them would not have hurt, and I think outlining with spray paint would’ve been less intensive and produced the same desired results. And also, I ended up painting around the outline anyway once the stones were removed.
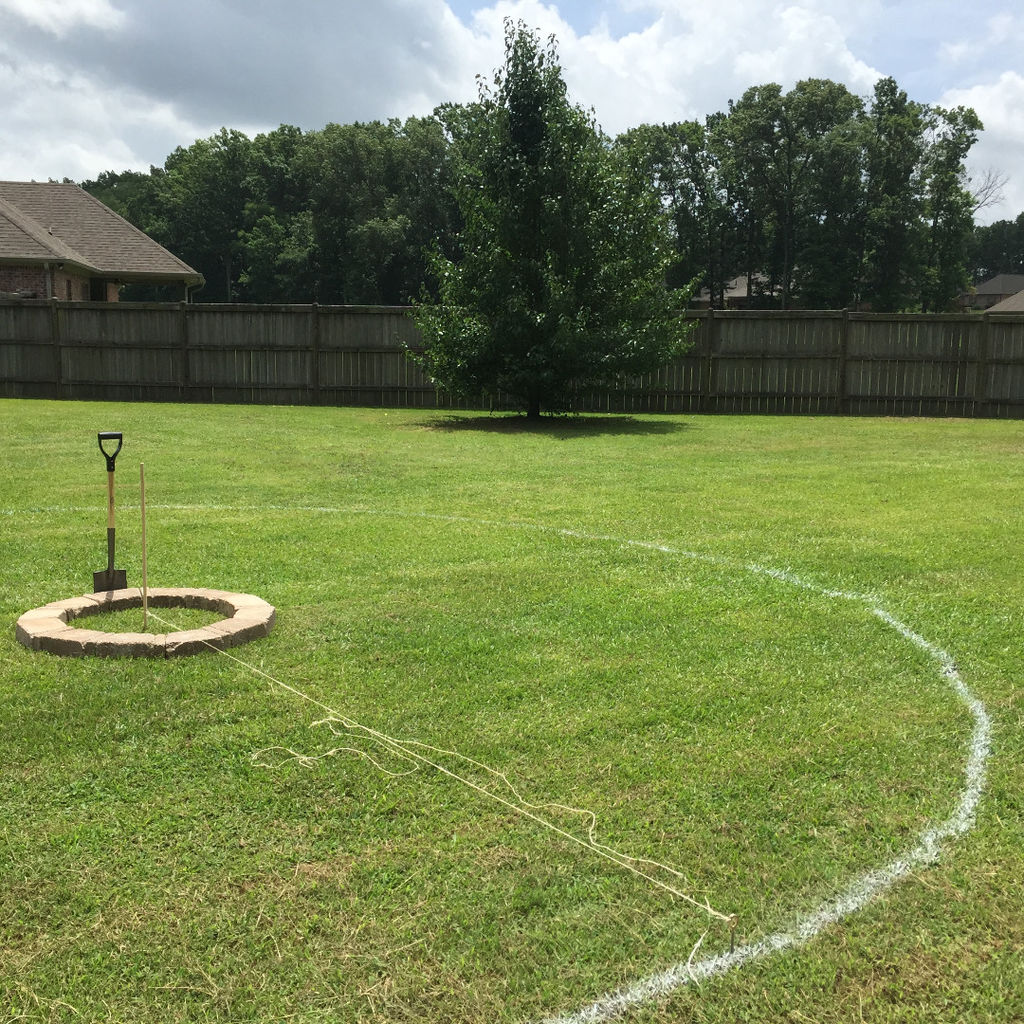
Step 4: Outline your seating area.
Once you’ve decided on the placement of your fire pit, you will need to figure out your seating area that surrounds it. To do this, stake a post in the center of the fire pit ring, then unroll some garden twine and attach one end to the stake.
Run the string out to 12 feet (or as far back as you would like) and attach the other end to an eye bolt (you could also use a pencil, a stick, or another person). Pull the twine taut, take a spray can of marking paint, and spray the perimeter as you walk around the fire pit with the twine as close to the ground as possible.
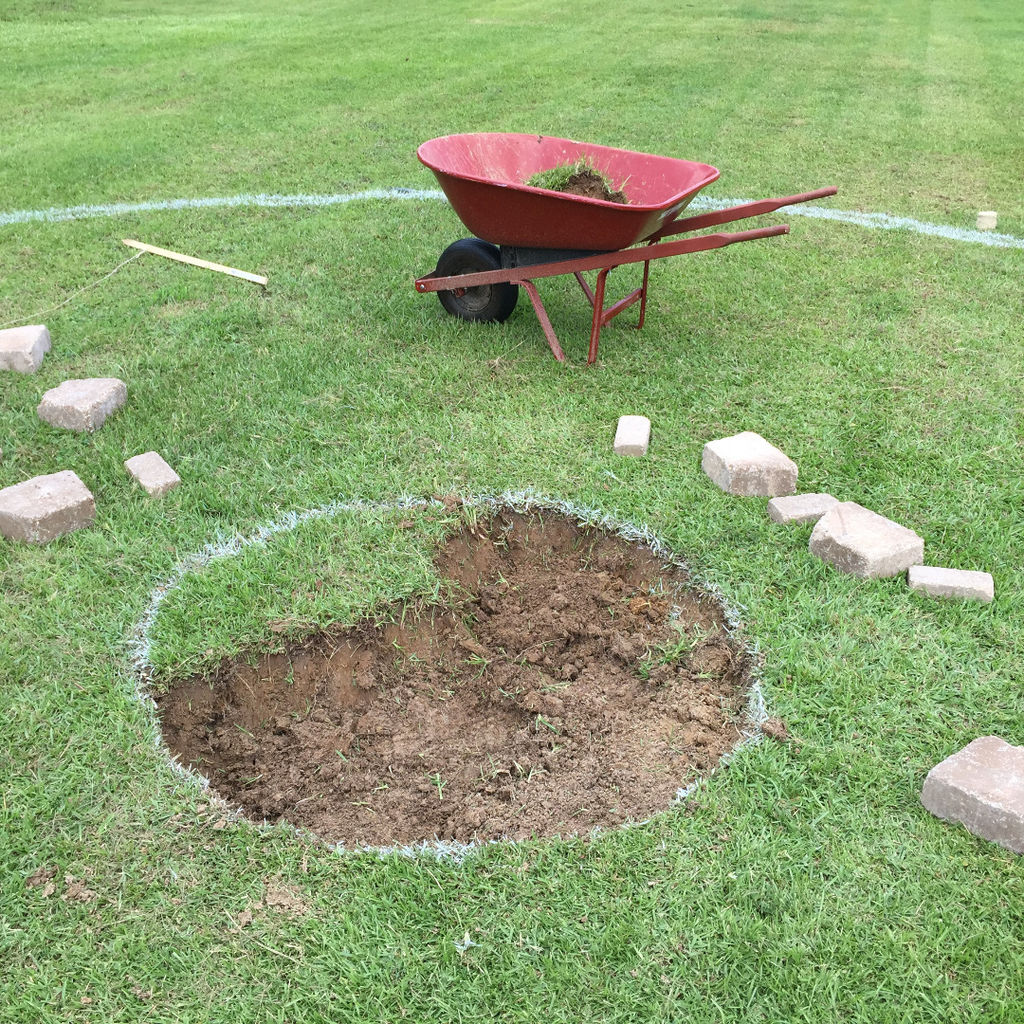
Step 5: Dig out the outlined fire pit area.
With your outline in place, grab a shovel and dig out the fire pit, about a foot and a half deep. It does not need to be a perfect crater, but you will want to ensure the sides are fairly straight.
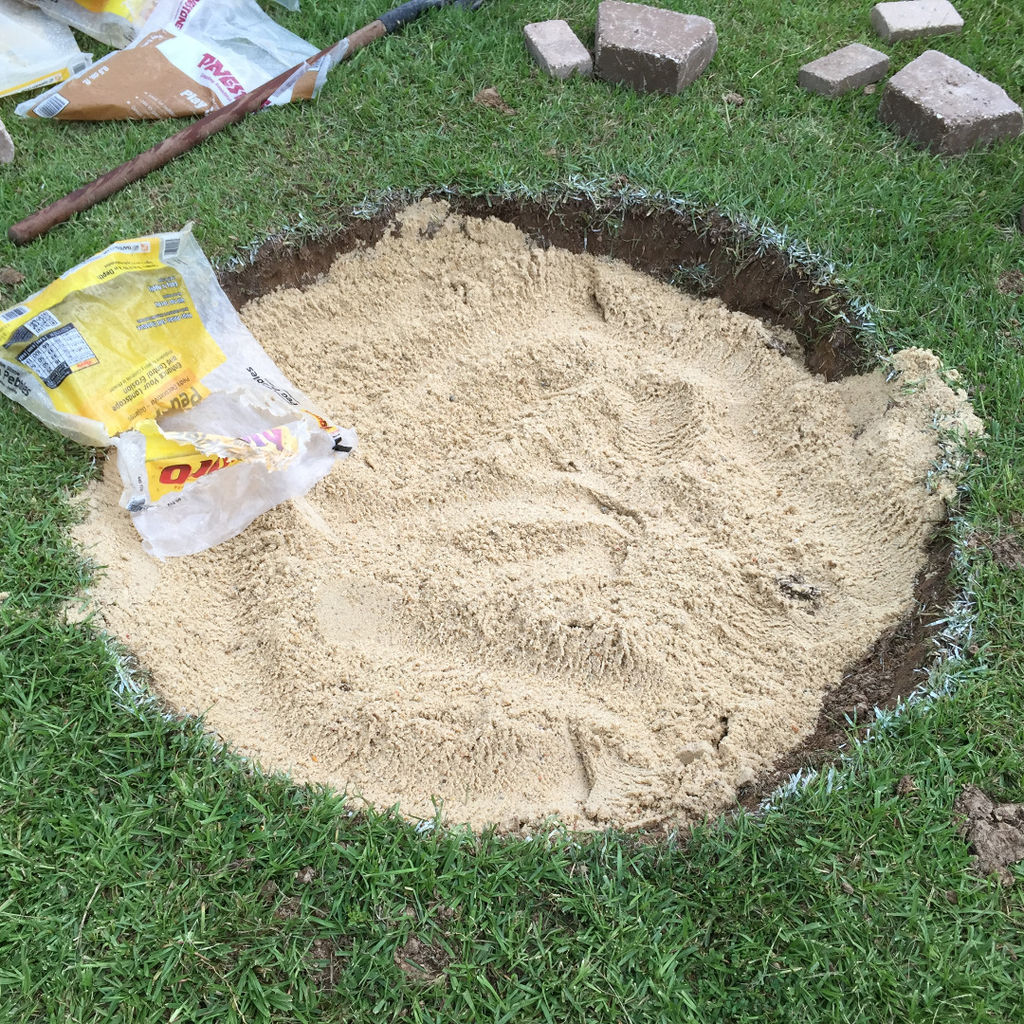
Step 6: Fill the hole with gravel and sand.
Fill the hole with a layer of gravel on the bottom, then fill the rest of the way with sand. Leave about 2 or 3 inches or so between the sand and the top of the hole, then pack the sand down and level it out with a 2X4.
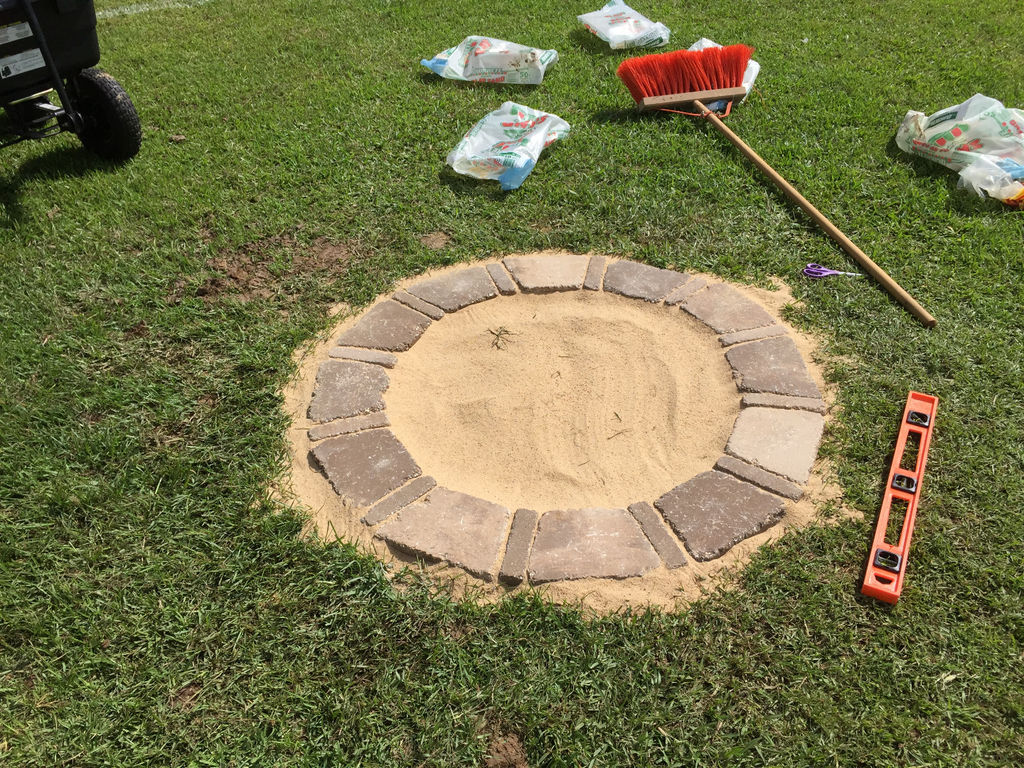
Step 7: Lay the first course of stones.
Now the sand is level and packed, it’s time to start laying out the first course of stones. Alternate between trap stones, mini stones, trap stones, mini, etc. and check often to make sure they are level.
This was the most time-consuming part yet. It wasn’t hard to get the stones set necessarily, but ensuring that each stone was level was much more difficult and aggravating than I could’ve expected. After the stones were finally set and level, I added one more bag of sand over the course of stones, then using a shop broom pushed the sand in between the stones. I’m honestly not really sure if this part was needed, but it seemed like a good idea, and I had one bag left, so in it went. Also, it’s really important to brush the stones with the broom to ensure that there’s no sand on them for the next step.
Step 8: Lay out the remaining stones.
Next, apply a bead of landscape adhesive in a zigzag pattern where you plan to lay the next stone for the next layer. Stagger the stones over the previous layer so they’re not on top of one another in the same pattern (see the photo below). In the second layer of stones (first layer of this step), make sure you leave a gap between two of the blocks to allow for oxygen flow. Continue laying out the stones and adhesive on each layer until you’ve done all four courses.

This was the easiest part of the entire process I’d say. It’s also the most fun, since this is when you start seeing all the hard work taking shape.
Step 9: Gather supplies for your seating area.
Now you have a fire pit, you’ll want a place for everyone to sit around it. Gather about 80 feet of landscape edging for the seating area, plus what you need for a walkway, as well as enough landscaping fabric to cover about 500 square feet for the seating area and enough to cover the area of your walkway. You’ll also need some landscape fabric pins and some grass/weed killer.
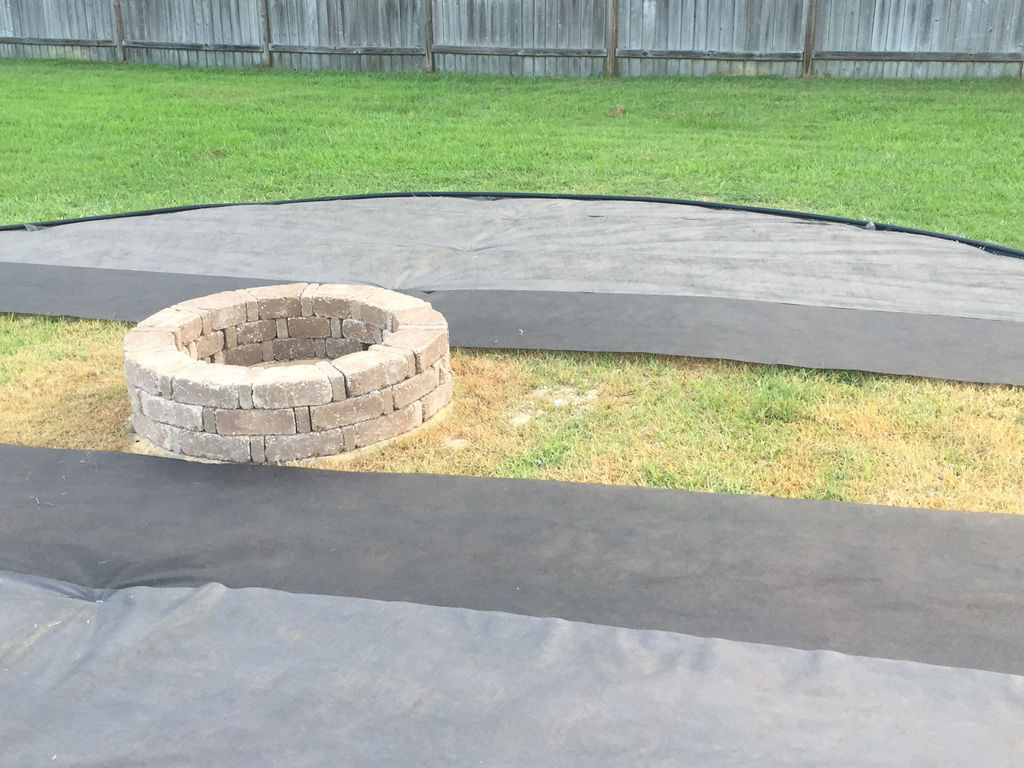
Step 10: Outline the seating area with edging and apply landscaping fabric.
Outline your seating area with landscape edging and leave an opening for your walkway. Once everything has been outlined with edging, spray the area with weed/grass killer. Allow it to dry for a full 24 hours before rolling out and staking down your landscaping fabric.
I didn’t bother to paint the boundaries for the walkway area, I just bought extra landscape edging and used a 4 foot 2×4 to space the edging out along the walkway and formed it to the curved shape that my better half requested.
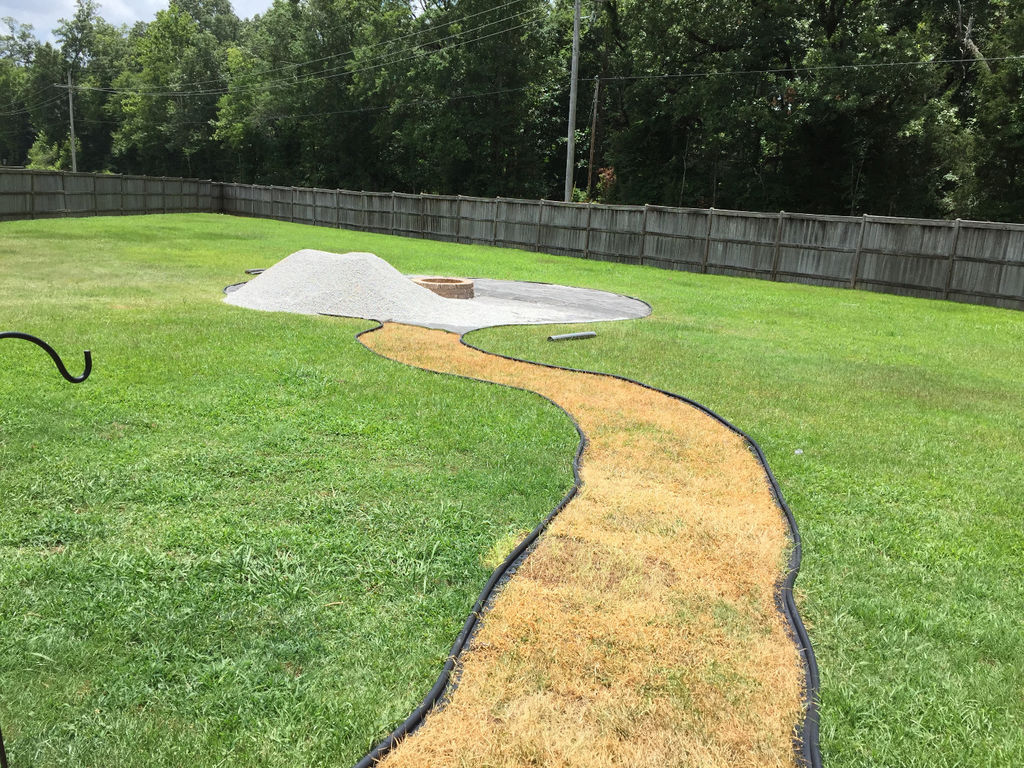
Step 11: Have gravel delivered & spread it out evenly.
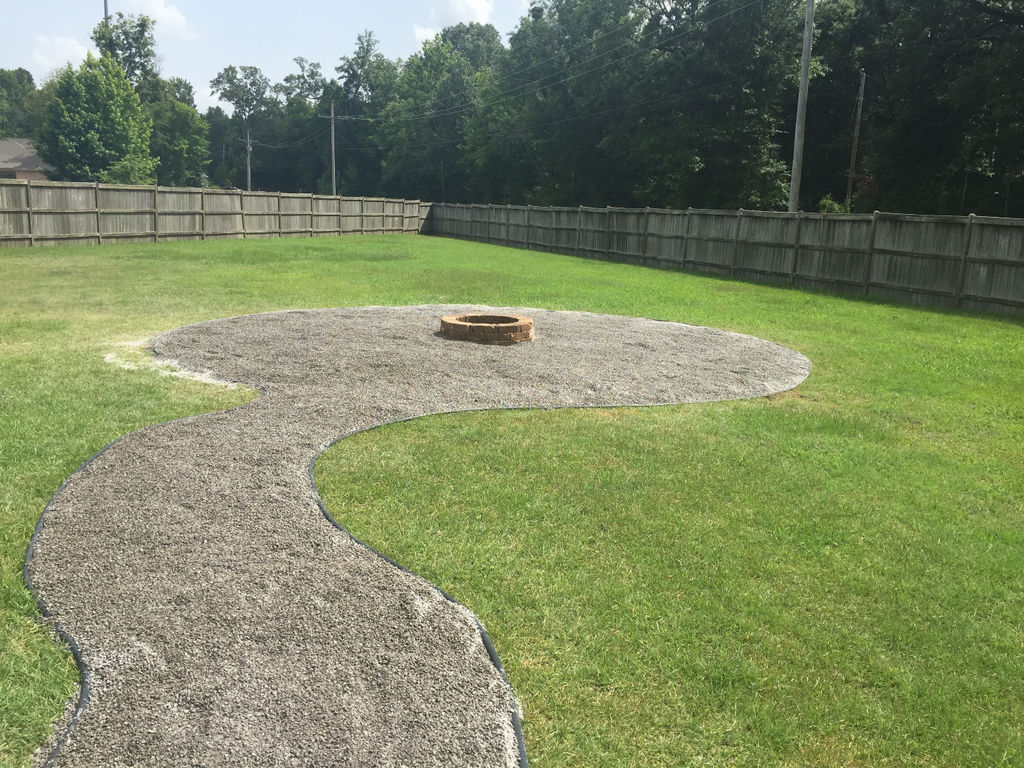
Take a steel rake and rake out the gravel until it’s smooth and level around your seating area and walkway. This process may take a few days but is well worth the time and effort once it’s all done.
We went with crushed limestone. It’s a little more expensive than pea gravel, but I think it looks better. We got 7.5 tons and it was $535 delivered.
Basically move rocks around in piles and then take a steel rake and rake them until they’re as smooth as possible. I hauled rocks to and fro for the better part of 2 days. It seemed like I would never get to the bottom of that pile of rocks. But when I finally did…

Note: You see the pathway here with the weed/grass killer in full effect. Landscape fabric was put down along the pathway right after this photo was taken.
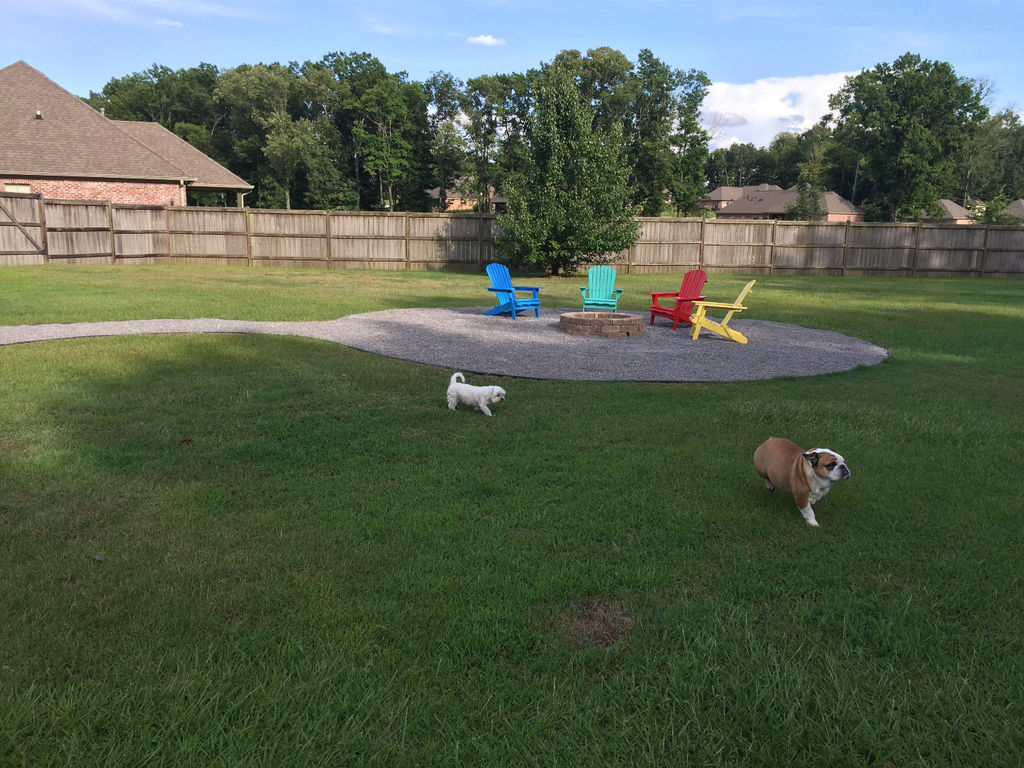
Voilà! The fire pit is now complete
Step 12: Add seating.
Set up a few chairs around your fire pit; the type really depends on your preference. For a real camping experience, you may want a portable rocking chair like this one or you may want to go with chairs like these designed for home and garden use.
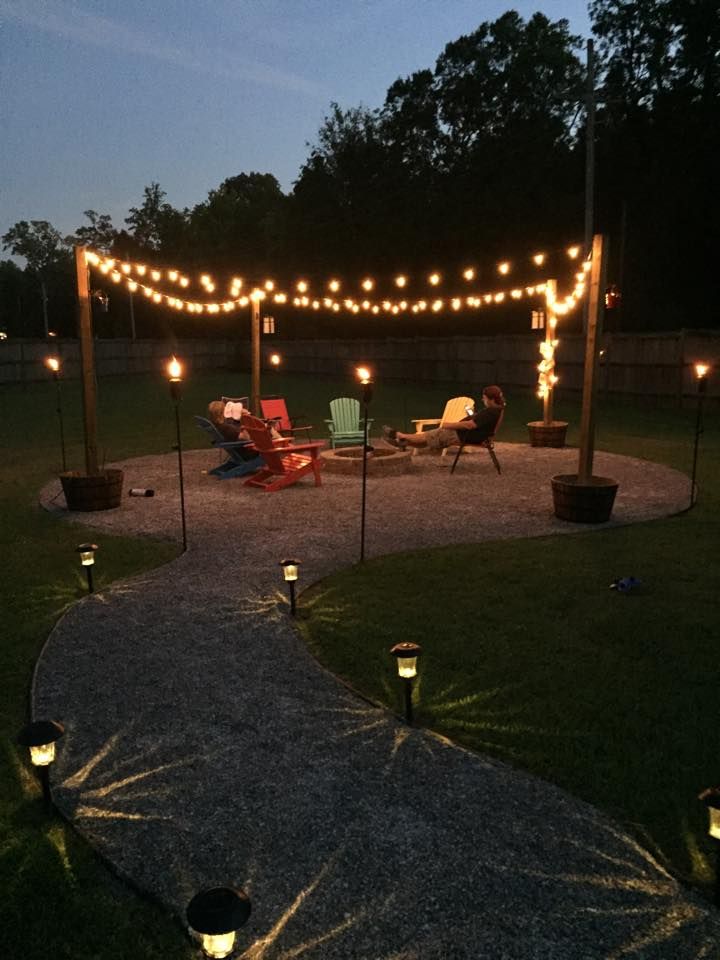
We sanded, painted, assembled and sealed 4 Adirondack chairs for seating. It really added to the atmosphere.

Step 13: Add lighting & more.
Outdoor lighting is the cherry on top. Line the walkway with solar pathway lights and set up some wooden posts around the pit so you can hang string lights. You may also want some citronella torches to keep mosquitoes away or even add hooks to the posts so you can mount wireless speakers.
It really is amazingly relaxing out there now! Quite a transformation from just 2 months ago.