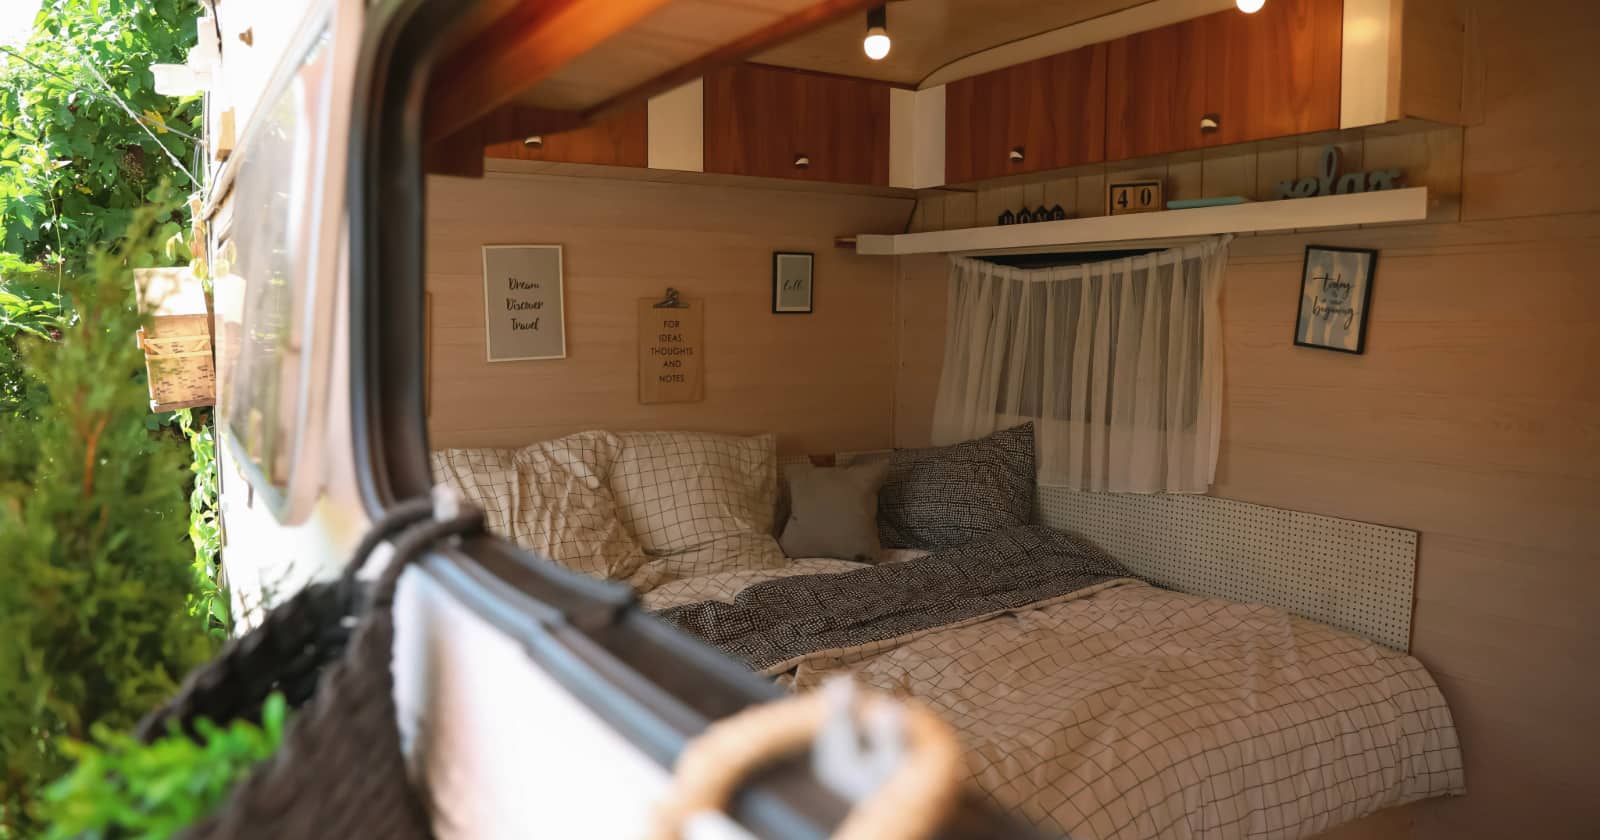
Making Dark RV Window Covers is Easier than You Think
DIY window coverings are easy to make for any camper van or stealth camper. They will give you much-needed privacy inside the van, provide extra insulation during the winter, and keep the sun from warming up the interior during the summer.
If you don’t know how to sew, no problem. We’ve made DIY window coverings using nothing but a stapler. If you do know how to sew, it will just make your DIY window coverings look that much more professional. The main goal here is to simply cover the insulation with fabric and close it shut with a seam.
Can’t you just use insulation in the windows? Why cover it up with fabric? Some campers may choose to cut out the insulation and stuff that in their windows. But, there are a few problems with this: it looks rather unfinished and can still be seen through the windows. It does not offer the same privacy and stealth as blackout coverings. And it may not block out the sun as well on hot summer days.
Ready to make your own DIY window coverings for your camper? Let’s get started!
Materials needed
DIY window coverings are simple to make for less than $50. Aside from the insulation and fabric, you will just need a few other items that you likely already have around the house.
- Reflectix insulation – About $23
- 4-6 yards of black fabric, available online or in stores like Jo-Ann’s – About $20
- Stapler/staple gun or a needle and thread to sew
- Scissors
- Sharpie
How to make DIY window coverings
DIY window coverings are super easy to make in two simple steps. It shouldn’t take you longer than a couple of hours to put them together.
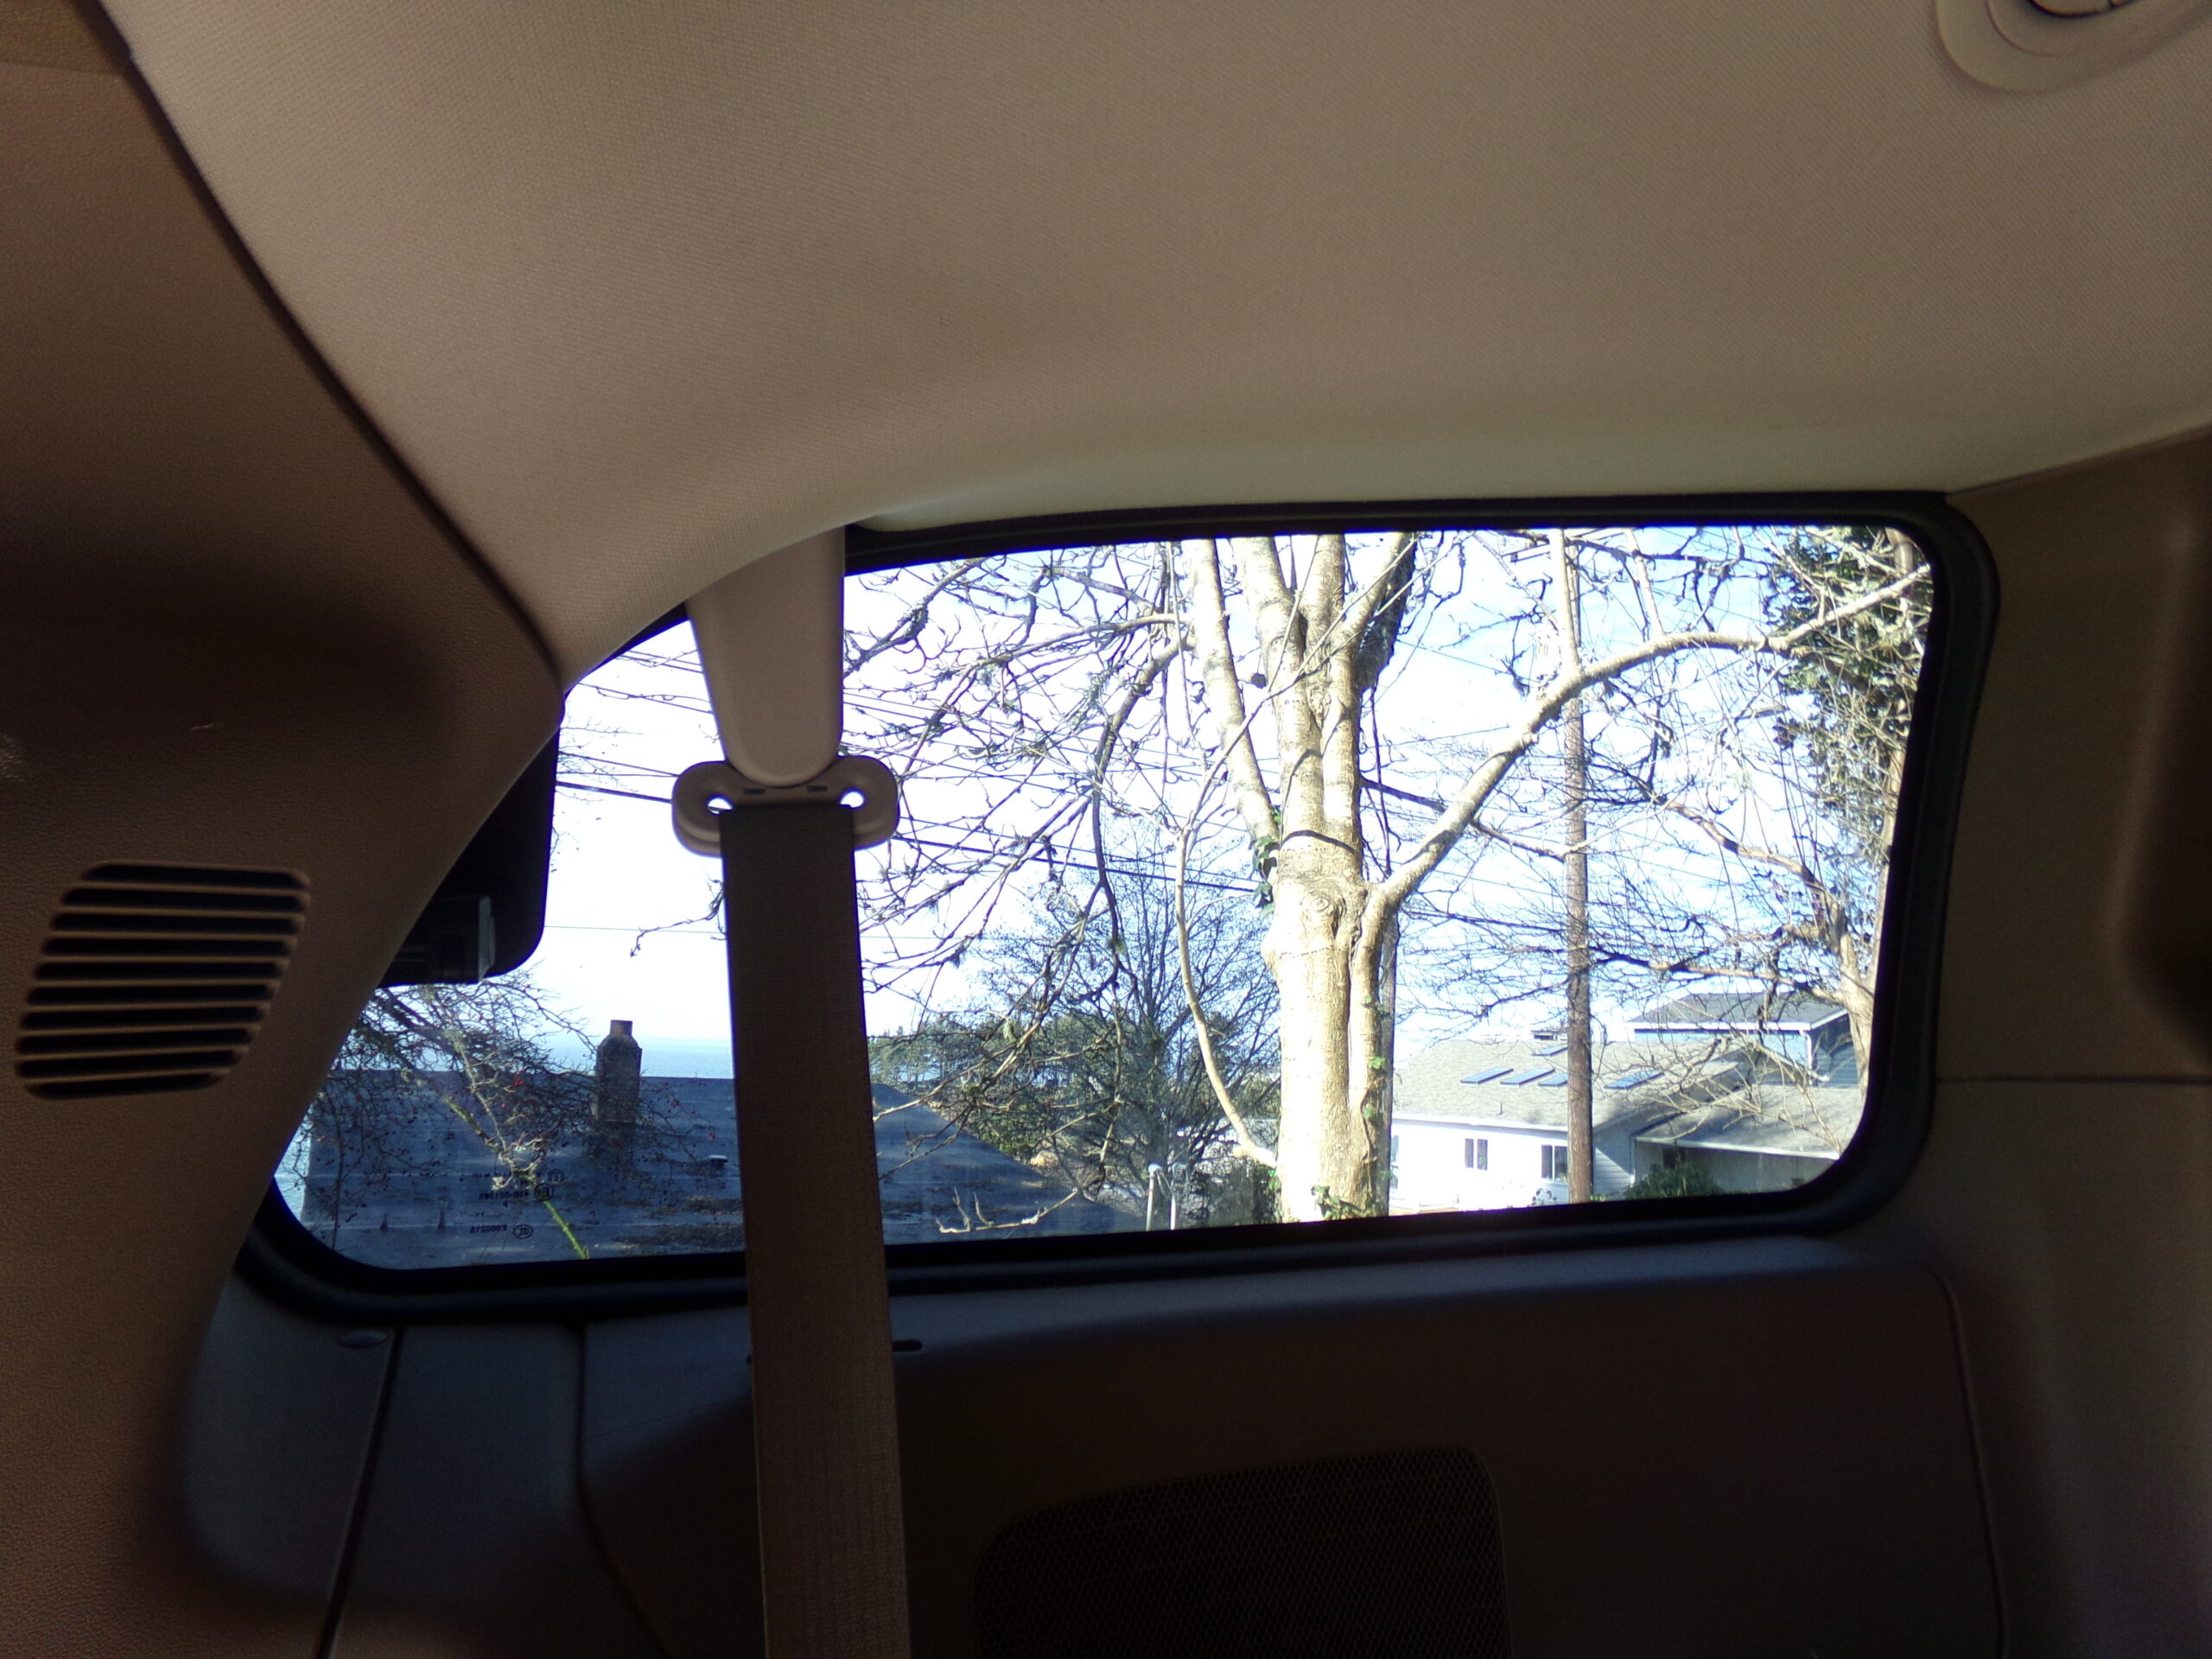
1. Measure your windows and cut out the Reflectix.
Some campers have used wrapping paper to create a template in the shape of the window. We just measured our windows and cut a slightly-too-large piece of Reflectix, then trimmed it down to fit with a Sharpie and a good old pair of scissors.
The Reflectix should be cut slightly too large as this helps keep it in the windows without having to use any adhesive. It is also a good idea to cut this too large and trim it down only as needed, because if you cut it too small, the whole piece of insulation cannot be used.
2. Wrap it with fabric and sew (or staple) it shut.
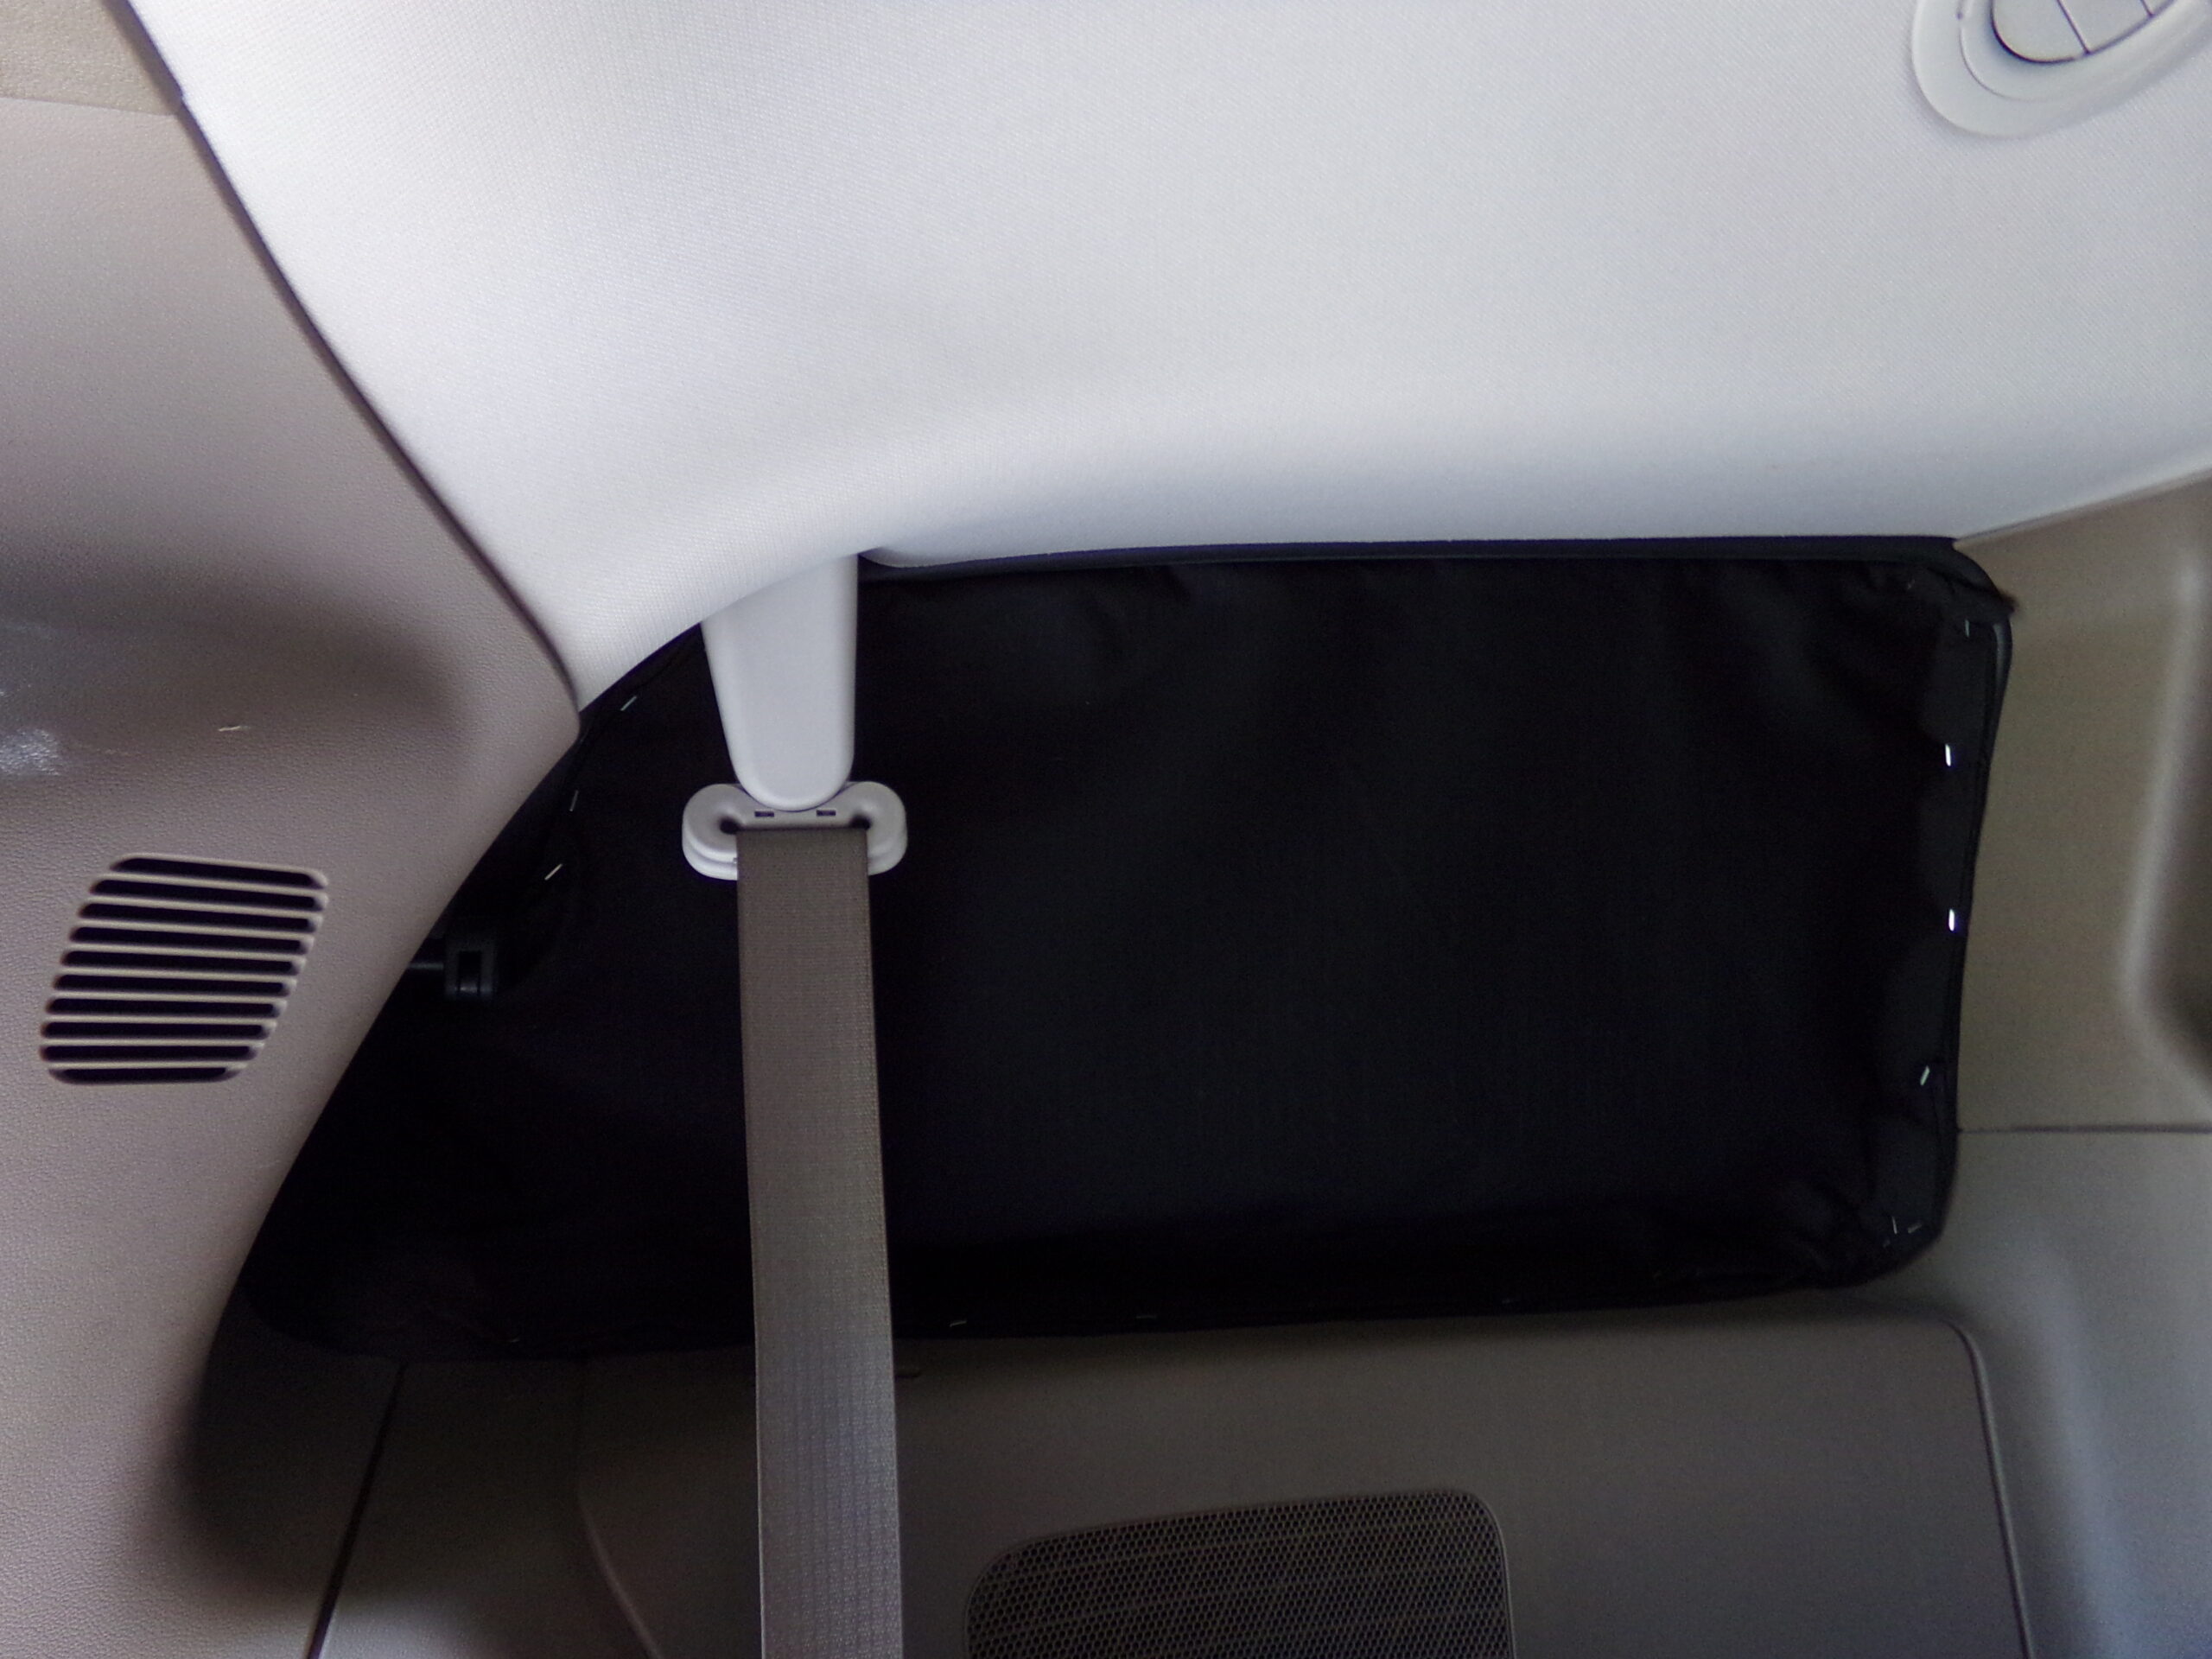
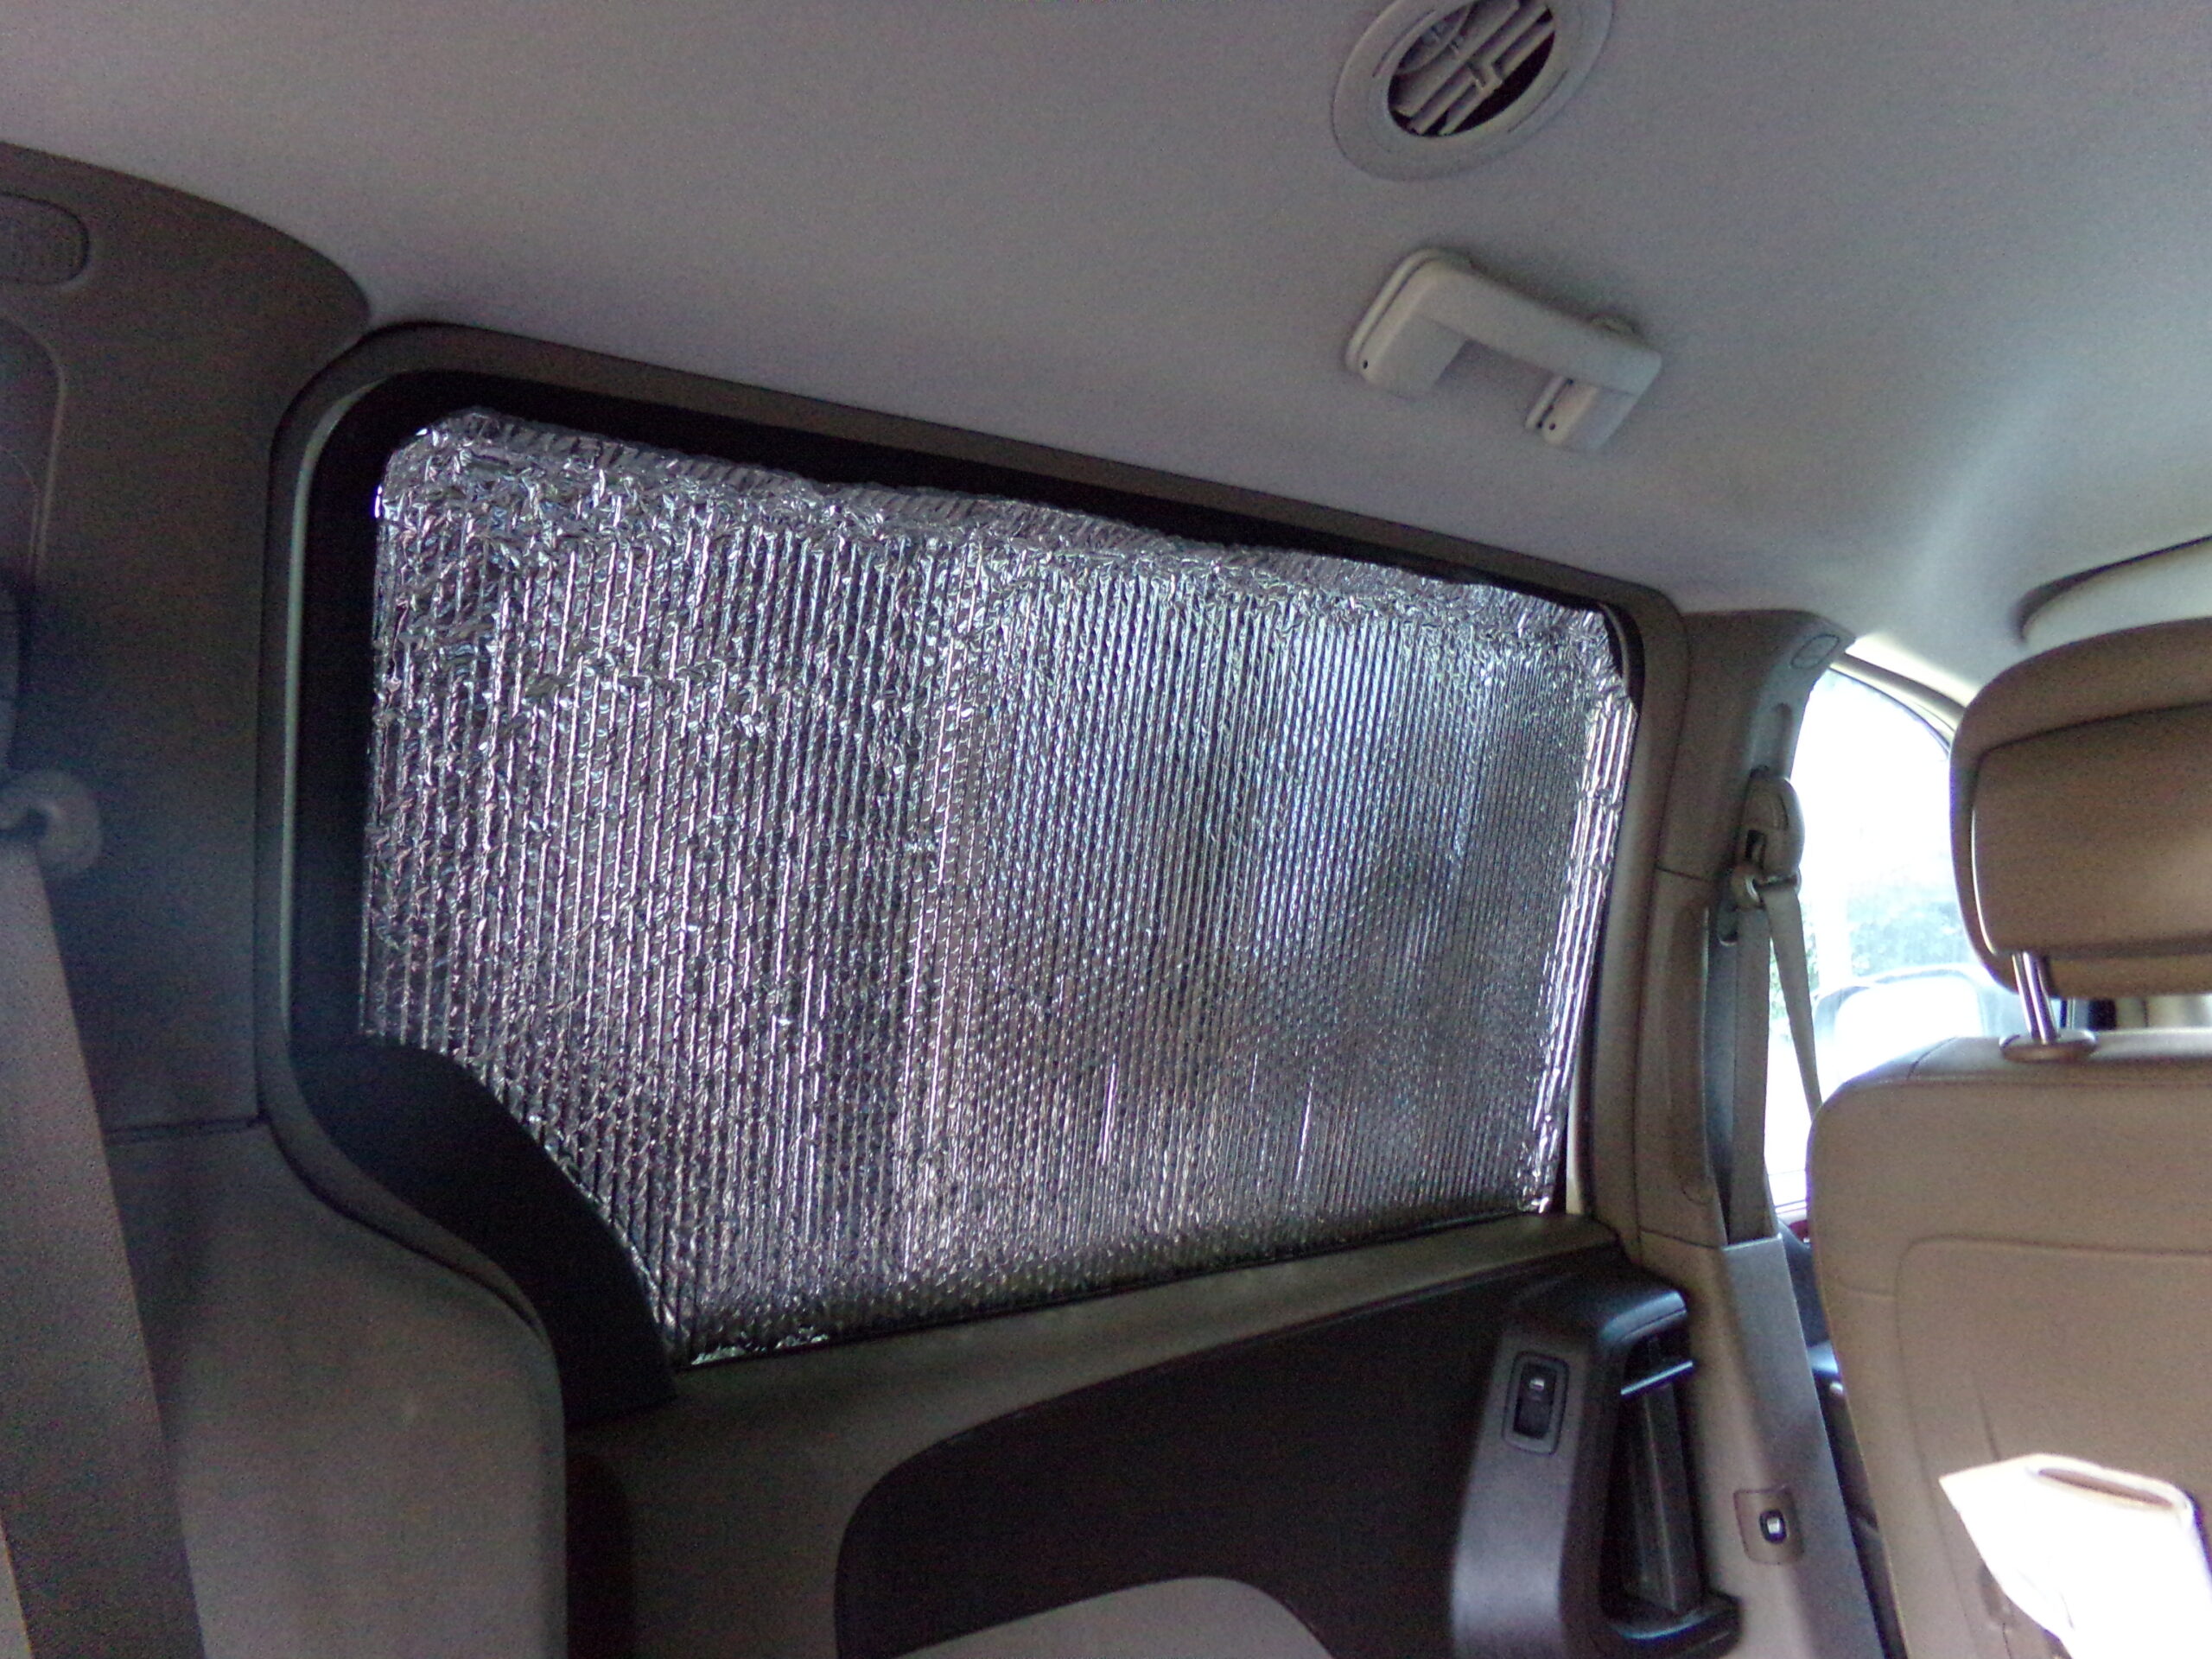
Before you wrap the Reflectix with fabric and staple/sew it shut, make sure it fits snugly in your windows. If there are some small gaps, they may be covered by the fabric, but if there are any large gaps, you may need to recut your insulation to fit.
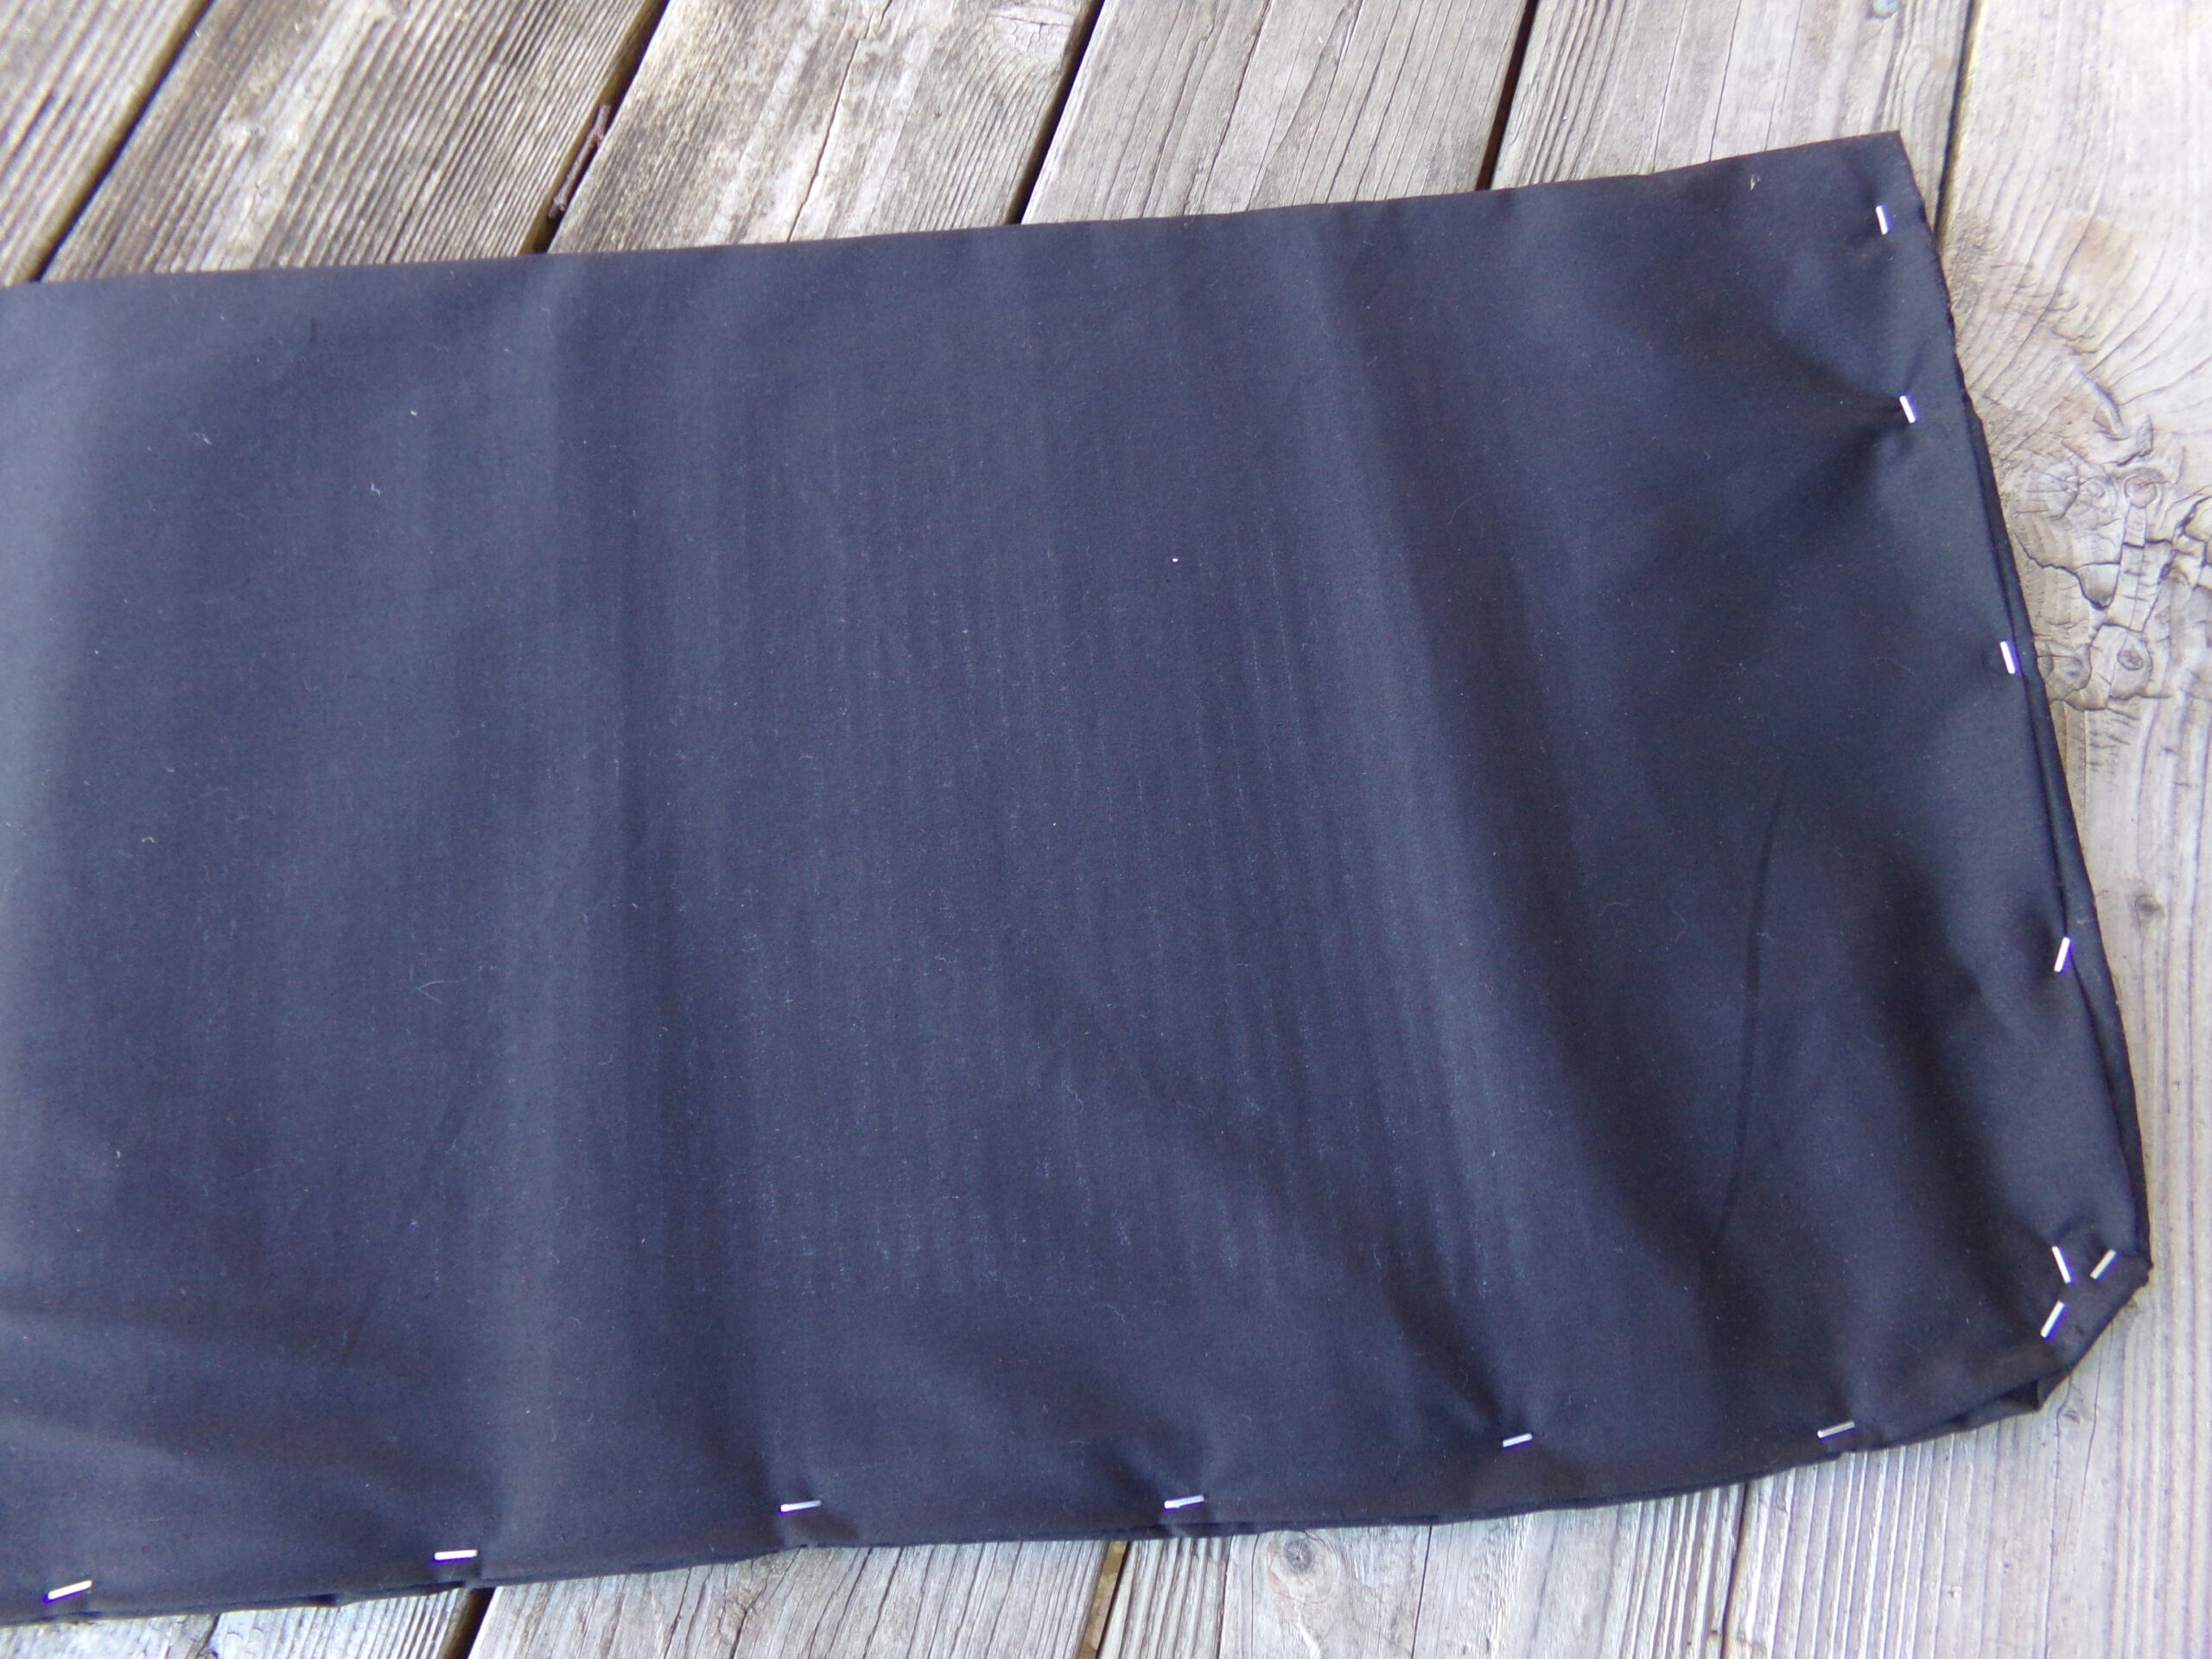
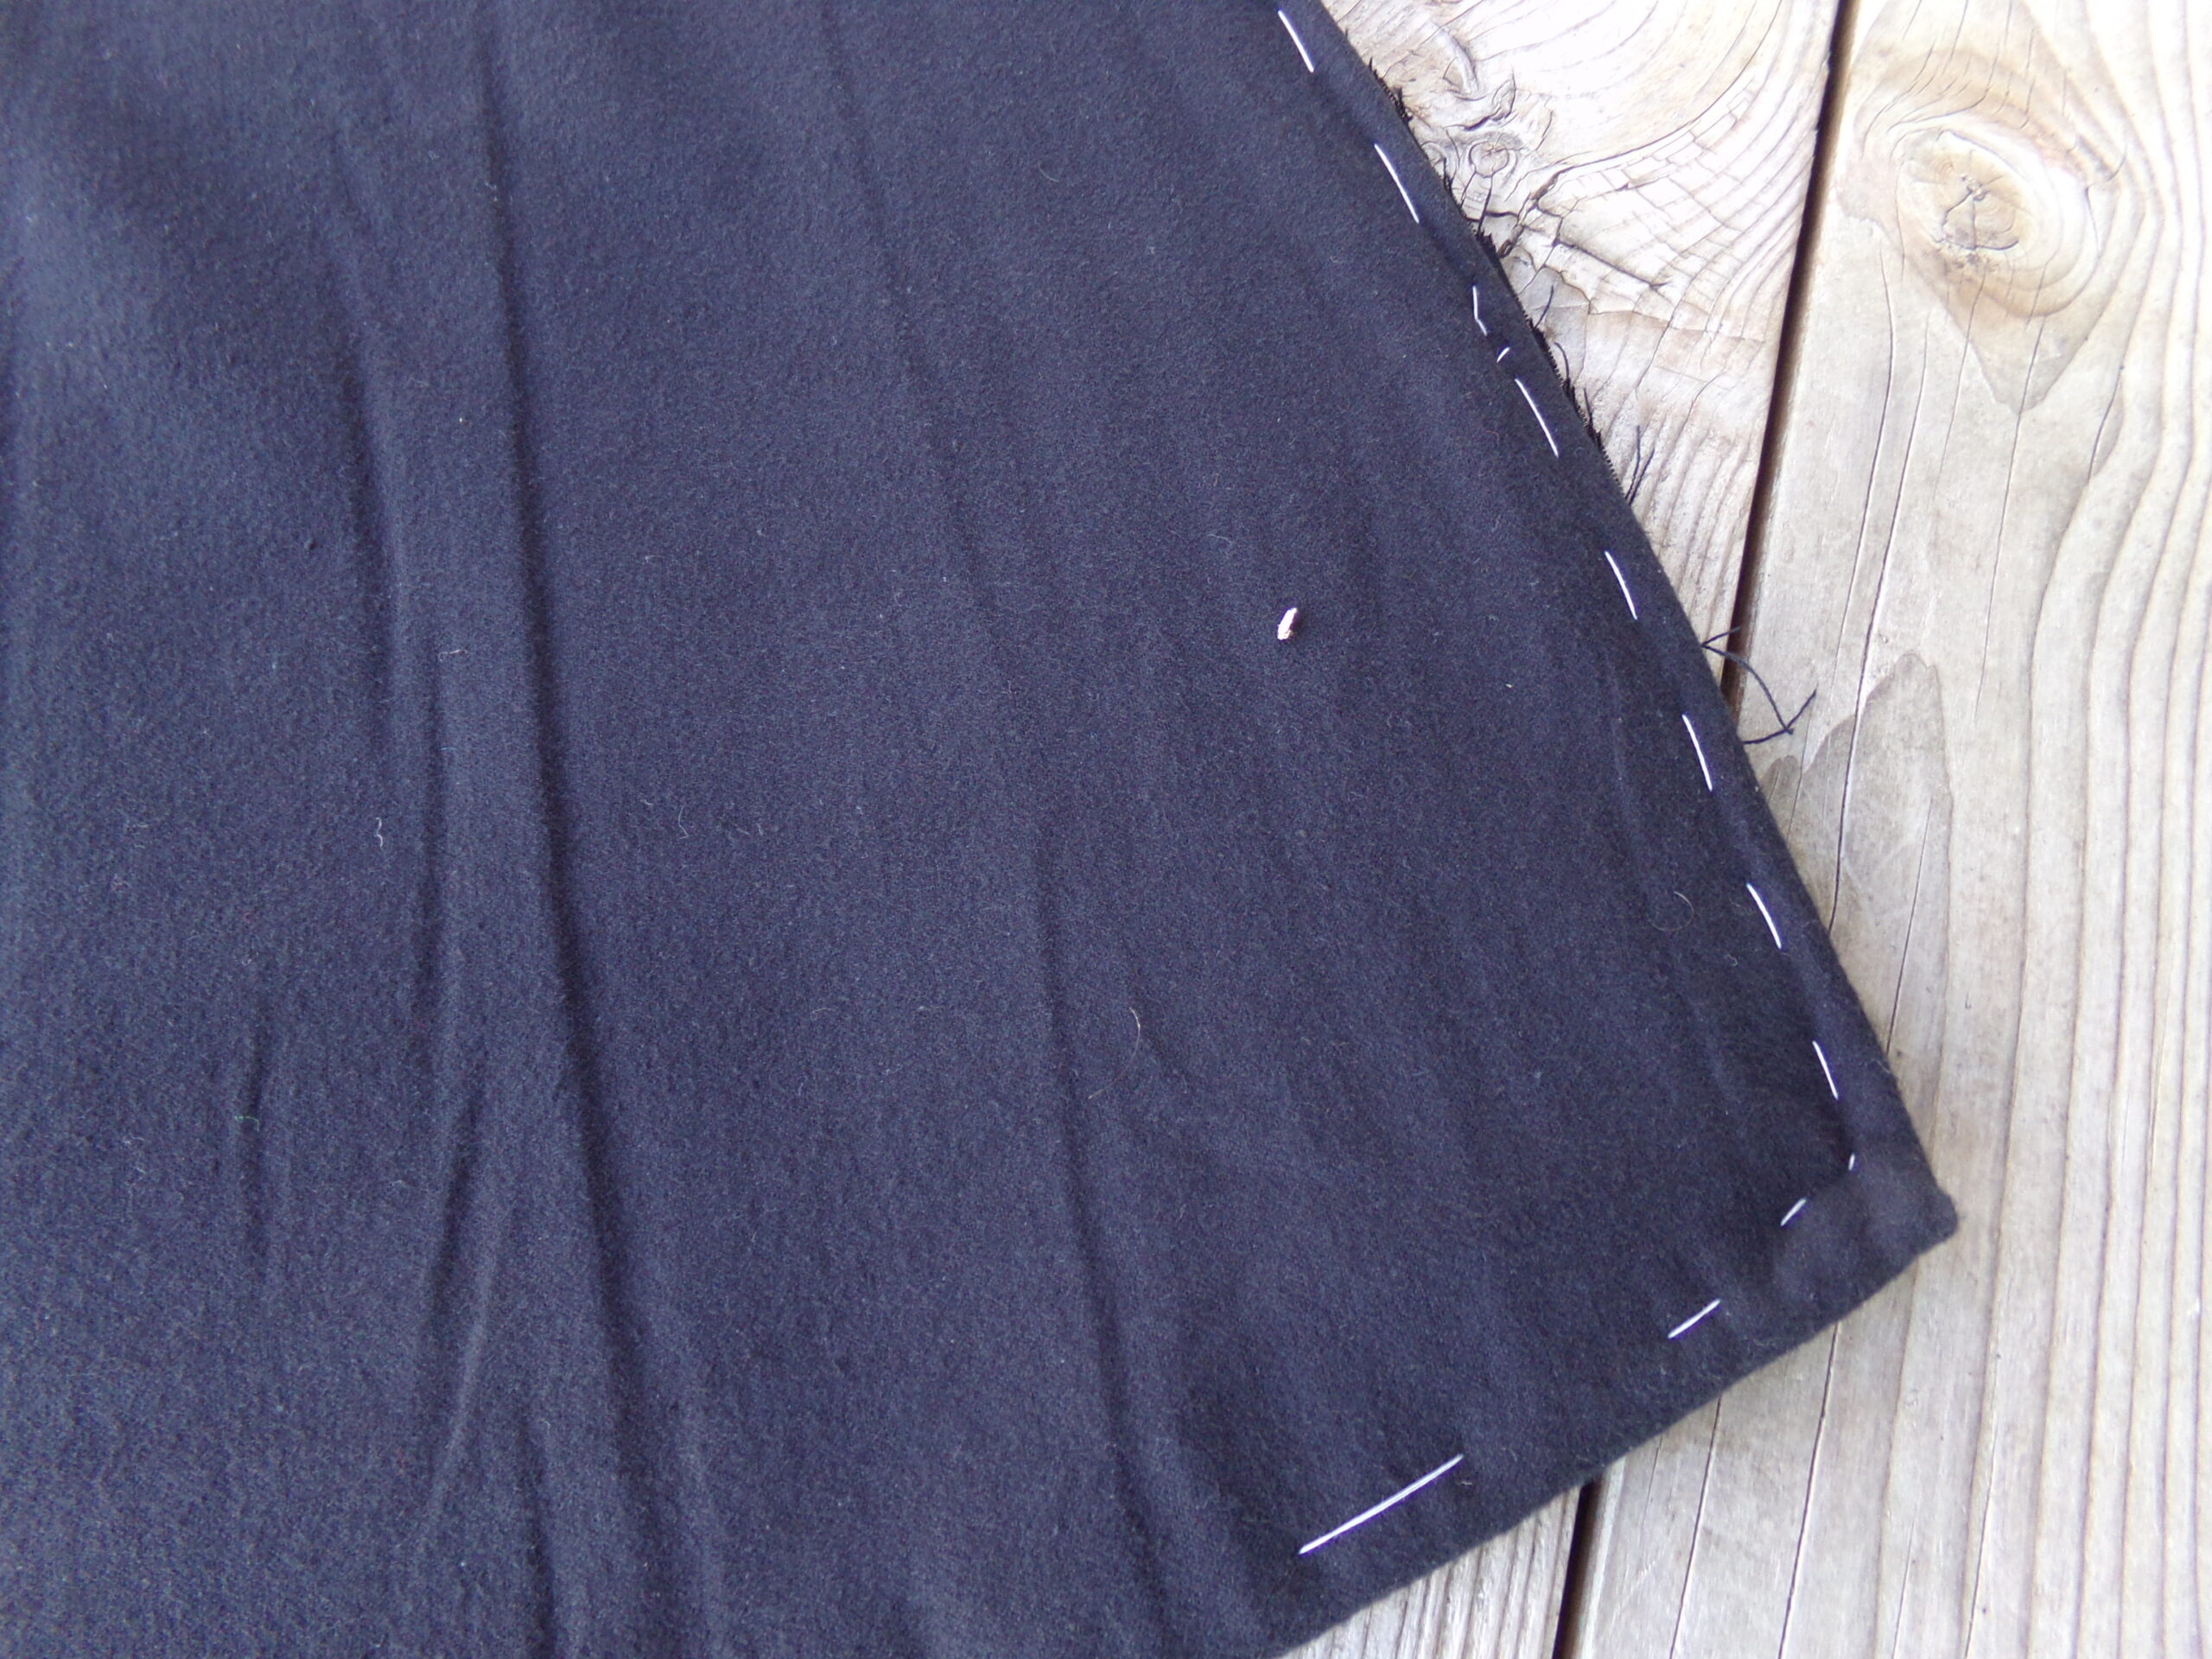
Next, you’ll want to wrap the insulation with your fabric. I stapled my fabric directly to the Reflectix, then wrapped it around and closed it shut with a seam of staples. My other half decided to hand sew our other two window coverings shut. They both look fantastic!
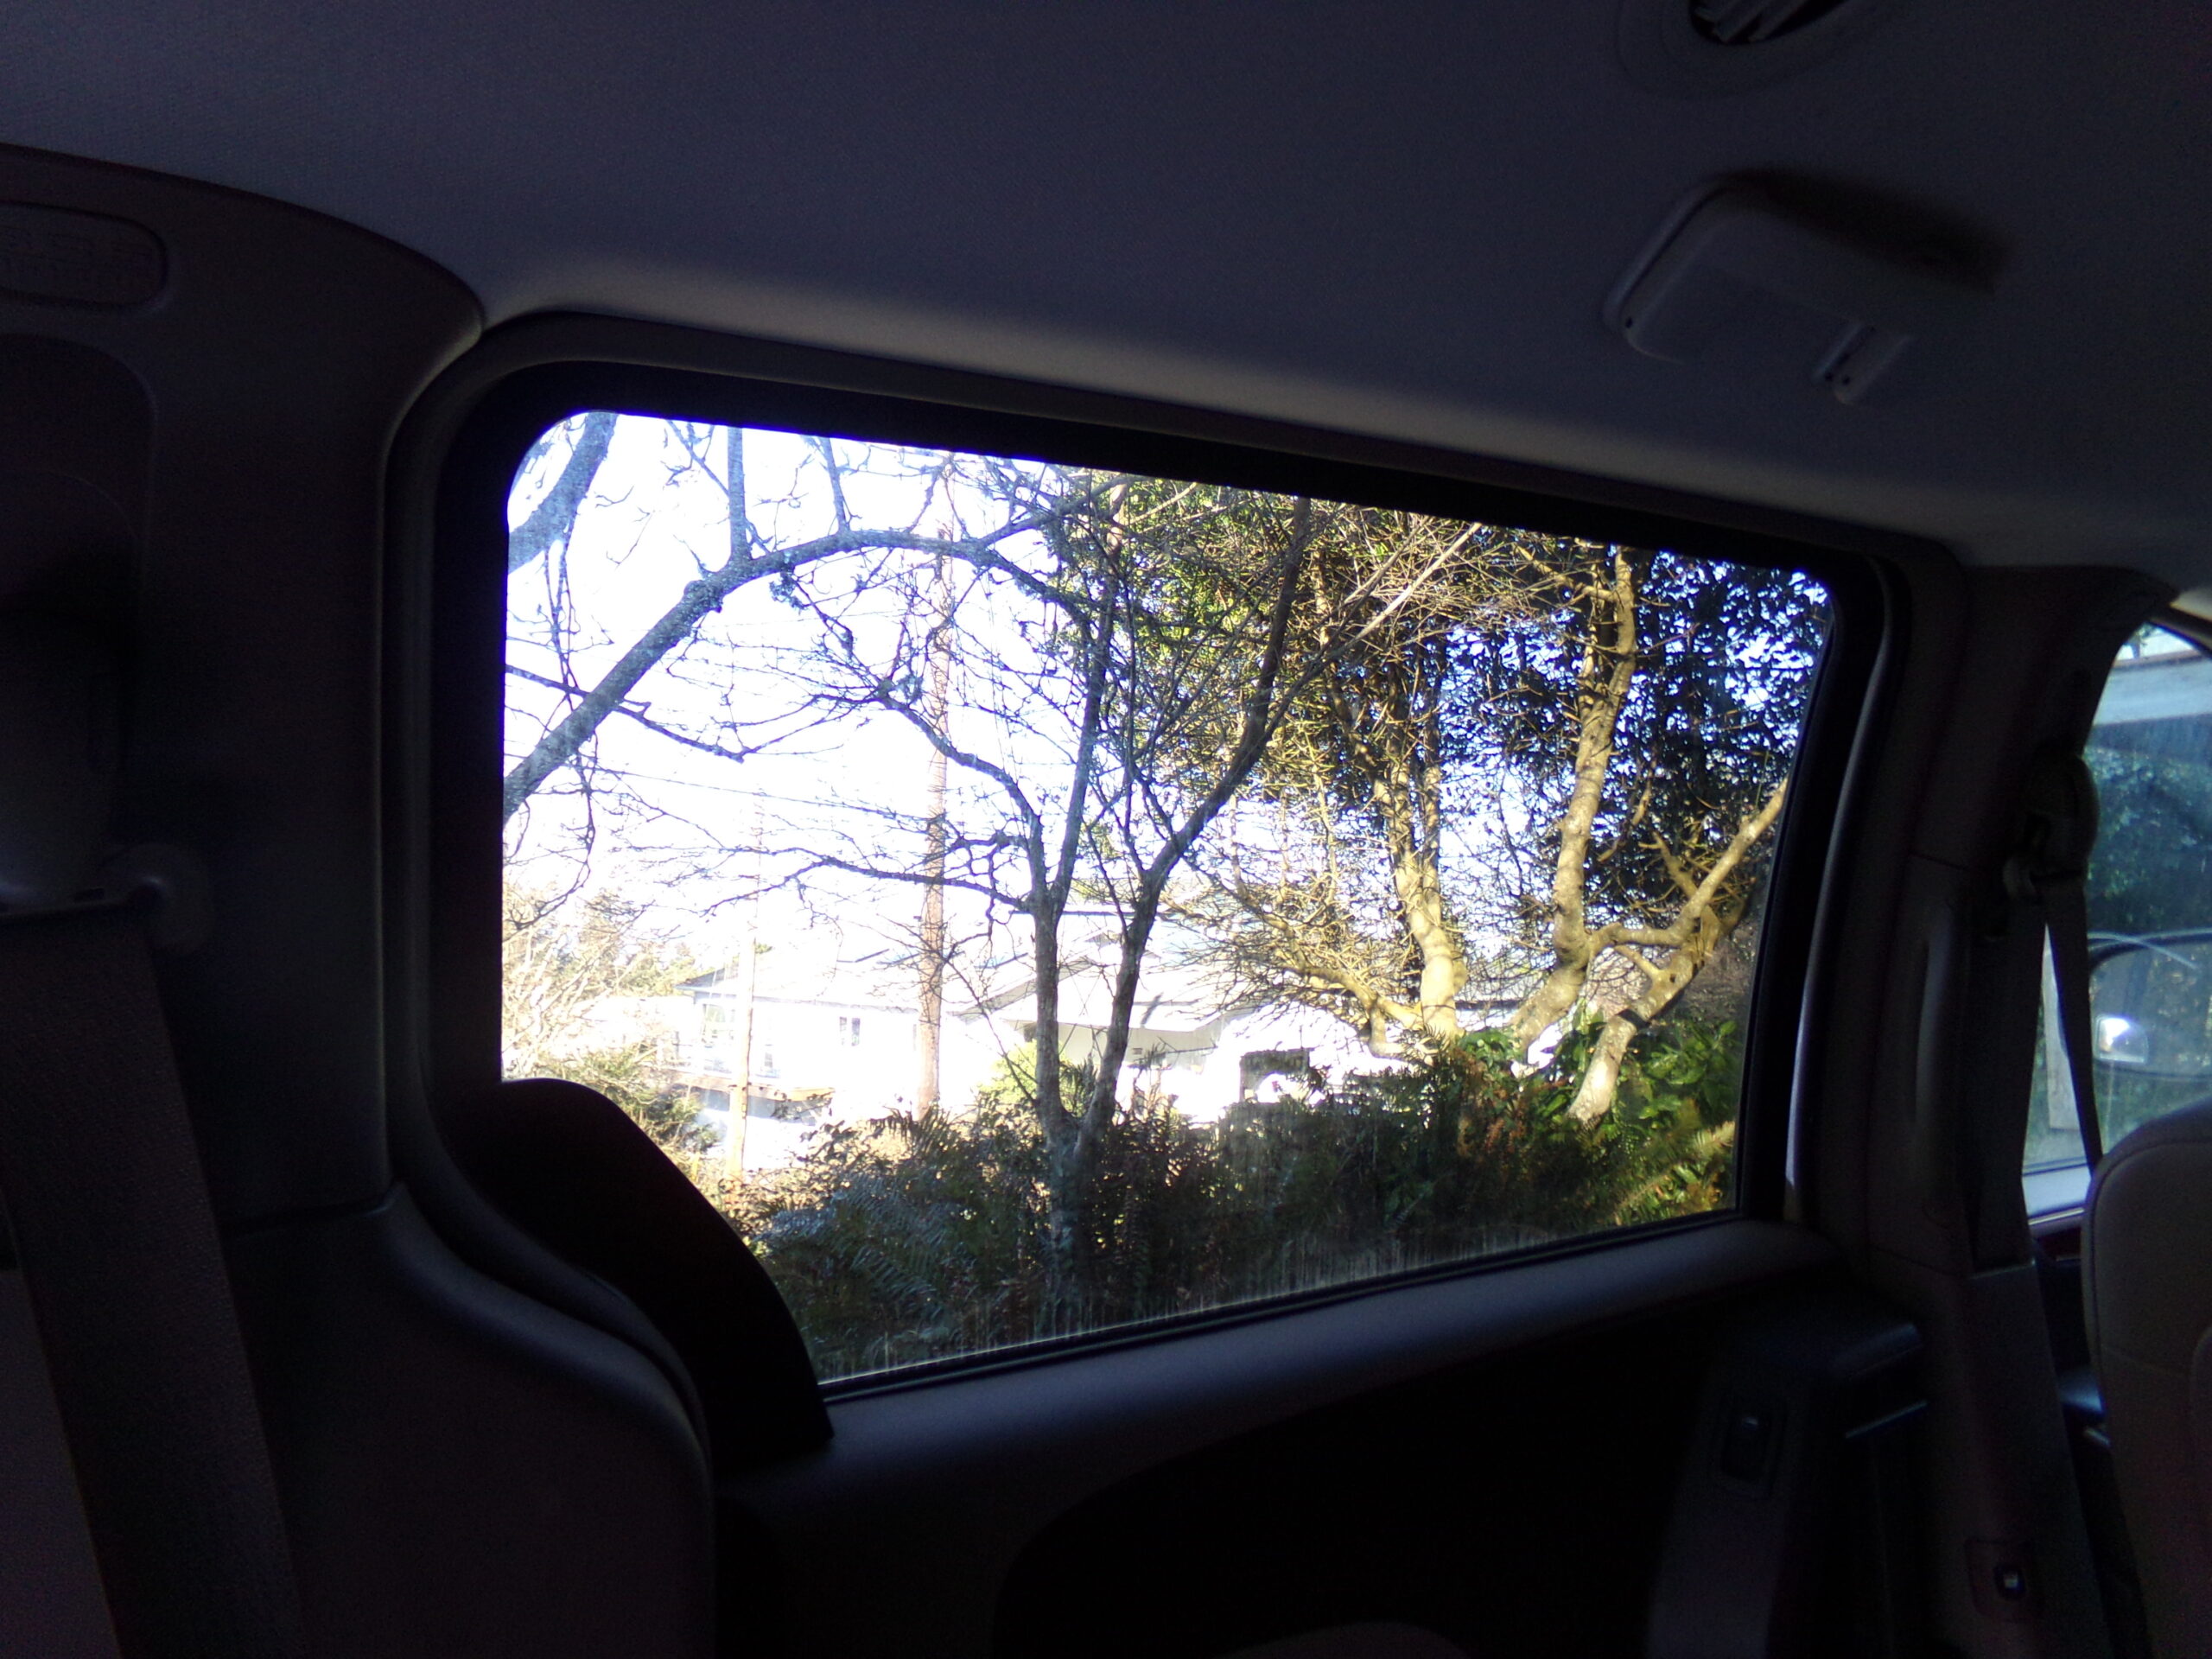
Repeat these same steps for each of the back windows in your van. The front windshield and driver/passenger windows can be covered as well, or you may opt to put in a privacy curtain behind the front seats that separates the front of the van from the back.
Voila! You now have DIY window coverings for your camper. For more tips on making custom window coverings, watch this video from 40 Hours Of Freedom:
For more ways on how you can use Reflectix in your RV, check out our previous article on 5 Simple Ways To Use Reflectix In Your RV.