The Ins And Outs Of An Electric RV Awning Conversion
Just because your RV didn’t come with an electric power awning doesn’t mean you can’t have one. Continue reading to discover how to convert your manual awning to an electric awning.
Whether you are buying an RV with a manual awning or the manual awning on your current RV needs repair, upgrading to an electric awning is a great idea.
Choosing a new electric RV awning
Deciding what awning you need will be the first step. The length of the awning needs to be determined if a complete kit, including awning fabric, is being purchased.
This is as simple as measuring your existing awning if you have one. If not, determine what size you want and locate the areas on the exterior walls of your RV where there is space to mount the brackets.
If you have an existing manual awning, you have the option of just purchasing the new electric arms. You will have to determine the make of awning you have and match it accordingly to the new arms.
There will be two options for power: awning kits that require the motor to be wired to your RV’s existing 12-volt system or awning kits with their own power source. The latter is much more convenient and simple to install.
Two color options for the support arms will also be available in most cases, black or white.
You will want to have a second set of hands to help with this project. Installation may vary from kit to kit, however, this is the basic breakdown.

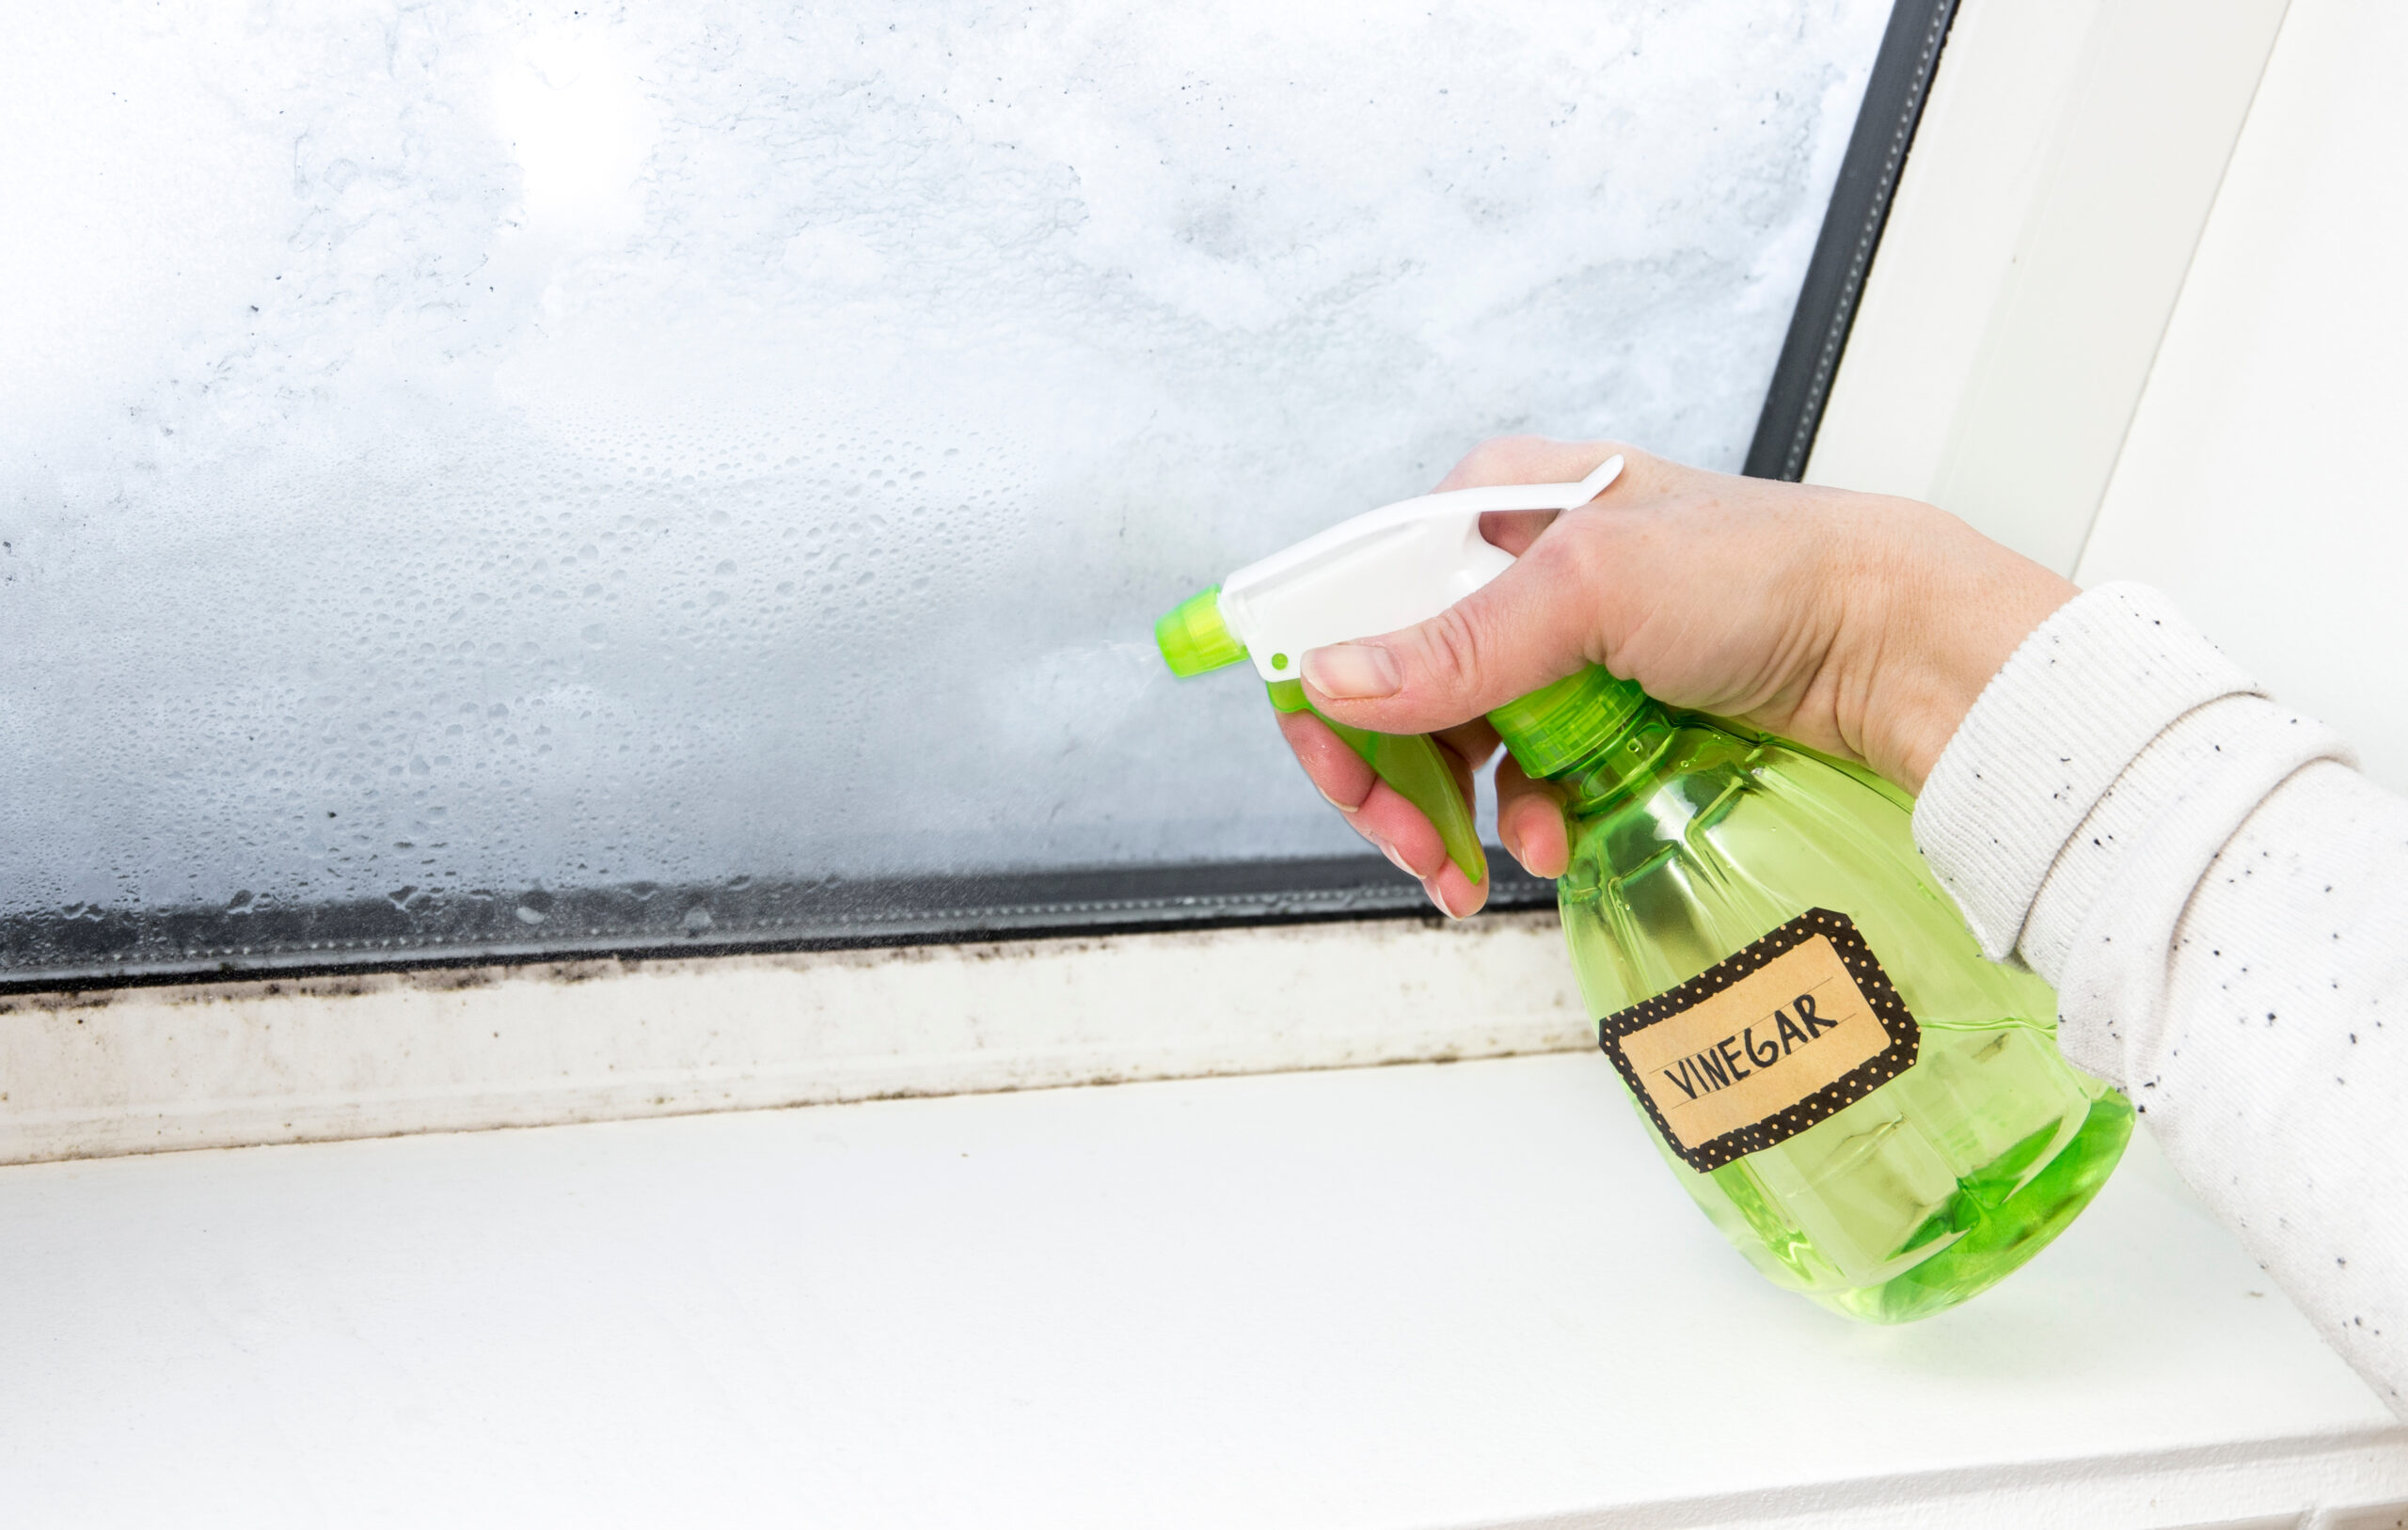
Removal of manual RV awning
The existing support arms will have to be removed. With a helper, remove the roller from the arms by removing the screw on each end holding it in place and lower it to the ground. The existing support arms can now be unscrewed from the RV.
There will be mounting holes that most likely won’t line up with your new arms. Clean this area and apply weatherproof silicone to fill the holes so they are watertight.
Installing an electric RV awning
If using your existing roller and awning material, the awning material can be left in place on the RV. However, it will likely be easier to remove it and complete the mounting to the new arms on the ground.
The mounting shaft on the new arms will line up with your existing awning roller. Install the roller to the new awning arms securing with the attached hardware. In most cases, a screw hole in the roller cap will line up with a screw hole in the new arm and be fastened together with the correct size screw.
If using a complete kit including a new roller and awning fabric, the fabric will be attached to the roller as per the manufacturer’s instructions. Then the complete unit will be attached to the RV as follows.
With ladders in place at both ends of the installation area, insert the awning fabric into the mounting rail. Slide awning fabric with the roller and arms attached through the rail and into position.
As per your instructions, secure the top of the first arm through the attached mounting bracket. Using a product such as butyl tape at all mounting locations along with silicone will help seal the screw holes.
Checking that the roller and two arms are level to one another, secure the second arm at the top to the RV.
The bottom of the arms can now be secured. Using a level and or taking measurements between the arms at the top and again at the bottom, ensure the arm is level from top to bottom.
Secure the bottom of the arms. The remaining locations will likely be located underneath the closed arm. Be careful when releasing the arms from the supplied straps; hold them in place and let them extend slowly.
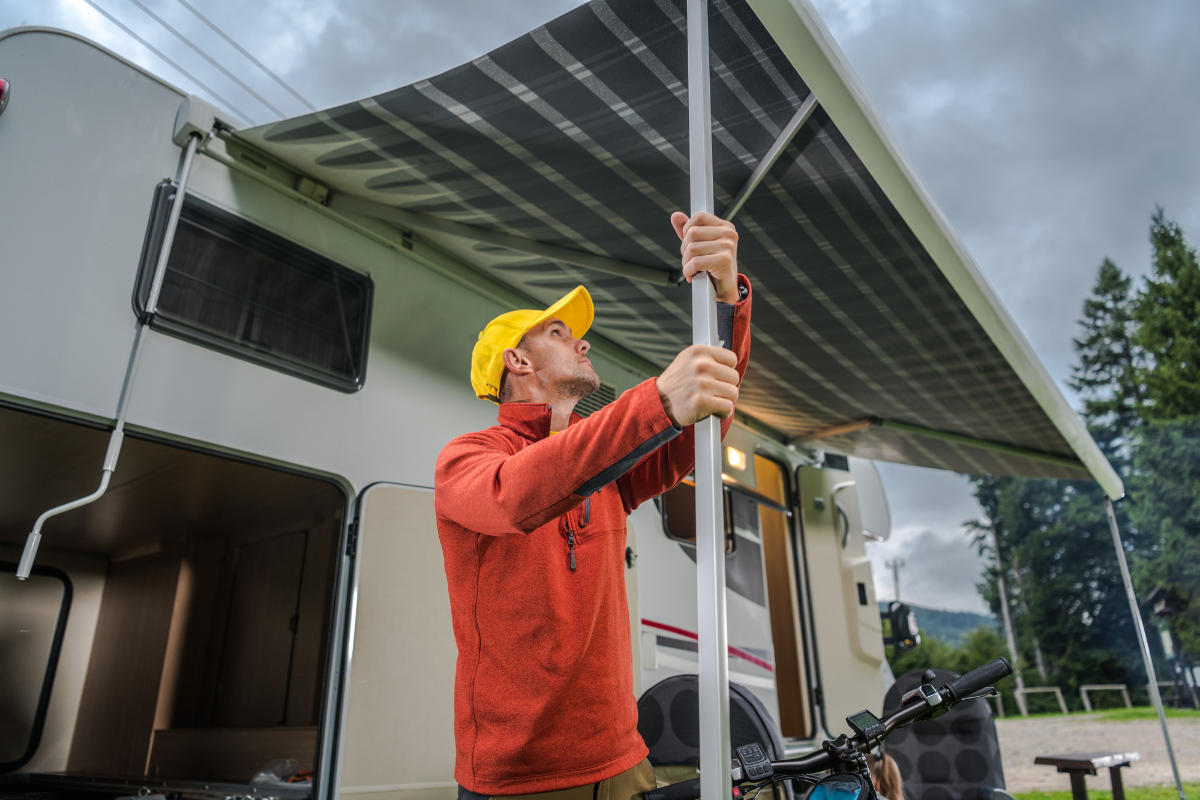
Testing the new awning
Use caution when rolling out the awning for the first time. Slowly roll it out making sure it is extending evenly and the fabric is straight.
Awnings are fairly maintenance-free, however, checking that your awning is staying aligned for proper operation and cleaned and dry before storage will ensure a long life.
Be cautious of opening and closing during high winds and open your awning slowly at first to allow the gas struts time to adjust.
With your new electric RV awning installed, sun or shade is just the push of a button away! So ditch the crank and support poles and upgrade to an electric RV awning today.
RVers looking for valuable how-to information have learned to go to the experts. Forums such as iRV2.com and blog sites like RV LIFE, Do It Yourself RV, and Camper Report provide all the information you need to enjoy your RV. You’ll also find brand-specific information on additional forums like Air Forums, Forest River Forums, and Jayco Owners Forum.
Continue reading: