
How To Clean RV Air Ducts
Proper ventilation is very important in an RV. This will be your home for a period of time, and you’ll want it to stay warm in the winter, cool in the summer, and prevent any blockages or system failures. To keep it in top condition, you’ll want to know how to clean RV air ducts.
This process might sound intimidating, but it’s actually fairly quick and easy. Major system damages may call for professional help, but you can do regular maintenance by yourself or with help from a friend. Cleaning your RV ducts will improve airflow, make it easier to regulate the interior temperature, and prevent potential blockages. Let’s get into a step-by-step guide below!
Turn the thermostat off
Before you start poking around in any areas of the heating/air conditioning system, make sure the thermostat is turned off first! Check that the unit is completely powered down and will not reactivate at any point in the cleaning process.
Once the thermostat has been turned off, you can focus on how to clean RV air ducts.
Remove vent covers
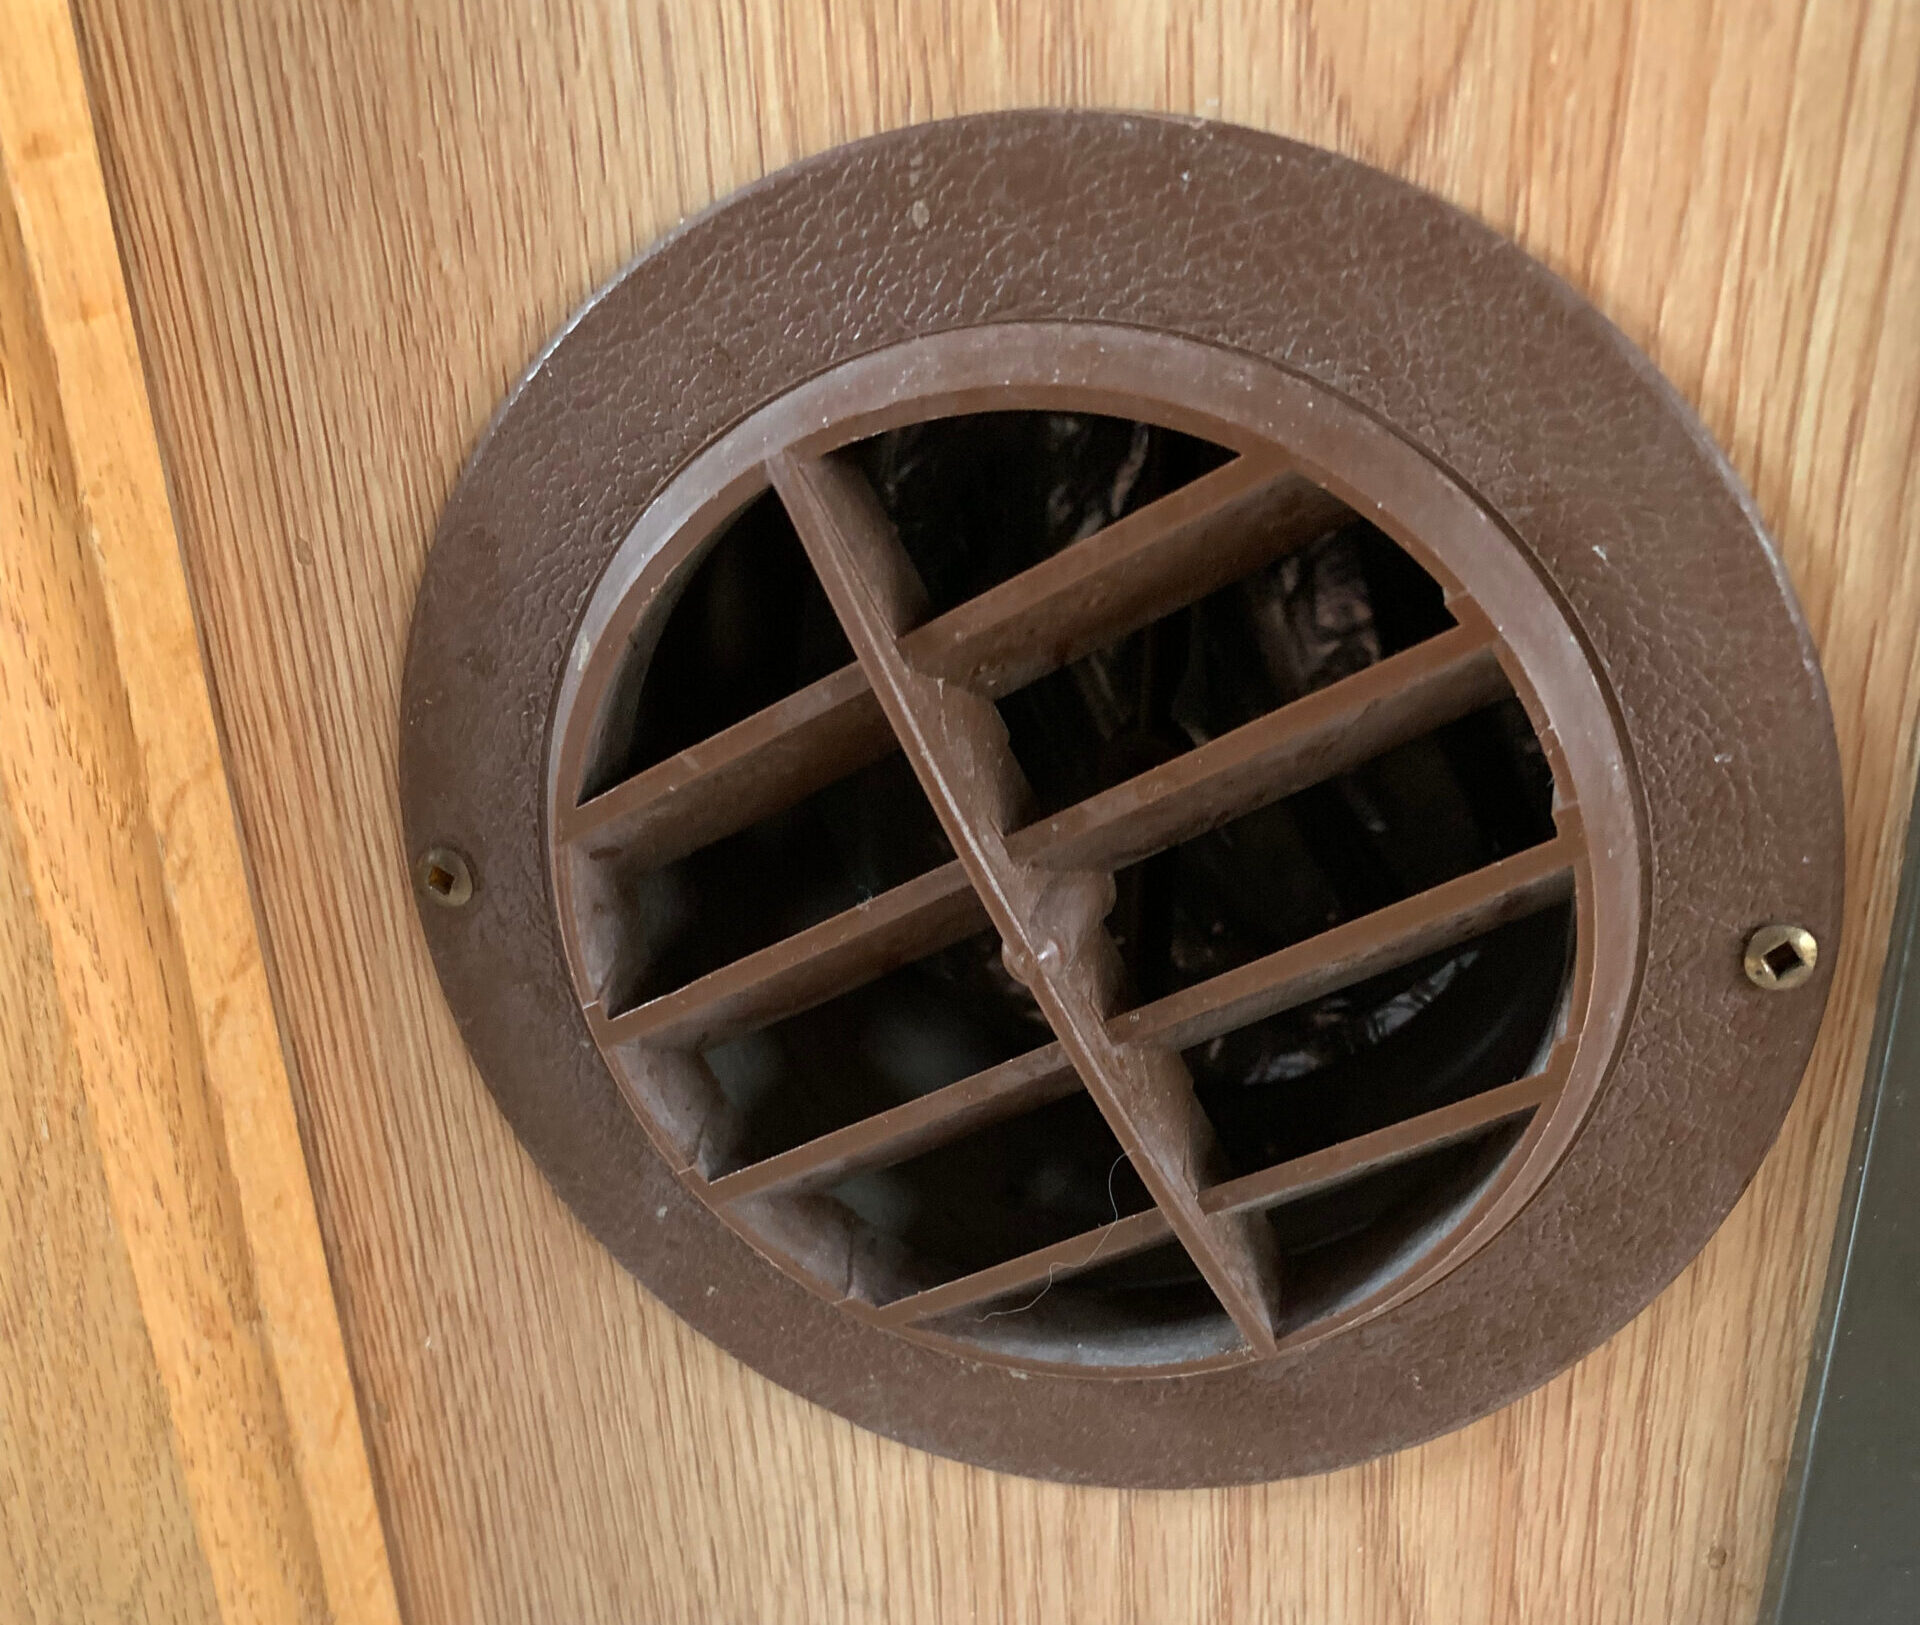
The next step is to go around your RV and remove vent covers throughout the whole vehicle. These ducts often have vents on the inside and outside, so make sure you check every area. Don’t overlook roof vents either! These can be easy to forget because they aren’t immediately visible from the ground.
You can remove most vents and duct covers by carefully grabbing both ends of the vent and pulling down firmly. It isn’t necessary to pull very hard because these covers are designed to be removable. Some duct covers may be screwed on, so make sure you have a screwdriver on hand if you need to remove one of these.
Set all vent covers outside the vehicle and label each one with a piece of tape. This will help a lot when you need to replace each of them in the correct spot. Wipe down the covers with a damp rag or spray with a hose to remove any dust or buildup. Then lay them out to dry on a towel.
Inspect air ducts and seals
Now that the system has been opened up, it’s time for a brief inspection! RV duct maintenance is important because they develop buildup pretty quickly. They’re also exposed to a variety of outdoor conditions, meaning that any number of pests, particles, and plant debris can get into the ventilation.
If your RV has been sitting unused for a while, the vents could also be hiding larger infestations like insect hives or mouse nests. Make sure you do a thorough inspection of all your vents before cleaning. Use a good flashlight and carefully check each duct.
Make sure you rely on your nose as well as your eyes! Mildew, mold, or other strange smells can indicate that there is a blockage somewhere in the system.
Finally, don’t forget to check the seals around your vents as well. Especially on the roof and exterior vents, there can be leaky seals or cracked caulk. This may not be a big deal at first, but over time it can weaken the integrity of your system and let in more outside air than you want. Plus, damaged seals could lower the resale value if they aren’t fixed.
Clean dust and buildup from fans
Now that everything has been prepped, removed, and inspected, let’s talk about how to clean RV air ducts. Fans and furnaces are the primary items that keep air moving throughout your vehicle. As such, these parts are some of the most common sources of blockages and build-ups of debris.
All you need to clean these pieces is a vacuum or compressed air. Use the compressed air to blast the stubborn areas, then vacuum it up afterward. This is fairly quick and it gets the majority of the dust. Next, wipe fan blades and other dirty areas with a damp rag until they are clean.
Make sure you wear appropriate eye and mouth covers so you don’t inhale dust along the way! Sometimes there’s quite a bit that comes blowing out.
Once you’re done and everything is dry, give the fans a few manual spins to make sure everything is moving properly.
Clean ducts with a plumber’s snake
Next, you can move on to cleaning out the ducts themselves. These don’t usually contain a lot of debris, but dust can become a problem if it’s left unattended for too long.
To clean out the ducts, you just need a plumber’s snake and an old rag. Wrap the rag around the tip of the snake, and create a ball-like shape at the end. Secure the wrap with duct tape, then thread it through the duct system. Continue to feed the snake through the pipes until you reach the other end or hit an obstacle.
Then, retract the snake and clean or replace the rag for the next duct. This solution will fix most problems and keep your air ducts clean.
Replace vent covers and reactivate thermostat
Once everything has been cleaned and dried (if damp rags were used), you’re free to reassemble the heating system. Replace vent covers in their proper areas. They should be easy to snap or screw back into place.
Finally, return to your thermostat and run the heating or air conditioning for a few minutes. Listen for any strange sounds and make sure the temperature is changing correctly. After that, you’re done!
Contact professionals for more advanced projects
It’s great to know how to clean RV air ducts, but sometimes the project is much more complicated than we expect. Simple cleaning tips, like the ones listed above, can solve a variety of problems. However, if you have mold or pest problems, you may need to bring in outside help. Ducts can be difficult to access, so it’s easy to miss things if they’re unseen or out of reach.
In addition, there could be mechanical failures that can’t be solved with a cleaning regimen. In these cases, contact a professional cleaner or mechanic to come help. Some RV warranties may cover the cost of these services, so make sure you understand your available options.
Keeping a well-maintained duct system will extend the lifetime of your RV and make it much more comfortable to stay in. Just perform some simple maintenance on a regular basis and you should be able to avoid major problems down the road.
Make sure you keep track of all your RV maintenance and repairs with an online tool such as RV LIFE Maintenance. Not only can you keep all of your documents in one place, but you’ll also receive timely reminders when maintenance is due to help you avoid costly repairs and potentially serious accidents.
Related articles:


