Upgrade Your RV With LED Lights
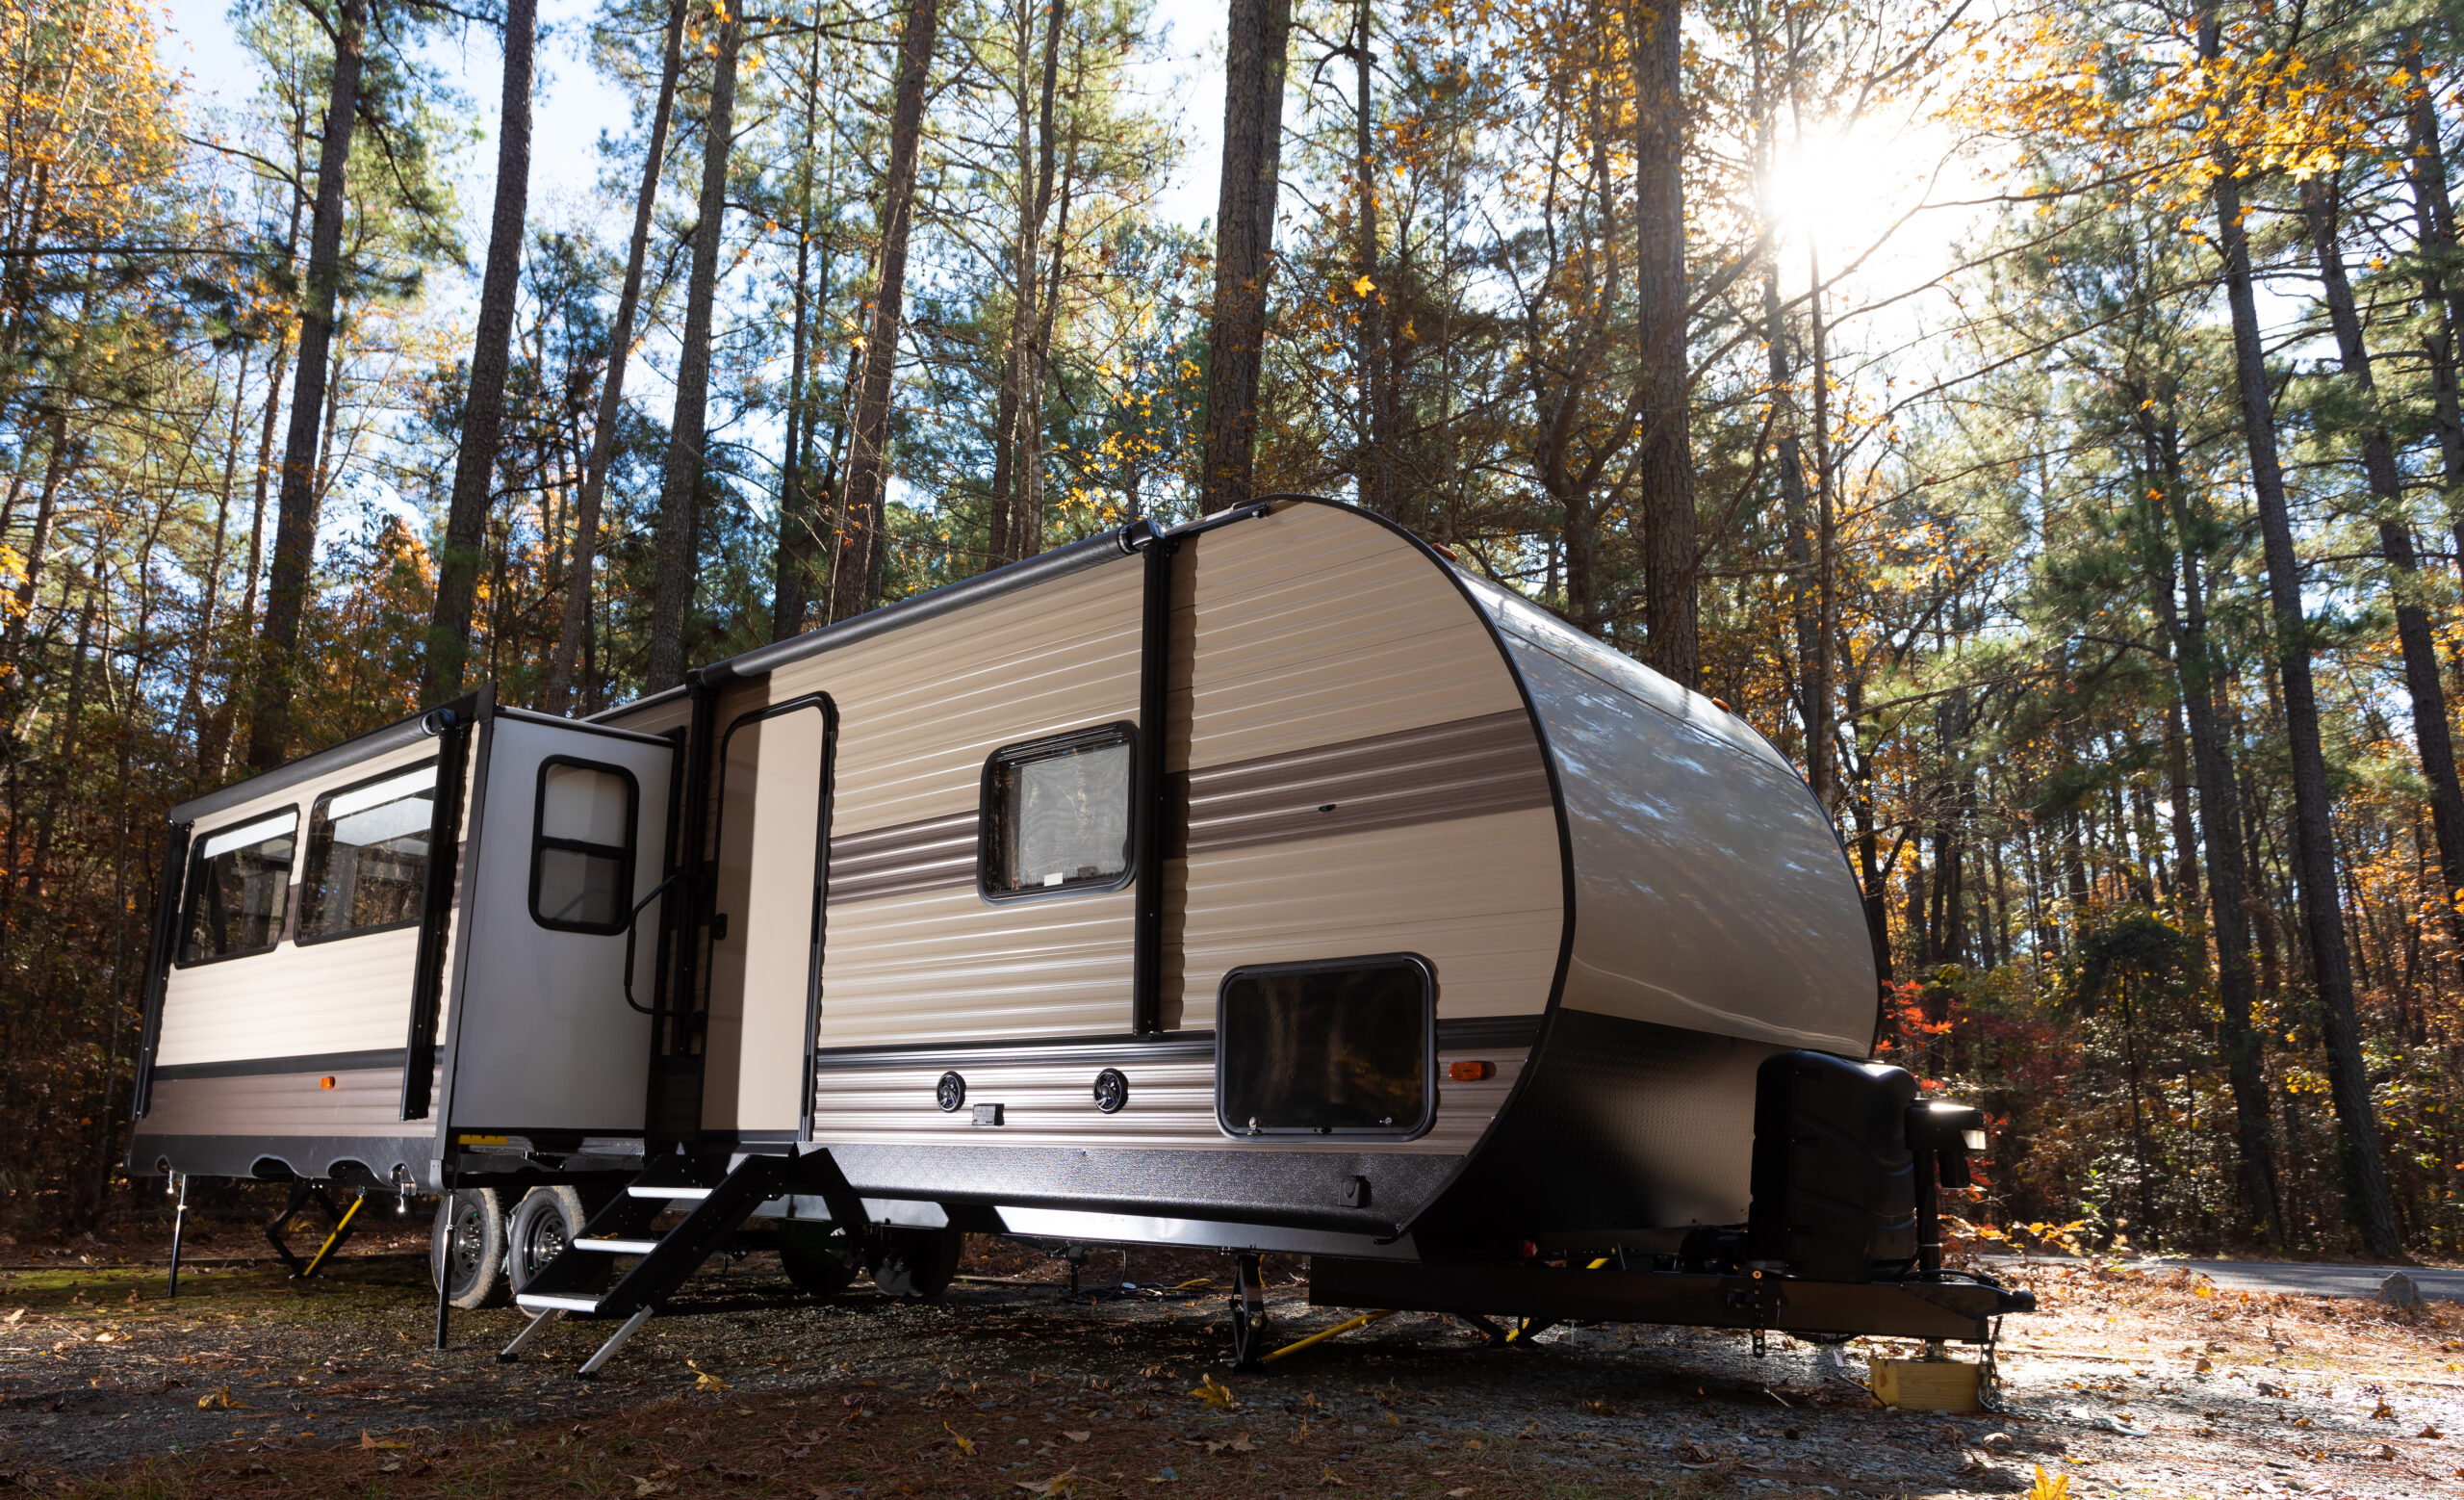
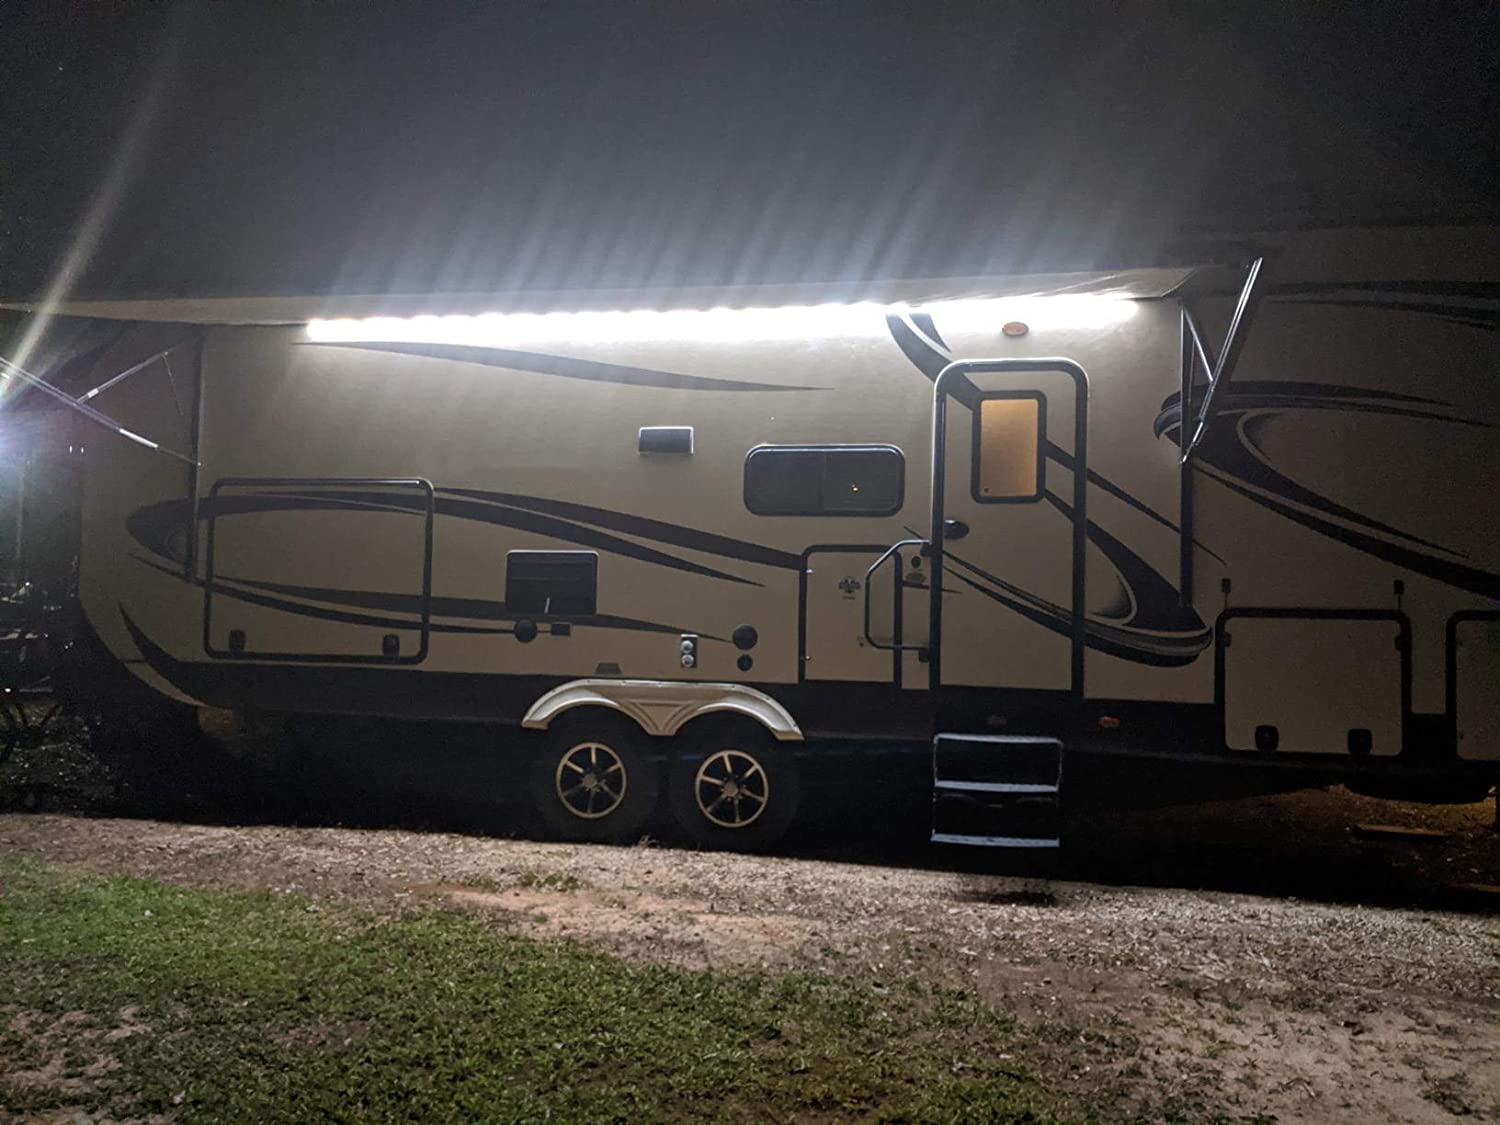
RV LED lights seem to be all the rage these days. You will find them on the interior of new RVs, incorporated into the awning, on satellite dishes, and now even under RVs.
Many RVers who choose to install RV LED lights under their unit go with LED rock lights, which were originally developed for the off-road crowd. Rock lights mount under the vehicle and allow Jeep or similar off-road vehicle drivers to see obstacles like rocks more clearly around them at night when traversing rough terrain.
One of the more popular kits can be found on Amazon here. This system features a control box, 8 LED lights on pigtails, and can be controlled via an app on your smartphone with more color choices than Crayola has names for! Here is a post from a Thor owner that installed this system.
How to install RV LED lights
The first step to installing RV LED lights is to read and heed the instructions. For example, the instructions below describe how to install these RV LED lights from Amazon.
1. The controller is not waterproof, so be sure to install it in a dry location.
2. Do not mount the control box near the engine or any locations subject to heat.
3. Note: Before connecting the controller to power, connect all the lights first to prevent the high voltage from burning out a light.
4. The next step is to determine where to hook into your RV’s 12-volt power system.
Motorhome owners could potentially use power from the start battery via hooking up the system to the automotive fuse block. However, this is not the best choice, as utilizing the start battery could result in a dead battery. It is typically not charged via the converter/charger when the RV is hooked to shore power. Using power from the RV’s house 12-volt system is the best choice for motorhome users and the only choice for towable RV owners.
A note of caution: When working on an automotive 12-volt system, red is positive and black is negative. When working on the house side of an RV 12-volt system, black is typically positive and white is negative. This is similar to the 120 volt AC (shore power) circuits in your RV and home where black is hot (positive) and white is neutral (negative).
The mentioned system is designed for automotive use, so the positive lead will be red and the negative lead black. Therefore, you will most likely need to hook the red wire from the LED control box to a black wire in your RV, and the black wire from the control box to a white wire in your RV.
Always resist the temptation to hook black wires from an automotive system to black wires on the 12-volt house side system of an RV. While RV LED lights might be tolerant of reversed polarity, the control box may not be. If in doubt, use a volt ohm multimeter to make certain of positive and negative.
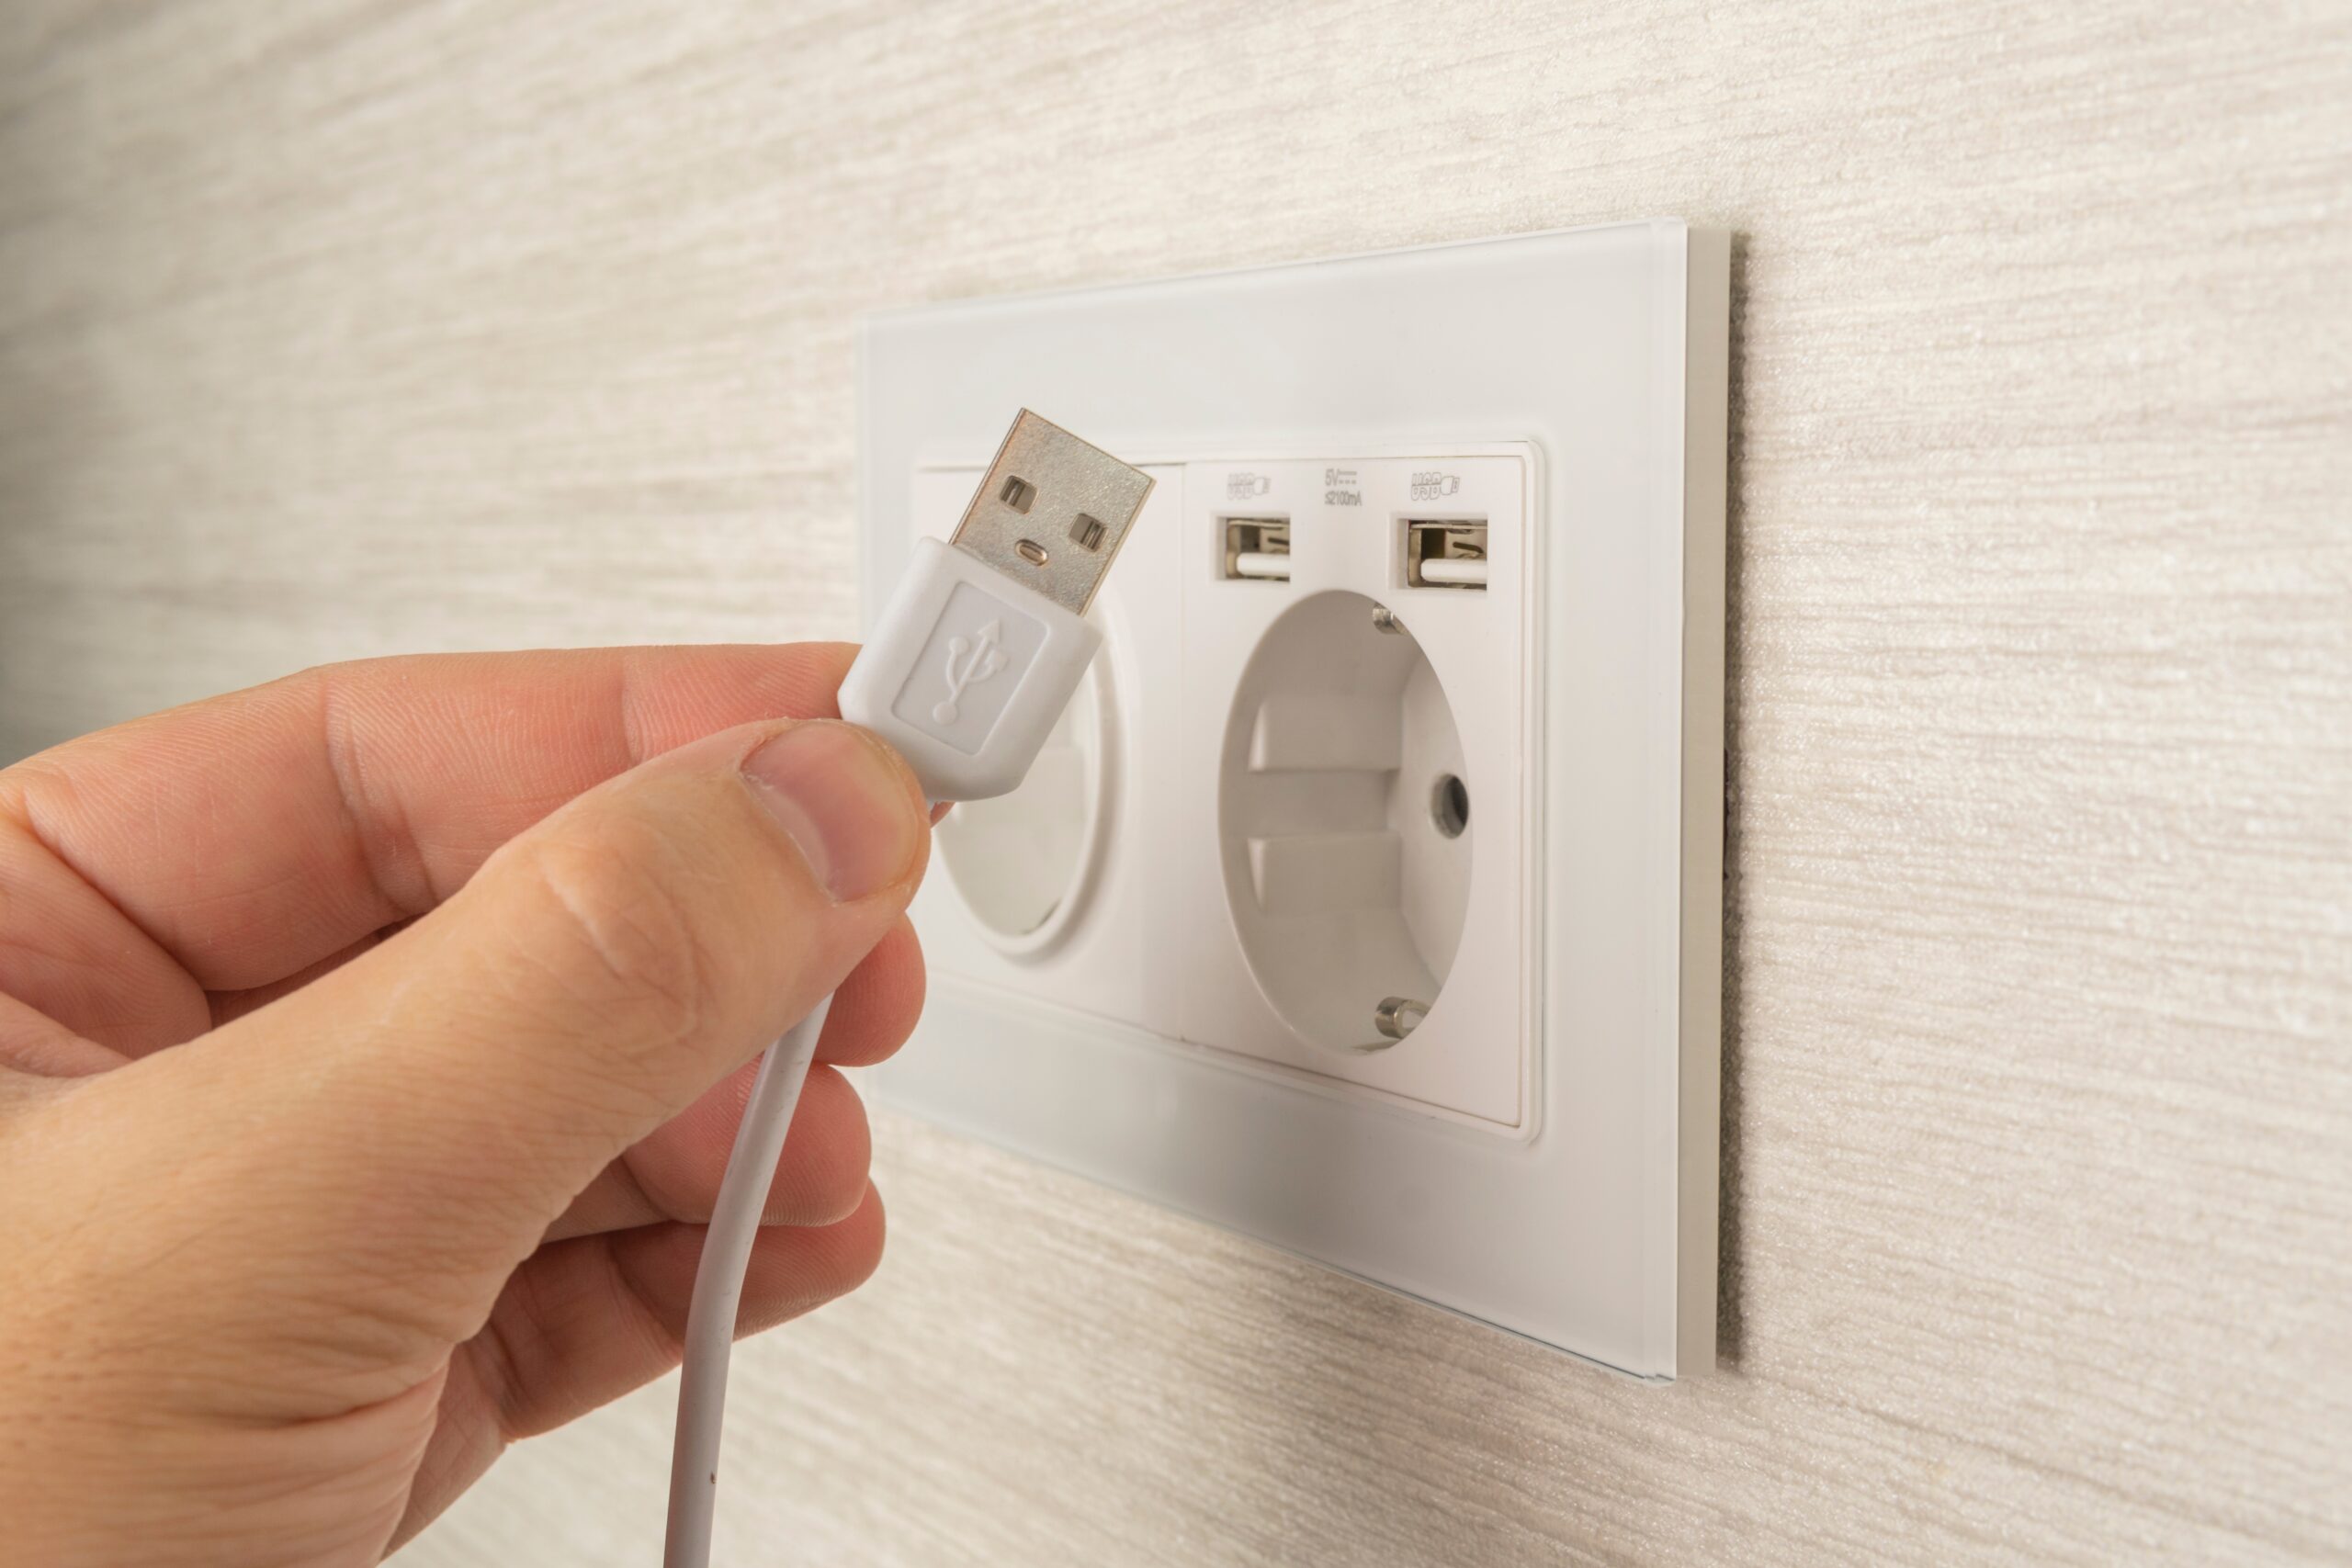
One of the most convenient places to obtain positive 12-volt power for RV LED lights is by utilizing an unused circuit in your RV’s converter/charger distribution panel. It is as easy as loosening a screw, inserting the positive wire, and possibly installing a fuse.
Note: The fuse will need to be rated just above the required input amperage listed on the control box. (For example, if the system requires 7 amps, use a 10-amp fuse.)
Location and mounting
Now, figure out where to locate the LED lights, taking into account the ease of installation, uniform spacing, and where the light will fall beneath your RV. Most RVers choose to mount them along the bottom of the frame rails. This is the natural choice since the frame rails are located parallel to the edge of the RV. They typically have existing wire runs or piping you can use for routing the wires for the RV LED lights and are one of the lowest points to the ground.
Finally, mount the RV LED lights to RV frame rails. The most popular choices are screws, bolts, or zip ties. Keep in mind that drilling the frame rail could void your RV’s warranty, as this post as well as this post discuss. Long zip ties can often be wrapped up and over the frame rails, through the mounting holes on the LED lights, and back on themselves, making for a quick and easy installation.
Need more tips? Watch this video entitled “How to Install LED Rock Lights on an RV”:
Hopefully, you found this short tutorial on how to install RV LED lights useful and will soon be showering a brilliant rainbow of colors under your RV.
RVers looking for valuable how-to information have learned to go to the experts. Forums such as iRV2.com and blog sites like RV LIFE, Do It Yourself RV, and Camper Report provide all the information you need to enjoy your RV. You’ll also find brand-specific information on additional forums like Air Forums, Forest River Forums, and Jayco Owners Forum.
Related articles: