How To Replace RV Awning Fabric (Step By Step)
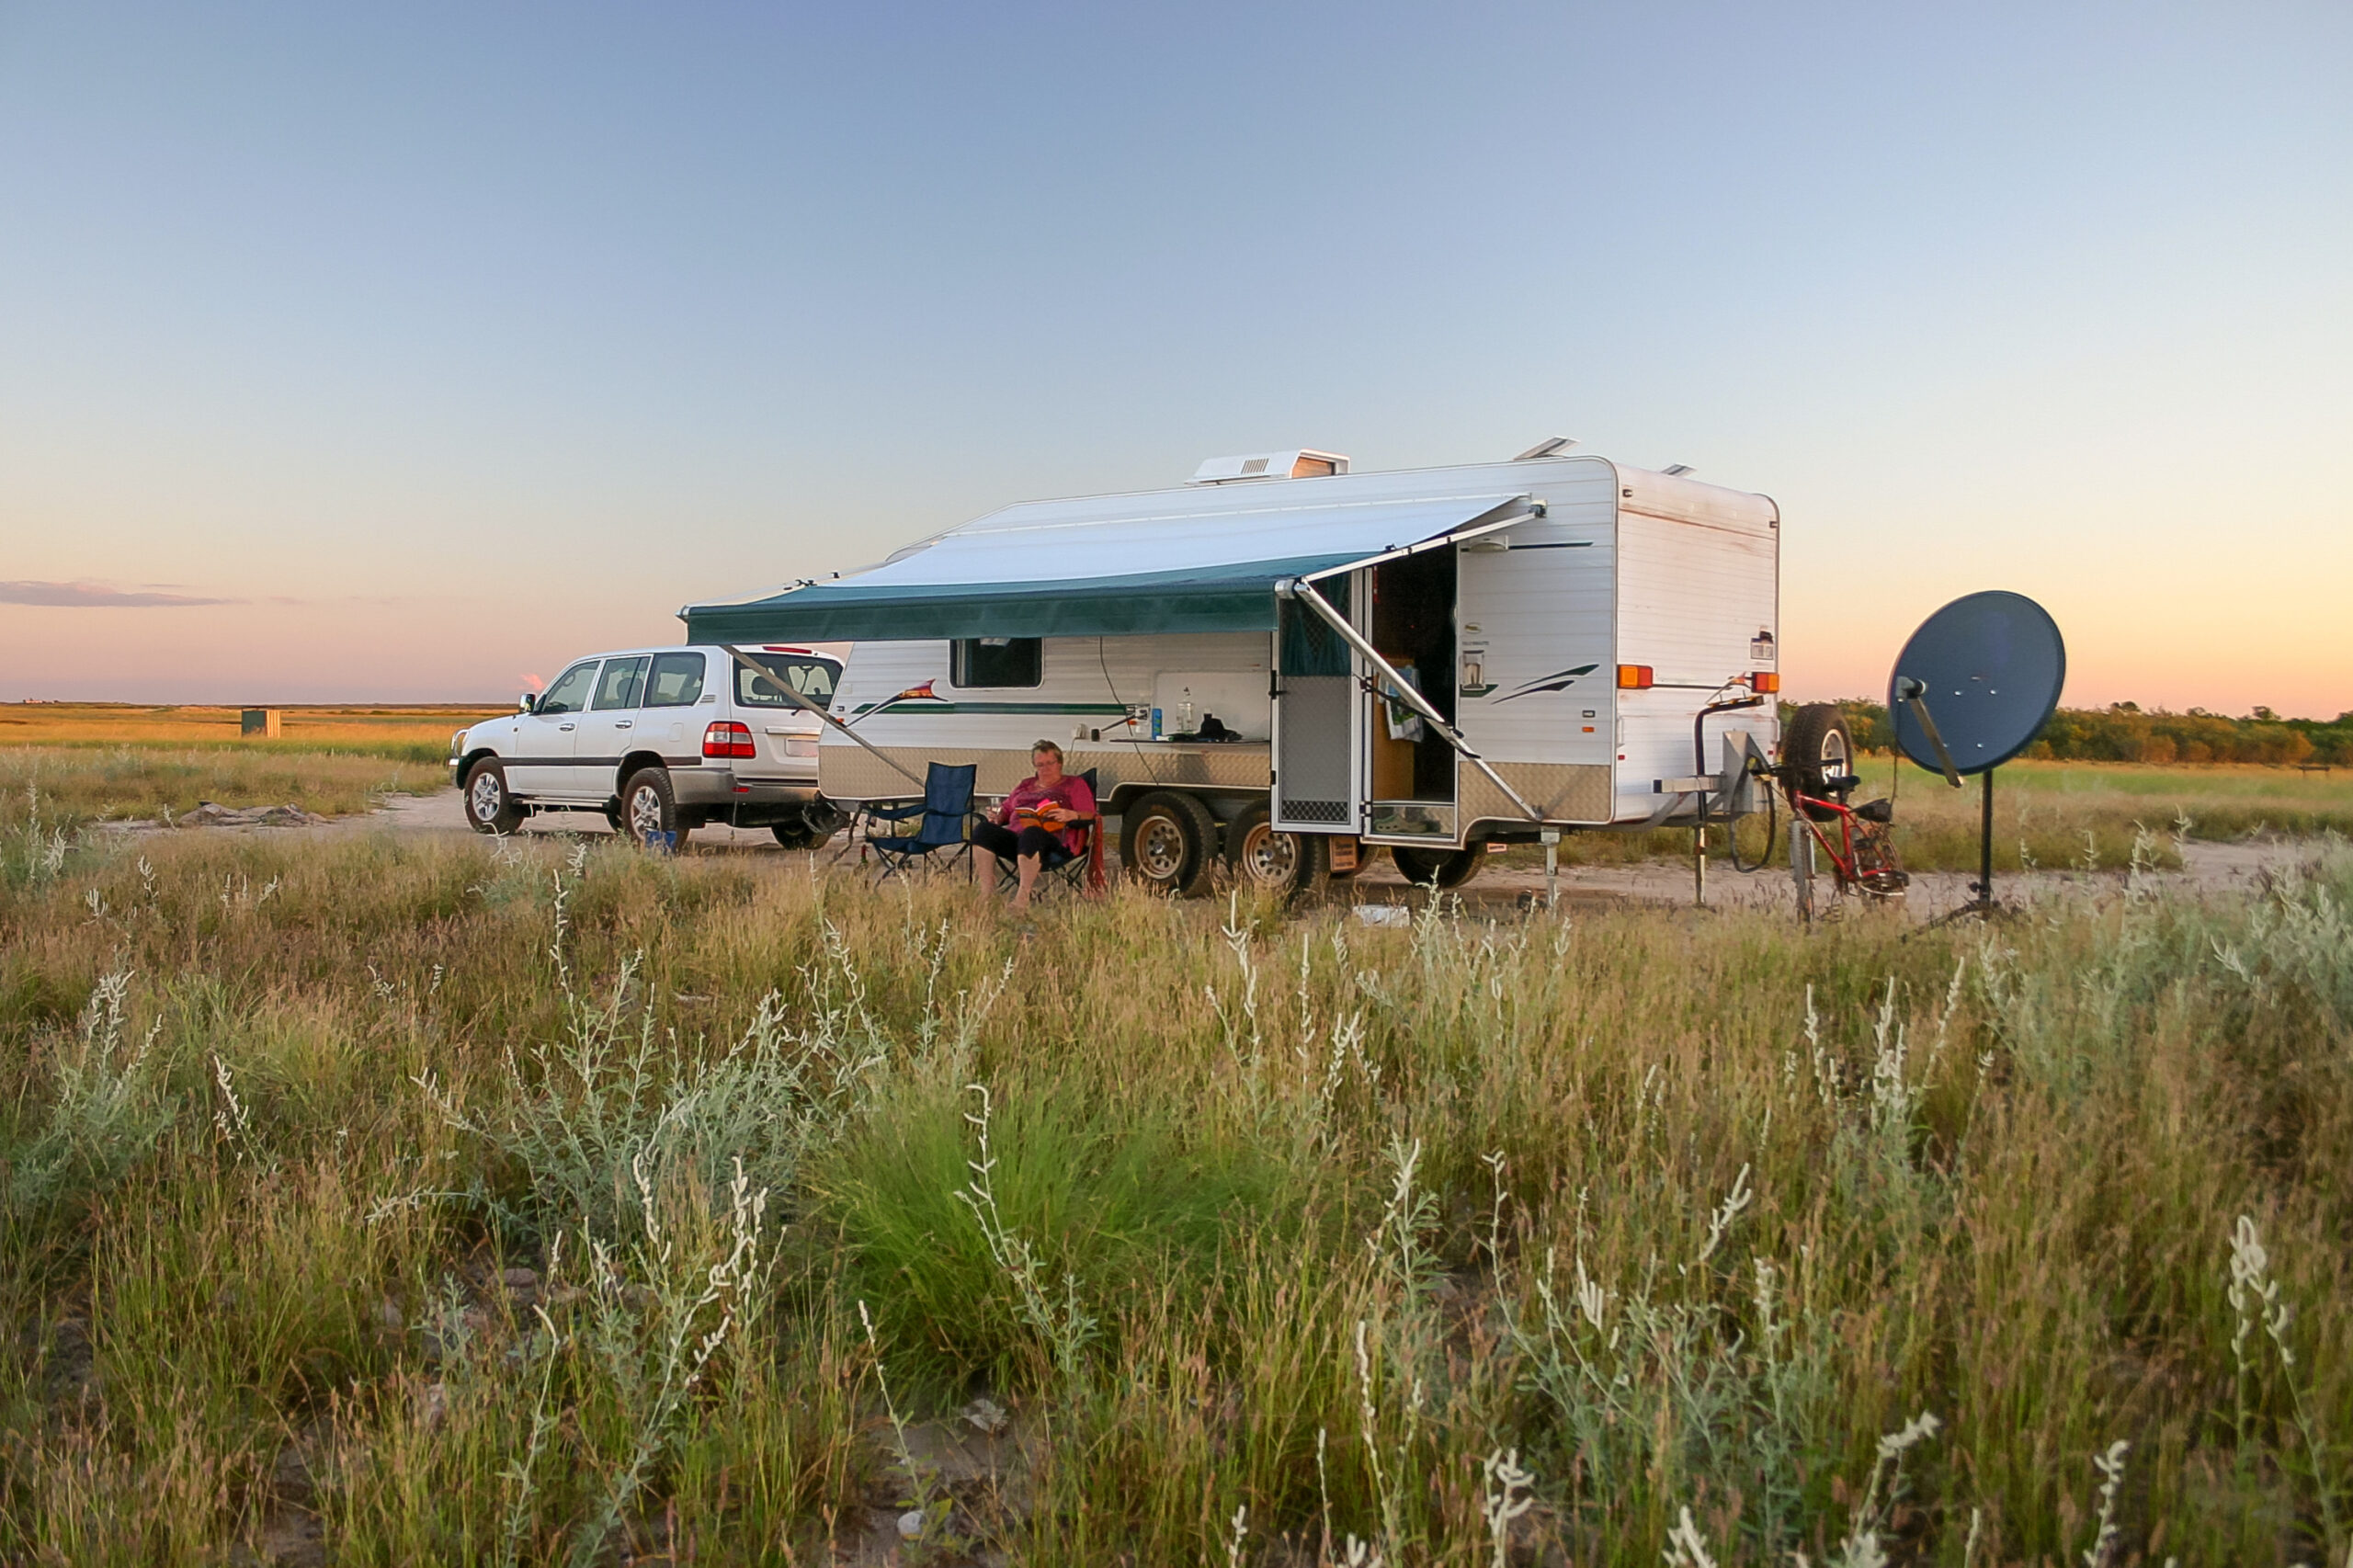
RV awnings are great because they can provide shade as well as shelter from rain and snow. However, because they’re exposed to the elements, RV awnings end up taking a beating over time. At some point, most people need to know how to replace RV awning fabric.
The fabric used for RV awnings is usually some form of canvas or some other heavy, waterproof material. These fabrics are quite sturdy and durable, but everything will start to wear down eventually. If you notice that your awning’s fabric has become cracked, faded, or ripped, it might be time to start thinking about replacing it. Luckily, this process is fairly straightforward, and most people can do it at home with just a few basic tools.
The replacement process will vary a bit depending on whether you have a manual awning or power RV awning. For the purposes of this article, we’ll mainly be covering manual RV awnings, but the procedure is fairly similar between the two types. Follow along with our step-by-step guide on how to replace RV awning fabric, and you’ll have a new awning in no time!
Open and measure awning
Before you learn how to replace RV awning fabric, you first have to examine and measure the old setup. This will come in handy when you start to choose the replacement fabric you’d like to use. Begin by fully extending your old RV awning and measuring its length and width. Write down these measurements so you can refer to them later.
Look for any other parts of the awning that look weak, bent, or otherwise damaged. Things can break during the replacement process, so it’s a good idea to take full stock of the situation before you begin.
Choose replacement fabric
Now that you know the size of fabric that you need, you can select your replacement material. Because this is a common problem in the RV community, there are lots of great awning options on the market. You may want to consult your RV manual at this point to see if there is a specific product or material that is recommended. Your insurance may also cover the cost of the repairs and replacement materials, so be sure to look into that as well!
Some great options for RV awning replacements include the ShadePro – RV Awning Fabric Replacement and the Solera Universal Fit Heavy-Duty Vinyl RV Patio Awning Replacement. These are similar in price and have been highly rated by users.
Lock roller springs
Now that the preliminary stuff is out of the way, let’s learn how to replace RV awning fabric! First, you need to lock the roller springs on your awning. Most manual awnings will automatically retract and roll up when they aren’t being held in place. This will make it hard for you to remove the old material and install a new one.
So, to fix this problem, you’ll need to lock the roller springs in place. You can do this by inserting a pin or nail in the hole in the awning end cap. You can usually see this opening, but if you have trouble locating it, refer to your RV owner’s manual.
Loosen screws
Next, you’ll need to prepare to detach the awning from the rest of the RV. This will make it much easier to handle and replace the awning fabric. To start, loosen the bolts that are found on the top of the arms, fabric channel, and bottom of the arms.
Keep the bolts and screws organized so you can return them to their correct places later. Once everything has been loosened, you can fully remove the screws one at a time. Keep supporting the awning so that it doesn’t fall off before you’re ready! (source).
Detach awning from RV
Now it’s time to separate the awning from the RV. Carefully lift up the awning and walk away from the RV. It’s best if you can get help from a few extra people at this stage. Be careful to avoid scratching your paint or hitting any mirrors as you detach this item.
Once you have successfully removed the whole awning setup, lay it on a clean, flat surface. A cement pad is preferable, but you can also lay it down on dry grass.
Remove the awning arm
At this point, you need to remove the awning arm so you can handle the fabric more easily. Remove the arm by locking the spring tension again. You can do this by inserting a smell metal pin or nail in the opening on the awning end caps.
Once this is done, you can remove the screws that are keeping the arm attached to the awning. There may be an extra bracket or other item keeping them secured, so be sure to unscrew every point of connection.
Release tension
Now that the awning is fully detached, you need to release the tension so that it doesn’t keep rolling up. There should be a small roller lever visible. Flip it to the “closed” position and slowly unwind the fabric from the shaft.
Try to keep track of how many rotations it takes until the tension is gone. You’ll need to rewind the spring once the new fabric is attached, so try to keep the tension as close as possible to the original (source).
Remove ends of rollers
Next, you need to remove the end caps of the awning. There will be some screws and bolts keeping this piece in place, so unscrew these and keep them organized so you can put them back afterward. There is also a spring assemble on the inside that will need to be removed as well.
Unroll and cut the old awning fabric
We’re getting close to the end now! One of the final steps is to completely unroll the old awning fabric and cut it off the roller. Sometimes you can slide it off the ends, but in other cases, you may need to use a razor or boxcutter to cut it loose.
Cut off all the old awning fabric and lay it aside for last-minute comparisons. Using a marker to note where the fabric ends sat is a good idea when it’s time for reinstallation.
Replace the awning fabric
Now it’s time to get to the real meat of the problem: How to replace RV awning fabric. This part is fairly simple, but can seem a bit complicated. Once you have your replacement fabric measured and ready to go, you’ll want to slide it into the roller tracks. Keep the sheet of material as centered as possible and use a roller tool to push the fabric inside the tracks (source).
For a more visual guide to this process, check out the video below.
Reassemble awning and reattach to RV
Once you’re satisfied with the new setup, you can work on reassembling everything and putting the awning back on the vehicle.
Begin by returning the spring assemble to the inside of the roller. Tighten the springs and roll up the fabric so that it has the same tension as before. Next, reattach the end caps, and return all the screws and bolts to their original locations.
Reinstall the awning arm and return the whole setup to its place on the side of the RV. Carefully retract the awning and test it a few times to make sure it opens and closes as needed.
Track your RV maintenance and repairs
Now you know how to replace RV awning fabric. Make sure you keep track of all your RV maintenance and repairs with an online tool such as RV LIFE Maintenance from RV LIFE. Not only can you keep all of your documents in one place, but you’ll also receive timely reminders when maintenance is due to help you avoid costly repairs and potentially serious accidents.
Related articles:


