
It can be disappointing to learn that some common systems you might take for granted in your regular house don’t function as well (or at all) in your RV.
When you turn a bathroom or kitchen ventilation fan on before you take a shower or cook something in your regular house, do you stop to consider if it’s raining outside? Probably not.
It turns out that most RVs come with vents that will leak if you open them up while it’s raining. To fix this problem, you’ll need to install a vent cover that fits securely over the top of your existing RV vent.
Two popular choices for a vent cover include the Camco Aero-Flo and the Maxxair RV Vent Cover. Both look and function about the same.
Below you’ll find a couple of videos detailing the installation of each type of vent cover. It’s not as difficult as you might think. Plus, you don’t need to worry about doing a bad job or not sealing the vent properly. The vent covers are designed to sit over your existing vent, and you don’t need to have a super-tight seal around them.
How to install the Camco Aero-Flo RV Vent Cover
httpv://youtu.be/Ia0huI-niz4
[asa]B0006JLU22[/asa]
Note: The Aero-Flo comes in a variety of colors including champagne, silver, and smoke. The colored vents cost a little more than the standard white version.
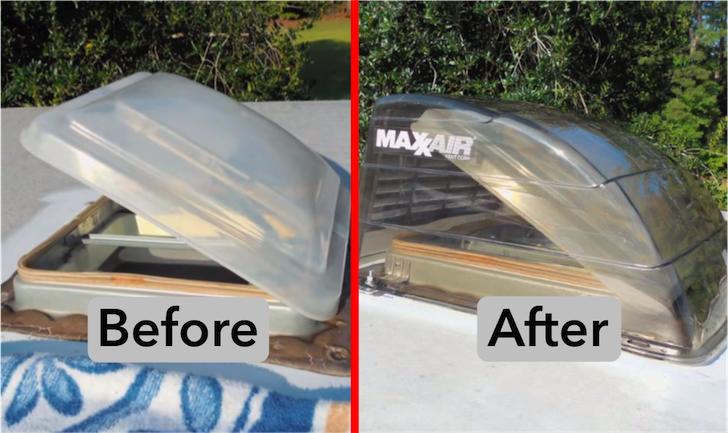
How to install the Maxxair Translucent RV Vent Cover
httpv://youtu.be/3jaTvf8ybk4
[asa]B000UUMM6K[/asa]
Note: Shown above is the Maxxair I vent cover. MaxxAir now has a new and improved version of this vent cover that allows twice as much air to flow. You can find the Maxxair II vent cover here. It also comes in black.


No problem Andrew, glad you found them useful
Thanks for posting these videos – made installing the vent cover super-easy!