A Guide To Removing Mildew From RV Exterior Surfaces
RVs are designed to withstand a variety of weather conditions and natural forces. But even the best campers can develop mold, mildew, and general debris build-up over time. When this happens, RV owners often look for ways of removing mildew from RV exterior surfaces.
Mildew can damage the paint and surface of your RV, as well as create an unpleasant smell and appearance. If left unchecked, this problem could quickly become worse and spread to other parts of the vehicle (inside and out). Proper mold and mildew removal is essential to RV maintenance, especially if you live in particularly humid areas.
Step-by-step: Removing mildew from RV exterior surfaces
Mold and mildew are stubborn, so it can be hard to permanently remove them from your RV unless you kill it at the source. Simply hosing or scrubbing it off will fix the problem temporarily, but mildew will always return, especially if the RV sits in a damp area.
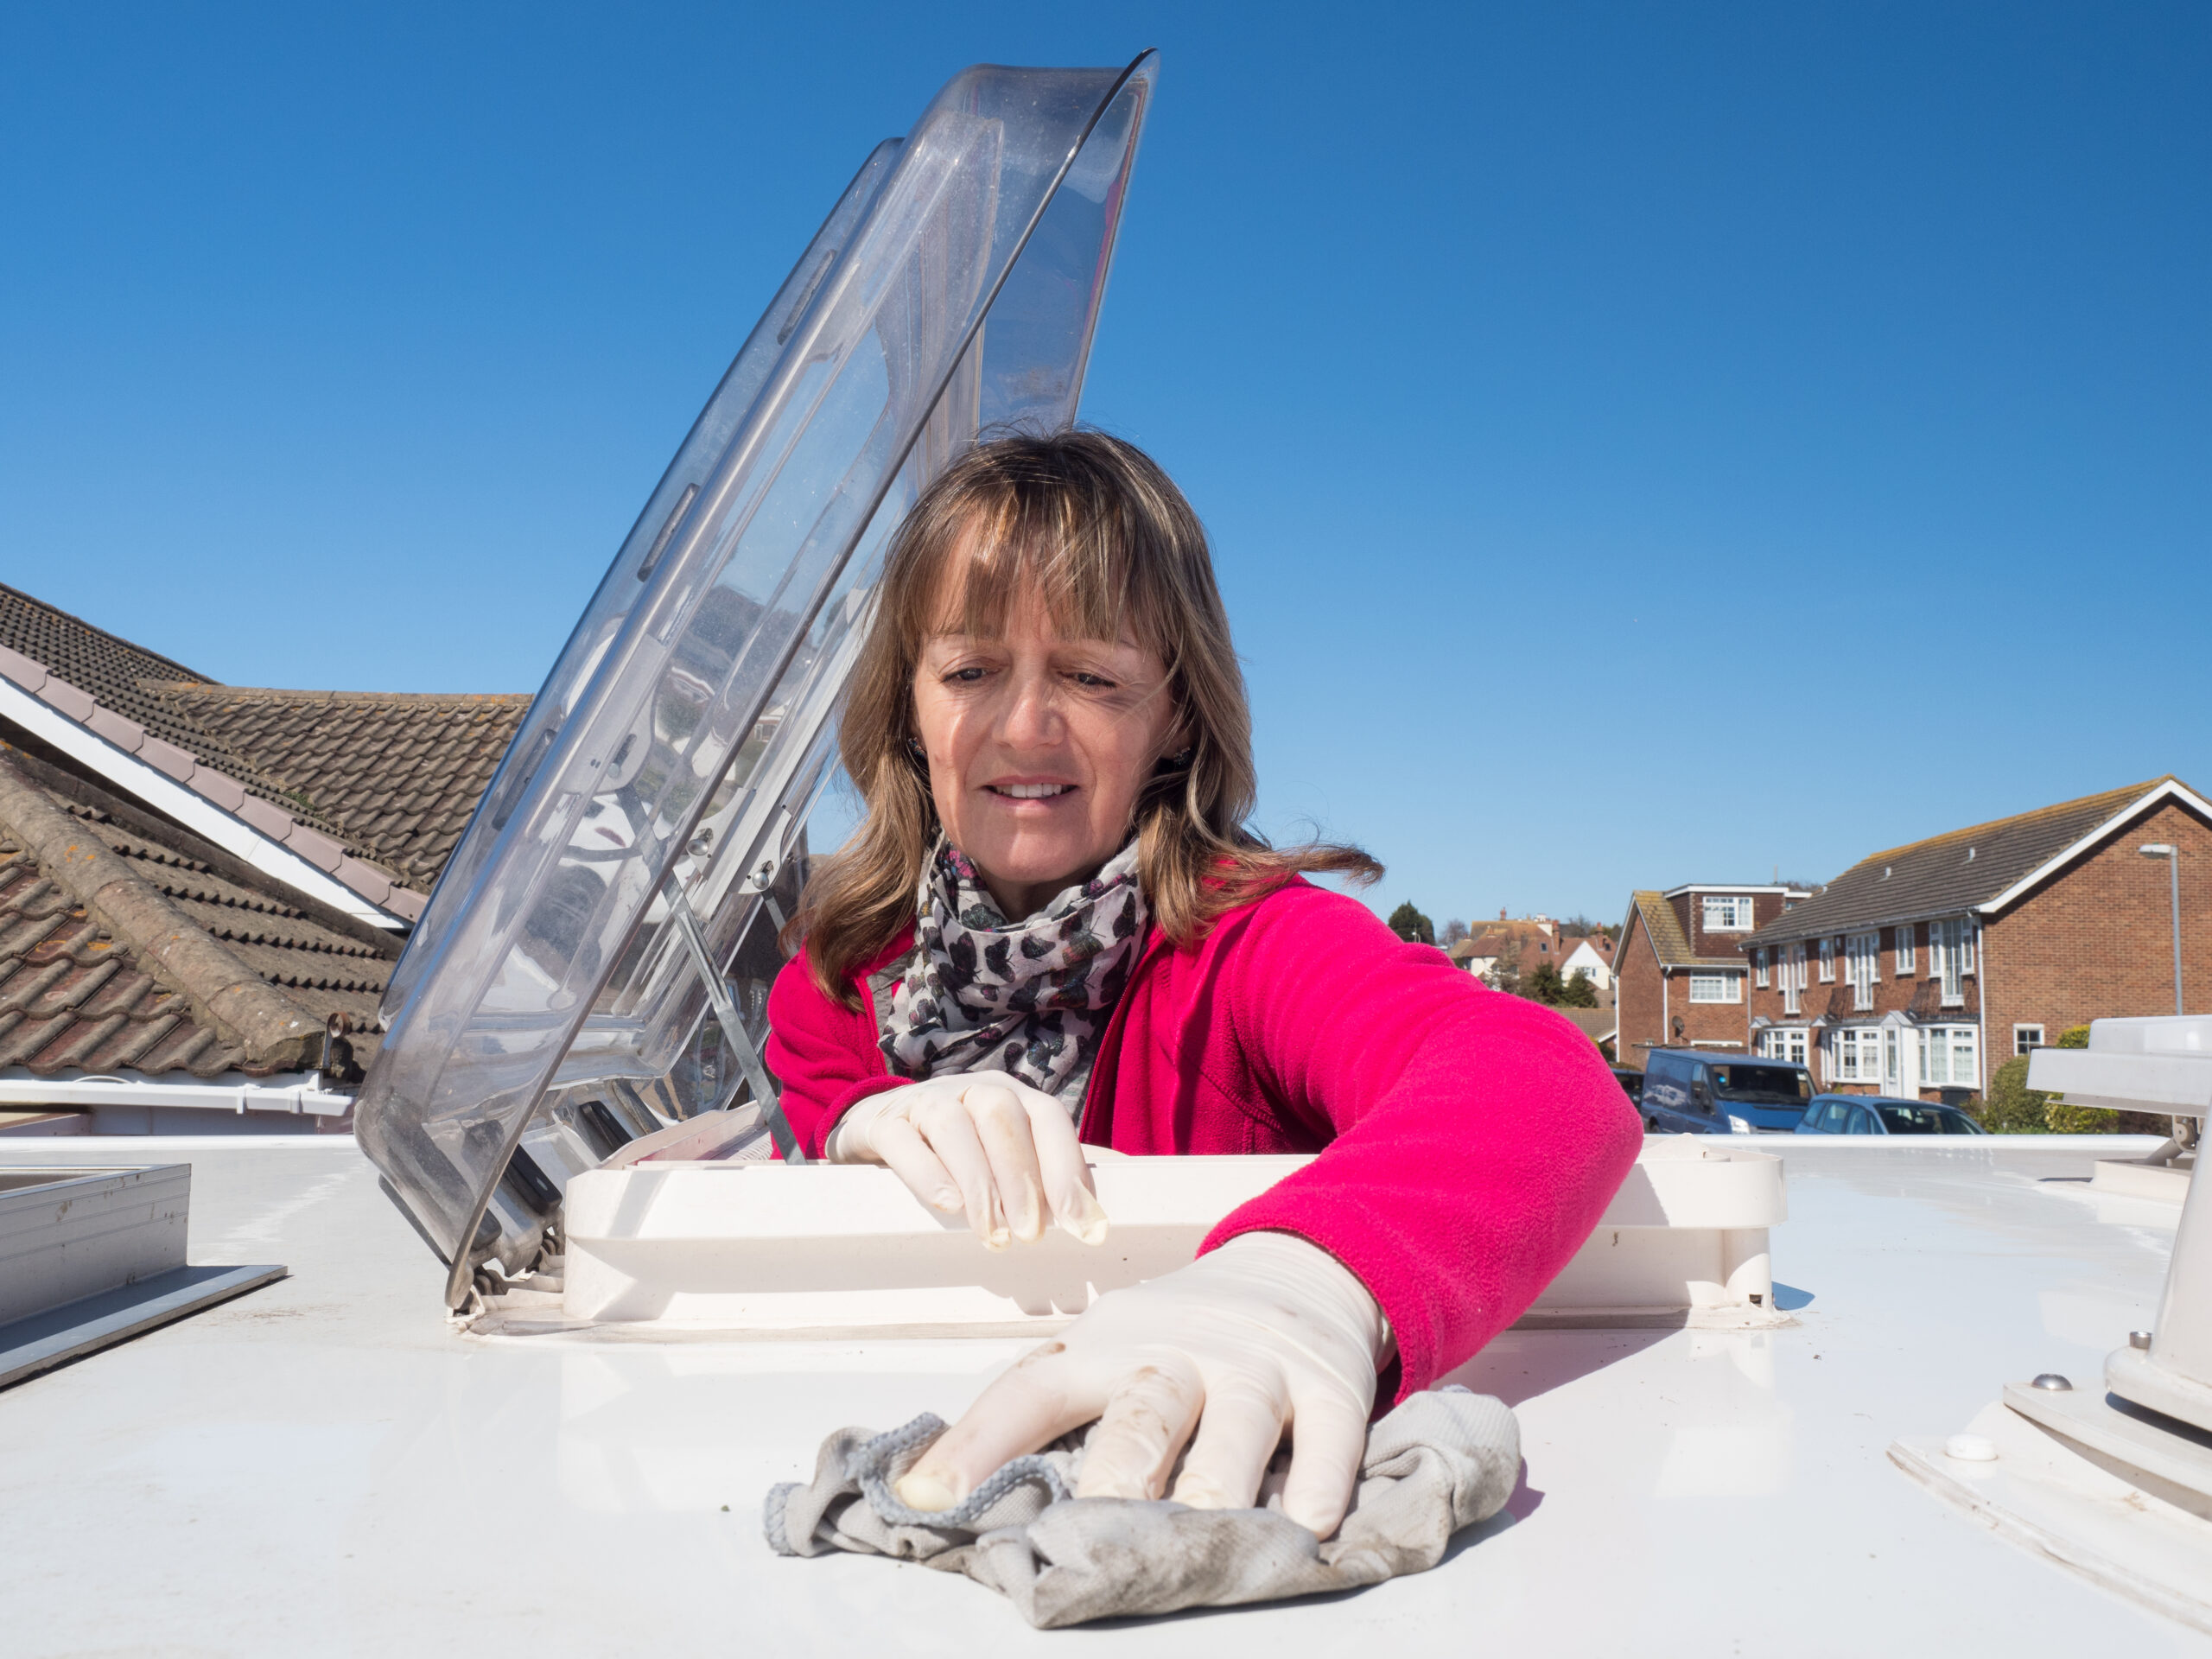
To begin the cleaning process, assess every angle of your RV. The mildew will probably be more visible and obvious in certain areas. Take note of the places where the growth is thickest and darkest. It is common to see mildew growths near vents, pipes, and places that can catch stagnant water.
These problem areas will need special attention, but you should treat the entire exterior as a safety measure. There may be the beginnings of mildew growth that are not yet visible.
When it comes to removing mildew from RV exterior surfaces, make sure you look at all the surfaces. This includes windows, walls, the awning, and the roof. Mold can take hold of any of these areas, and different tactics may be required to fully clean each different surface.
Once you have identified the worst areas and determined the surfaces that need to be cleaned, it’s time to move on to the mildew killers. There are a variety of ways to kill mildew, and we’ll detail some products and DIY solutions in the next section.
Generally, a good cleaner will be able to cut through grime and kill mold and bacteria spores at the source of the problem. It will also usually be lethal against organic material and safe for nonorganic surfaces. This enables you to clean the mildew from the RV exterior while preserving the paint, metal, or fiberglass that’s underneath.
Select a good mildew cleaner and apply liberally to a sponge, rag, or another soft cleaning tool. You can also spray it on with a gentle powerwasher or spray bottle.
Let the cleaning product sit on the surface for a few minutes, then scrub the entire RV exterior thoroughly, focusing heavily on the worst areas. If you want to go the extra mile after that, give the entire RV a nice rinse afterward (make sure it’s completely dry afterward) and add a new coat of wax. This will wash away the extra residue and seal up any small cracks or holes that may have been created by the mildew growth.
Many RV waxes and outer treatments have built-in properties that will repel or discourage organic growth. This will provide a layer of protection that will hopefully last for a long time!
Anti-mildew products and DIY solutions
Luckily, there are lots of products that are designed for removing mildew from RV exterior surfaces. Many of these can be bought from the store, but others can be made at home. It all depends on your personal preference and budget.
Star Brite Mold and Mildew Stain Remover
The hard sides of the RV roof and walls are the most obvious place to spot mildew, but the awnings are in danger as well. One fantastic product for cleaning RV awnings is Star Brite Mold and Mildew Stain Remover. It cleans the fabric and kills the mold spores that may be embedded in it. This spray can also be used on other surfaces, but it’s especially great for the canvas and vinyl materials that are often used in awnings.
The canvases and fabrics that are used for most RV awnings are susceptible to mildew growth. Don’t overlook them next time your RV is due for a cleaning! If you want to see a thorough guide on how to remove mildew from awnings, check out the video below.
LA’s Totally Awesome
Another great product for removing mildew from RV exterior surfaces is the all-purpose cleaner from LA’s Totally Awesome lineup. This can be bought in large quantities and it works on a huge variety of surfaces. This cleaner was designed to be a safe degreaser.
It contains no ammonia, bleach, or acid, so it’s quite safe to work with. You can also use it to clean just about anything else in your RV, so this is a wonderfully versatile product.
Hot water + Dishwasher Detergent + Bleach
Now we can get to the DIY recipes! Store-bought cleaners are great, but sometimes it’s nice to mix up a cleaning concoction in-house. One of the most effective combinations for removing mildew from RV exterior surfaces is hot water, dish soap, and chlorine bleach.
Hot water and dish soap function as an effective degreaser and cleaner, which serve to cut through the exterior buildup. Bleach is a powerful biocide and it is great for killing unwanted mold and mildew spores.
You only need a bit of bleach in the mixture for it to be effective, and you’ll want to avoid getting it on your skin or clothes. Use about 1/4 cup of bleach for every gallon of water. Make sure you take protective measures if you choose this mixture as well.
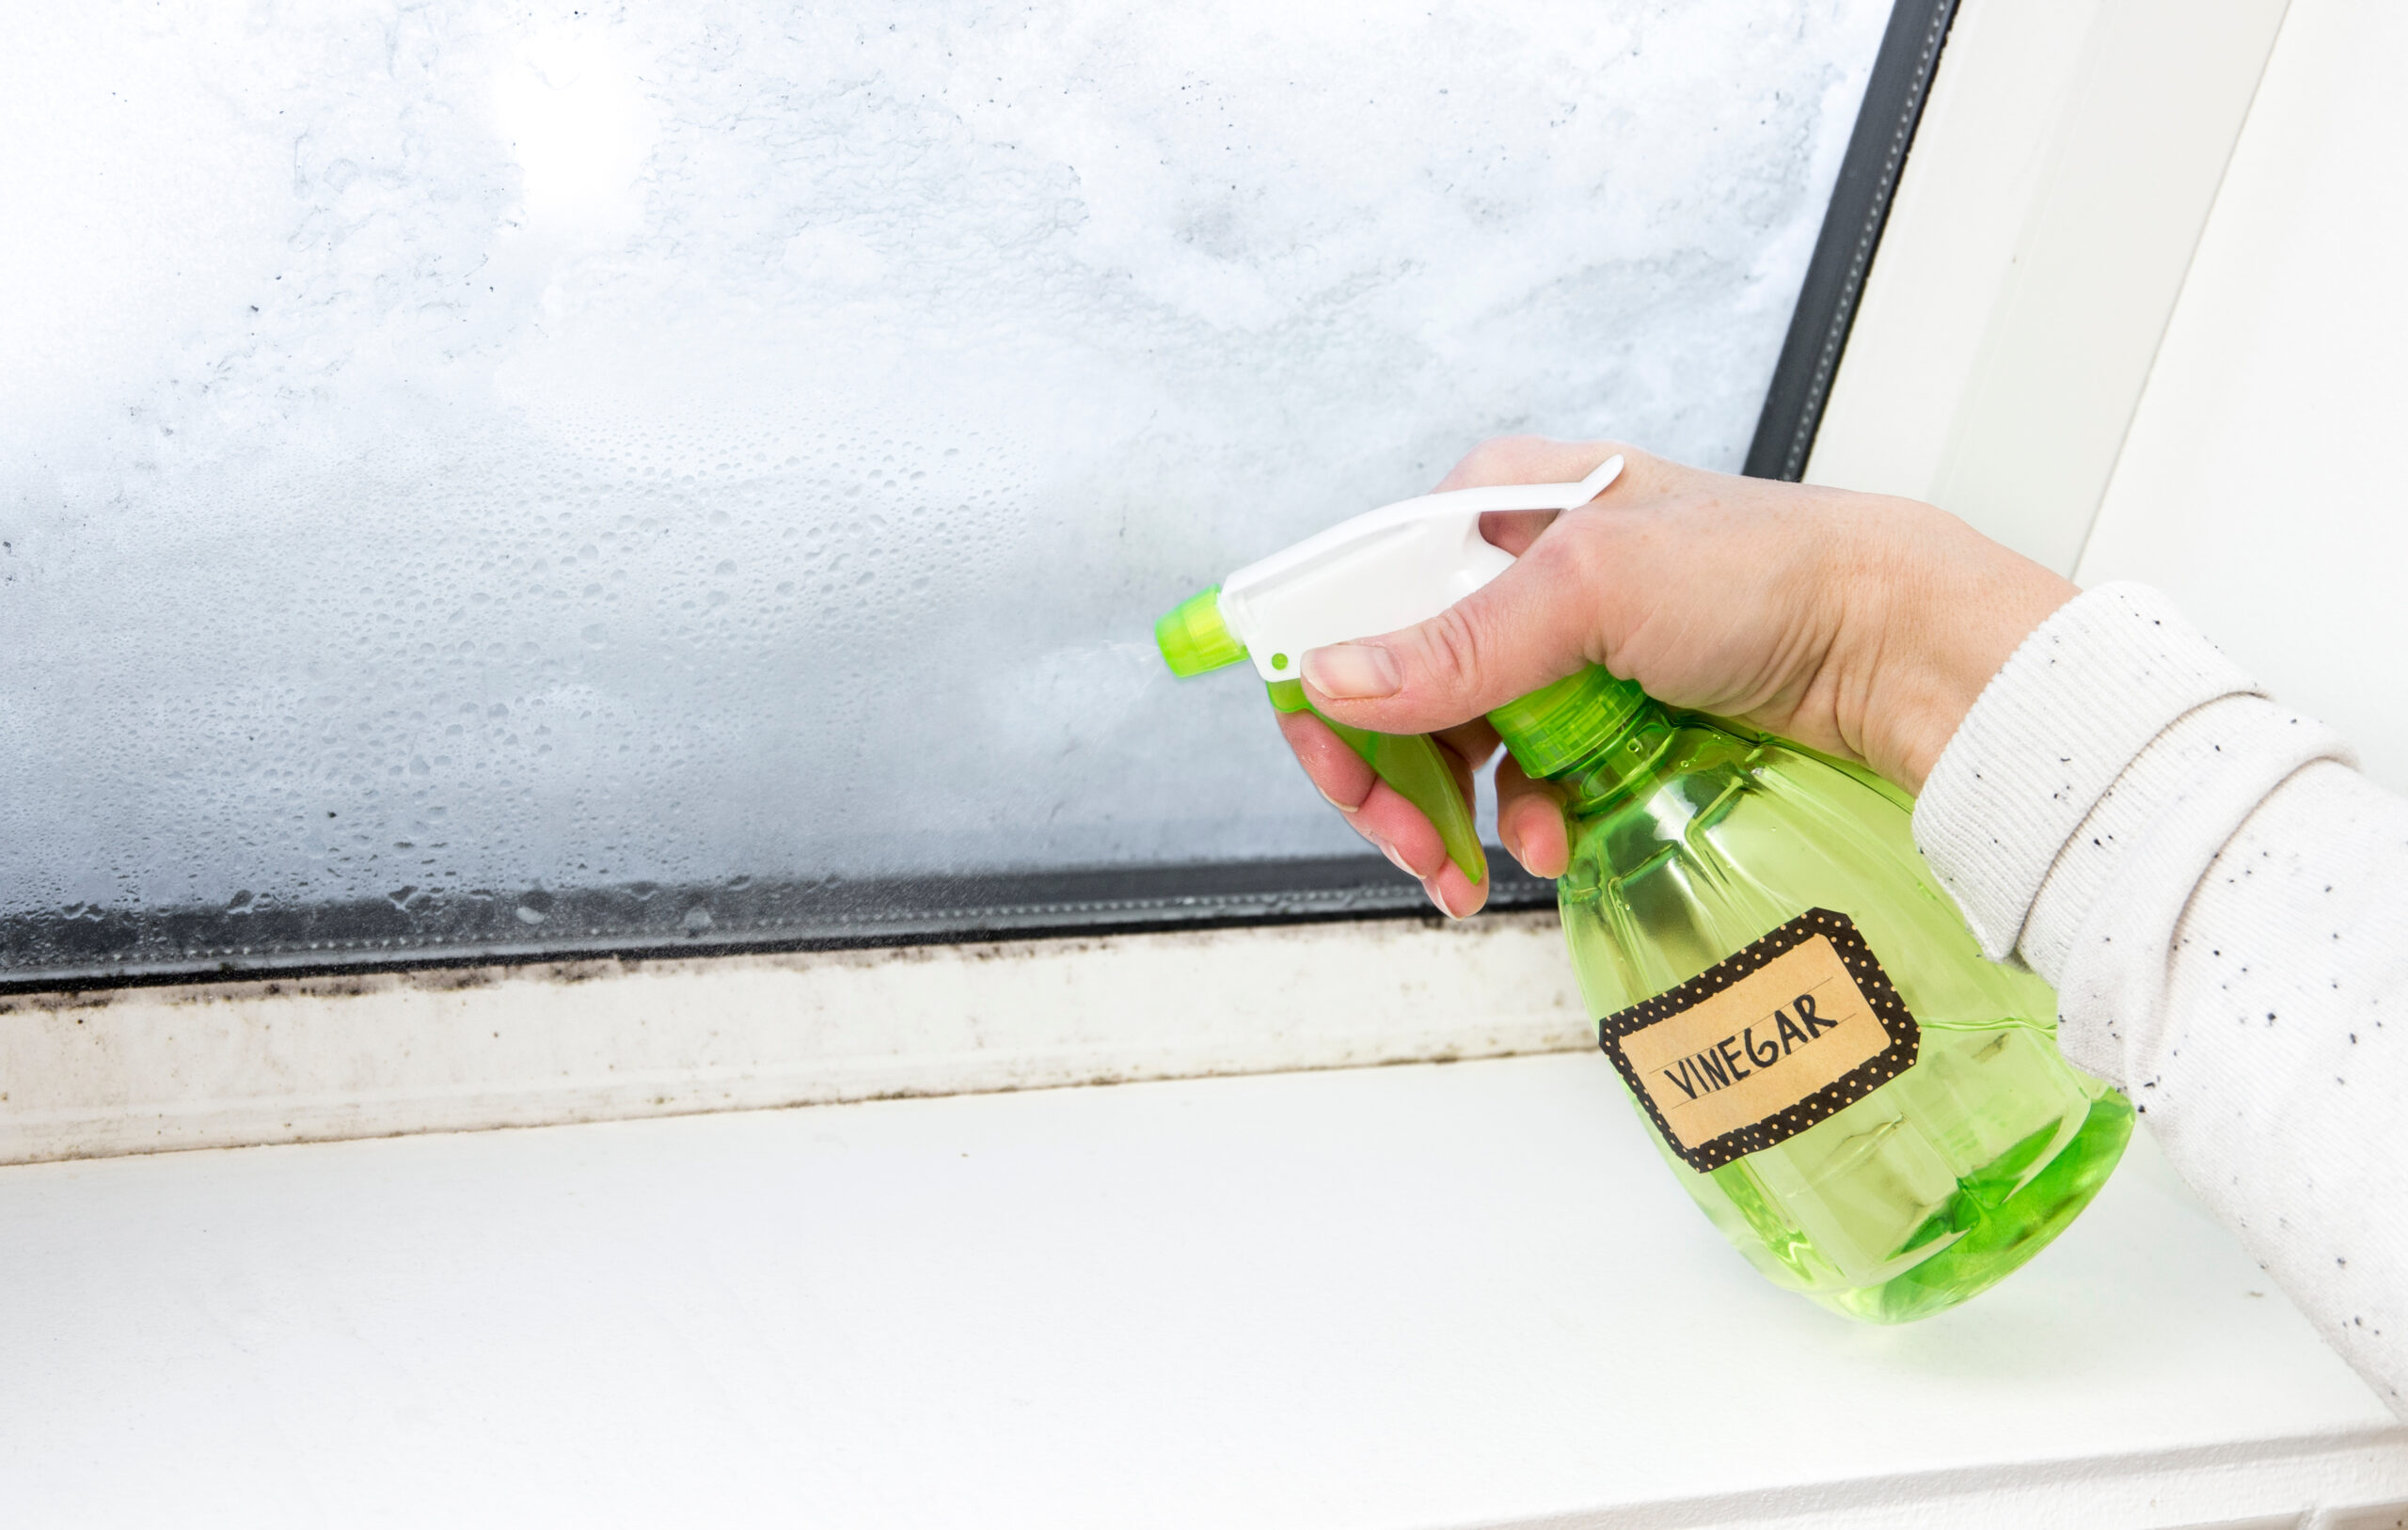
Vinegar
Finally, we have that old cleaning standby: vinegar. This is a powerful cleaner that is great at breaking down tough stains and killing unwanted bacteria and mold.
This is a simple application process as well. Simply spray white vinegar on the affected surface and let it sit for about one hour. After it has had time to break down the mildew, scrub it with a damp brush or cloth. Make sure the area is completely dry once you are done, and you’re good to go!
Unless the mildew problem is severe, you may want to dilute the vinegar mixture by using a 1:1 water and vinegar combination. You can use it pure, but the smell will be quite strong and may linger longer than you would prefer. Baking soda can also be added to vinegar to make it stronger and more fast-acting.
Make sure you keep track of all your RV maintenance and repairs with an online tool such as RV LIFE Maintenance. Not only can you keep all of your documents in one place, but you’ll also receive timely reminders when maintenance is due to help you avoid costly repairs and potentially serious accidents.
Related articles: