How To Properly Reseal Your RV Windows
RV window seals can be easily overlooked due to the fact that they are kind of hidden. If you check around the edges of your RV windows, the small space between the window frame and exterior wall will have sealant.
The sealant will likely be caulking that is somewhat soft and forms a complete perimeter seal around the window. Without it, air and water would be able to flow into your RV. That being said, this seal is very important and so is resealing RV windows.
How often should you be resealing RV windows?
Many people go years without resealing their RV windows. There are a couple of main reasons for this. First, they don’t think of it until they have a leak. Second, they don’t even know it has to be done.
If done properly by the manufacturer, the sealing around the windows should last a number of years. When you purchase an RV, even if it is brand new, do a thorough check of the window sealing. This way, you can catch any issues right away and know what you’re starting with.
There is no recommended time for resealing RV windows; however, there are a few things that will factor into how long yours lasts. Much like your RV roof, exposure to the elements is the number one culprit for RV window sealant deterioration.
If your RV is covered when not in use, and/or isn’t exposed to harsh weather changes, your seals will last longer. If your RV is in direct sunlight a lot and stored outdoors during the winter, your windows will need to be resealed more often.
Window seals drying out and shrinking or cracking is the main reason for requiring resealing. The less exposure to the elements, the less you will be resealing RV windows.
How are RV windows sealed?
Butyl tape is the most commonly used product for RV window installation. Butyl tape adheres from both sides like two-way tape. It comes on a roll with paper backing, similar to two-way tape. It is a soft flexible product that adheres to most surfaces and forms an air and watertight bond.
When applied at the factory, the tape adheres around the window frames, and when the frames are screwed to the walls, it forms a tight seal by slightly compressing it between the frame and wall. As with silicone or caulking, you don’t want to compress the two surfaces so much that the product is completely squeezed out.
Many manufacturers will also apply a layer of exterior caulking around the window. Some only do the top of the windows, as this is where water can possibly sit and more direct sunlight is likely.
How to reseal RV windows
If you are applying caulking to the seal, whether it is to seal a small gap or reinforce the entire seal, make sure the area is well cleaned. Clean and dry the area, and then apply the exterior caulking. If possible, run a continuous bead, ideally with the start-stop location on the bottom or side of the window.
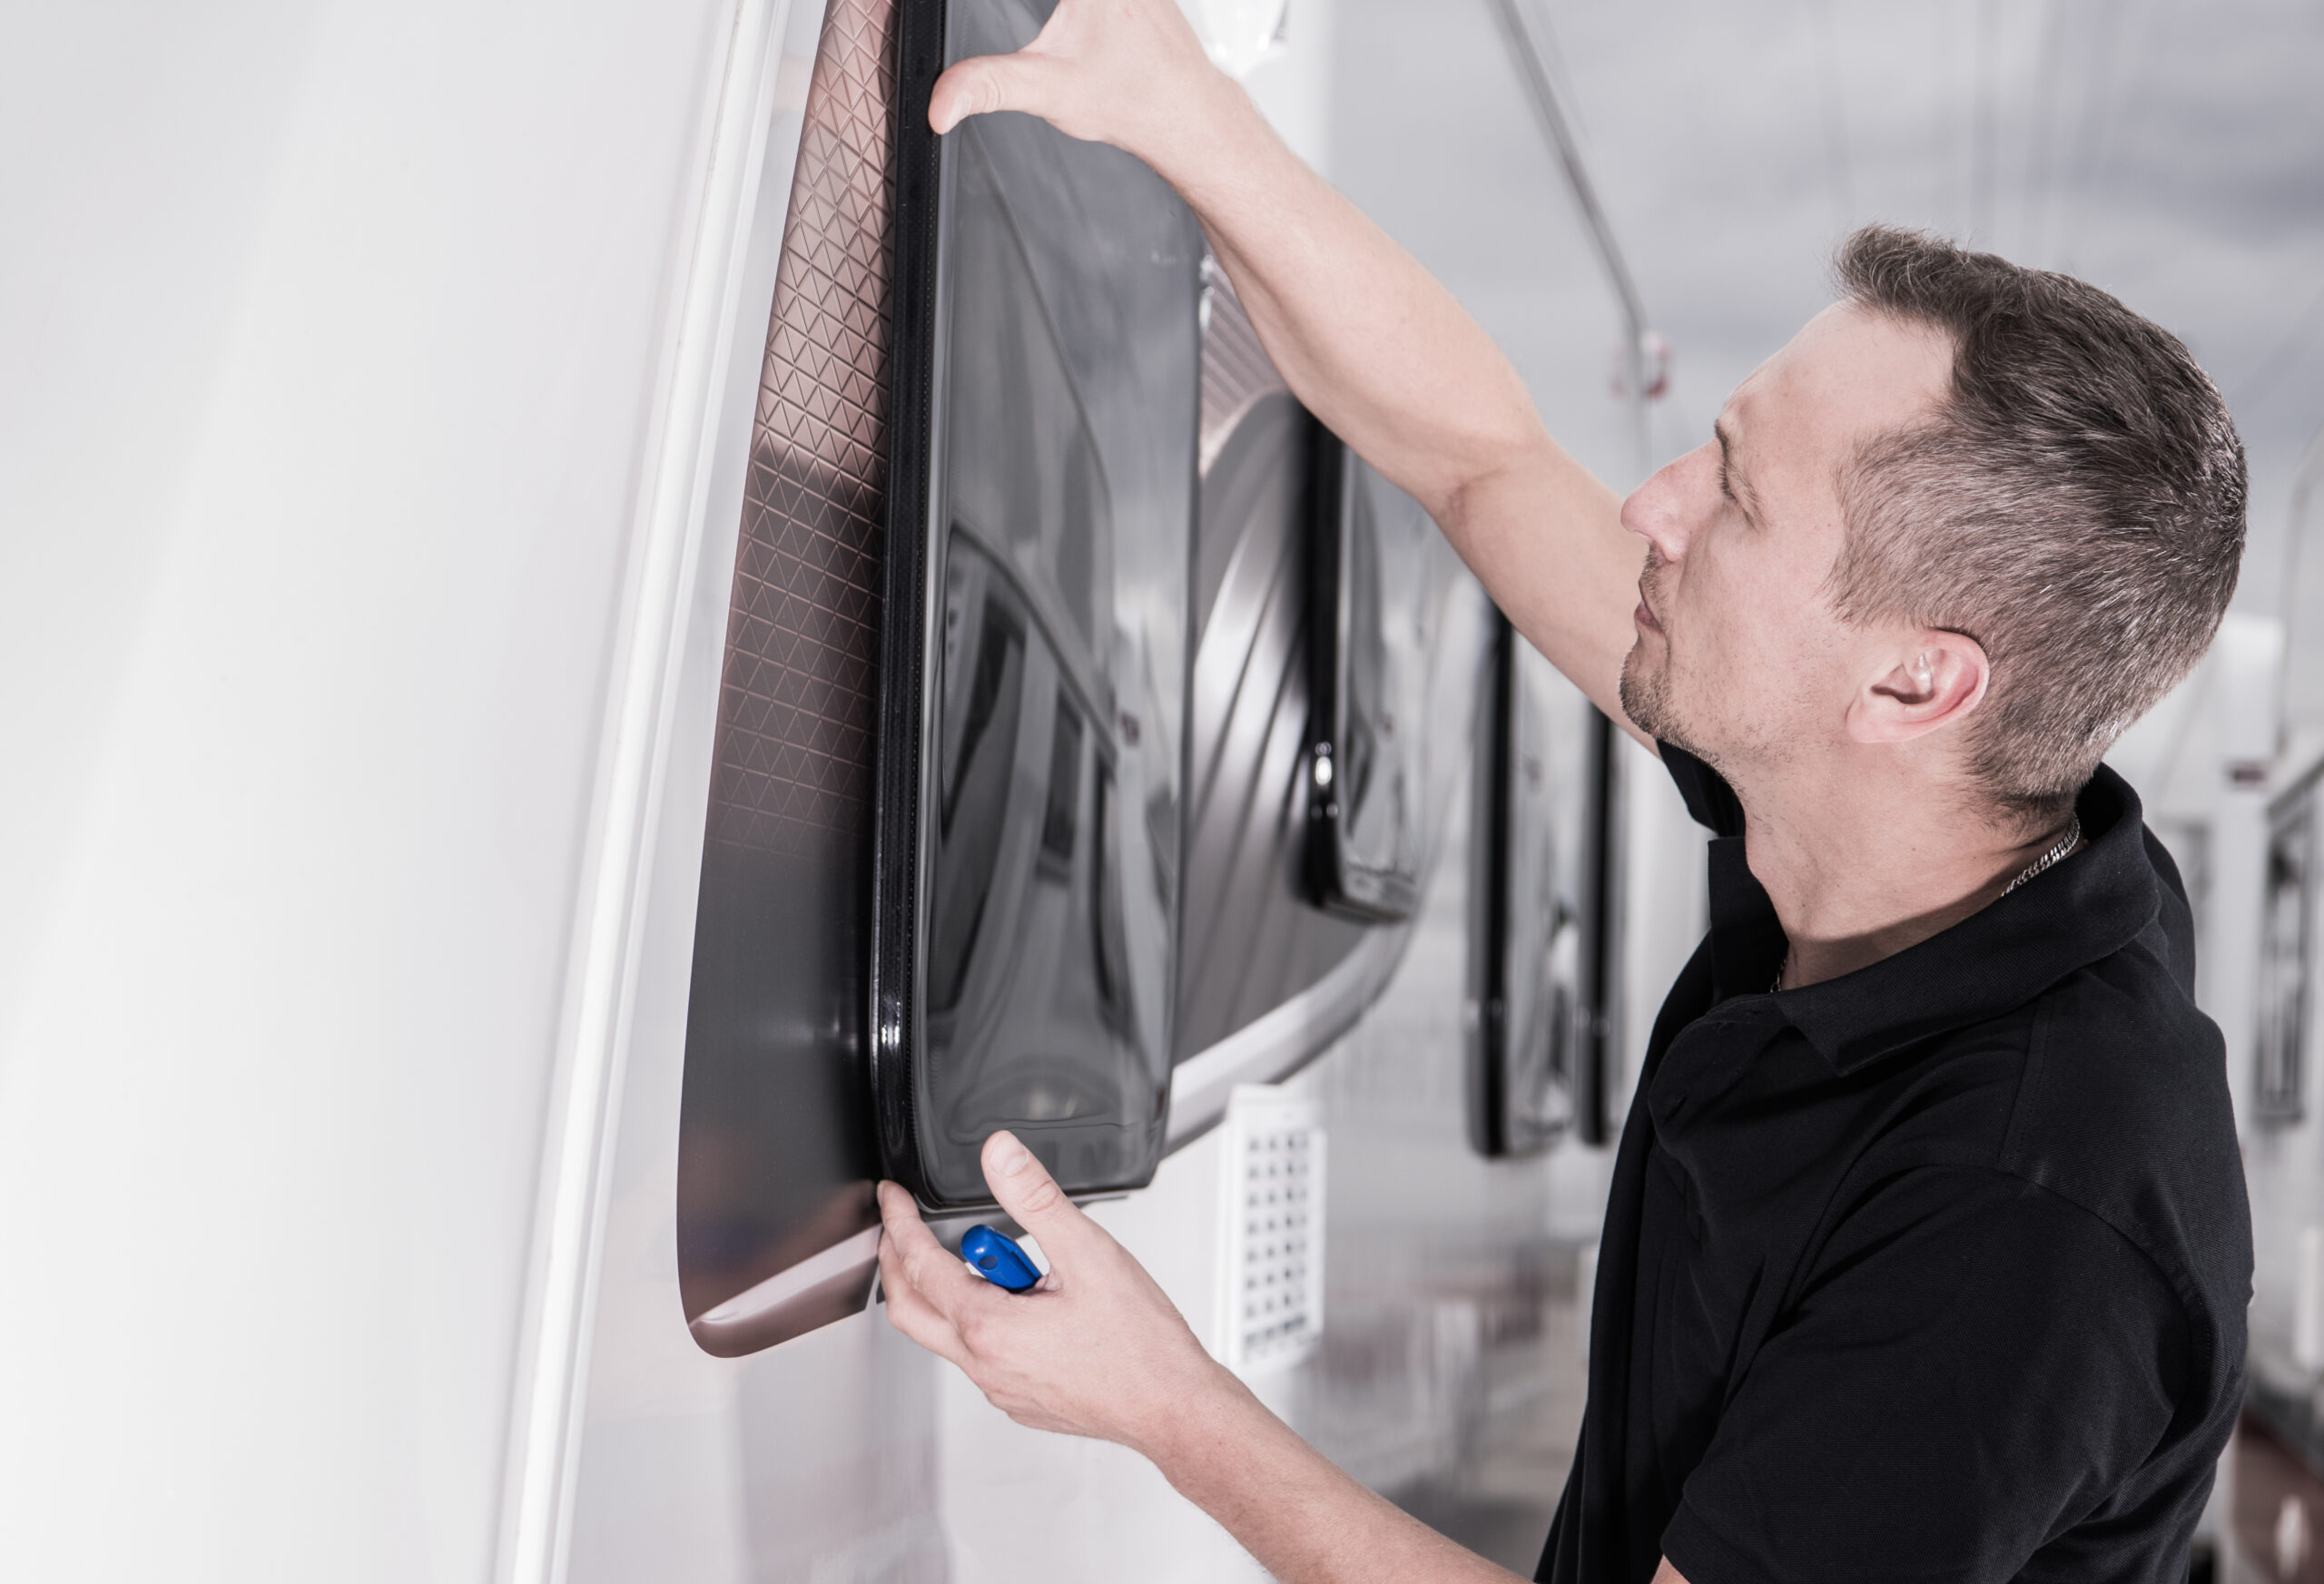
If the butyl tape requires repair, then this requires the window to be removed. As scary as pulling a window out of your RV may sound, it is actually quite easy and can be done pretty quickly.
Removing RV windows
With the interior frame removed, the window with the exterior frame attached will most likely have to be gently pried out of the opening. Have a small pry bar to get the window started, as well as someone to gently push on the frame from the inside.
RV owners with full frame windows will start inside the RV. All the screws around the frame (and there are a lot of them) need to be removed. This interior frame is just a trim piece on most RVs, and the actual window will still be secure with this piece removed. Having a second person on the outside to support and catch the window helps. If you’re doing the project solo, place some tape on the exterior to hold the window in place just in case.
With the window removed, the butyl tape will be exposed and can be removed. Clean off the frame completely and any residue that was left behind on the RV exterior. Install the new butyl tape, starting at the bottom of the frame and working around the frame to complete a full perimeter seal with one joint at the bottom. Lay the butyl tape as flat as possible and gently curve it around the corners.
Before reinstalling the window, check the window framing and surrounding wall panels for any water damage. If there is any damage, continue investigating and complete any repairs. Wood or wall paneling that has moisture in it will continue to rot and mold if left unfixed.
Reinstalling RV windows
Reinstalling the window is just the opposite of removing it. Place the window back in the opening and apply light pressure to keep it in place and avoid sliding it around. A second person can start the screws on the interior frame, at which point the window is secure.
Tighten the screws in alternating locations like tightening wheel nuts. Tighten all screws so the window is secure and the butyl tape is slightly compressed. There is no need to overtighten the screws or force butyl tape to squeeze out of the joint.
As with all things RV, preventative maintenance is the key to avoiding costly repairs. RV window seals don’t require much actual maintenance as such. Periodically doing a visual inspection of them is really all that is needed.
At the first sign of hardening, shrinking, or cracking, properly reseal them to avoid leaks. And never cover up a leak with water damage underneath. If the damage is there, fix it properly and finish with a proper reseal.
Track your RV maintenance
Make sure you keep track of all your RV maintenance and repairs with an online tool such as RV LIFE Maintenance. Not only can you keep all of your documents in one place, but you’ll also receive timely reminders when maintenance is due to help you avoid costly repairs and potentially serious accidents.
Continue reading:


