How To Get Rid Of RV Awning Mold
Mold is the enemy of RV owners everywhere. The growth of mold smells bad, looks worse, and is hard to get rid of. One of the most difficult pieces to keep mold-free is the awning. Therefore, it’s important for every RVer to know some RV awning mold removal tactics. You can stop the spread of this nasty fungus if you stay on your toes.
Mold thrives in dark, moist areas. This is a real problem for RV owners because the awning is often rolled up and stored in a dark, moist container. If you avoid storing your awning when it’s wet, you can discourage the growth of mold, but sometimes it manages to bloom anyway.
Once you have a mold problem, you need to attack it aggressively. This is a persistent substance that can withstand surface-level cleaning. Below, we have a full guide to RV awning mold removal, including some of the best cleaners, how to treat different materials, and ways to prevent this issue.
How to remove mold from RV awnings
Gather cleaning supplies and safety equipment
First things first, you need to get ready to go to war with the mold. If you use harsh cleaners, you need to protect yourself against potential fumes or chemical burns. Take the time to select appropriate gloves, eye protection, and long pants and shirts.
Next up, collect the supplies you need for cleaning. It’ll be much faster if you have everything you need when you start. Some of the basic items include:
- Protective gear
- Your cleaner of choice (more details below)
- A hose
- A bucket of water
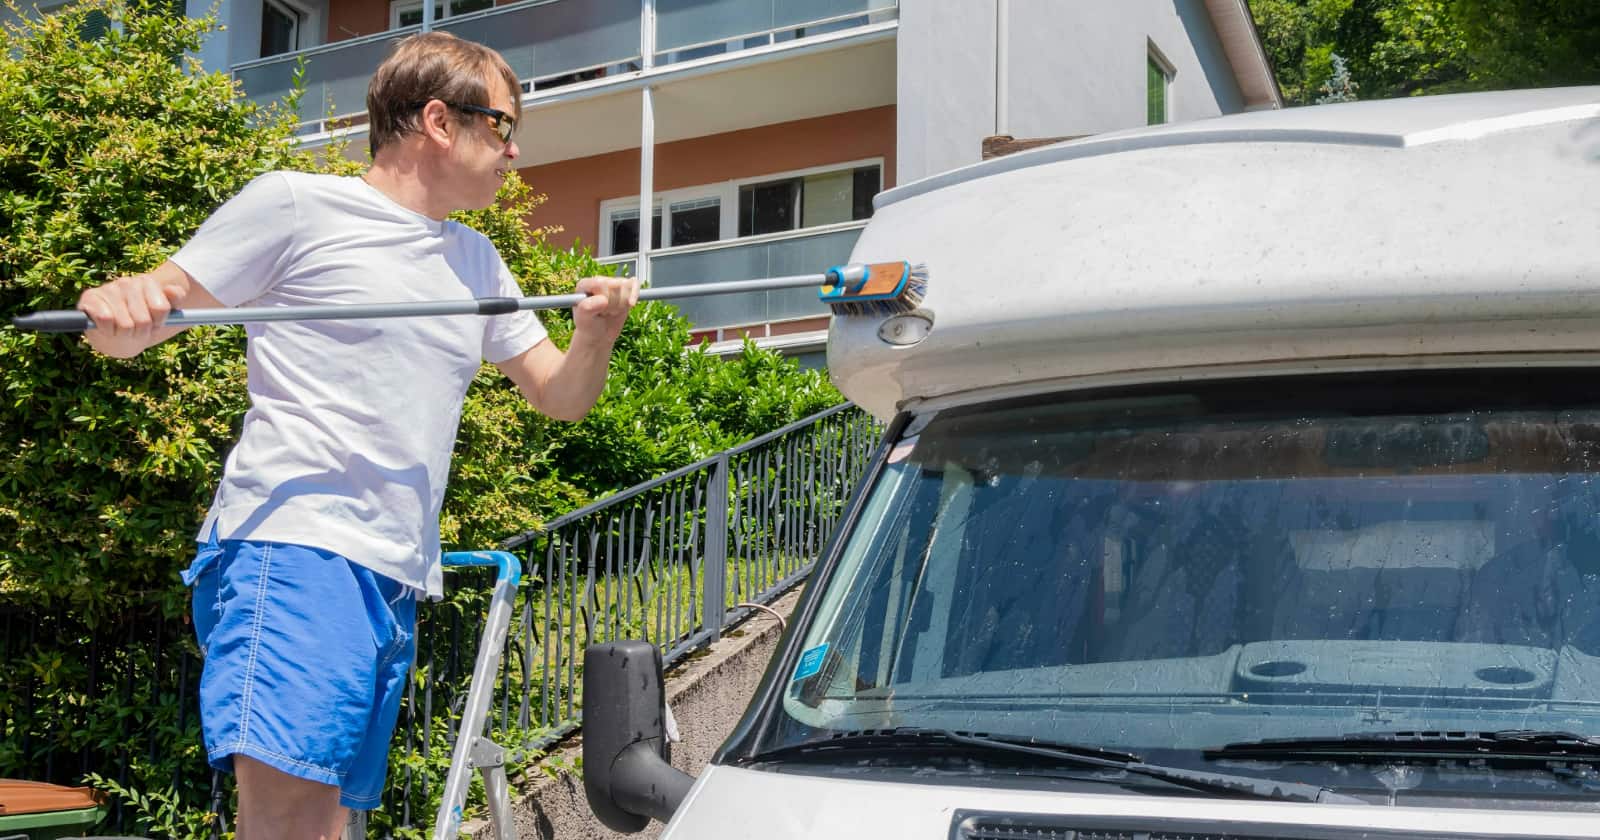
- Sponges, cloths, and bristle brushes
Extend and lower the awning
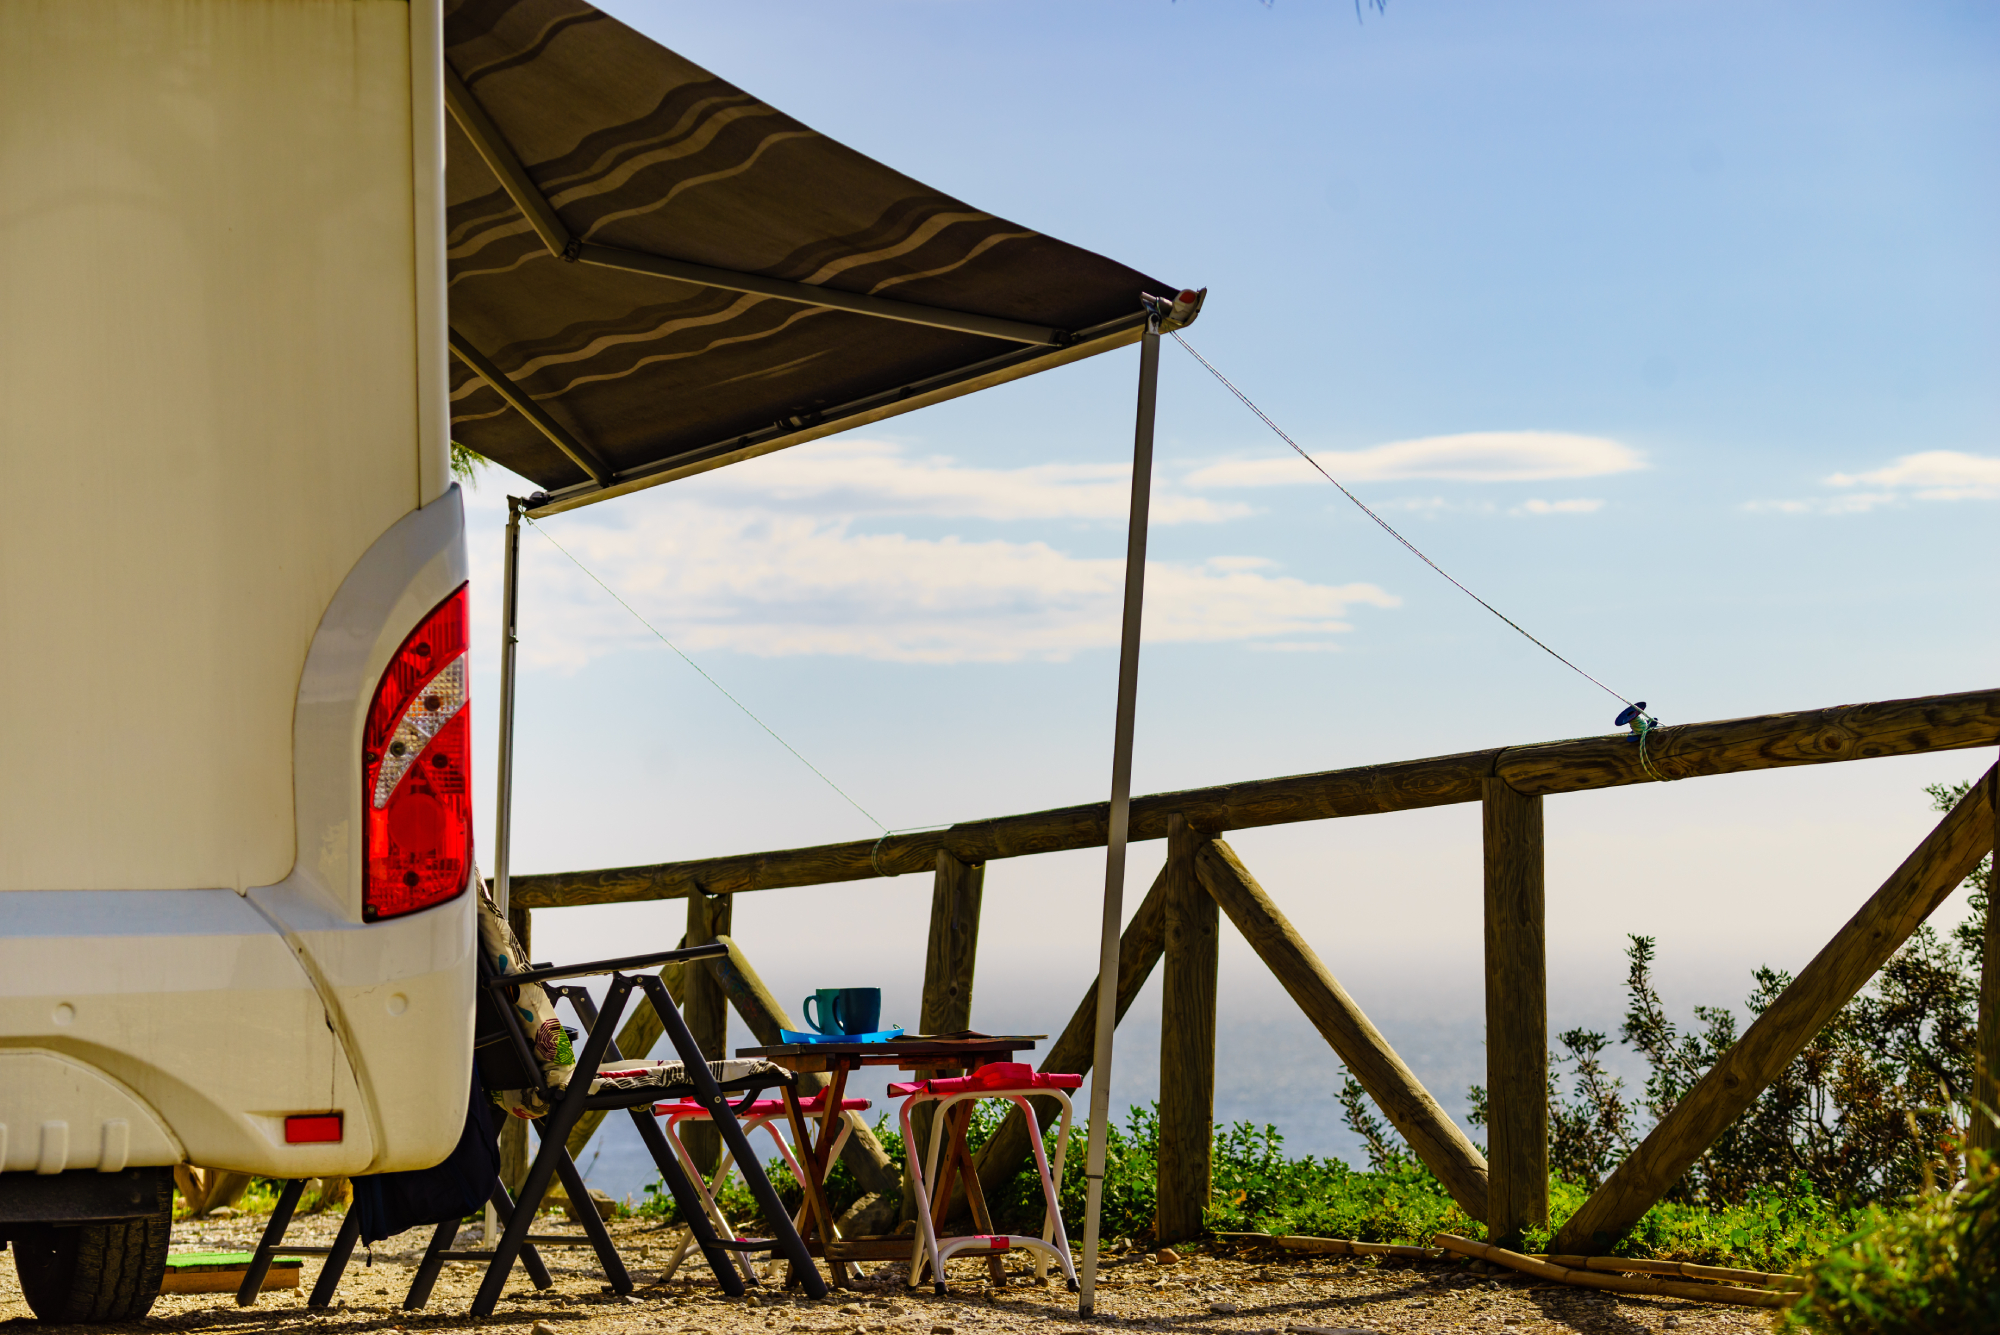
Now you need to prepare the awning for cleaning. Fully extend the awning and lower it as much as possible. If your awning is particularly large or high up, you may want to detach it and lay it out on the ground. You can use a ladder as well, but this can be dangerous if you’re working in a slippery environment.
Perform a preliminary surface clean
Dirt, sap, and other debris can form a barrier between you and the mold. If you get right to business, you might diminish the effectiveness of your treatment.
As such, it’s best to start with a quick surface-level cleaning. You can use dish soap and water for this part; just make sure to wash the soap off before you begin your mold treatment.
Spray on your cleaner of choice
At this point, it’s time to attack the mold itself. Prepare your cleaner of choice and fill a spray bottle with it. You’ll usually need to dilute your cleaning agent with water, so use the appropriate ratio for dealing with mold.
Spray the cleaner across the awning, focusing on the worst areas first. In most cases, the entire awning isn’t moldy, just a few spots. Use the spray bottle to spot-treat the worst areas.
Let it sit, then scrub away
Now you need to give the cleaner time to do its work. Mold spores sink deep into the surface of your RV awning, so you need to allow the cleaner to soak in as well. Give it at least 10 minutes, if not longer.
Now it’s time to reapply some cleaner to dampen the surface, then scrub away! You’ll want to use bristle brushes for canvas/acrylic awnings and soft sponges for vinyl. We’ll discuss the difference between these two items in more detail below.
Hose off the residue
Now it’s time to wash off the cleaner and get rid of those nasty mold spores for good. Use a hose to rinse the awning. Some people can use power washers during this stage, but they’re generally too harsh to use for RV awning mold removal. Put it on the lowest setting and use caution if you have a power washer.
Thoroughly dry awning before storing
As mentioned earlier, mold loves damp conditions. Therefore, you need to ensure that your awning is completely dry before you roll it up and store it again. Let the awning sit in the open air, and don’t use any type of heat treatment on it. Once it’s dry to the touch, you can store it in your RV once again.
The best RV awning mold removal treatments
Mold is a stubborn substance that can be hard to get rid of once and for all. Therefore, most standard household cleaners won’t be able to get the job done. Luckily, there are a few RV awning mold removal treatments that have proven to be effective (when used properly).
Bleach
Bleach is one of the most powerful cleaning agents that we have at our disposal, and it can be an effective mold-killer. However, this substance can be dangerous to handle, so use extreme caution if you use it on your RV awnings.
For the right mix of safety and potency, you’ll need to dilute the bleach with water. Use a ratio of 1 cup bleach for every gallon of water.
Vinegar and baking soda
This classic cleaning combo works wonders on mold spores as well. If you’re hesitant to use bleach, vinegar and baking soda are good substitutes. Once the awning has been cleaned and wetted down, sprinkle a generous layer of baking soda across the surface.
Next, fill a spray bottle with vinegar and apply it to the affected areas. Once it has time to fizz up and settle down, scrub it into the surface.
Antimicrobial cleaners
There are also chemical cleaners that are specifically designed to target and eliminate mold. Some of the most potent options on the market include:
- RMR-86 Instant Mold and Mildew Stain Remover Spray
- Concrobium 25326 Mold Control Spray
- RMR-141 Disinfectant and Cleaner
Canvas awning vs vinyl awning
Awnings are a standard feature for almost every RV. However, they’re not all the same. Some awnings are made of vinyl, while others are made from acrylic canvas. The material you’re working with will determine how you should clean it.
Vinyl is a smooth and non-porous material that is inherently waterproof. Canvas is more flexible, but it’s quite porous, which makes it harder to clean. Mold spores can embed themselves within the weave of the canvas, so you need to be more aggressive when you clean it.
This is why you’re encouraged to use bristle brushes on canvas awnings. Vinyl is easier to scratch and tear, so it’s best to use soft cloths or sponges on this material. In addition, canvas awnings will need to be treated once you’re done cleaning. You may strip away the waterproofing treatment during your quest to kill the mold. Spray or rub in the appropriate substance to re-waterproof your canvas.
How to prevent RV awning mold
Mold often finds a way to bloom, even when you try to prevent it. Although RV awning mold removal is possible, it’s better to avoid it altogether if possible. If you take the right preventative treatments, you can slow or stop mold in its tracks.
Keep your awning dry
First of all, you should keep your awning as dry as possible. Of course, it will be exposed to rain, condensation, humidity, etc. However, you can limit the amount of water it absorbs if you avoid hanging wet clothes on the awning and thoroughly dry it before rolling it up again. Keep some towels on-hand so you can wipe down the awning when you pack up.
Don’t leave it rolled up for too long
Mold enjoys dark, damp, stagnant conditions. If an awning is stored for too long, the conditions become ideal for fungal growth. Try to unroll your awning on a regular basis so it can air out. This is important to keep in mind if you store your RV for long periods of the year.
When the awning is extended, it’s a good idea to examine it and clean it if necessary. Proper maintenance goes a long way!
Make sure you keep track of all your RV maintenance and repairs with an online tool such as RV LIFE Maintenance. Not only can you keep all of your documents in one place, but you’ll also receive timely reminders when maintenance is due to help you avoid costly repairs and potentially serious accidents.
Related articles:


