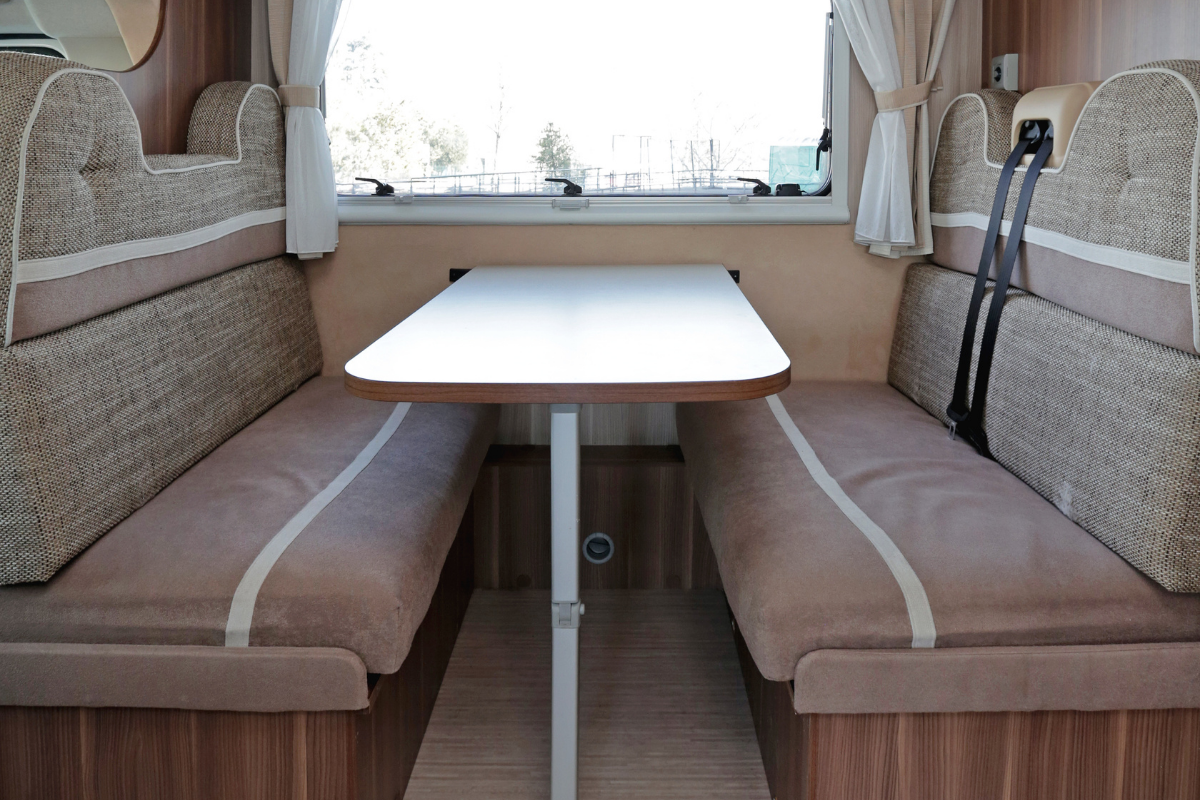
A 3 Step Way to Recover Old RV Dinette Cushions
Your RV dinette cushions have seen it all. They’ve been sat on, laid on, jumped on, scratched on, and slept on. Drinks are spilled, crumbs are dropped, and muddy feet (and paws) smear them. They deserve some tender love and care.
It’s time to give them a much needed refresh.
The best part? This tutorial is no sew!
How to Redo Your Old RV Dinette Cushions
You can have new RV dinette cushions in 3 easy steps.
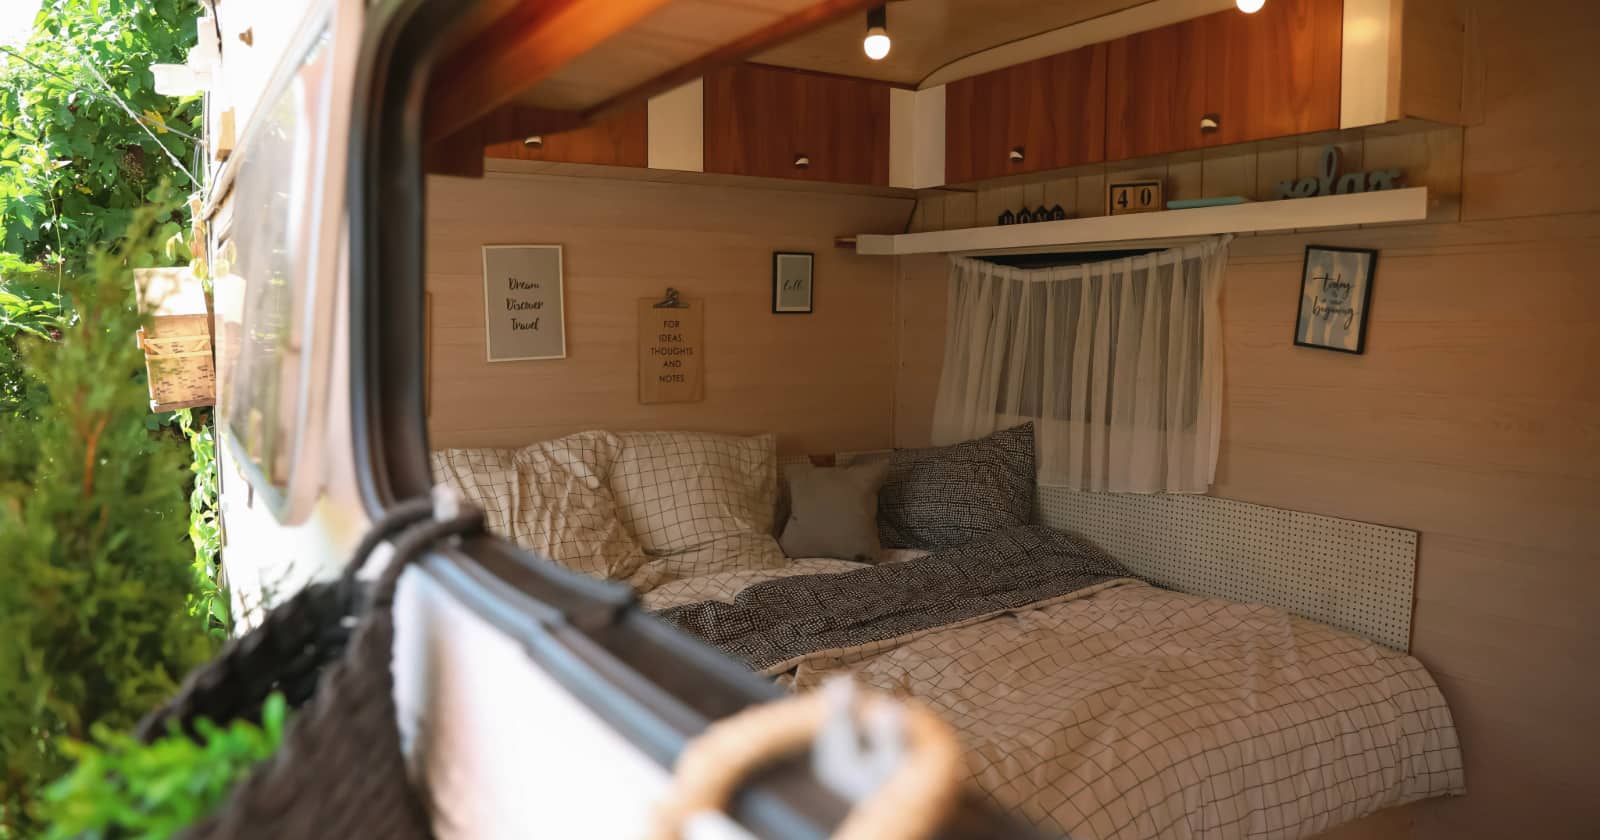
Check out this amazing RV dinette cushion redo by Leah + Brennan from @the_ramblr_rv:
Before you get started, here is your list of materials:
- Fabric and batting – For your fabric, the world is your oyster. My recommendation is to choose a timeless pattern in a durable fabric. You may even consider using an outdoor patio fabric to really ensure that your new cushions are durable. The cotton batting is an optional material but it really helps fluff up the cushions.
- Wood board – For this tutorial, you need a wooden board such as craft wood, underlayment, or wall paneling. Check out your local hardware store and select a thin wood product that is within your price range. Look for a material that is 1/8″ to 3/16″ thick. The wood gives your cushions structure and is what the staples will be inserted into.
- Staple gun
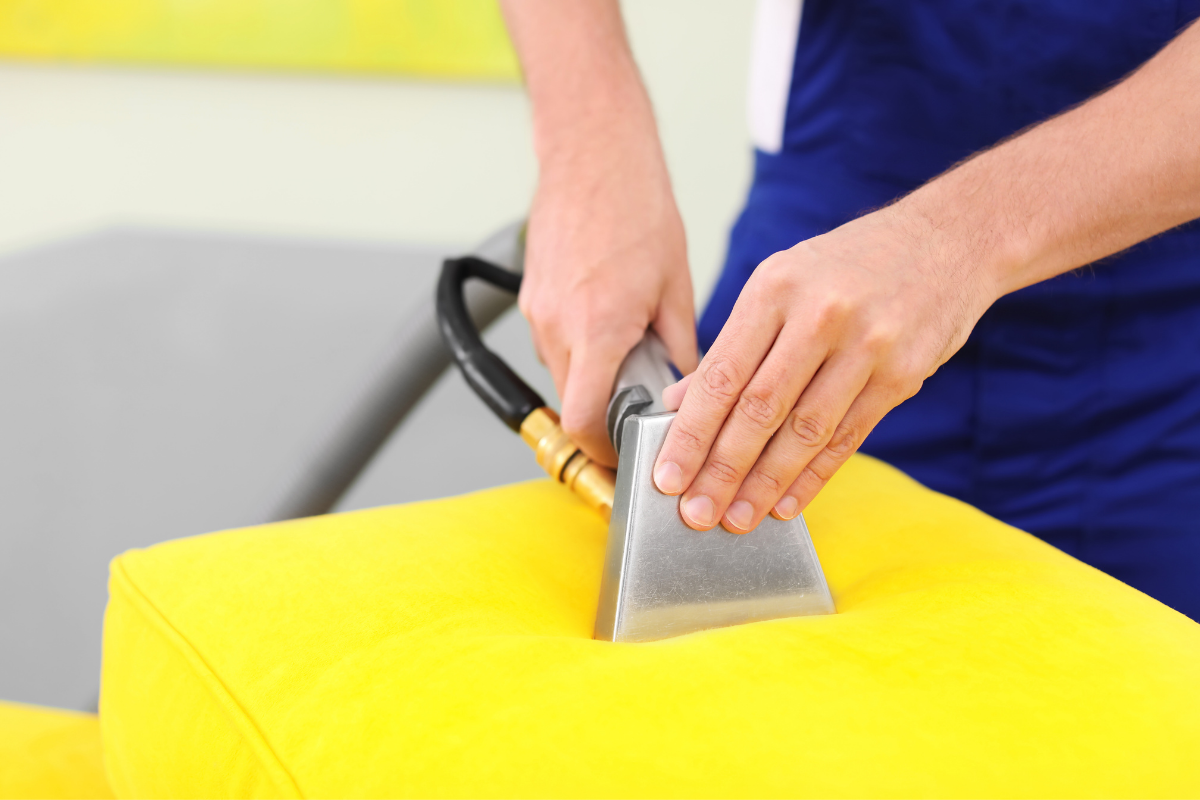
1. Clean your RV dinette cushions
The first step is to remove your existing RV dinette cushion covers and clean the cushions. You have a couple of options in the methodology but make sure you get them clean. Grab your favorite upholstery cleaner or spray liberally with good ol’ water and vinegar.
If your cushions are too far gone that cleaning is not effective, then you may need to replace the cushions themselves. Look for a high density upholstery foam. Keep in mind if you can’t find the exact thickness of your existing cushions, that you can always double the new foam.
Tip: Keep your old cushions as a template for the new RV dinette cushions.
2. Cut the materials
After gathering all your materials, it is time to cut everything. Using the old cushion(s) as a template, trace the outline of the cushion onto the wooden board. Cut the wood slightly smaller than the cushion – about 1/2″. Depending on the material, you may be able to cut it using a utility knife.
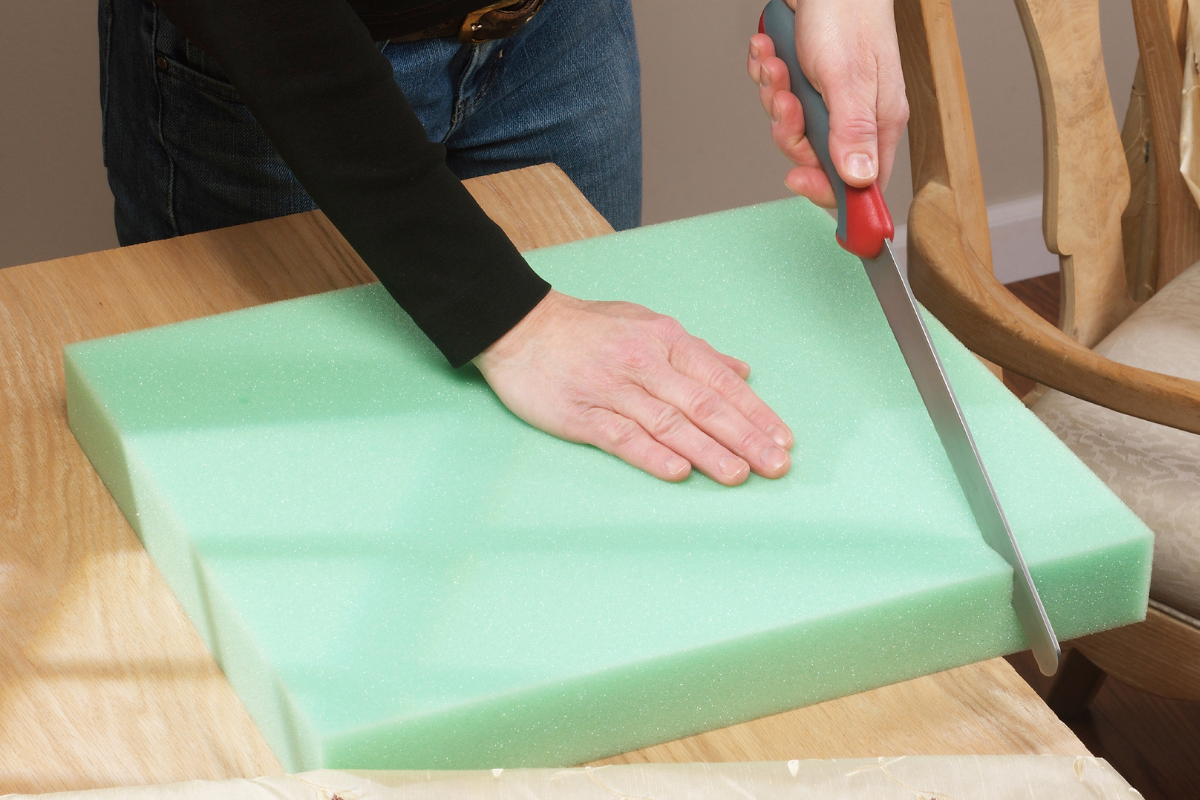
If you had to replace your upholstery foam, use the old cushions as a template. Check out this video for an easy way to cut upholstery foam:
Next, lay the fabric on a flat surface. Layer the batting, cushion foam, and wood on top. Ensure that the batting and fabric have enough clearance to wrap around the materials. Leave an extra 2″ of fabric so you have enough to hem and staple.
Tip: Measure twice, cut once.
3. Assemble your RV dinette cushions
Now that everything is cut, it’s time to assemble your new RV dinette cushions. Lay your fabric on a flat surface (pattern side down). On top of the fabric, layer the batting, the foam cushion (new or old), and the wood. Center all the materials, square up the corners, and ensure the edges are straight.
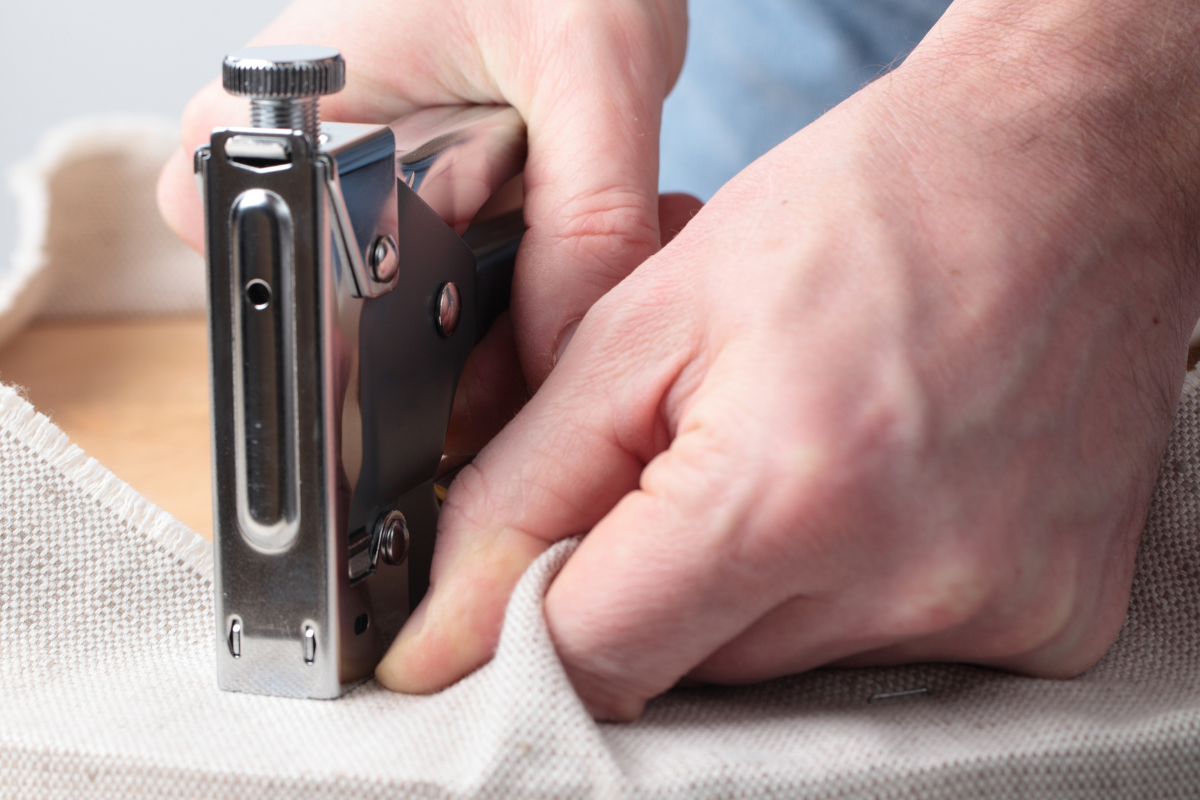
After everything is orderly, it’s time to staple. Pull the batting over the side of the cushion and staple it to the board. Complete this around the perimeter of the cushion. Next, do the same with the fabric. Fold over the cut edge of the fabric to create a neat hem as you staple. The batting and fabric should be stapled about every 2 inches.
To make the corners look sharp, simply trim and fold the fabric like you’re are wrapping a Christmas present. If you can’t fold them super neatly, don’t worry—you won’t be able to see them once you flip the cushion over.
Tip: Staple the batting and fabric separately. Pull the batting and fabric so it is taut but not too tight that the fabric pattern is distorted.
That’s it! 3 steps to completely redo your RV dinette cushions.
Not interested in getting new fabric but still want to refresh your cushions? Check out how to dye your RV upholstery and carpet with this article.
If the fabric of your RV dinette cushions is still in good shape but the foam is sagging, flat, or otherwise no good, check out this easy way to replace just the foam in this article.
If you need a good visual, check out this video by Haus von Floof:
Have you ever redone your RV dinette cushions? Let us know in the comments below, on our Facebook page, or share them with the RV community on iRV2 Forums.