What To Do If Your RV Oven Won’t Light
RV ovens can be a challenge to light for various reasons. Is your RV oven being used as a breadbox? Here’s what to do if your RV oven won’t light.
RV oven troubleshooting
It’s not uncommon to see RV ovens that have never been used. Some people choose to do all their cooking outdoors, but some just don’t want to fight with lighting the oven.
Many residential ovens are electric, requiring no special operation besides turning a knob. Gas ovens in residential settings are mostly problem-free as they generally stay lit and only require lighting after power outages or a gas issue.
Having your RV oven not light when needed can be frustrating and may lead to peanut butter and jelly sandwiches all week while camping.
So let’s look into what to do if your RV oven won’t light.
How does your RV oven work?
RV ovens are gas appliances fueled by the propane tanks onboard your RV. The stovetop burners are simply connected to the gas line, and when you turn the knob for that burner, propane is released. The lighting is achieved by turning the spark knob or pushing and holding a button until it lights.
Your RV oven is a little different as it most likely has a pilot light similar to furnaces and water heaters. RV pilot lights in most ovens do not have a sparker and need to be lit manually.
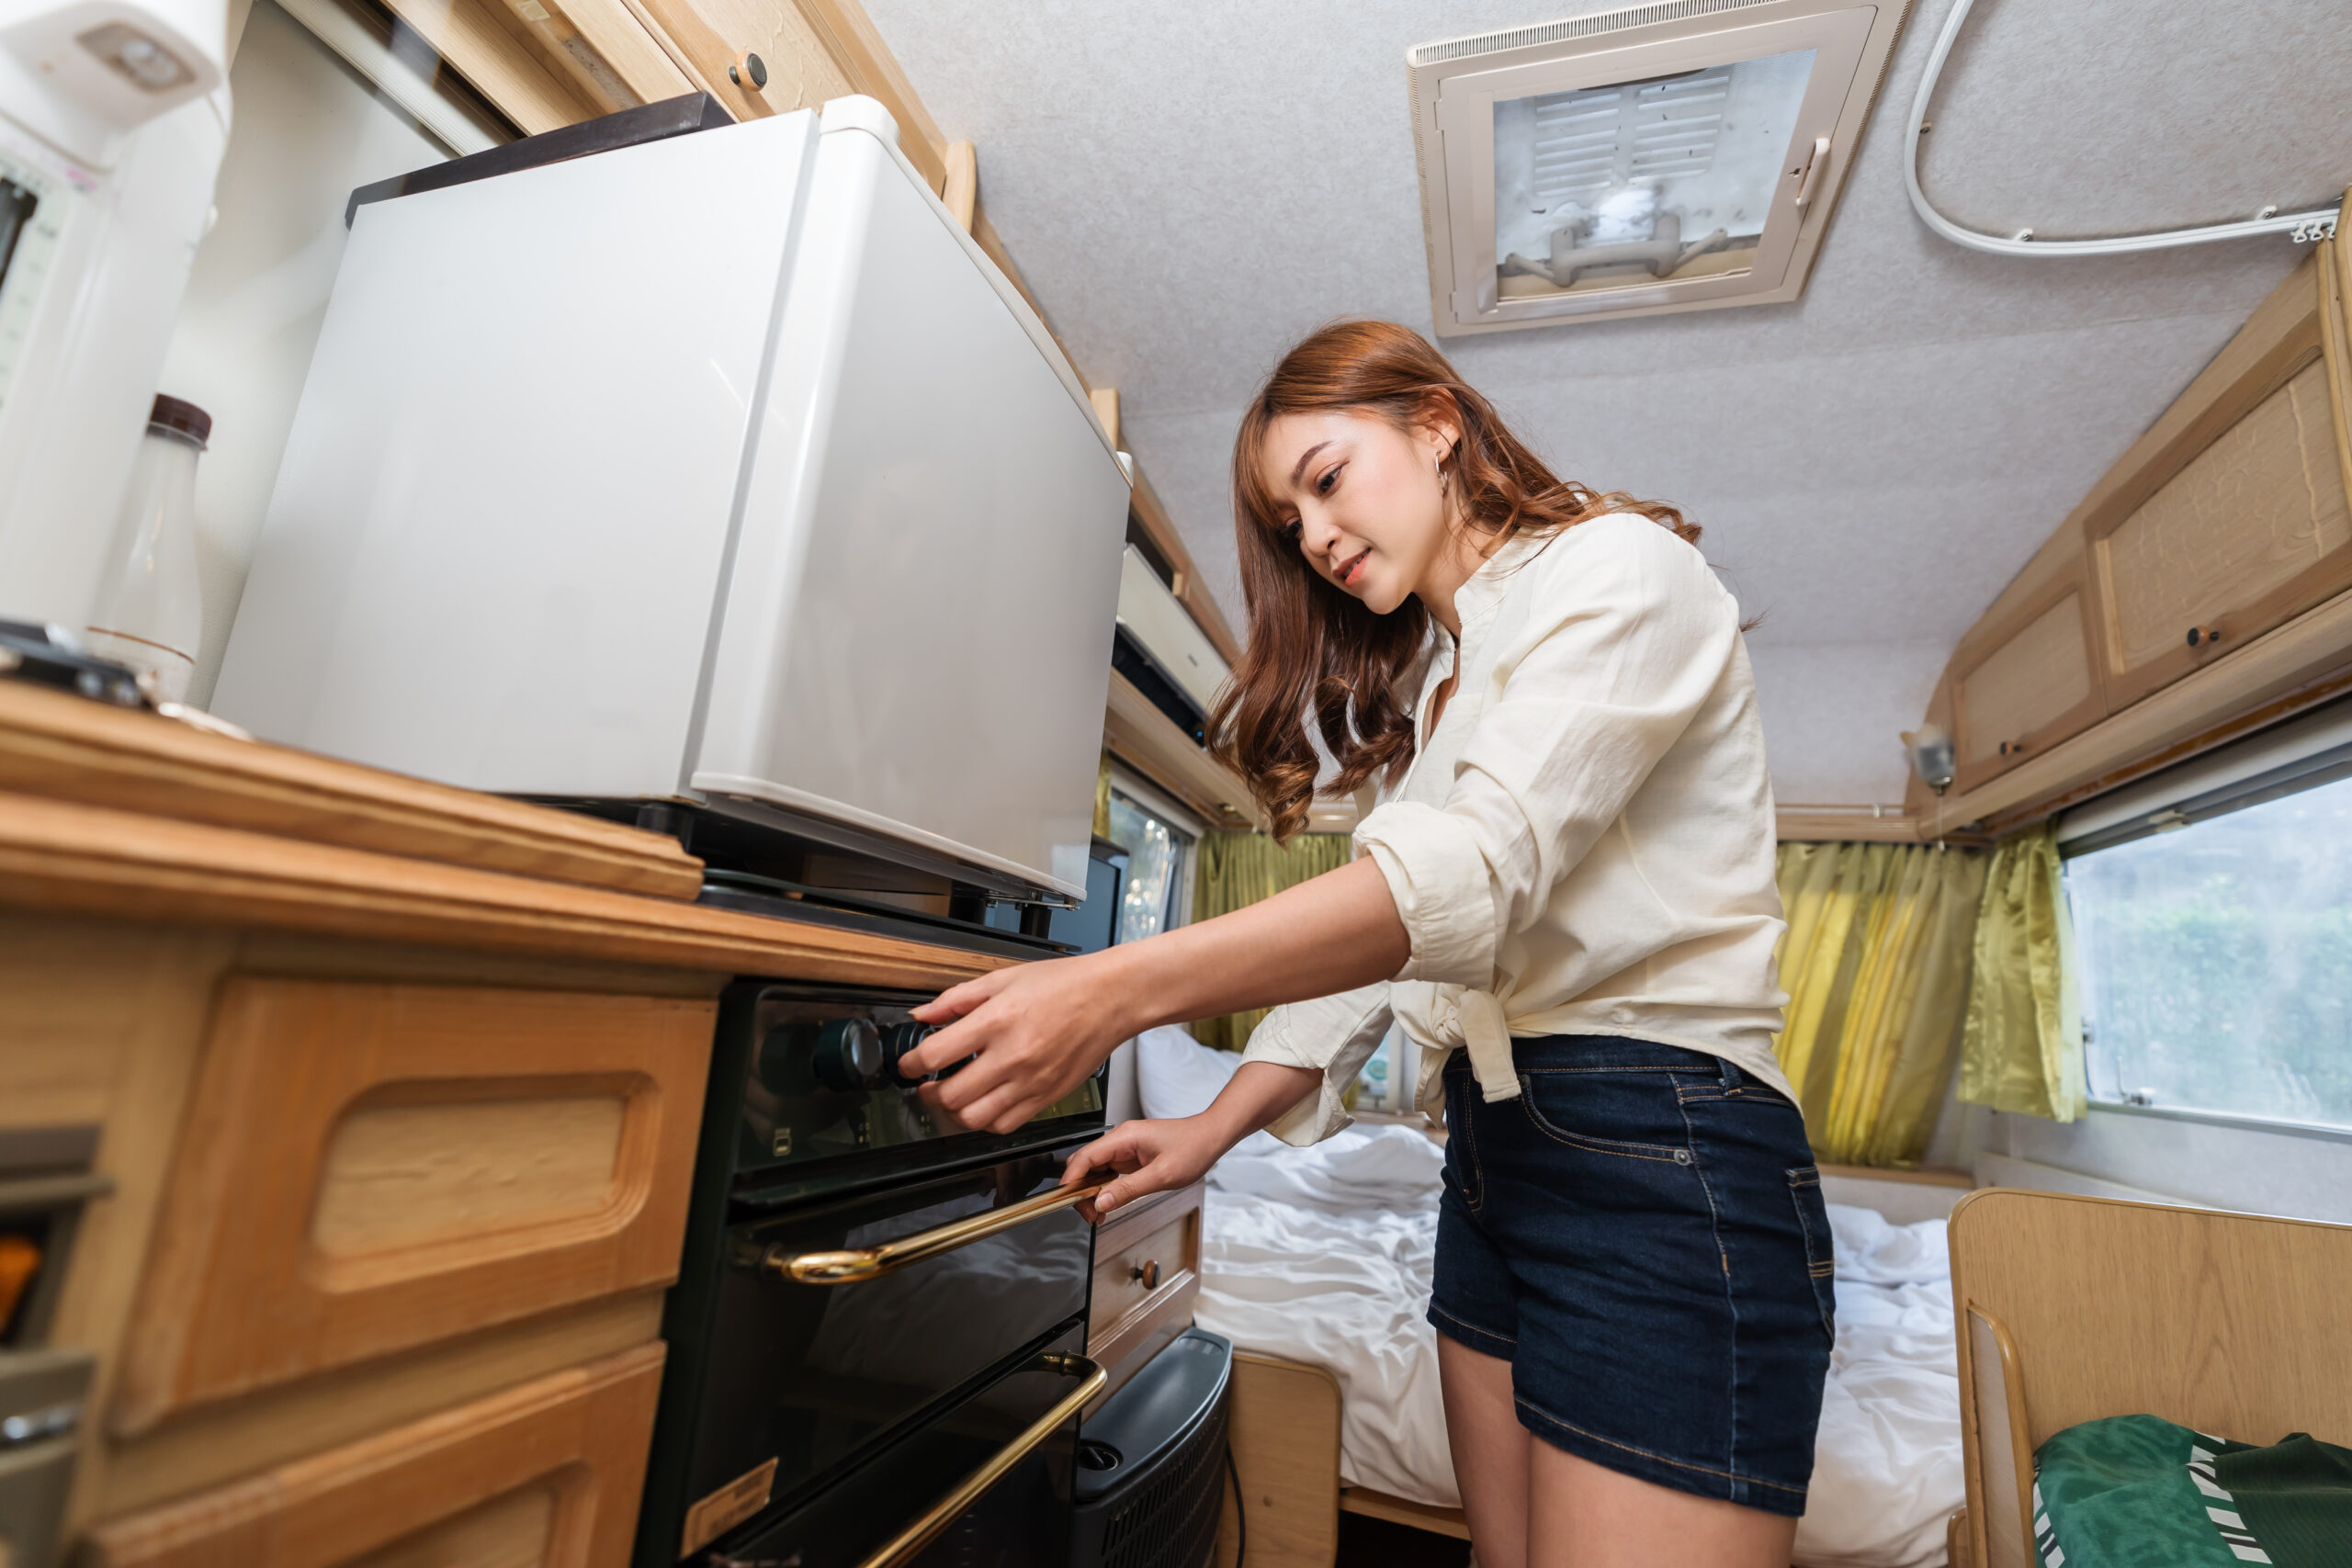
Inside your oven, close to the bottom and towards the back, will be a location to light the pilot light. With the gas turned on, the oven knob will be turned and pressed in. Holding the knob in allows propane to be released. This gas can then be ignited by a lighter.
Once the pilot light is ignited, you will see the blue flame. Continue to hold in the knob for approximately 15 seconds and then release. The pilot light should stay lit. The knob can then be adjusted to the desired temperature for the oven.
Once lit, the pilot light can remain on for your stay – it doesn’t have to be lit each time. This means you can turn the oven on and use it as needed. Some people do choose to light the pilot light each time to save a small amount of propane and for peace of mind. When working properly, a pilot light will shut off the gas if the flame is lost. This avoids unburnt gas from entering your RV.
What to do if your RV oven won’t light
If you look at online forums and chats, RV ovens that won’t light are a big topic. Often it is a simple fix, and you are on your way to a hot dinner.
No gas
The oven requires propane to operate, so no gas means no oven. If your stovetop is working, then you know you have propane. On some units, there is a tab behind the burner knob that may be bent or not depressing the gas release. This is an easy fix and may be the problem if nothing else obvious is wrong.
If the stovetop isn’t working, check that you have propane in your tanks and they are fully open.
Dirty oven
Ovens can become messy with grease and food building up inside. The pilot light, thermocouple, and distribution unit for the flame all need to be clean to operate properly.
Cleaning your RV oven after each use will lessen the chance of grease and food build-up and eliminate the need for a full-on deep clean after months of neglect.
Blocked orifice
The gas line running to your oven will have a very small orifice to contain the gas to a small direct flow towards the thermocouple. This tiny hole can easily become blocked and reduce or eliminate the flow of gas.
The orifice can be unblocked using a needle or small metal wire. The entire tip can also be unscrewed and soaked in a solvent if needed. It is possible the orifice has been damaged or collected hardened-on debris and needs to be replaced.
Air in the gas line
If air enters the fuel line running to the oven, this can prevent lighting. An easy fix is to simply open a stovetop burner and allow some propane to escape. The line for the oven and burners will be joined, so any air should be expelled.
If doing so, it is a good idea to open some windows, turn on the stovetop exhaust fan, and avoid any spark or flame until the gas is dispersed.
Thermocouple
The thermocouple is a crucial part of the lighting operation. It will be located close to the lighting area. It needs to stay clean and spaced at a certain distance from the gas port to operate correctly.
The thermocouple is heated and sends this signal to the gas valve to allow gas to flow. If the thermocouple doesn’t sense heat, it won’t allow the gas to flow from the gas valve.
If the spacing of the thermocouple is too large, the pilot light will not stay lit. If you have a pilot light that lights and goes out, this could be your problem.
In this case, adjust the space slightly so that it is smaller and try again.
The thermocouple itself can also go bad and need replacing. The ceramic body can crack, and if so, will no longer be usable. There is also a wire running from the thermocouple that can become damaged or fail.
Thermocouple replacement is an easy DIY repair.
Keeping your RV oven clean will help to eliminate no starts. However, as with all things, RV repairs will be needed at some point. Understanding why your RV oven won’t light will save you time searching for the issue.
Make sure you keep track of all your RV maintenance and repairs with an online tool such as RV LIFE Maintenance. Not only can you keep all of your documents in one place, but you’ll also receive timely reminders when maintenance is due to help you avoid costly repairs and potentially serious accidents.
Continue reading:
- An RVer’s Guide To Cooking In Hot Weather
- Off Grid Internet: 3 Ways To Stay Connected While Traveling


