
Maintaining an RV absorption refrigerator is crucial, yet it often falls low on the priority list for many RVers. Unlike traditional refrigerators that use a compressor, RV absorption refrigerators operate using a heat source to circulate a refrigerant, typically ammonia, through a cooling cycle. This system can run on electricity, propane, or battery power, making it ideal for the varying conditions of RV travel.
Despite their prevalence, there is a notable lack of comprehensive guides available to RV owners about the essential maintenance these units require. Online resources mostly cover basic tips for improving cooling efficiency and checking door seals. Some YouTube tutorials provide insights into cleaning specific parts like the burner and igniter. However, these resources typically overlook many critical maintenance tasks that ensure the longevity and efficiency of your RV fridge.
In this guide, we’ll explore five key maintenance steps that are often missed, helping you keep your RV refrigerator in top condition.
1. Keep the Upper Vent Clear of Debris
Proper airflow behind an absorption refrigerator is essential for its optimal performance. The upper exterior vent of the refrigerator facilitates the escape of rising hot air to the outside. Typically, this vent is located on the roof, though in smaller RVs or those with the refrigerator in the slideout, it might be on the sidewall.
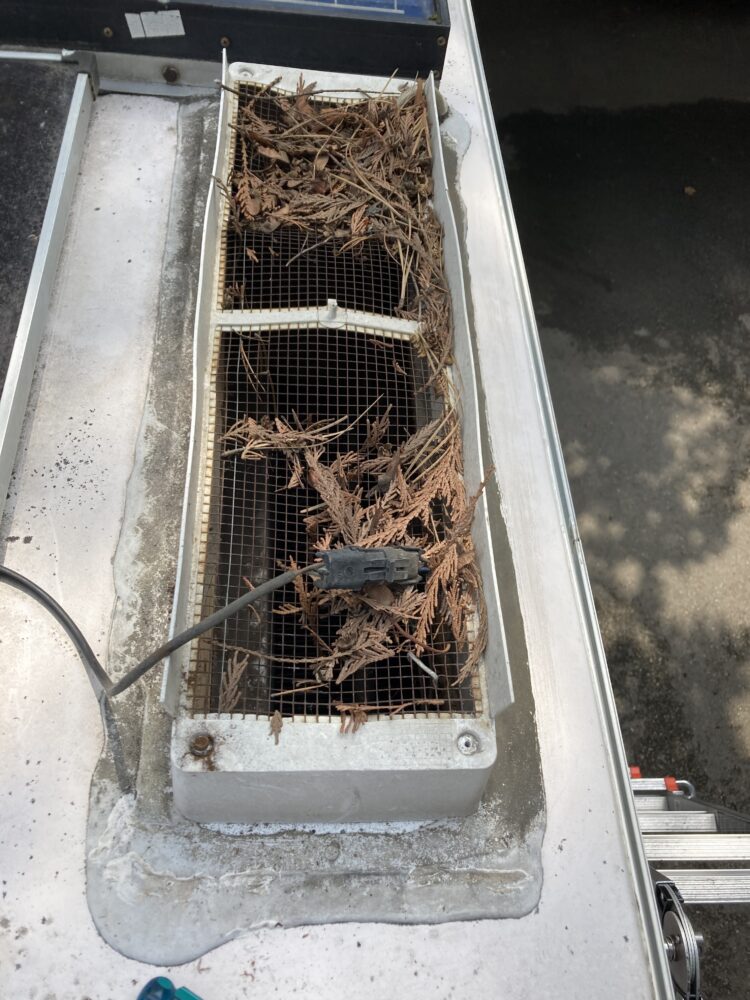
Debris, such as leaves, pine needles, nests, dirt, and other particles, can accumulate under the vent cover of roof-vented RVs. It’s advisable to periodically remove the roof vent to clear any accumulated debris from the vent screen. When the vent cover is off, check the screen for any damage, as compromised screens could allow birds and rodents to access the refrigerator’s rear. If damaged, consider a replacement screen.
2. Inspect the Top of the Condenser Fins
While the upper vent is removed, inspect for leaves or nests from small animals atop the condenser fins. As mentioned previously, debris can accumulate in the upper vent.
Even with an intact screen, finer materials such as pine needles, insects, and other small particles can penetrate and settle on the uppermost fins of your refrigerator. Birds, in particular, are fond of nesting in this spot if they find a way in.
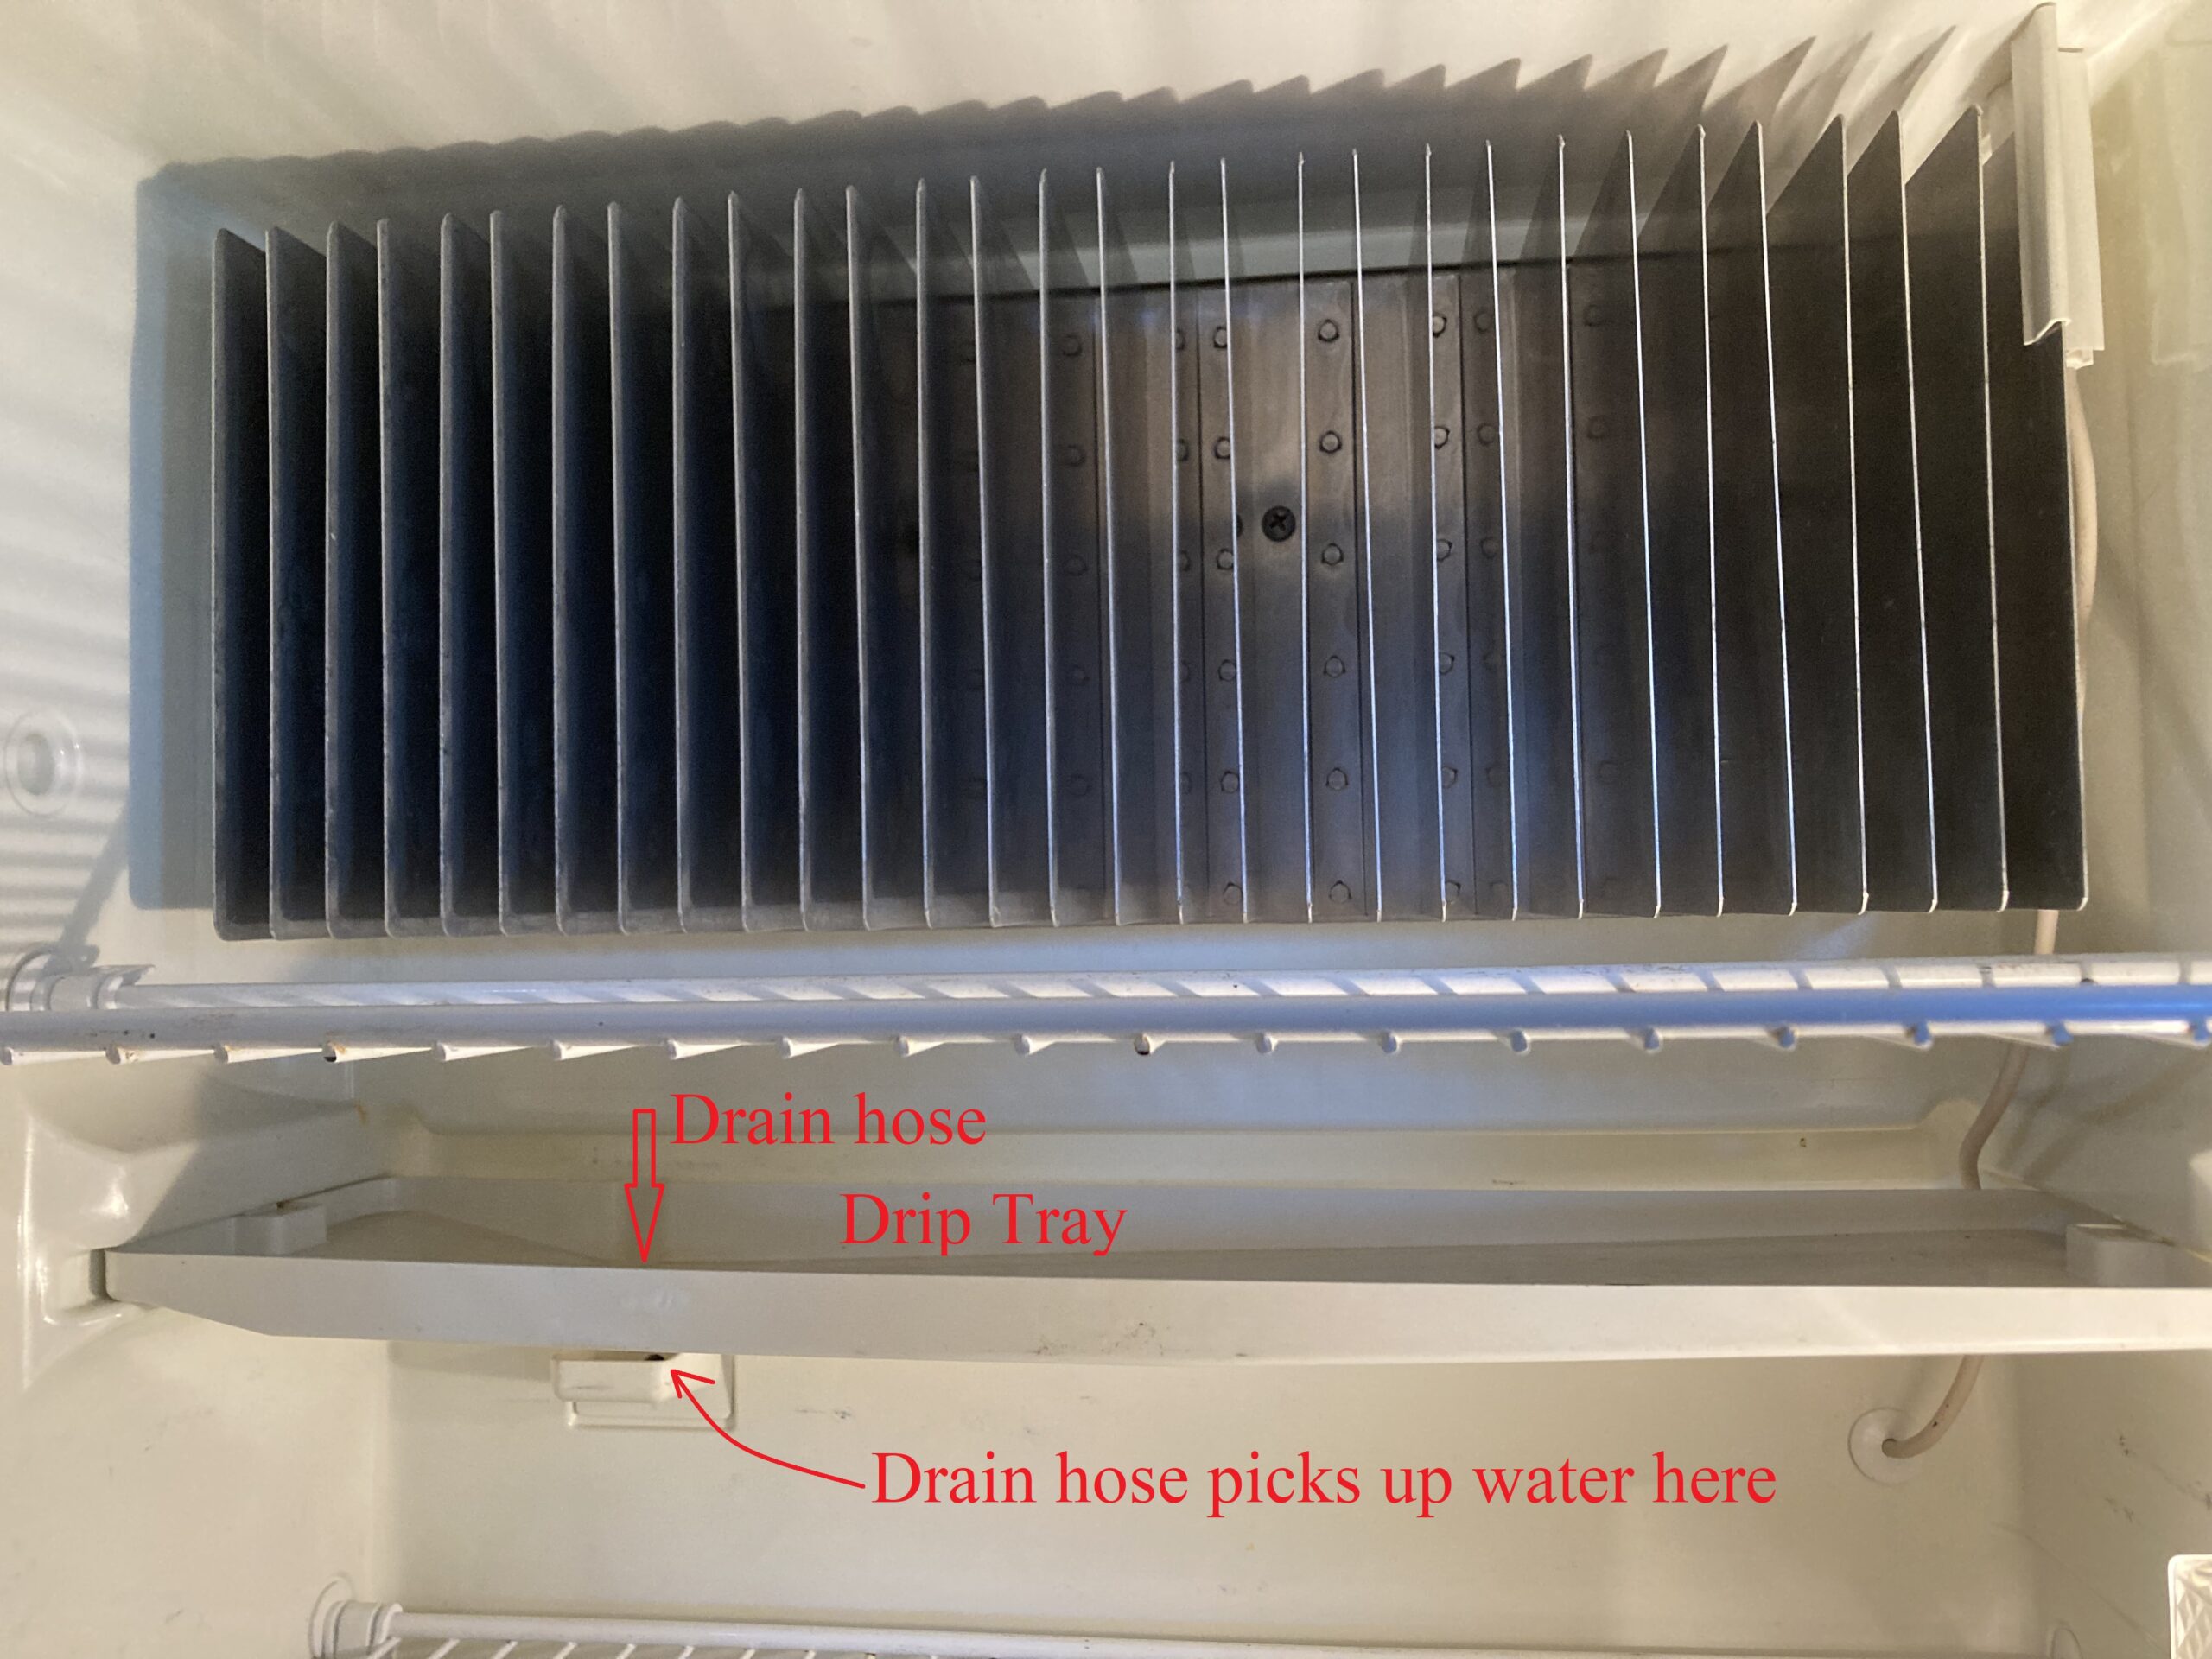
3. Inspect the Drain Tube
The drain tube removes water from the drip tray inside the refrigerator. This tray collects water dripping from the evaporator fins situated at the upper rear of the refrigerator compartment. Ensure through a visual inspection that the hose is effectively draining and remains intact. Compromised hoses can lead to leaks and result in deterioration at the refrigerator’s rear.
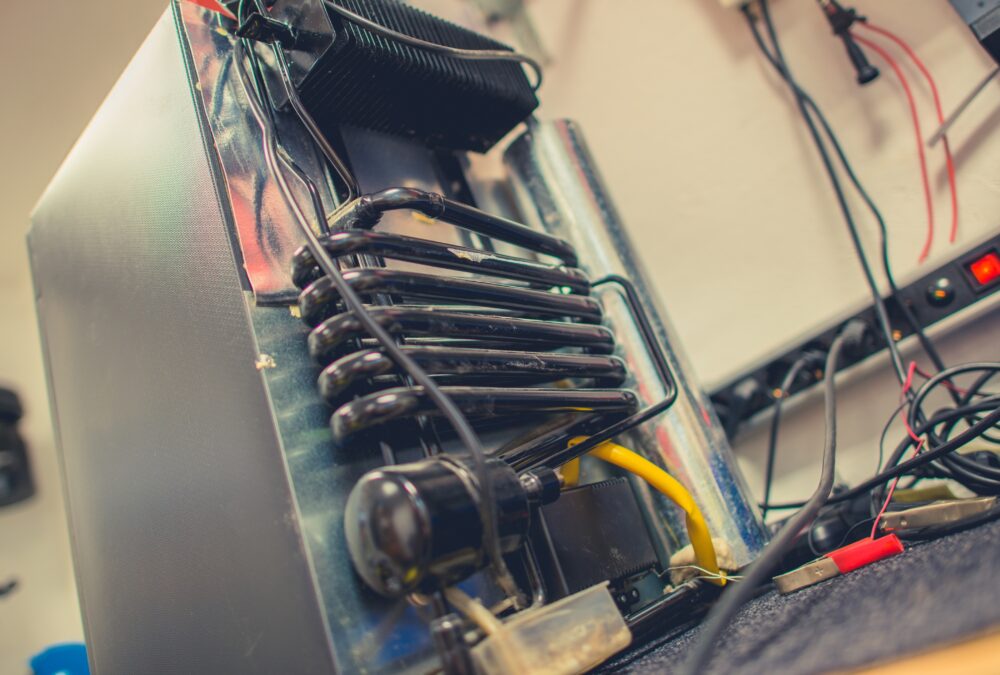
4. Clean the Flue
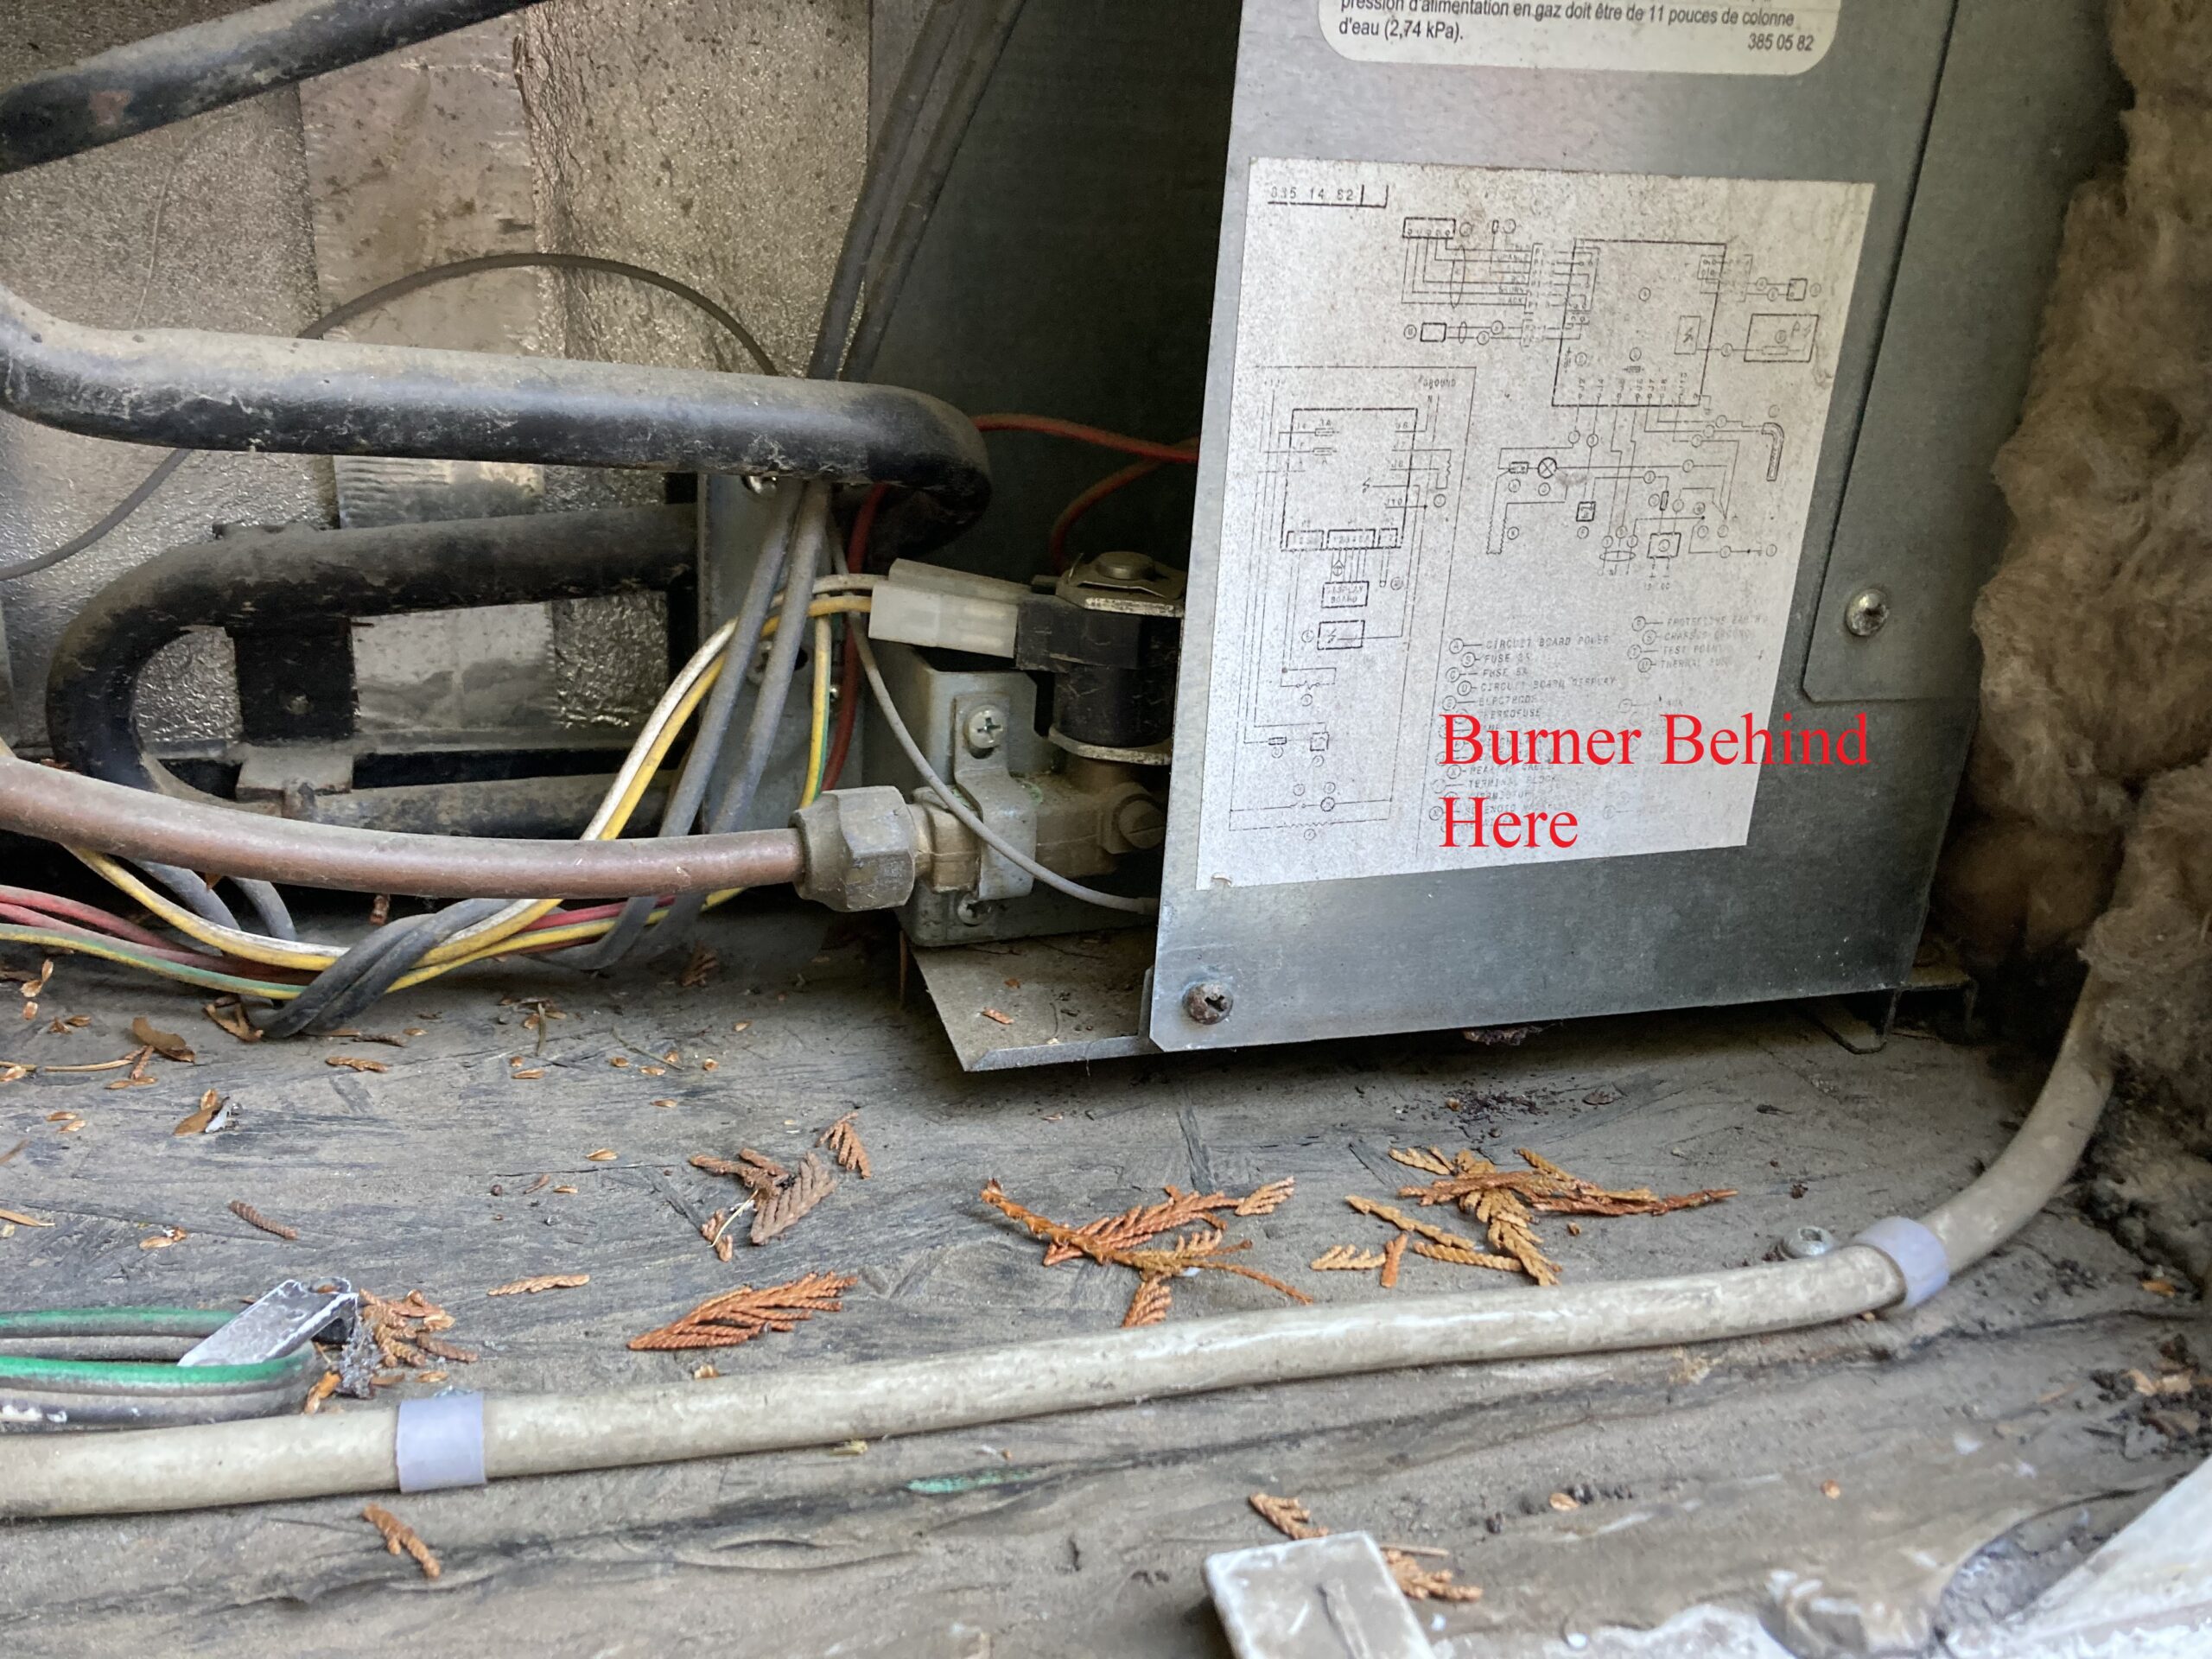
The video below illustrates how to access the back of the refrigerator for cleaning the igniter and burner, both crucial maintenance tasks for RV refrigerators.
The video also notes rust falling from the flue (chimney) onto the burner, but it omits important maintenance advice: the flue should be cleaned if rust flakes are found accumulating on or near the burner. The flue is located directly above the burner. If you have access to an air compressor, use it to blow air upwards through the flue to remove rust particles.
If compressed air is not available or if there is significant rust buildup inside the flue, follow these steps:
- Protect the burner by covering it to prevent rust from entering.
- Use the butt end of an adjustable wrench or a similar tool to gently tap the fluted end of the flue. Continue tapping until no more rust or flakes fall out.
- Vacuum up the rust debris afterward.
5. Vacuum Debris from Behind the Base of the Refrigerator
After completing the maintenance tasks outlined above for your RV refrigerator, finish the job by vacuuming any debris that has fallen from above or was initially present.
Similarly, items like needles and other debris can also enter through the lower vent. Given that the absorption refrigerator operates with an open flame when using gas, it is crucial to keep dry, flammable materials such as vegetation away from the burner area. Employ a crevice tool or a small hose attachment to effectively clean the space beneath the refrigerator while vacuuming.
Track Your RV Maintenance
Completing these five often overlooked refrigerator maintenance components periodically will keep your RV’s absorption refrigerator running safely and efficiently.
Make sure you keep track of all your RV maintenance and repairs with an online tool such as RV LIFE Maintenance. Not only can you keep all of your documents in one place, but you’ll also receive timely reminders when maintenance is due to help you avoid costly repairs and potentially serious accidents.
Continue reading:


