RV SHOWER UPGRADE: A COMPLETE GUIDE
I absolutely love having a shower wherever I roam. I can clean up in the middle of the woods, shower off when leaving the beach, and even bathe in the middle of a parking lot. However, one drawback of RV showers is their tendency to deteriorate rapidly.
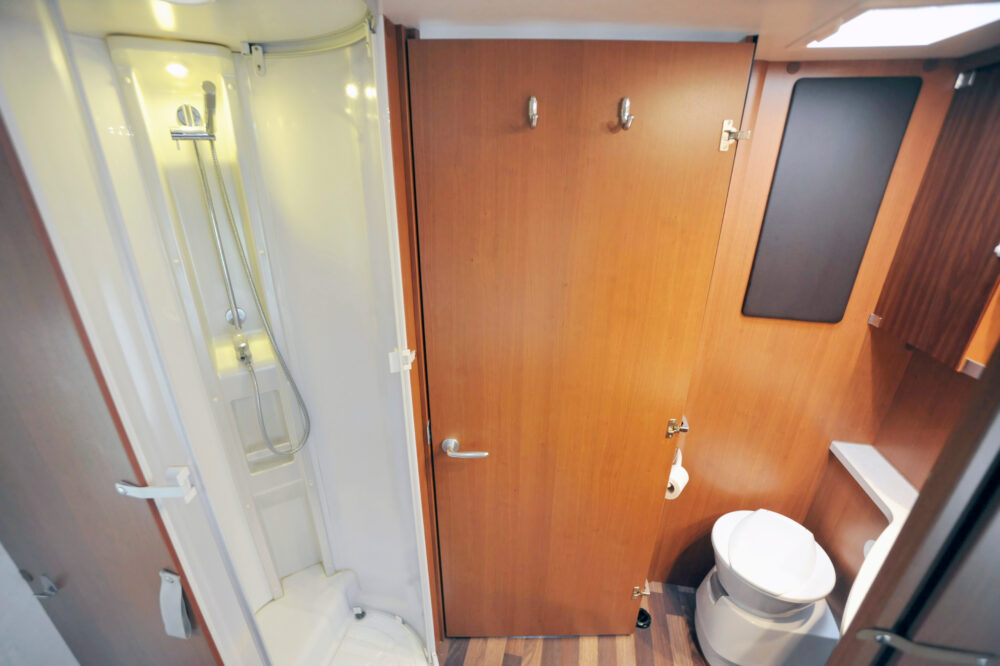
We’ve had RVs with yellowing shower stalls and RVs with holes in the shower pan. We’ve dealt with terrible factory-installed RV showerheads and some bathroom storage setups that were less than ideal. The good news? These are all things you can fix.
In this article, I’m going to give you my top RV shower stall upgrade tips. Use a few of these and your RV shower will be looking as good as new, so you can fully enjoy your RV shower experience.
Quick and Easy Upgrades
Let’s start with the easiest RV shower stall upgrade projects out there. These quick and easy changes will make a huge difference, but won’t require a ton of your time or money. We also appreciate that these projects don’t require a lot of handyman skills, meaning absolutely anyone should be able to tackle them.
Change the ShowerHead
One of the easiest things you can do to upgrade your RV shower that will also make the biggest difference? Change out your RV showerhead. The showerheads that are put into RVs at the factory are pretty terrible overall.
Something like an Oxygenics shower head will give you a better showering experience while also helping you save water. This is great because it makes boondocking easier and helps ensure your hot water lasts for your entire shower.
Add Storage Options
Another super easy thing you can do to improve your RV shower experience is install some storage options in the shower stall. Far too many RVs come with very little or even no storage in the shower, and even those that do have a small shelf don’t usually have very good storage.
Adding something like this over-the-shower door organizer or these adhesive corner shower caddies can make juggling the various bottles of shampoo, conditioner, and soap a whole lot easier. This will make your showering experience much more pleasant.
Switch Out the Shower Curtain
Just want a fresh new look without the hassle of completely changing out your shower surround or shower pan? A shower curtain can work wonders for the look of your bathroom. Choose a fun, colorful one that really showcases your personality, and add coordinating wall decor to help pull the look together.
For those with a shower door: If you aren’t a fan of the door, you can always pull it out and replace it with a curtain instead.
Paint the Tub and Surround
This option is a little bit more involved. That said, it can really freshen up the look of the bathroom and isn’t nearly as time-consuming or expensive as the options listed in the section below.
Believe it or not, there is paint out there that is made specifically for painting over tile, bathtubs, and other parts of a bathroom. This does require a bit of prep work, but the finished product will look fresh, new, and absolutely amazing. Just make sure to repair any holes or cracks before you paint.
Also, it’s good to go in knowing that while the paint is waterproof, it won’t hold up forever, so you will likely have to do the job again in the distant future.
A Full Upgrade
Don’t think the simple changes above are going to cut it? Not to worry, there are plenty of other upgrades you can make that will make a more drastic change. The projects below will be a bit more difficult and more time-consuming, but many RVers find that they are well worthwhile, especially if they are dealing with cracks or holes in their RV shower pan or tub.
Replacing an RV Bathtub or Shower Pan
The first step in the full RV shower stall upgrade is replacing the bathtub or shower pan. This step is especially important if you have a hole or a crack in the tub or shower pan. That said, many people choose to replace this part of the RV bathroom simply because it is getting older and turning yellow.
To carry out this project, you will first need to buy an RV bathtub or shower surround that perfectly fits your space. You can find such products on Amazon and in some RV supply stores.
This video gives you a good idea of how to ensure you get the right tub:
Once you have your tub or shower pan in hand, you will need to actually get the replacement job done. This involves the following steps:
- Turn off the water supply.
- Remove the shower curtain or door.
- Remove accessories and plumbing fixtures.
- Take out the tub surround (see section below) and the apron retainer strip.
- Disconnect the drain.
- Remove the old bathtub.
- Attach the downspout to the drain.
- Insert the new bathtub.
- Press down to ensure firm seating.
- Re-install (or replace) surround.
- Seal everything well with silicone sealant.
- Replace fixtures and accessories.
- Rehang the shower curtain or door.
- Check for leaks.
Replacing or Adding a Shower Surround
Want to replace (or add) the shower surround as well? Some bathtubs come attached to a surround, meaning you really have to do both at once. That said, even if that isn’t the case for the bathtub you order, we still recommend getting both jobs done at once. After all, you have to remove the shower surround to replace the tub anyway, so you might as well put up something shiny and new.
To do this you will need to follow the steps below:
- Shut off the water supply.
- Remove the shower curtain.
- Remove accessories and plumbing fixtures.
- Measure and mark the placement of water hoses.
- Cut out holes for the hoses.
- Test the placement of the surround to ensure cutouts are correct.
- Apply a liberal coating of very strong glue (we like Gorilla Glue), ensuring all edges are well coated.
- Place the surround in the shower.
- Use a paint roller to ensure the glue sticks to the walls.
- Place screws around the edge of the surround.
- Stick painter’s tape around the edges of the surround.
- Allow to dry for 24–48 hours.
- Remove the tape.
- Caulk around all edges.
- Replace plumbing fixtures and accessories.
- Test for leaks and/or problems.
With these tips, you should be able to jump right into your RV shower stall upgrade project without a problem. Now, go ahead and get started so you can have an amazing-looking shower for your next RV getaway!
Track your RV maintenance
Make sure you keep track of all your RV maintenance and repairs with an online tool such as RV LIFE Maintenance. Not only can you keep all of your documents in one place, but you’ll also receive timely reminders when maintenance is due to help you avoid costly repairs and potentially serious accidents.


