Expert Tips For Cleaning & Disinfecting Your RV’s Fresh Water Tank
Sanitizing the RV fresh water tank and system is a crucial item on every RV maintenance checklist. Neglecting this task could put your family’s health at risk during your travels. Therefore, it is imperative to prioritize it.
In this article, we will discuss the significance of sanitizing RV fresh water tank systems, along with the appropriate timing and procedure. Let’s begin!
Why Cleaning Your Fresh Water System is Important
Cleaning your RV’s fresh water system is essential for ensuring the safety of your water supply. Even if you only fill your tank with potable water, there is always a risk of contamination. Mold, mildew, and bacteria can grow in stagnant water, and not all campgrounds maintain clean water sources.
Regular tank cleanings will ensure your fresh water remains safe to bathe in, clean with, and even drink.
When to sanitize your RV fresh water tank
It is recommended to sanitize your fresh water system every six months. A common practice is to clean it at the start and end of the camping season. If your RV has been in storage, the fresh water tank should be sanitized upon removal, regardless of the time it has been stored.
It is necessary to clean the tank when the water appears or tastes unusual, or when you fill it with contaminated water.
What you need to sanitize an RV water tank
Now that you know when to give your RV’s fresh water tank a good cleaning, the next step is gathering the supplies to actually do so. Fortunately, you won’t need anything too difficult to find.
The items needed to sanitize RV fresh water tank systems are as follows:
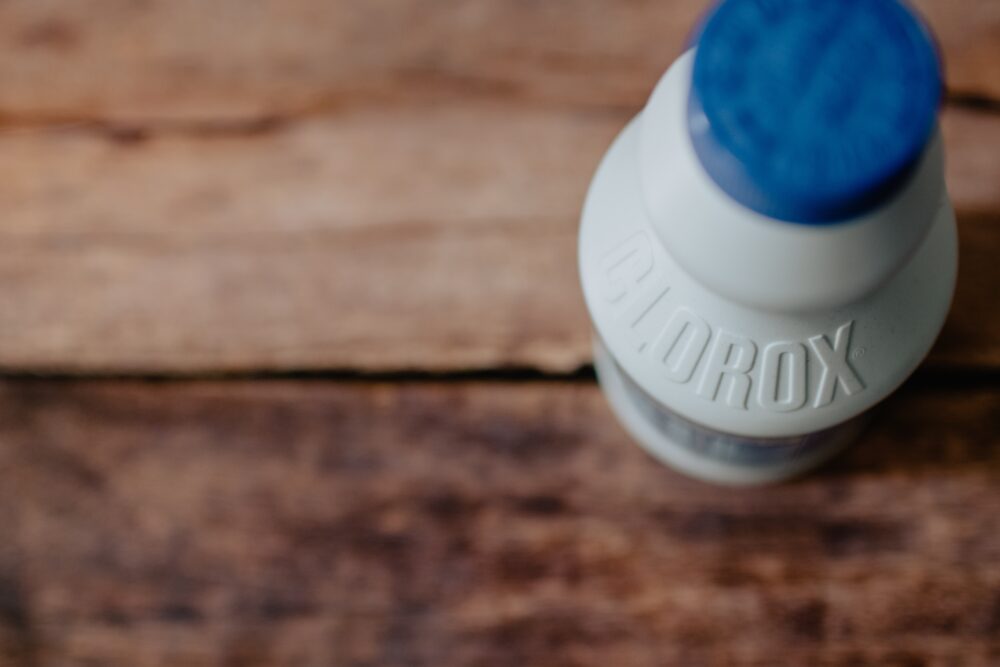
- Bleach
- A funnel
- Potable water

How much bleach should you use?
To clean your fresh water tank, use a quarter cup of bleach for every 15 gallons of water. For a 30-gallon tank, use only a half cup of bleach. However, the amount of bleach needed may vary depending on the size of your RV’s fresh water tank.
How to clean your RV water tank
At this point, you have a good understanding of why you need to clean your tanks and when you should do it. You even have the correct supplies gathered up so you can get the job done properly. Now all you need are instructions on how to go about the cleaning process.
We’ve outlined the steps you need to take to sanitize RV fresh water tank systems below.
Switch the water heater and pump to off
Begin by switching off the water heater and pump to prevent any harm during the draining of the fresh water system.
Bypass the water heater
Next, you will need to switch the water heater into bypass mode, as if you are winterizing the water system. Most RVs come equipped with a switch for this, but if yours does not have one installed, you can buy a kit and put it in yourself.
Drain the plumbing
With the water heater in bypass mode, open the water heater plug to drain it completely. At this point, you will also want to open the fresh tank drain, all low point drains, and all faucets in the RV (keeping the water pump turned off) to drain all water lines and the fresh tank of water.
Close drains
Once all the water has drained, turn off the faucets and close the drains so the tanks can hold water again.
Create bleach mixture and add to the tank
Now, it is time to add the bleach to your tank to sanitize it. However, you do not want to add the bleach alone. Instead, mix the correct amount of bleach (see the section above on gathering supplies to figure out how much is right for your system) with about a gallon of water, and use your funnel to pour the bleach and water mixture into the tank.
Add water to the fresh water tank
With the bleach mixture in the tank, grab a hose and fill the tank the rest of the way with potable water. This will help move the bleach to all parts of the tank to make sure everything gets clean.
Turn on pump and open faucets
When the tank is full, turn your water pump back on and run each faucet individually until you can smell bleach coming out with the water. Once you smell bleach, close the faucet and move on to the next.
Let sit for 24 hours
After all faucets have had the bleach mixture run through them, turn off the pump. At this point, you just want to let the bleach and water sit in the system overnight to kill off any lingering bacteria.
Drain the water
After letting things sit overnight, drain the system entirely. Open the fresh water tank drain, the low point drains, and the faucets to let everything run out. Then, close all of the drains and faucets again.
Refill the tank
Once you’ve closed all faucets and drains, get out that water hose again and refill the fresh tank in order to rinse the system out.
Turn on the faucets
You’ll want to turn on your water pump and open the faucets one at a time, letting each one run until you no longer smell bleach before closing it again. You may need to refill the tank and repeat this process again in order to get rid of all bleach smell.
Drain the system again
When you’re sure all bleach smell is gone, open all drains to drain the system entirely. At this point, if you want to have water available, you can close your drains and refill your tank with potable water to be used.
Put the water heater back into play
Lastly, you will want to replace your water heater plug and turn off bypass mode so that the water heater can join the rest of the fresh water system in doing its job.
Track your RV maintenance
Make sure you keep track of all your RV maintenance and repairs with an online tool such as RV LIFE Maintenance. Not only can you keep all of your documents in one place, but you’ll also receive timely reminders when maintenance is due to help you avoid costly repairs and potentially serious accidents.
Related articles:


