
This Ultrasonic Device Will Evict Pests From Your RV
Little rodents may look cute, but they’re anything but adorable when they’re building nests in your RV. Their sharp little teeth and powerful nesting instincts can destroy a vehicle’s insulation, hoses, and wiring system overnight.
If left unchecked, rodents can cause thousands of dollars in damage.
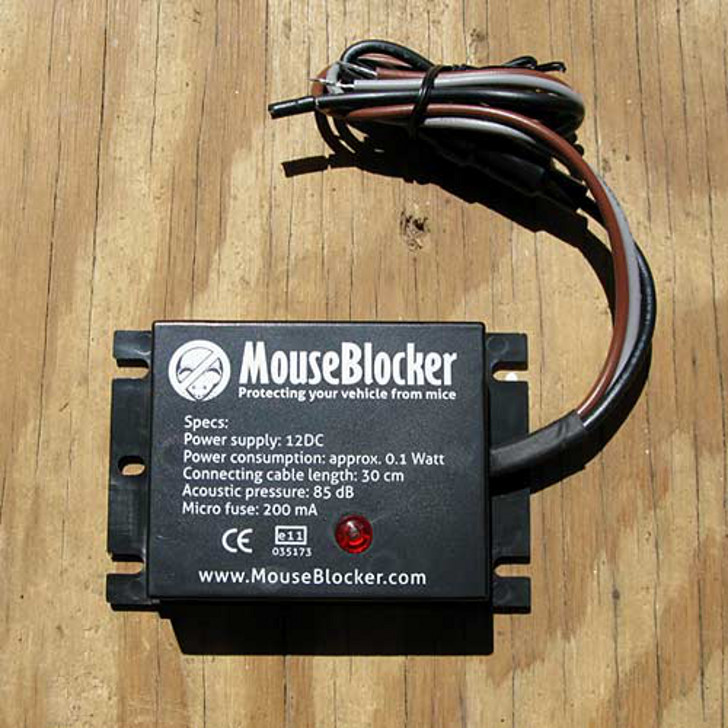
Before you activate your own four-legged rodent patrol militia, consider trying the MouseBlocker, an ultrasonic RV rodent control device that blasts invading critters with high-frequency sound waves.
RV rodent control uses sound to keep pests out
Every fifteen seconds, the rodents invading your RV will get blasted by the MouseBlocker with a high frequency audible (only to them) tone. The small device runs off your vehicle’s battery and draws only as much power as an LED clock, approximately 0.1 watts.
The manufacturer claims that this allows the MouseBlocker to run for months at a time without any excessive drain on the battery system. The MouseBlocker can do its job anywhere there’s a 12 V power supply.
Your ears aren’t sensitive enough to hear it working, but to a rodent, the MouseBlocker is as loud as a jackhammer. Don’t worry about your dog hearing it either, the device has been tested around canines and they showed no signs of noticing the noise.
How to connect MouseBlocker in your RV
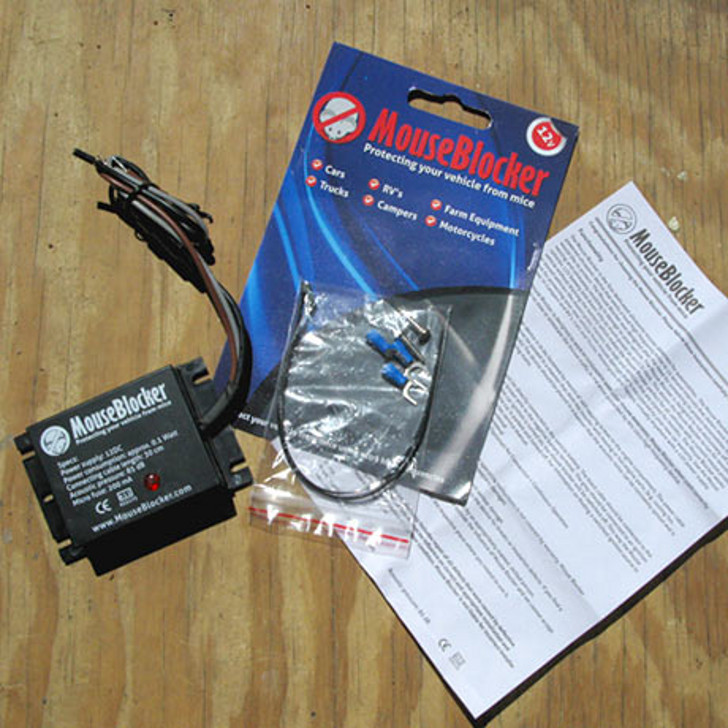
Tools you’ll need:
- MouseBlocker Ultrasonic RV Mouse and Rodent Deterrent
- Wire crimper or pliers
- Crescent wrench
- Additional wire and connectors (optional)
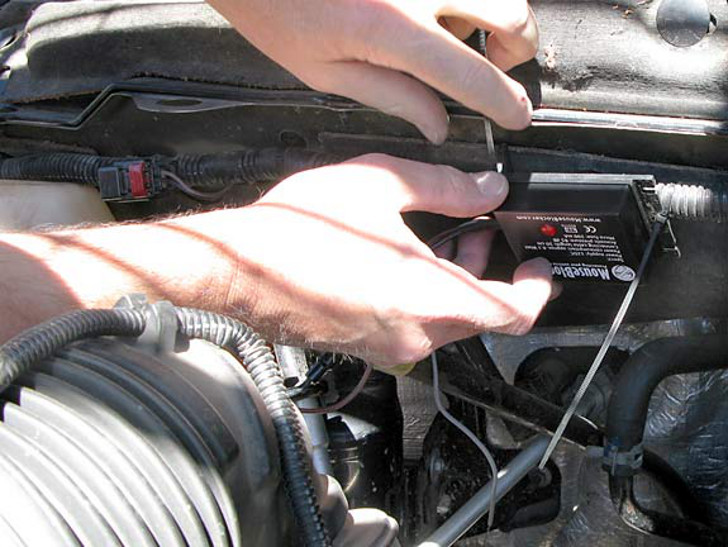
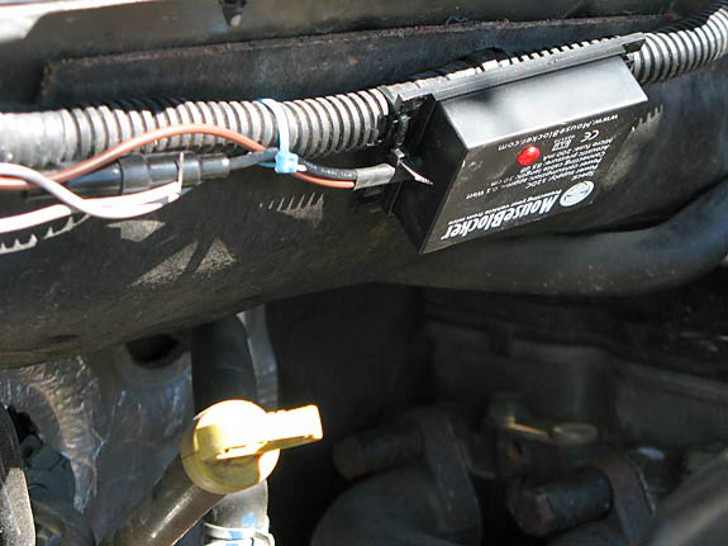
Step 1: Determine a mounting location
When deciding where to put the MouseBlocker in your engine compartment, look for an area that will allow for consistent broadcast of the acoustic noise.
Point the top side away from any insulating mats, which can absorb the sound. Every purchase includes self-tapping screws and if you have extra zip-tie fasteners that will help make it even easier to install.
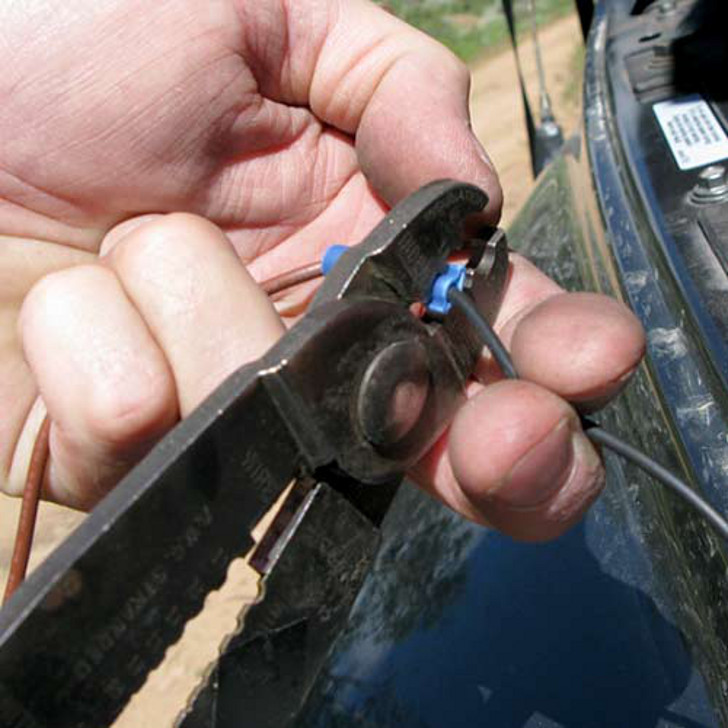
Step 2: If necessary, measure and attach the required length of additional wiring.
The MouseBlocker wires connect directly to your battery with the included terminal wire connectors.
These wires are fine if you’re placing the device in a tight RV battery compartment or another small engine, but if you have a heavy-duty truck with large batteries located far from your mounting spot, you’ll need to extend the length of the wires using extra 14 gauge automotive wiring with a couple of butt connectors.
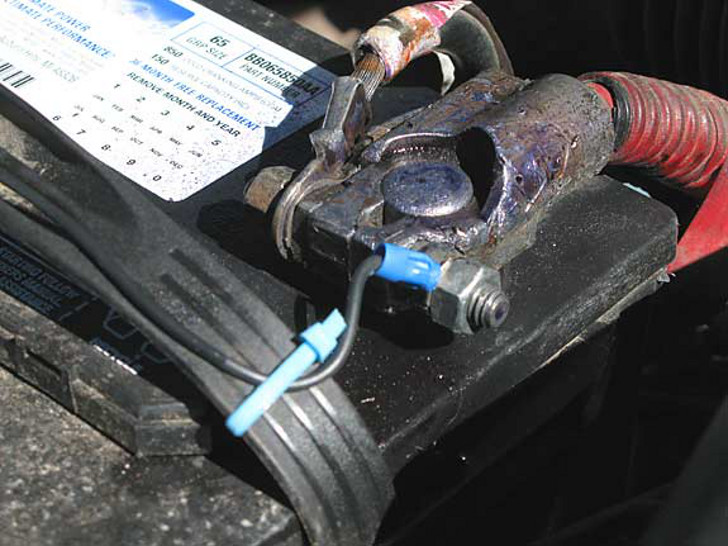
Step 3: Attach wires to battery terminals.
MouseBlocker wiring is as follows:
- Black Wire = Positive (+) Battery Terminal
- Brown Wire = Negative (-) Battery Terminal
- Grey Wire = Positive Ignition Source.*
*You have the option of attaching the grey wire to your vehicle’s switched ignition source (check your vehicle’s service manual for locating one). If you don’t connect it, the MouseBlocker will simply remain on when the vehicle is in use.
Step 4: Route your wires and secure them in such a way that they do not interfere with moving parts or contact hot surfaces.
Once you install this ultrasonic RV mouse and rodent deterrent, your four-legged rodent patrol will need to find another occupation.
As the MouseBlocker reviews on Amazon show, this product does a great job keeping rodents away. You can help it work more effectively by keeping foods well-sealed and food preparation areas in your RV clean so you don’t attract rodents in the first place.
Keep the area outside your car free of weeds, woodpiles, and debris at all times and the MouseBlocker will continue doing an effective job.
When compared to the price of an all-new wiring harness for your RV or vehicle, the MouseBlocker is an inexpensive insurance policy against a hefty mechanic’s bill. You can get your own MouseBlocker on Amazon for about $60.

How will it affect my hearing aids??? and does it work for Mice, Racoons, Squirrels etc.