How To Upgrade RV Interior Lights To LED
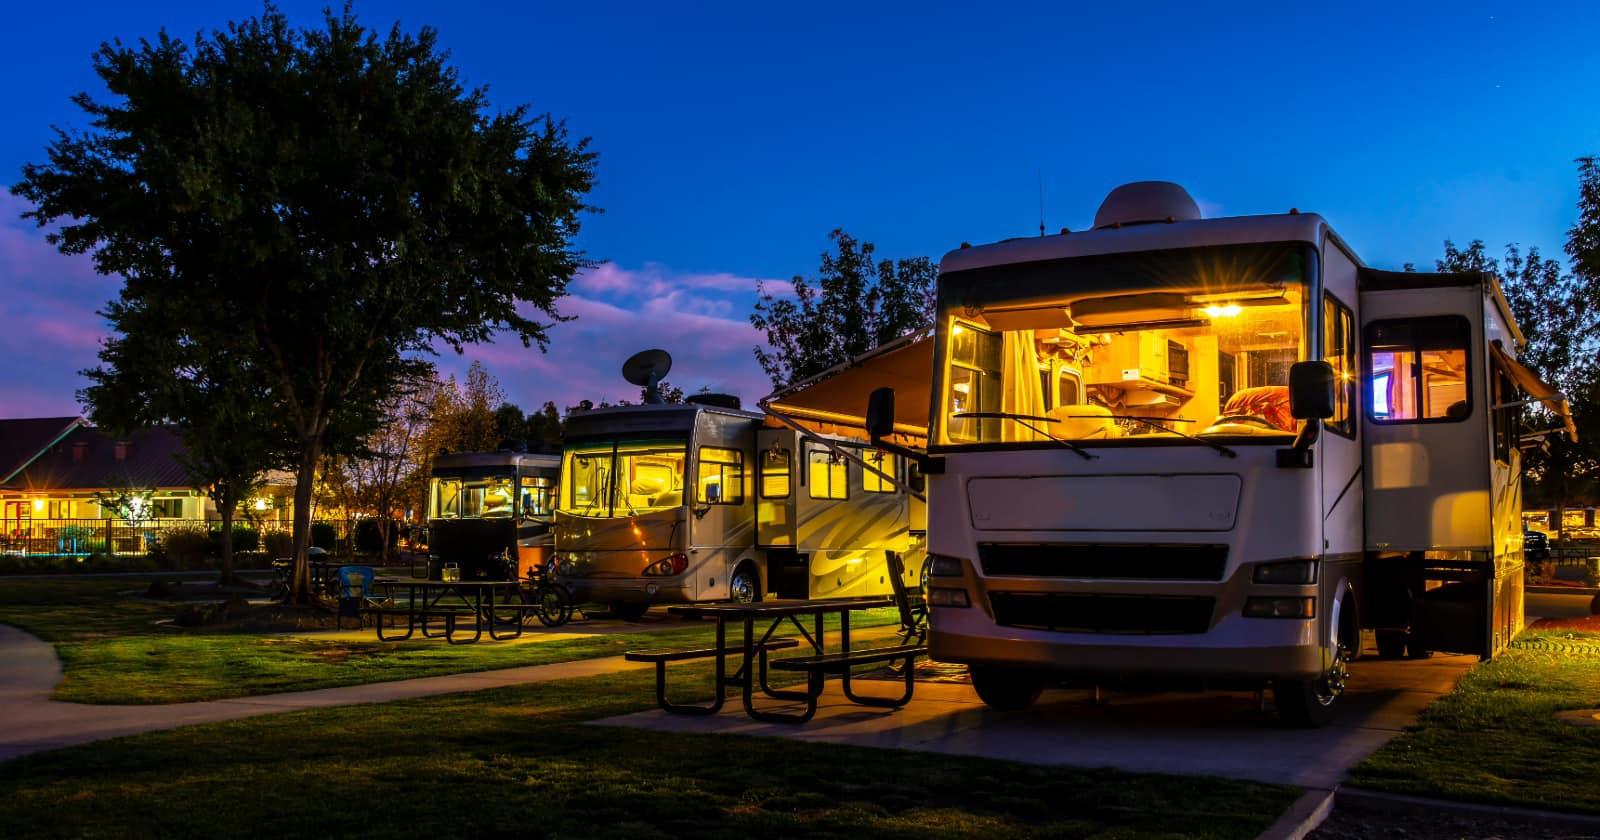
The days of dark and dated RVs are gone; however, some current RV lighting options are also a little dim. While more RV manufacturers are using LED interior lights, many still use traditional bulbs.
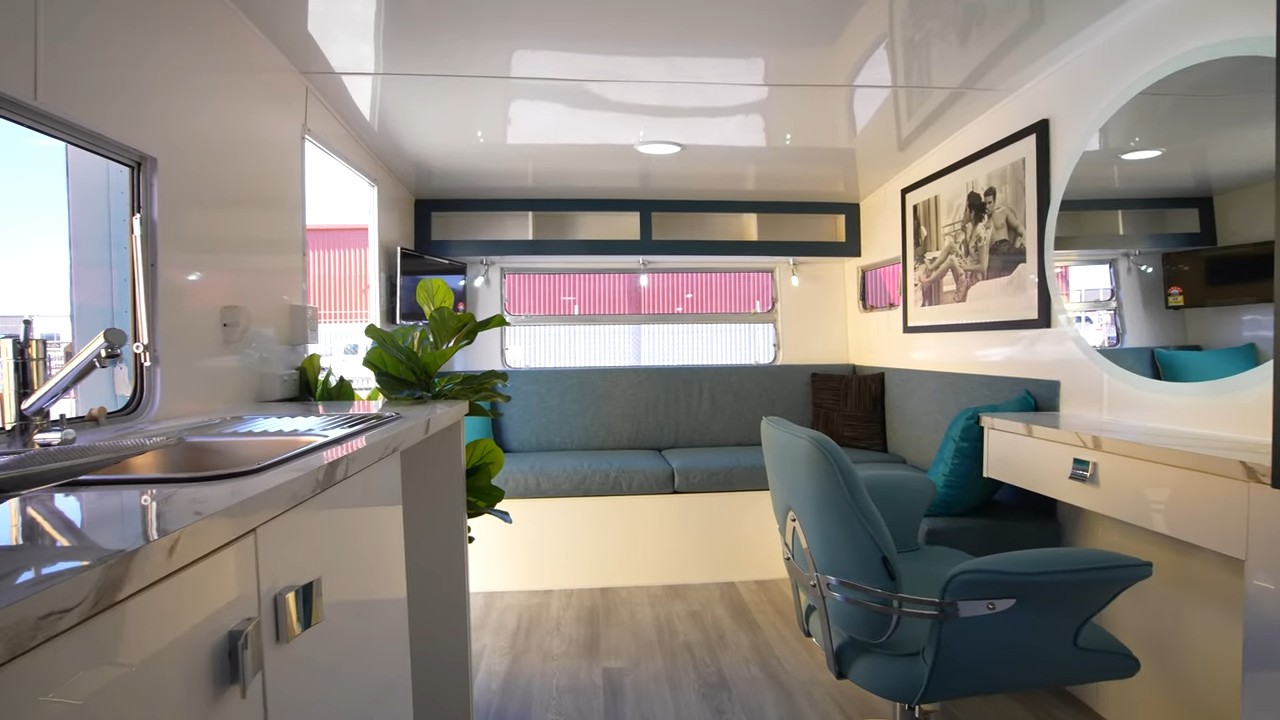
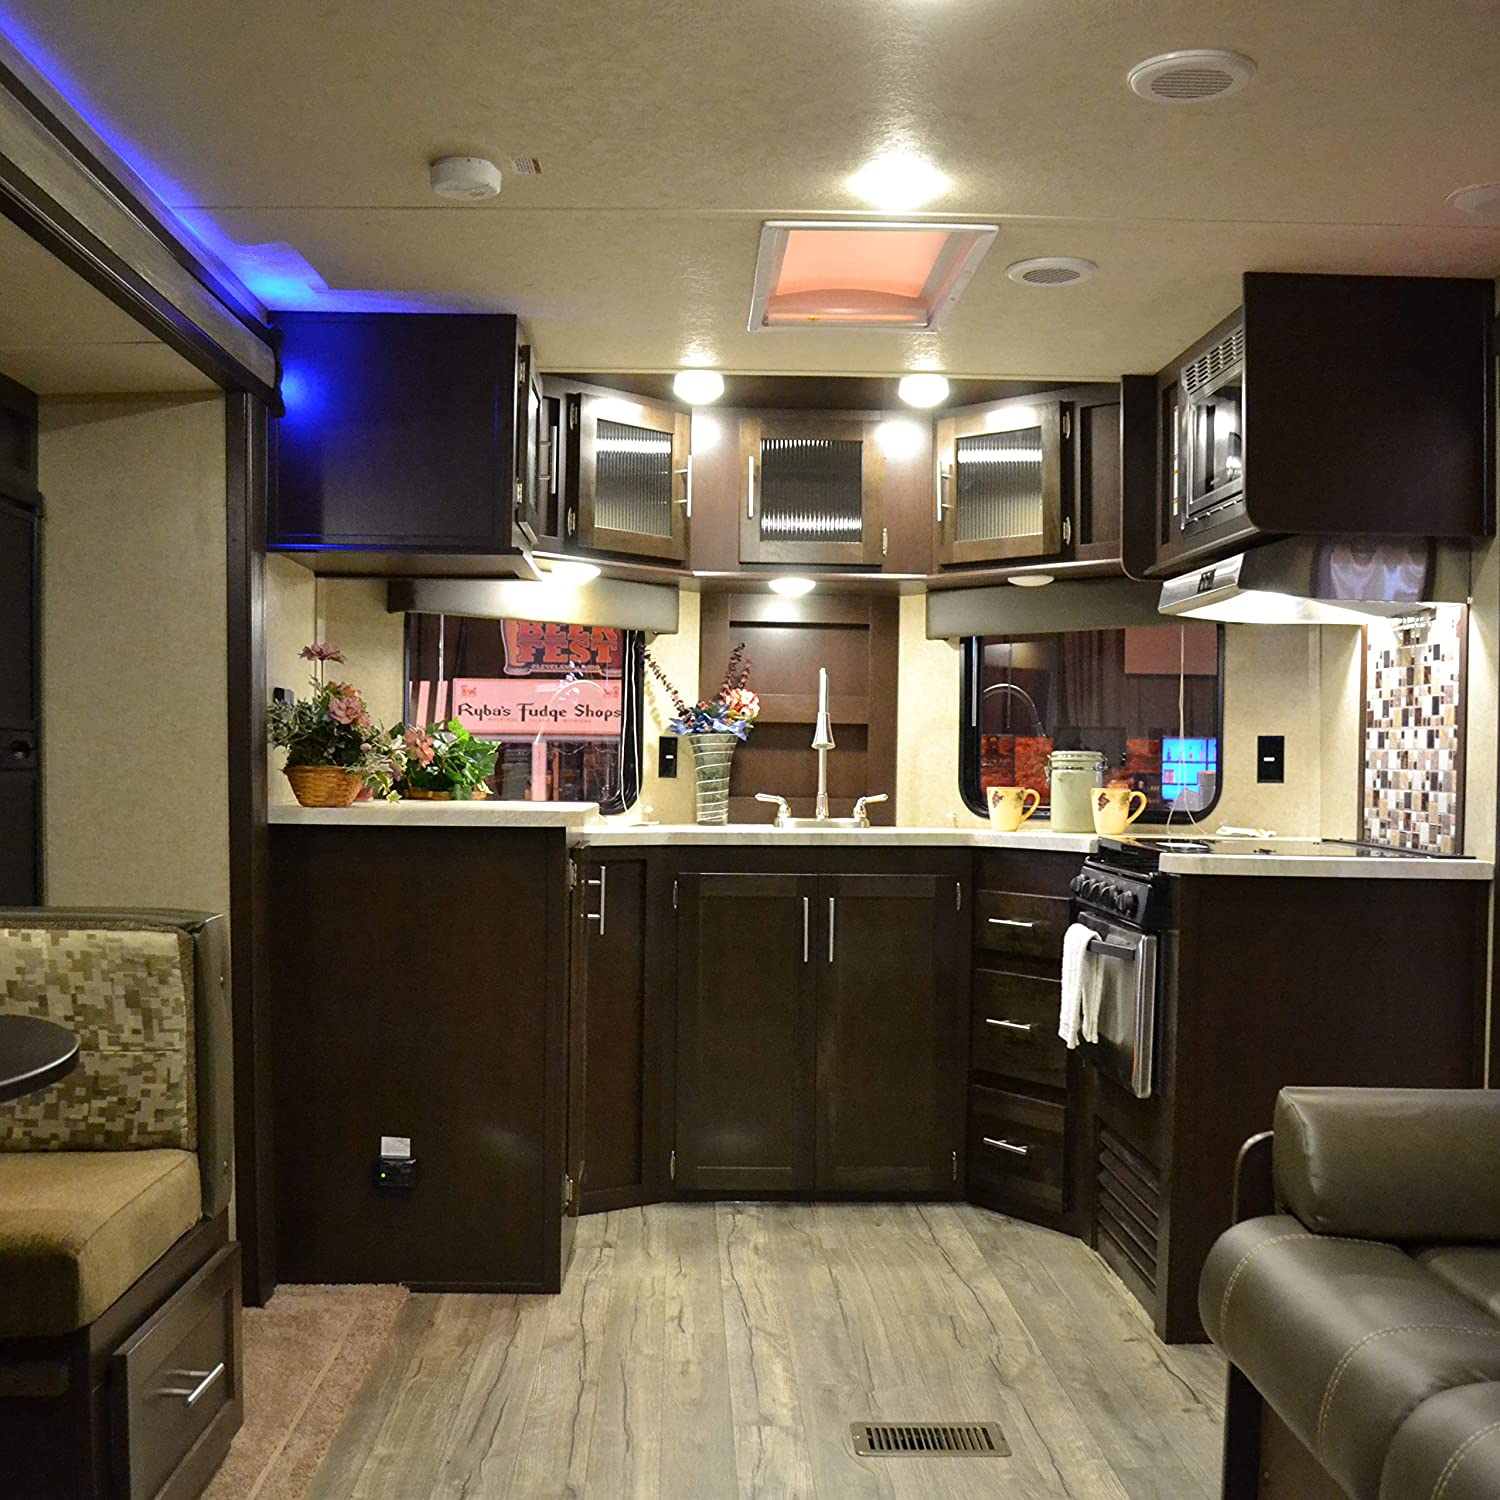
The great thing about RV lighting is it’s very basic and upgrades are simple. If you have an older RV, upgrading the RV interior lighting to LED can make a drastic difference. Although brighter, many newer RVs with LED lighting still have boring light fixtures. Upgrading these light fixtures can add a personal touch to your RV and make it homier.
Benefits of upgrading RV interior lights to LED
Traditional RV lighting utilizes small incandescent bulbs in light fixtures. These bulbs provide much less light than LED bulbs, as well as more energy and more heat, and they have a shorter service life.
Many people upgrade to LED simply for the added light. The other benefits are often overlooked, but they are also beneficial. One thing you may have noticed about traditional RV interior lights is how hot they get! LED bulbs produce very little heat, which leads to their longer life. This can also help with the discoloration of the light lenses.
The energy used by these small 12-volt bulbs is pretty low on the energy scale; however, LED bulbs do use less energy. Over time, between all the lights in your RV, this energy use can pay for the LED upgrade.
Upgrading RV interior lights to LED
There are two ways to upgrade RV interior lights to LED: bulb replacement and fixture replacement. Bulb replacement is very straightforward and the most common method.
Most RVs use one of two styles of traditional bulbs. A push-in style bulb, often labeled 912, are small bulbs with a wedge base that push into the fixture. The other style is a round twist-and-lock bulb, often labeled 1141. Both push-in LED and twist-and-lock LED bulbs are available and can be simply replaced with no needed modifications.
Bulb replacement
Bulb replacement is as simple as it gets and gives you the same final result as far as light increase goes. The lenses on the light fixtures are removed, and the traditional bulb is removed and replaced with the new LED bulb. You only need to find the correct replacement bulb and swap them out.
When replacing bulbs, it’s best to try to avoid putting pressure on the small LED lights. Squeezing the bulb can lead to damage. If you can, handle the bulb by the body and not the sections covered with bulbs. Although LED bulbs do have a long life, it is best to order some extras to have replacements.
There are many LED bulbs available of varying quality. Some of the cheaper packs of bulbs have been known to be of questionable quality. It’s not uncommon to have bulbs with shorter life and even new bulbs that don’t work.
Fixture replacement
If you choose to upgrade the entire fixture, there are also many options available. Some older RV light fixtures can become discolored or may look dated. New, bright white fixtures can give a more modern look to your RV interior.
There are also options other than the traditional rectangle flush mount fixtures. Upgrading the style of fixture, along with switching to LED, can have a drastic impact on your RV interior. Adding fixtures that are more residential in style can give an RV a real facelift.
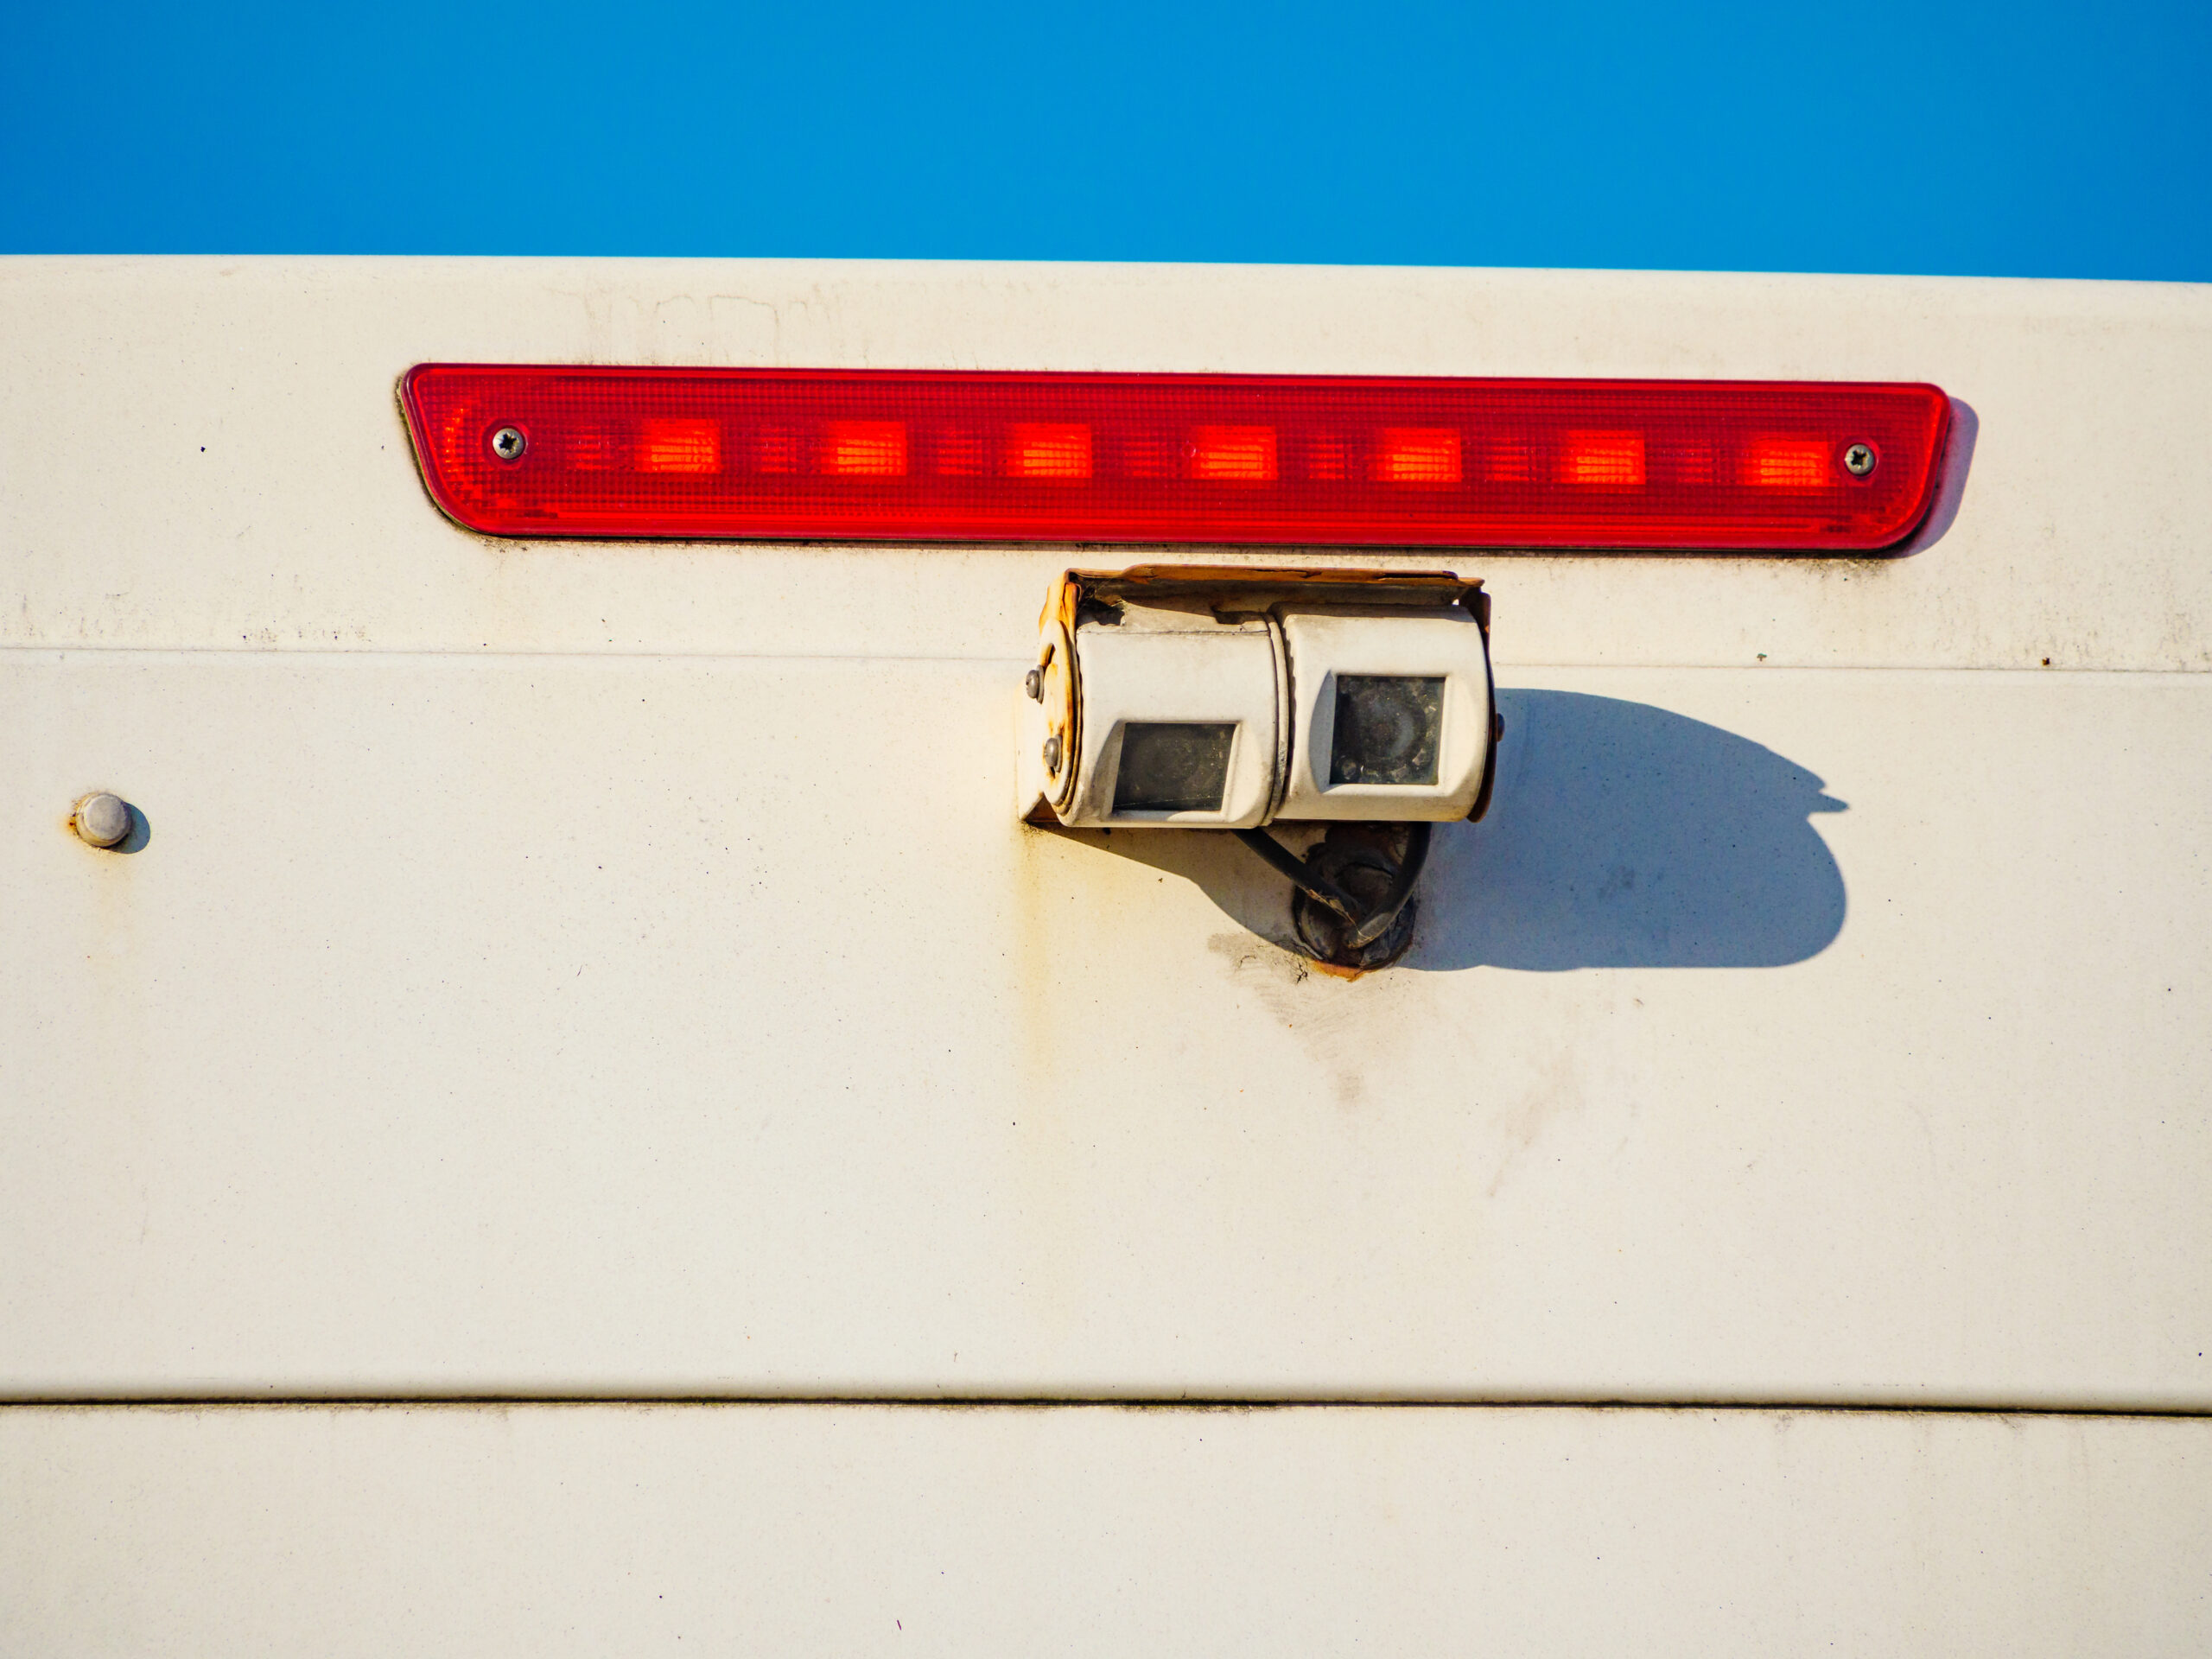
Before any electrical work is done, the first step is to disconnect the power to the RV. Your RV lights are 12-volt, meaning they are powered by RV batteries. The RV should not be plugged into shore power, and the batteries should also be disconnected.
RV light fixtures are easily removed by unscrewing them from the ceiling or wall. Many have quick connections for wiring that are simply unplugged and plugged back in. In situations where wiring is required, it is very basic. Most RV light fixtures only have one white wire and one black wire. The replacement fixtures will have two wires as well.
In most cases, the RV wires will be as follows: black will be power and white will be neutral. The replacement fixture will have two wires as well; color may vary, but white as neutral generally stays consistent. When disconnecting the wires from the existing fixture, take note of who it is wired to.
Should you upgrade to LED lights?
The cost to upgrade to LED is definitely worth it. A simple bulb upgrade provides additional light, energy savings, and an extended life. As far as RV upgrades go, upgrading RV interior lights to LED is one of the most common upgrades performed.
For anyone who uses their RV regularly, the benefits will be seen and appreciated. The upgrade is an easy DIY project that provides immediate results. Changing the light fixtures themselves can provide even greater results by elevating the look of your RV interior.
Make sure you keep track of all your RV maintenance and repairs with an online tool such as RV LIFE Maintenance. Not only can you keep all of your documents in one place, but you’ll also receive timely reminders when maintenance is due to help you avoid costly repairs and potentially serious accidents.
Continue reading:
- How To Fix Common RV Tankless Water Heater Problems
- 15+ Motorhome Accessories That Make RV Life Easier