
Why do they put so much carpeting in RVs? It’s been a mystery for some time since it’s impossible to keep clean and collects crazy amounts of dust, sand, and dirt.
Thankfully this seems to finally be changing, as they are now putting much easier to clean flooring in newer models. But don’t worry! You don’t have to go out and buy a new RV to have modern-looking flooring. Follow these steps to tear out your dirty and dingy RV carpeting and install new vinyl sheet RV flooring.

Step 1. Removing the carpeting
The first step in replacing your RV flooring is to get that old carpeting out of the RV, and to do that you will need to remove all of the furniture first. Remove the driver and passenger captain chairs by removing the nuts and bolts that secure them. These are located in the wheel well of the front wheels. Then remove the love seat and couch by simply removing the bolts that secure them.
If you have a slide in your RV as we did, you can keep the furniture on the slide while prepping and laying the main floor. Once that’s done, simply place the slide furniture on cardboard on the main floor while prepping and laying the vinyl for the slide floor.
Now remove the carpeting and padding by cutting the carpet into sections that can be easily rolled up and taken out of the RV. After all the material has been removed, you’ll be ready to start prepping the plywood subfloor.
Step 2. Prepping the subfloor
With the carpet and padding out of the RV, the subfloor needs to prepped and repaired to make the install of the new vinyl lay out smoothly with no imperfections. Carpet padding is usually stapled down to the wood subfloor with staples and sometimes the factory worker installing it uses A LOT of staples, which was our case.
Use a pair of diagonal cutting pliers to pull all of the staples from the wood flooring. Even though this tool is meant to cut wire, the angled nose also makes it great for getting under the staples and prying them loose. Crawl across the floor on your knees (with good knee pads) two or three times to confirm there are no staples left. This is very important because if you miss a staple you’ll eventually find it when it pokes through your new vinyl floor.

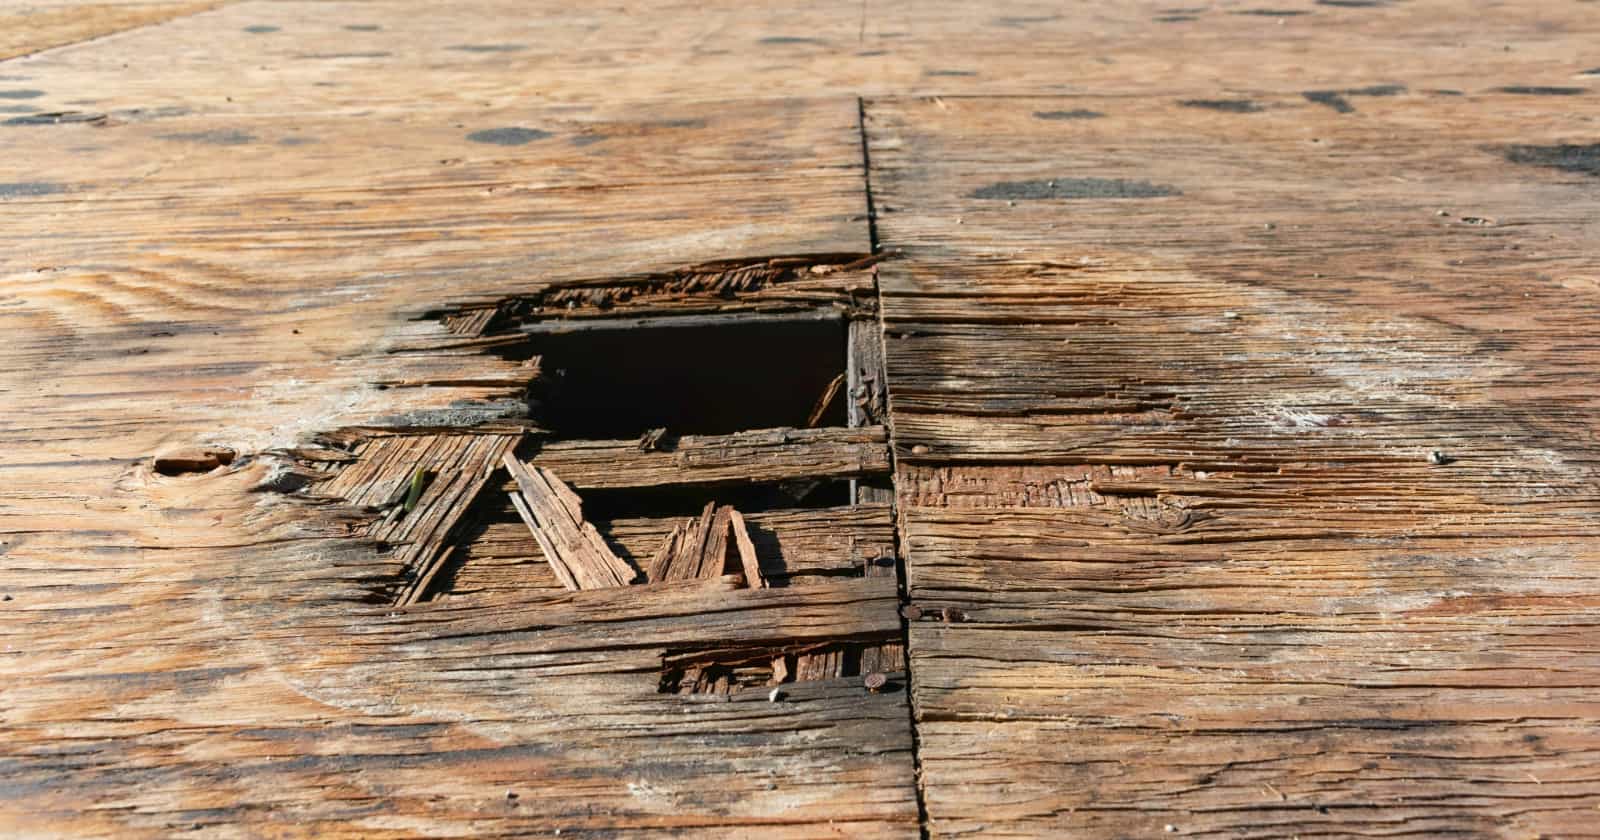
Some wood subflooring might have to be repaired to make it a perfectly level and smooth subfloor for the new vinyl. To do this, I used Minwax wood filler. Trowel the wood filler into the damaged areas with a putty knife and let it dry overnight, then sand it smooth and flat the next morning. You’re now ready to cut your sheet of vinyl.

Step 3. Cutting the vinyl floor
This step is probably the most important but it can be easily accomplished with thorough prep and attention to detail.
First, roll out the sheet of vinyl on a flat surface like a driveway. If possible, lay your vinyl out in the sun as this will warm it up and help smooth out the sheet.
To cut an exact trace of your RV floor plan, make a template by using thick construction paper that is intended to lay on floors to prevent damage.
This paper comes in wide rolls, so I recommend using a 4-foot level and utility knife to cut it into 2-inch strips. This will save paper and will also make it more manageable to lay out.
Lay the strips of paper along the outside perimeter of the RV’s floor, taping each piece together with a quality tape to create the exact outline of the floor. After you’re done taping the paper together, get your buddy to help you carefully carry it outside to lay on top of the rolled out vinyl sheet.
Once the paper is laid out smooth and flat on the sheet of vinyl, it’s time to take some heavy duty shears or snipes and carefully cut the outside edge of the paper. With the sheet completely cut, you should now have the exact piece of vinyl to lay on the subfloor of your RV. You are now ready to apply glue to the subfloor.
Step 4. Gluing the subfloor
Trowel the glue down onto the wood subfloor with the proper trowel tooth depth, it’s usually specified on the glue bucket, and let it set up for the appropriate time.
Use a nonpermanent glue if you’d like to be able to peel off the sheet of vinyl for a future replacement. I did and never had any trouble with it coming off.
After the glue has tacked up, its time to lay down the sheet of vinyl.
Step 5. Installing the vinyl sheet
With the glue tacked up and ready for the vinyl, it is time to roll the sheet up and carry it into the RV to lay it down on the glue.
Roll the sheet of vinyl up neat and straight so that when you place it on the floor it will roll out as close to where you want it as possible.
Begin by placing the roll of vinyl down on the front end of the RV and lining all your cuts up as close as possible to the walls. Now roll out about a foot and begin to work the vinyl to push out any air bubbles from under the floor.

Purchase a vinyl floor rolling tool that is specifically for this type of job. It will be well worth your money to have the right tool for this job.
Continue rolling out your vinyl little by little, making sure that it is laying out straight. Check your edges on both sides to be sure that they are as equal as possible. If you have some extra going up onto the wall, don’t worry, you can trim that down later. And if you are a little short, that can be covered later with trim or caulk. Do this until you are at the end of your roll.
At this point it’s pretty secure, but you may want to give it 24 hours to completely set if possible.
Now that the floor is done you can reinstall the furniture, add some vinyl base trim and it will look brand new!

Step 6. Slide flooring
If you have a slide in your RV, this will be an additional step you will need to complete. Now that the main floor is finished, lay a piece of cardboard down to protect the new flooring, uninstall the slide furniture and place it on the cardboard.
Now repeat steps 1 through 5 for your slide area.

Be sure the edges of your vinyl do not overlap the metal edge of the slide on either the main floor or slide floor. For the best look, pay extra close attention to cutting this edge as straight as possible.

Now that you have easy-to-clean, modern-looking flooring, grab a beer, take a seat on your couch and just enjoy the view!

Make sure you use the proper mastic under the vinyl flooring. Glues are not all created for this use. And then go to a rental yard and pickup a 100 # tile roller to make sure you get 100% of the bubbles out and the floor glued down completely. Don’t forget the roller.
Yes, there can be some scratching without the carpet there. We were very careful about having the floor swept before closing the slide and also used some small pieces of carpet in the most vulnerable spots.
The carpet was glued under the steel angle and I had to cut as close as possible to the steel to remove what I could. With some care I was able to remove enough that you couldn’t see the carpet anymore. There was not any room for the vinyl material to go under the steel angle, so I lined the material up as close as possible to the steel angle. This did not give a factory finished look, but it was the best solution I could find.
The slide rooms have skids which slide across the flooring each time they are opened or closed. Is there any issue with these skids scratching vinyl flooring? It has been my understanding that many skids have to ride on carpet to avoid the scratching issue.
This is a very difficult process to get right using sheet vinyl flooring unless you are an experienced flooring expert. Vinyl flooring can be bought in strips and installed much like tile – except you need to butt them tight. The strips are easier to handle. The vinyl strips wear like iron and if you have problems with a strip you can use a heat gun to lift it and replace it with another. You start with a strip down the center and add to the sides. If you make a bad cut it only affects one tile not the whole sheet of vinyl. I’ve used this material for years and it’s great.
Can I get some specifics about the project coach in the article? It appears to have a drivers side slide with a steel frame angle that comes down (when opening) over the floor. This begs the question, how does one remove the carpet. Will retracting (closing) the slide about 3″ be needed? Should I expect the carpet to be glued down under the steel angle? Is there enough clearance under angle to allow the vinyl material to go under it? I’m planning to remove the carpet from a Bounder DP 38N & replace it with roll goods vinyl, just like your article. Can anyone address my questions?
After you cut the vinyl and before gluing I would lay the new covering in place to make Shure it is what you want then rollup 1/2 of the new apply the adhesive roll out the covering on the glue then roll up the other 1/2 and apply the glue for that 1/2