
Removing a rooftop air conditioning unit and installing a custom watertight roof patch is a pretty easy job that anyone can accomplish with good weather conditions, basic hand tools and supplies.
Now, removing a piece of equipment that some people feel is a necessity to live comfortably is not your typical RV modification, but wait and hear me out. There are several situations where knowing how to perform this mod will come in handy, such as replacing a broken or faulty unit, replacing an old unit for a more efficient one, removing it to get more roof storage space, or removing it to make room for solar panel(s).
Maybe you can’t imagine RVing without air conditioning and that’s okay, but then maybe you’re someone who doesn’t use your A/C, so why lug around one hundred extra pounds putting unwanted weight on your rig? Either way, these steps still relate.
If you find yourself in need of extra roof storage or space for a roof basket, rocket box, or solar panels you must first have room and some things might need to be removed to accomplish that. Follow these easy steps to remove the air conditioner for replacement or space.
Step 1. Removing covers and hardware
Removing the A/C unit is the easiest step to do and this is accomplished by removing some hardware. The first part to remove is the plastic cover on the inside of the RV and it’s easily done by removing some screws and/or control knobs. With the cover removed, you should be able to access the inside of the A/C. This is where you’ll find the electrical connection for the air conditioner.
Before you disconnect the wire harness, make sure that the breaker for the air conditioner is turned off so there is no chance of a shock or short.
With the power off, disconnect the wire harness. The second part to remove is the outer decorative plastic cover located on the roof, usually secured with a few screws. With the plastic cover removed, you should now be able to access the main evaporator and condensing unit.
Next is the main hardware that connects the A/C to the roof. It is usually secured with four bigger bolts and nuts—remove those. With all of the hardware and covers out, the unit should be free to remove.
Use a Wonder Bar or putty knife to pry loose the caulk and/or butyl tape that was used to make a watertight seal on the air conditioner.
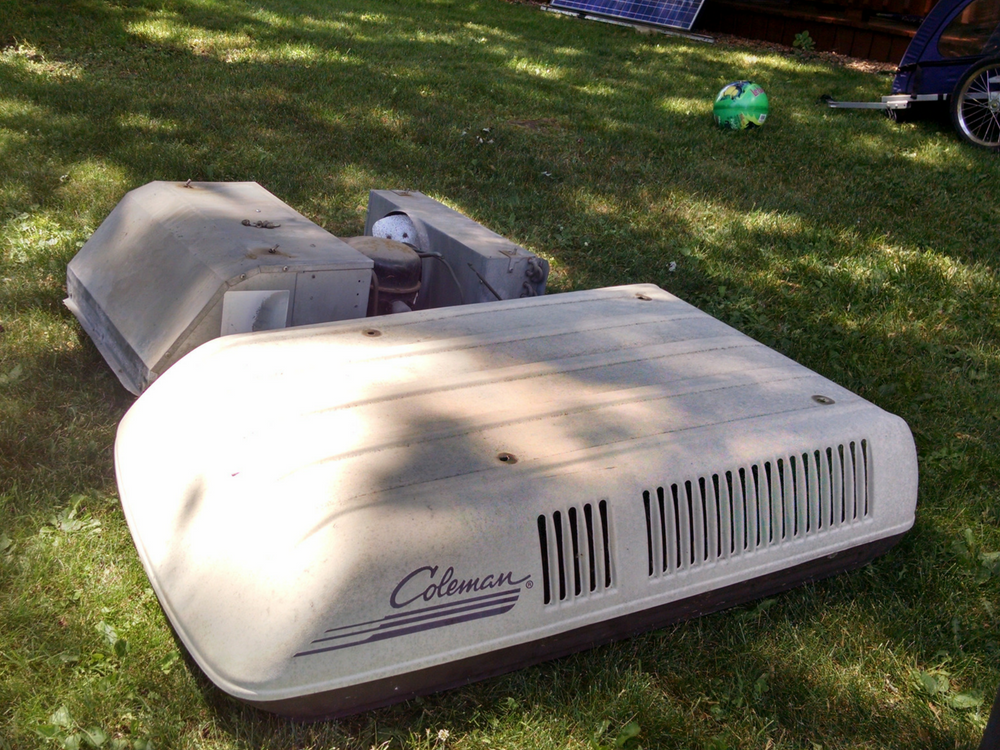
Step 2. Removing the main unit from the roof
After you get the air conditioner free from the roof, it is time to lower it down off the roof. For this part, I would recommend the help of a friend or partner to lower the main unit off the roof since it is heavy and bulky.
Be careful to not hurt yourself, your partner, or damage the RV’s roof. With the unit off the RV, that’s it. If you are replacing the air conditioner with a new unit, just follow the steps in reverse for re-installation. For a watertight install of a new A/C unit, read the following step on roof prep for a proper install.
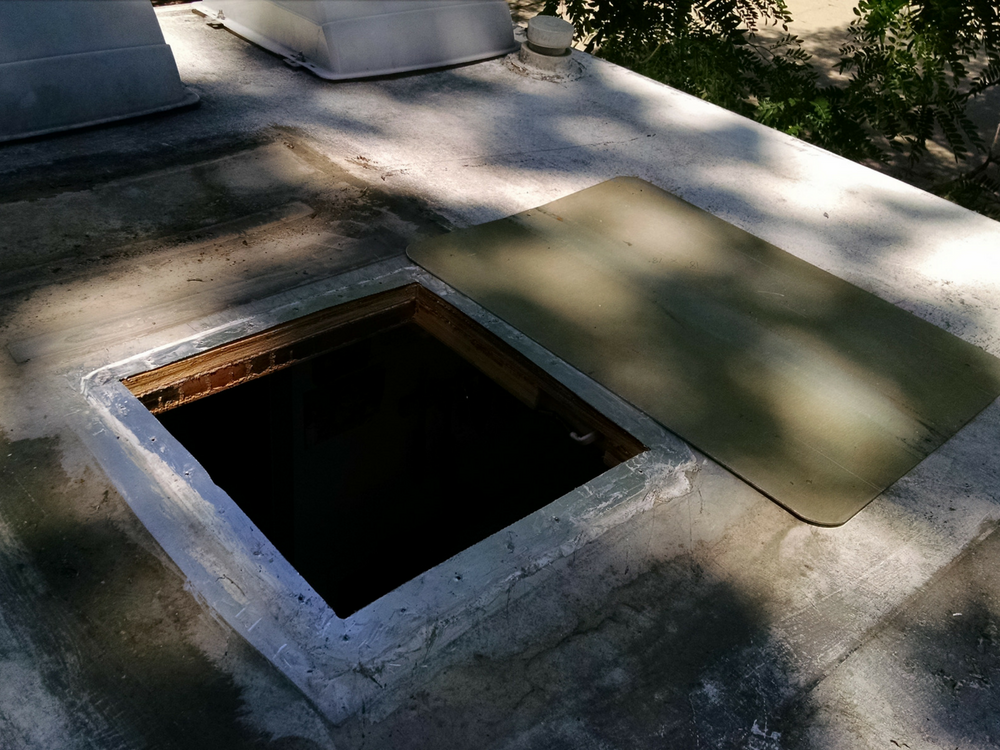
Step 3. Roof preparation
I always say for a quality job it comes down to prep, and there is no exception for this step. If it is not done properly, you will have a water leak. The most important thing is to clean the roof of all debris and dirt to ensure a good bond between the air conditioner, patch, and roof.
I found washing the roof with a light dish soap solution, brush, and elbow grease gets the job done. With the roof washed and dry, it is time for the next step of either installing the new roof unit or roof patch. All dirt, debris, grease, grime needs to be removed for a watertight bond.
Step 4. Cutting the metal roof patch
For this step, I recommend a thick piece of aluminum for it is strong and lightweight and also needs to support the weight of a person standing on it, but steel would also work.
Measure the roof opening and give yourself an extra two inches for a good overlap on the roof for the caulk. You will need to cut two pieces, one for the roof and one for the inside of the motorhome.
I used a jigsaw with a fine saw blade intended for cutting metal, then filed the edges smooth. Using a grinder on the edges works too.
Before installing the metal roof patch, be sure to have solid framing to shoot the screws into. If you need new framing installed, now is the time for that. Some wood or aluminum angle bracket can accomplish that. With solid framing, it is time to install the roof patch.
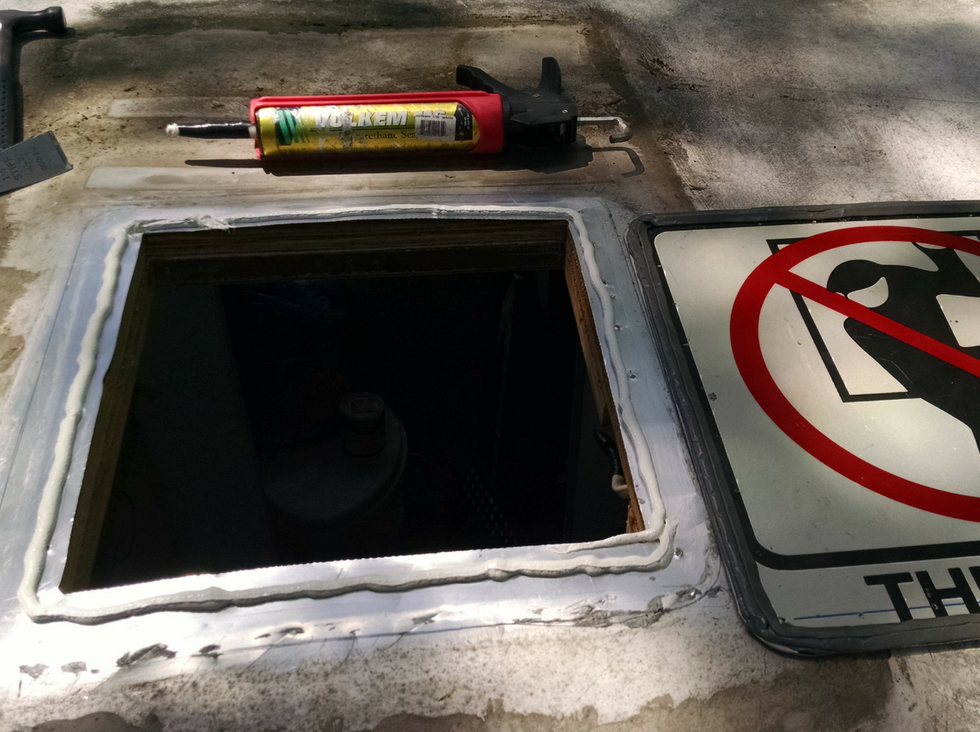
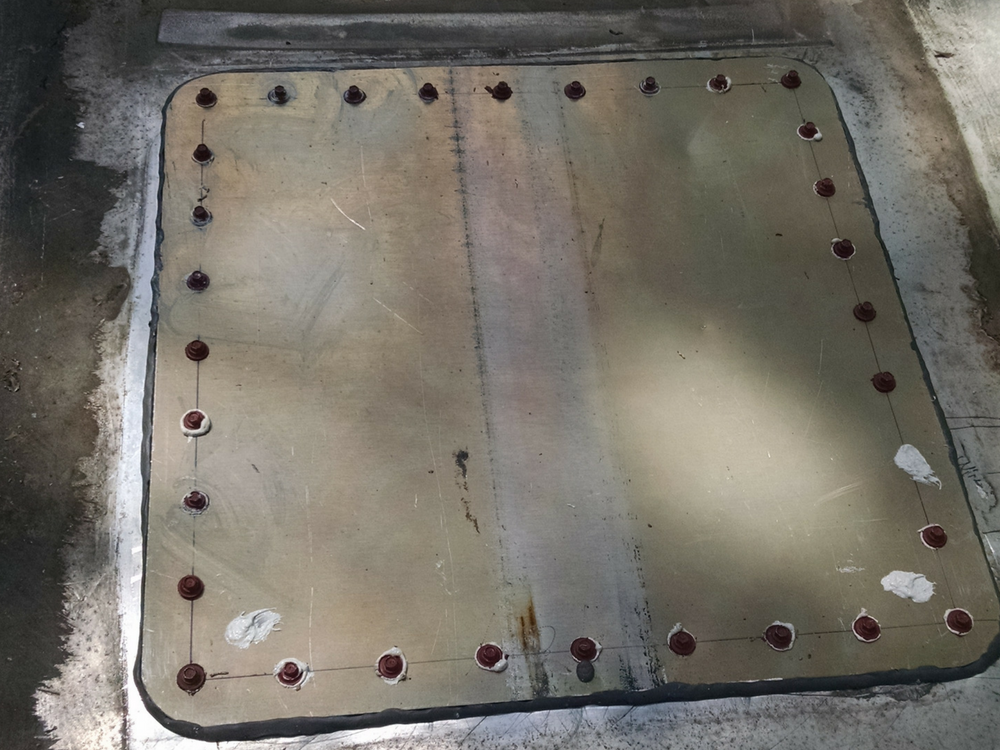
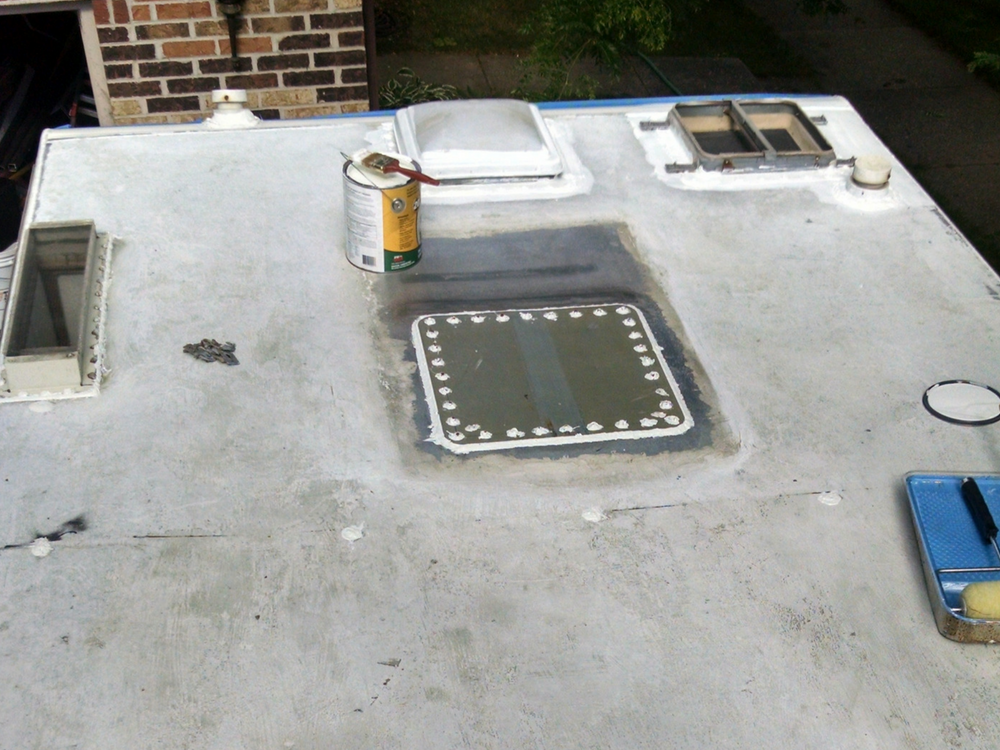
Step 5. Installing the metal roof patch
With your roof clean, dry and metal cut, it is time to install the roof patch. I used a combination of caulk, butyl tape, and sheet metal roof screws for this. The butyl tape worked as a sealant and a fastener, for when the summer heat hits the roof it will really bond. I then used Vulkem 116 to caulk the edges and all screw heads once the screws were shot into the roof to ensure a watertight seal.
Once your roof patch is installed, it is time to install the metal patch on the inside. Install some insulation and a few screws to complete the job, that’s it.
I recommend sealing your roof patch with a quality roof sealant once all the caulk has cured. This acts as another form of waterproofing and it also makes for a nice and complete look.
Whatever reason you have for removing an RV rooftop air conditioning unit, be it saving a few bucks by replacing an air conditioner yourself or if you’re trying to make room for storage or a killer solar setup, I hope these steps can help you. Travel on.


