
Every now and then you’ll see a top-of-the-line motor coach rolling down the highway pulling a matching cargo trailer or towed car.
Unfortunately, it’s not everyone who can afford to spend $10,000 or more to match the fancy swirling graphics displayed on the majority of the more pricey rigs.
Wouldn’t it be nice if you could add something that ties the two together in some way, making your rig and towed vehicle look like they were meant to be together?
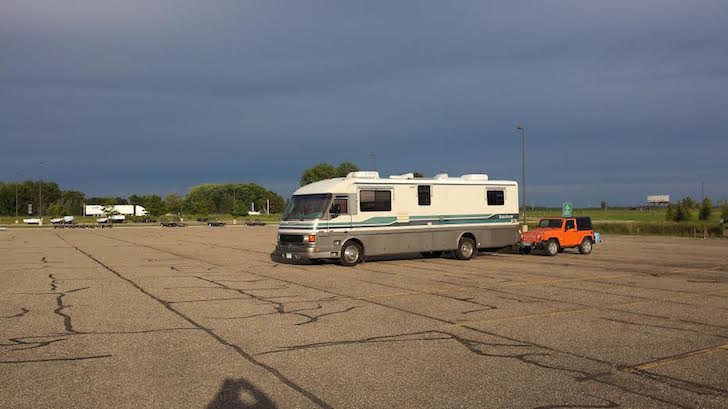
My Pace Arrow and Jeep before I decided to add a matching stripe to my motorhome.
Color-coordinating your motorhome and tow vehicle isn’t really that hard, and it’s no more expensive to do than buying less than $20 in readily available painting supplies at the nearest home center.
A Stripe Is All You Need
Tying the two units together can be done with a simple accent stripe painted around the motorhome.
There’s a few things you need to think about before you start going wild with a can of spray paint, though.
Related: How to Spray Paint the Interior of Your RV in 13+ Pictures
If your RV’s exterior consists of swirls and multiple colors, adding a straight line around the rig is going to stick out like a sore thumb.
You need to follow the general theme of your current paint pattern.
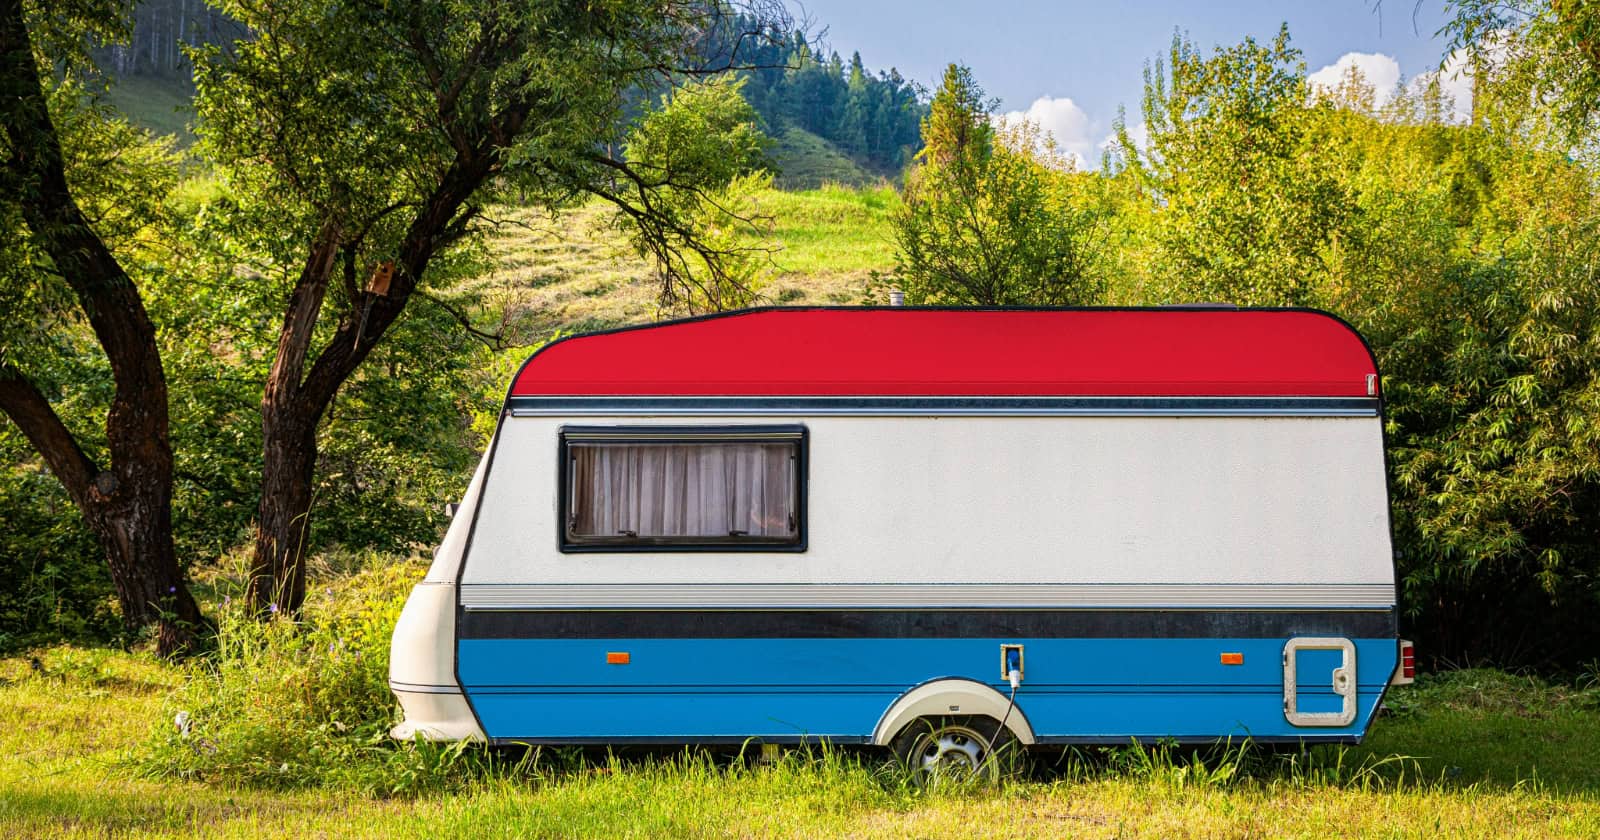
For best results, you’ll want to add the stripe to a motorhome that has a more geometric paint scheme. The most workable situation would be something similar to my RV pictured above.
I’ve got a wide trim piece with an angled trim line that continues completely around the motorhome. The towed vehicle, a Jeep Wrangler, is painted in a bright orange.
The bright orange adds contrast to the subdued color pattern on my older Pace Arrow.
How To Paint The Stripe On Your Motorhome
The actual painting of the stripe is simple. Make sure you spend some time selecting a paint color that compliments your tow vehicle. If you’re unsure of the outcome, ask others what they think of your choice, and how the color combination will look.
Follow these steps to paint the line:
Step 1.
Ensure the surface to be painted is clean of dirt or oily residue. Wipe down the area to be painted with a rag moistened with a solvent or cleaner such as turpentine. You could even use brake cleaner. I recommend using something that will evaporate quickly.
Step 2.
Lay out your stripe using only painter’s masking tape. The blue type will work just fine, but you could use Frog Tape if you’d like. The Frog Tape has a gelling agent which prevents paint from seeping under the tape. Some say the Frog Tape produces cleaner edges.
Masking off the area.
Regular masking tape has too strong of an adhesive and will possibly damage the existing paint finish when you try to remove it. These first two lines of tape will define your stripe so don’t try to attach protective paper at this point.
Step 3.
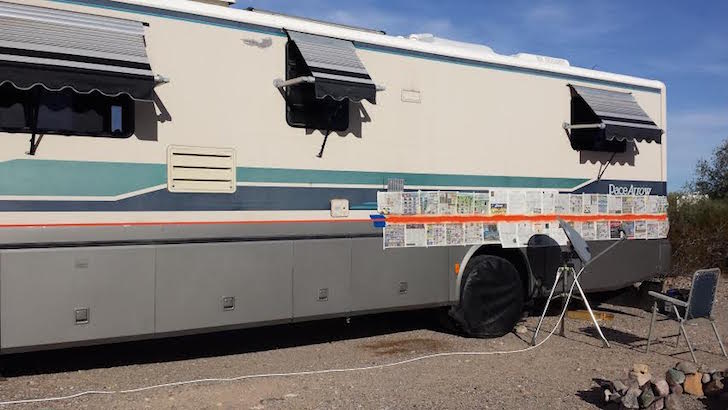
Once you have the stripe defined, add newspaper or some other protective material to assure no overspray manages to get on the rest of the RV’s exterior. The more effort you put into properly masking and defining your stripe, the better the results will be.
The actual painting is the easy part. How you prepare the area before painting will make all the difference.
Front corner just after spray painting.

Step 4.
Once you have everything masked and protected, take a fine grit sanding block and rough up the existing paint surface between the two tape lines. The tape will protect the finish of your rig, making it easy to only sand between the lines where you’ll add paint.
Don’t get over enthusiastic in your sanding, you only need to take the shine off the surface so the paint will adhere properly.
Step 5.
Using a good quality can of spray paint, lightly add a coat of paint in between the paint lines. Don’t add too much paint on this first coat.
See also: 9 Ways to Screw Up Your RV’s Paint Job
Shake your paint can well, and apply light coats. Allow the first coat to become tacky before going back and applying the second coat.
It’s helpful if you have the side of the RV that is being painted in bright sunlight. This will speed up the drying process and help prevent drips.
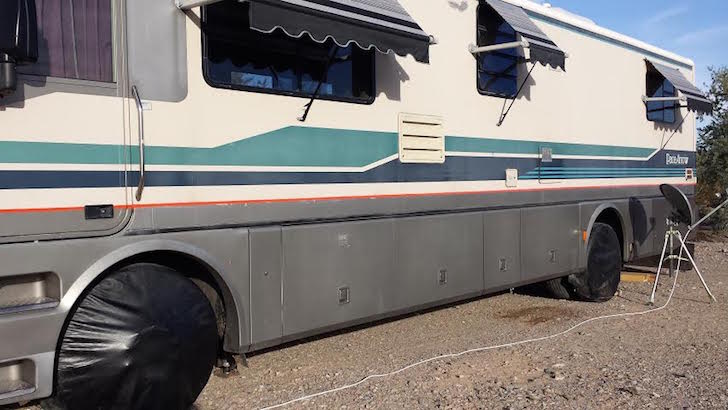
Completed side stripe.
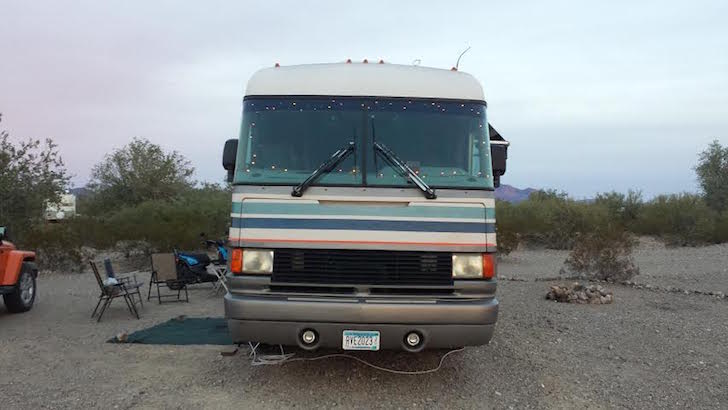
Completed front stripe.
Once you are satisfied you have complete coverage with your paint stripe, let your rig sit in the sunlight to dry thoroughly before you remove the masking material.
Patience is a plus here, you want that paint to harden so that you don’t damage your new stripe when you remove the tape.
Another Color Coordinating Option + A Bonus Benefit
If you tow a plain white cargo trailer containing your toys, adding some corresponding color from the graphics on your motorhome will greatly improve the look of your rig.
For example, you could add a zig-zag or swirl design to more closely match the exterior of your motorhome.
In the case of my orange Jeep and Pace Arrow motorhome, I plan to add a black stripe below the newly painted orange one. I added the orange stripe to not only tie the two vehicles together, but to cover some chipping and flaking of the original paint.
See also: How to Refinish Yellowed Exterior RV Hatches and Trim Using Spray Paint
The accent stripe covers the blemishes nicely. Some of the missing paint extends below the new orange stripe, so the next black stripe will cover the remaining nicks and add a two-tone effect to match the black roof of the Jeep.
I’ll let the first stripe cure for a week or two. This will prevent the blue painter’s tape from lifting off the recently-applied orange paint.
In some cases, using the primary color from one unit may not be complimentary to the existing finish on the other. It might be better to add a new accent color instead of reusing an existing color.
Conclusion
The key issue before attempting to add a line to your motorhome is: will the end result be better or worse than when you started?
Like when cutting wood – measure twice and cut once.
Ask others about your color choices, accent stripe placement, and for their overall impression of your project.
Preparing the masking is much more important than the painting itself. Take the time to do a thorough job, and be sure there aren’t any gaps in your tape or newspaper shield.
Thanks for your tip!
FWIW, I generally find it best to pull the masking tape while the paint is still wet. It leaves a cleaner edge and less likely to lift and chip.