A DIY RV Awning Replacement Guide
RV awnings are prone to fading, damage due to wind, and mold and mildew from wet storage. You may be replacing it out of necessity or for a fresh new look.
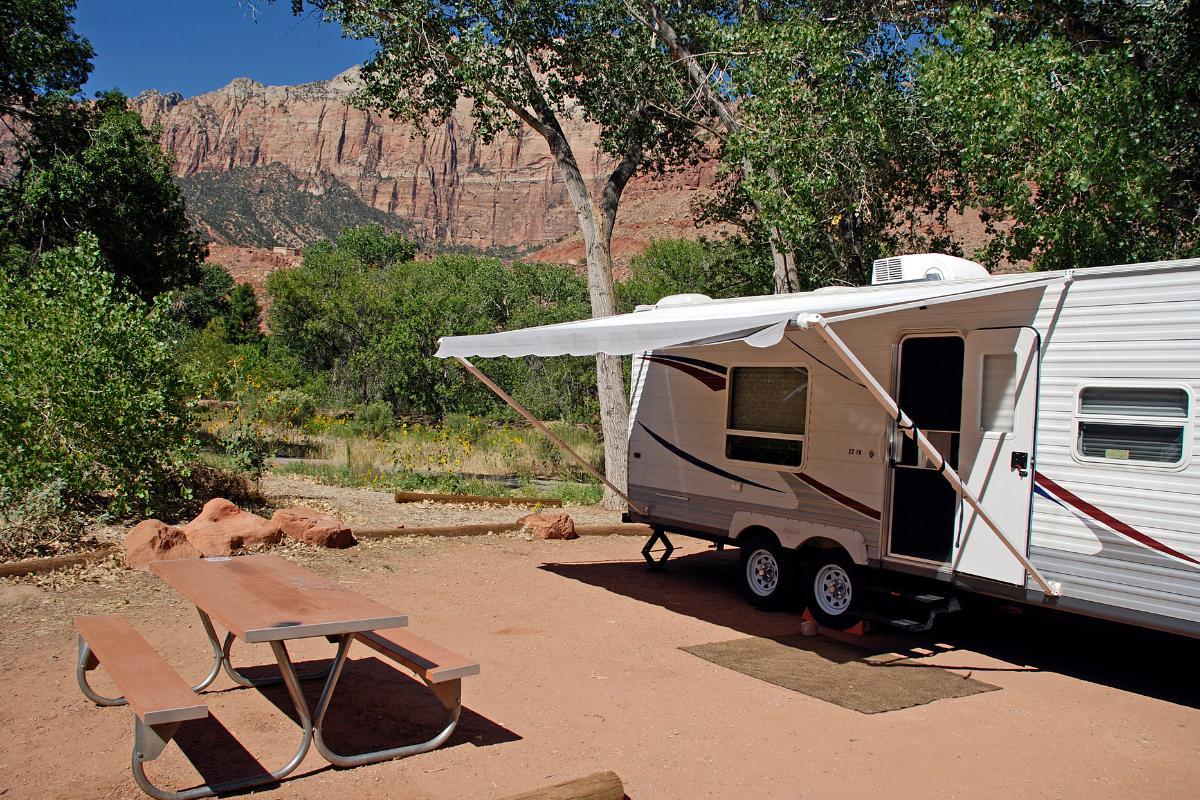
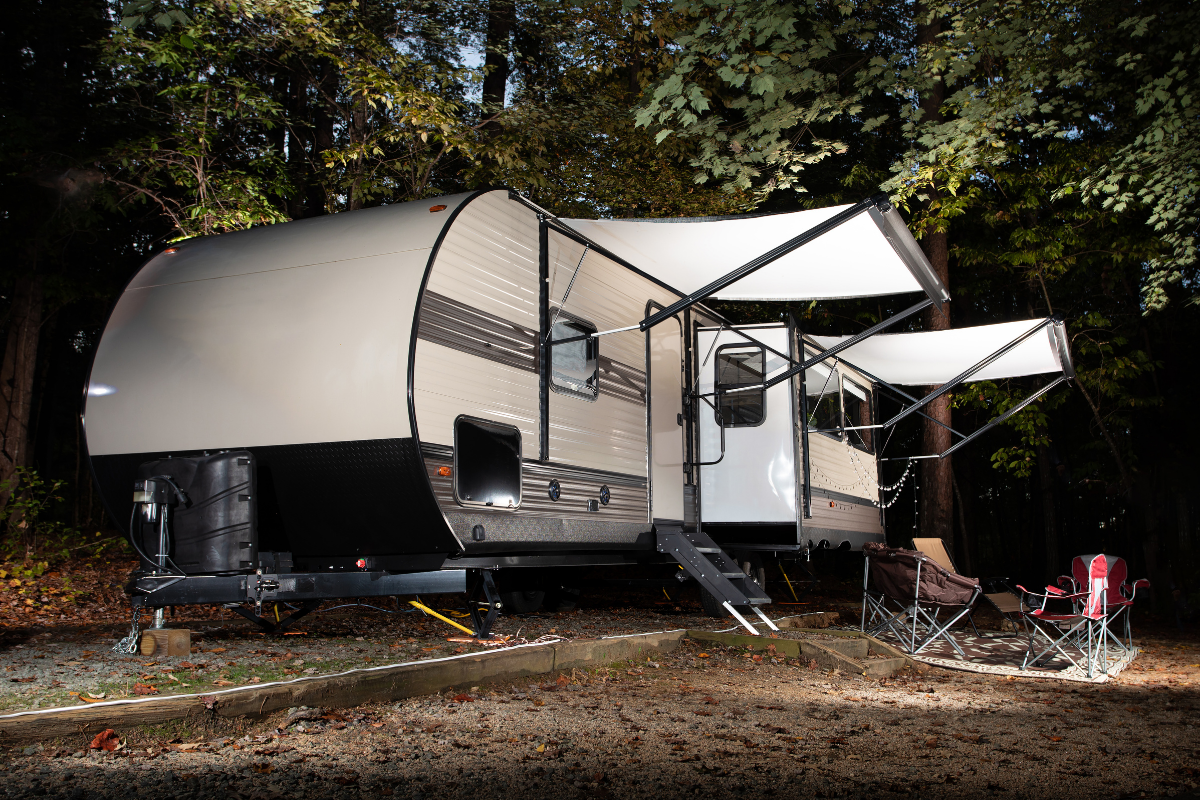
Your RV awning provides outdoor comfort and adds to the square footage of your living space. Sun and rain protection along with lighting for nighttime are all major benefits of awnings.
Here is your DIY RV awning replacement guide.
Choosing your awning
Replacing an RV awning will depend on what type of awning it is that you are replacing.
Some older RVs have a simple crank system with poles that mount either to the ground or are propped against the RV walls. Most modern RVs have power awnings that roll in and out at the push of a button and are self-supporting. Most also include LED lighting and the angle can be adjusted.
When it comes time for an RV awning replacement, you will have to match the length to your current awning. Many colors and patterns are available to match and customize your RV look.
RV awning replacement
RV awnings are large, mounted up high, and in some cases have components under tension. For these reasons, it is best to have help when replacing your RV awning.
You will need two sturdy ladders to do this along with a variety of tools.
Fabric replacement
In many cases, it is just the awning fabric that needs to be replaced. This is a job that most RVers can do as long as they are comfortable with ladders.
These steps will apply in the case of replacing most powered RV awnings.
Removal of the roller tube
- Extend the awning out approximately 12″.
- With zip ties, secure the extending awning arms to the awning frame mounted to the exterior RV wall. This will prevent the arms from moving when the awning is removed.
- Remove the screws that hold the awning material to the top rail mounted to the RV. There should be one on either end of the awning.
- Next, remove the screws holding the awning roller tube to the head of the extending arms.
- The roller tube with the material attached can now be removed and lowered to the ground.
Removal and installation of awning material
- Remove one of the end caps from the roller tube.
- Unroll the fabric from the roller tube.
- Remove the screws that attach the fabric to the roller tube. There will be on each end.
- With one person holding the roller tube, have a second person pull the fabric from the other end sliding it off the roller tube.
- Take note of how the material is on the roller tube so you know how the new material will be mounted.
- Apply silicone spray to the channel in the roller tube that the fabric will slide into.
- With helpers, slide the new fabric onto the roller tube. Make sure to center the fabric on the roller tube.
- Reinstall the screws holding the fabric to the roller tube.
- Reinstall the end cap.
Reinstall the assembly on the RV
- Apply silicone spray to the track for the awning fabric on the top of the RV.
- Slide the fabric back into the track.
- Attach the ends of the roller tube to the extending arms.
- Run the awning in and out to make sure it is straight and moves freely.
- Reinstall the screws holding the fabric to the top track on the RV.
The process for a typical manual awning is shown below.
If you are just replacing the fabric, it is a good idea to check the rest of the awning for potential future problems. Check the springs and hinges and if powered, the motor. This will save an unnecessary second disassembly of the awning.
Motor replacement
Powered awnings are common on newer RVs and are a very nice option. With any electric component, there is potential for failure. The downside to the power awning is that it may become stuck in the open or closed position if the awning motor fails.
Testing the motor will determine if it needs to be replaced. This video shows how to test and replace the motor as well as a way to open or close the awning manually should the motor fail.
Supports replacement
If the supports have been bent or damaged they can also be replaced. In most cases, you will be able to replace one support at a time without the full disassembly required to replace the fabric.
You will need a helper or way to support the end of the awning you’re working on.
When working with the hinged supports, watch your fingers!
RV awnings provide protection from the sun and rain and can add some flair to the outside of your RV. Having a properly working awning can be a lifesaver.
Make sure you keep track of all your RV maintenance and repairs with an online tool such as RV LIFE Maintenance. Not only can you keep all of your documents in one place, but you’ll also receive timely reminders when maintenance is due to help you avoid costly repairs and potentially serious accidents.
Continue reading: