Can You Save Money By Performing These Basic RV Repairs Yourself?
When they’re well-maintained, RVs can last for a long time. If you own one of these vehicles, you’ll need to keep up with regular cleanings and inspections so you can ensure it stays in good shape. Sometimes certain pieces break or wear out, and they must be fixed. Fortunately, there are some RV repairs you can do all by yourself!
RVs are quite expensive, so many people are looking for ways they can save money. Hiring a professional to fix every little thing can quickly empty your wallet. Although there are some problems that require expert help, you can do plenty of DIY repairs with just a bit of time and effort.
Below, we’ll cover a few budget-friendly repairs that just about anyone can do. Try the methods below and see if they fix the problem. If these basic fixes don’t cut it, then you can move on and call a professional. But you’ll be surprised to find just how many issues you can resolve on your own.
Sealing a roof
Many RVs develop leaky roofs after a few years. This is certainly an annoyance, but these leaks can also cause catastrophic water damage if left unaddressed. In order to protect your RV, you’ll need to patch and reseal the roof on occasion. It’s best to do this before a problem can form, but better late than never!
Begin by identifying the specific leakage point. Then thoroughly dry the area and apply your sealant of choice. Weatherproof caulking is one of the best choices, but you can also use waterproof tape or other sealants. Finish up with a protective layer across the entire roof! RV Roof Magic is fantastic for preventing leaks and UV damage.
Replacing caulking
Although you may need to apply caulking on your roof, this substance is used in many other places throughout your RV! You can find caulk around your shower, toilet, sink, windows, vents, and much more. Caulking is important because it forms a waterproof seal. In some cases, it can also prevent drafts, dirt, and pests from getting in.
Best of all, it’s simple to tear out and replace, making this one of the easiest RV repairs you can do. Most caulking is fairly soft and spongy, so you can remove it with a putty knife and a pair of pliers. If it’s one of the types that hardens, you may need to chip away at it with a ripping chisel.
Once the old layer has been removed, wipe down the surface and let it dry thoroughly. Finally, you can apply a fresh layer of caulk, smooth it out, and let it set. Depending on the product you use, it might harden in a few hours or a few days.
Replacing screens
Most RVs also come with seasonal window screens. These are useful because they enable you to open your windows and let fresh air inside while still blocking pesky insects. But they’re also exposed to the elements, which means they can fade, rip, and stretch.
If your screens are no longer up to snuff, you may need to replace them with new models. You might worry about finding screens that fit your RV windows, but you can cut out customized shapes to fit your frames! Simply remove the old screens and strip the existing mesh.
Now you just need a sheet of screen material and a screen roller tool. Outline the shape of your window frames and cut out the appropriate size (leaving a bit of extra room along the edges). Now you just need to use the roller tool to push the new cutout into place! Just like that, you’ve got a brand new window screen that’s ready for action.
Fixing a leaky faucet
Although any project that deals with plumbing might seem like a major undertaking, faucet work is one of the easiest RV repairs you can do. It doesn’t take long to fix the drips and improve water pressure.
- Shut off the water supply: Before you start working, you’ll need to shut off the water supply to your RV to prevent any unexpected sprays or leaks.
- Drain the faucet: Activate the faucet to allow any remaining water to drain out.
- Remove the faucet handle: Depending on your faucet model, this usually involves unscrewing a small screw that holds the handle in place.
- Remove the outer fixture: After removing the handle, you should be able to unscrew and remove the outer fixture, or cap, of the faucet.
- Inspect the cartridge: With the outer fixture removed, the inner cartridge will be exposed. This is often the source of leaks. You can replace it with a new model compatible with your faucet.
- Check the seals and gaskets: While the faucet is disassembled, it’s a good idea to check the condition of any seals or gaskets. If any are damaged, cracked, or worn, you’ll need to replace them.
- Reassemble the faucet: Once you’ve made your replacements, you can reassemble the faucet. Be sure to tighten all components securely to prevent future leaks.
- Turn on the water supply: With everything reassembled, you can turn the water supply back on. Check the faucet for leaks to ensure the problem has been fixed.
Upgrading and/or replacing the fixture is a bit more complex, but you can still do it without professional help. For a full guide, check out the video below.
Removing toilet clogs
Oh, toilet clogs… Everyone has to deal with them at some point. In an RV, you have to take a slightly different approach because your plumbing system is a bit different compared to traditional brick-and-mortar homes. Although it can be annoying to deal with clogs or blockages, you can almost always fix them by yourself.
There are a few different approaches to try! If the issue is a clogged or overflowing tank, you need to drain it and hose it down. Sometimes there’s a blockage in the pipe itself. In this case, try flushing boiling water down the toilet. You can also mix in a bit of dish soap or laundry detergent for extra effect. Avoid strong or corrosive cleaners because they may damage your pipes.
If all else fails, you can use a drain snake to physically push the blockage out of the pipe. Between all of these methods, at least one is sure to work!
Replacing AC filters
One of the fastest and easiest RV repairs you can do involves your air conditioner. You may need professional help for most HVAC tasks, but it’s super easy to replace the air filters by yourself. Most filters need to be cleaned or replaced every month or so. If you run your AC constantly, you might need to do it even more.
The filter size and location may vary a bit depending on your specific model. Look for an air intake grille/vent within your RV. Once you remove the cover, the filter should be within reach. Clean it with warm water and soap (if it’s a reusable model), or swap it out for a fresh one.
Changing your filters on schedule ensures that your air conditioner will continue to function! It also helps you catch any airborne particles that are floating around your RV.
Cleaning black streaks from the exterior
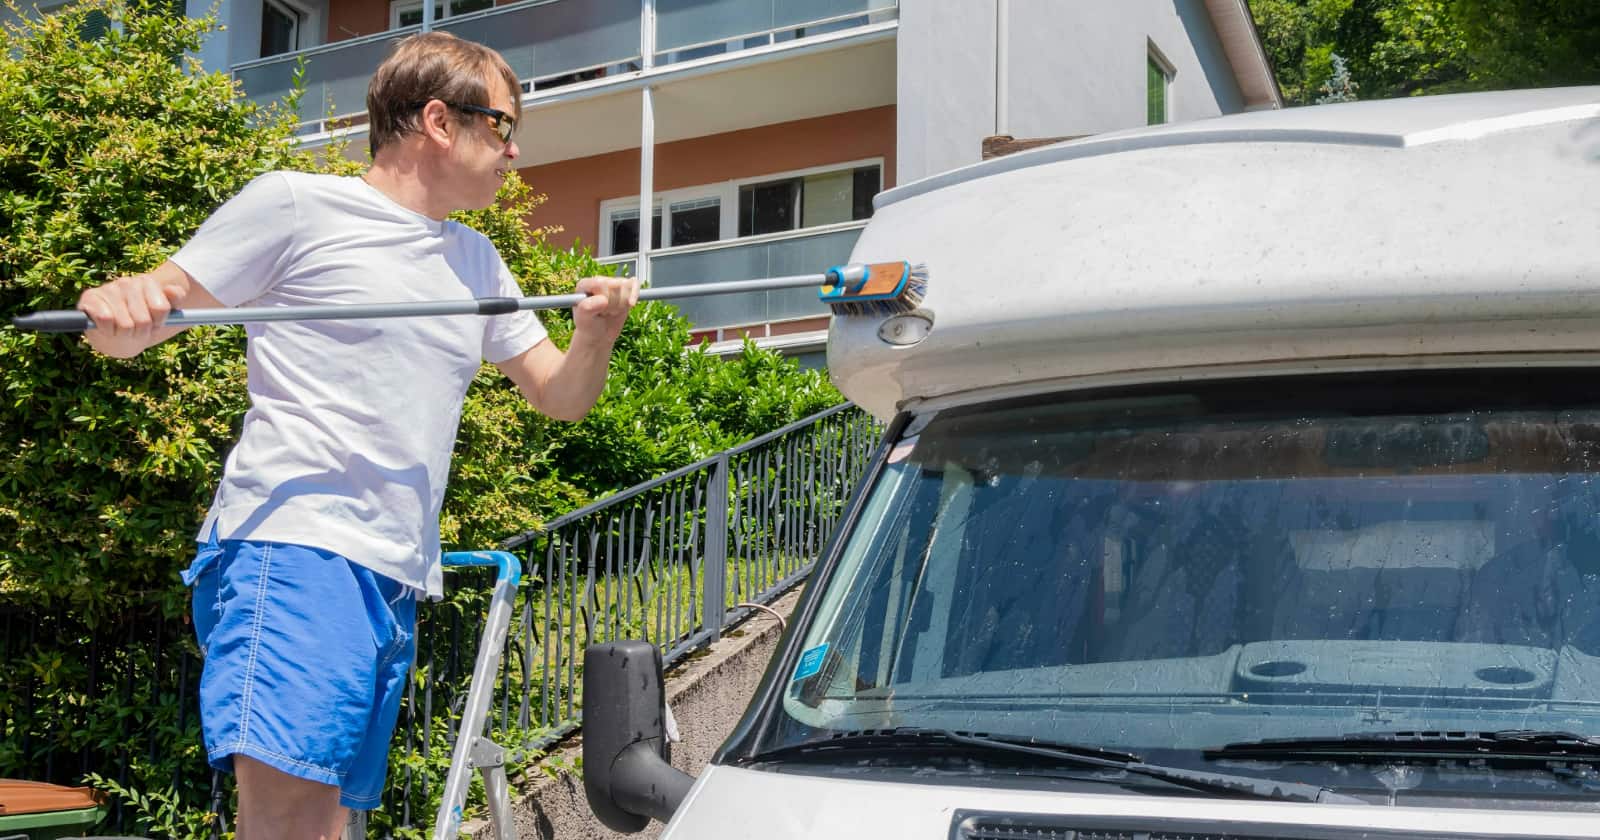
Finally, don’t overlook your RV exterior! Even if you regularly clean the outside, your RV might develop black streaks and stains. These are sometimes difficult to remove, especially if they’ve been baked onto the surface.
Black streaks are the result of hard water, dirt, and flaky roofing material. When these mix together and slide down the RV, they can form stubborn stains that can’t be budged with everyday cleaning techniques. In order to get rid of them, you need a powerful cleaning agent and lots of hard work!
There are several products you can use to loosen black streaks on your RV. Some popular options include:
- Biokleen M00509 Black Streak Remover
- Camco 41008 Pro-Strength Black Streak Remover
- WD-40
- Vinegar
- Bleach-based cleaning products
Get ready for a long battle if you want to tackle black streaks. You usually need to clean multiple times and use some elbow grease to loosen these stains. It’s hard work, but it’s much cheaper than paying a professional cleaner.
Try out some of these DIY RV repairs next time something goes wrong in your vehicle! You may be surprised at just how quick and easy some of these fixes are.
Track your RV maintenance
Make sure you keep track of all your RV maintenance and repairs with an online tool such as RV LIFE Maintenance. Not only can you keep all of your documents in one place, but you’ll also receive timely reminders when maintenance is due to help you avoid costly repairs and potentially serious accidents.
Related Articles:


Robert, how did you instaal your solar?
Thank you!
I never done anything to Mobil homes or trailers. I live in a small town that there aren’t any trailer mechanic’s and the dealers say bring your trailer down and we can fix but unknown cost ?. Most people would dump their old and buy new, some of us can’t do this so we are left to fix our own trails. All a person needs is the desire and a little savvy I have done all my weather strips, replumbed with PEX-A and flair-it connectors, replaced faucet’s, repair roof leaks in front of trailer and replaced bathroom flooring. I installed a solar system, reroofed, there is nothing I would not do because of the money. Anyone with a little go can do and their women out there that ca make guys looks like they has I will install a new awning in the next. after that it will be planning an off grd camping. You help site has gave me so much help, thank you.