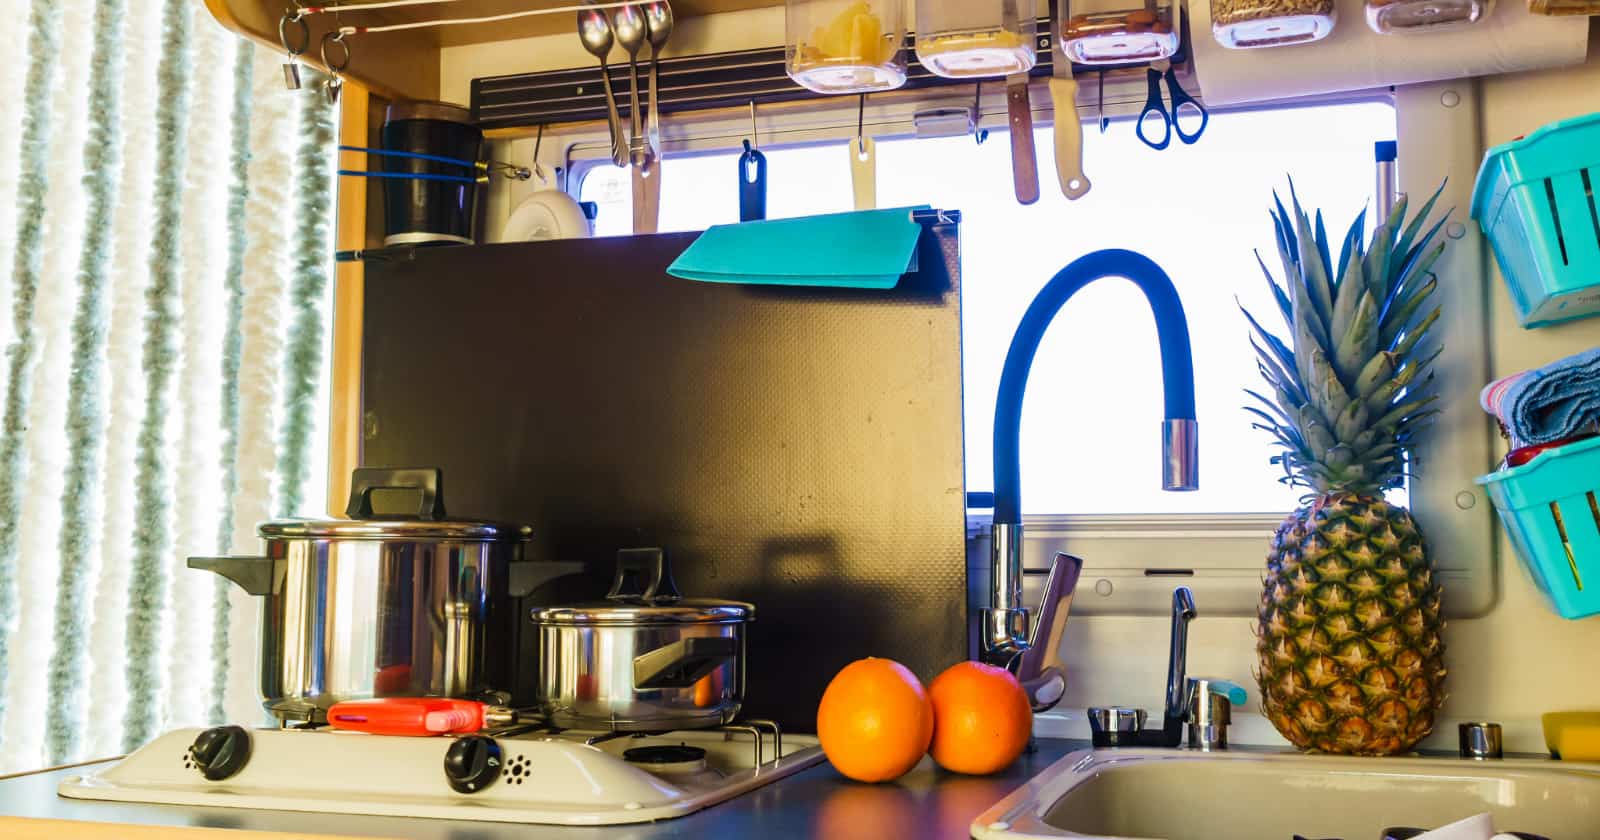
Transforming your RV kitchen with DIY floating shelves is not just a practical storage solution but also a stylish way to enhance the ambiance of your space. These shelves offer clean, appealing lines and are perfect for storing small items, from spices and cups to decorative plants and cookbooks. By keeping these items off the countertops, floating shelves help maintain a clutter-free and organized kitchen area, making your RV feel more spacious and homely.
Two Methods for Installing DIY Floating Shelves in Your RV Kitchen
- No-Drill Shelves:
- Choose Pre-Adhesive or Use Nanotape: Opt for shelves with a no-drill adhesive backing. If they don’t come with this feature, use a strong, moisture-resistant, double-sided tape like Nano Tape to affix the shelves to the wall.
- Simple and Safe: This method is straightforward and ensures your walls remain undamaged. Plus, if you decide to remove the shelves later, heating the tape with a blow dryer will make it easy to take them off without leaving any marks.
- Drill and Anchor Method:
- Proceed with Caution: Although more permanent, this method requires drilling holes and using wall anchors with small screws. Before proceeding, investigate what’s behind the wall to avoid damaging any wiring or plumbing.
- Warranty Warning: Be aware that many RV manufacturers include clauses in their warranties that prohibit drilling into walls, so this method might not be suitable for everyone.
Installation Steps for the No-Drill Method
- Measure and Mark. Use a tape measure and pencil to mark the exact location of your shelf.
- Check Level. Place a bubble level against the line. Adjust as necessary to ensure the shelf will be perfectly horizontal.
- Prepare the Shelf. If using adhesive tape, attach it to the back of the shelf where it will make contact with the wall.
- Clean the Wall. Wipe down the wall area with alcohol where the shelf will be fixed to ensure a clean, grease-free surface.
- Attach the Shelf. Remove the backing from the adhesive strip or tape. Carefully position the shelf over or under your marked line, pressing firmly against the wall for 30-60 seconds.
- Allow Time to Cure. Let the adhesive set completely, avoiding placing any items on the shelf for 24-36 hours to ensure a strong bond.
Installation Steps for the Drill and Anchor Method in an RV:
- Understand Your RV Wall Structure. Consult your RV’s manual to understand the wall structure. RV walls can vary, so it’s crucial to know where you can safely drill without hitting any electrical wiring or plumbing.
- Choose the Right Hardware. Select hardware designed for use in RVs, such as shorter screws and specialized anchors that are suitable for thinner walls.
- Measure and Mark for Shelf Placement. Use a tape measure and pencil to mark where you plan to install the shelf. Ensure that these points align with safe drilling areas as per your RV wall structure.
- Drill Pilot Holes. Carefully drill pilot holes at the marked points, being cautious not to drill too deeply.
- Attach the Shelf Brackets. Align the brackets with the pilot holes and use a screwdriver or drill to attach the brackets with the chosen screws.
- Install the Shelf: Set the shelf onto the brackets and, if necessary, secure it to the brackets using appropriate fasteners.
Conclusion
By adding DIY floating shelves to your RV kitchen, you not only gain additional storage space but also contribute to the aesthetic appeal of your interior. Whether you opt for the no-drill method for its ease and reversibility or the more permanent drill and anchor approach, the result is a more functional and visually pleasing kitchen environment. Once installed, these shelves offer a convenient and elegant way to keep your kitchen essentials organized and accessible, while also allowing you to showcase personal touches that make your RV feel like home.