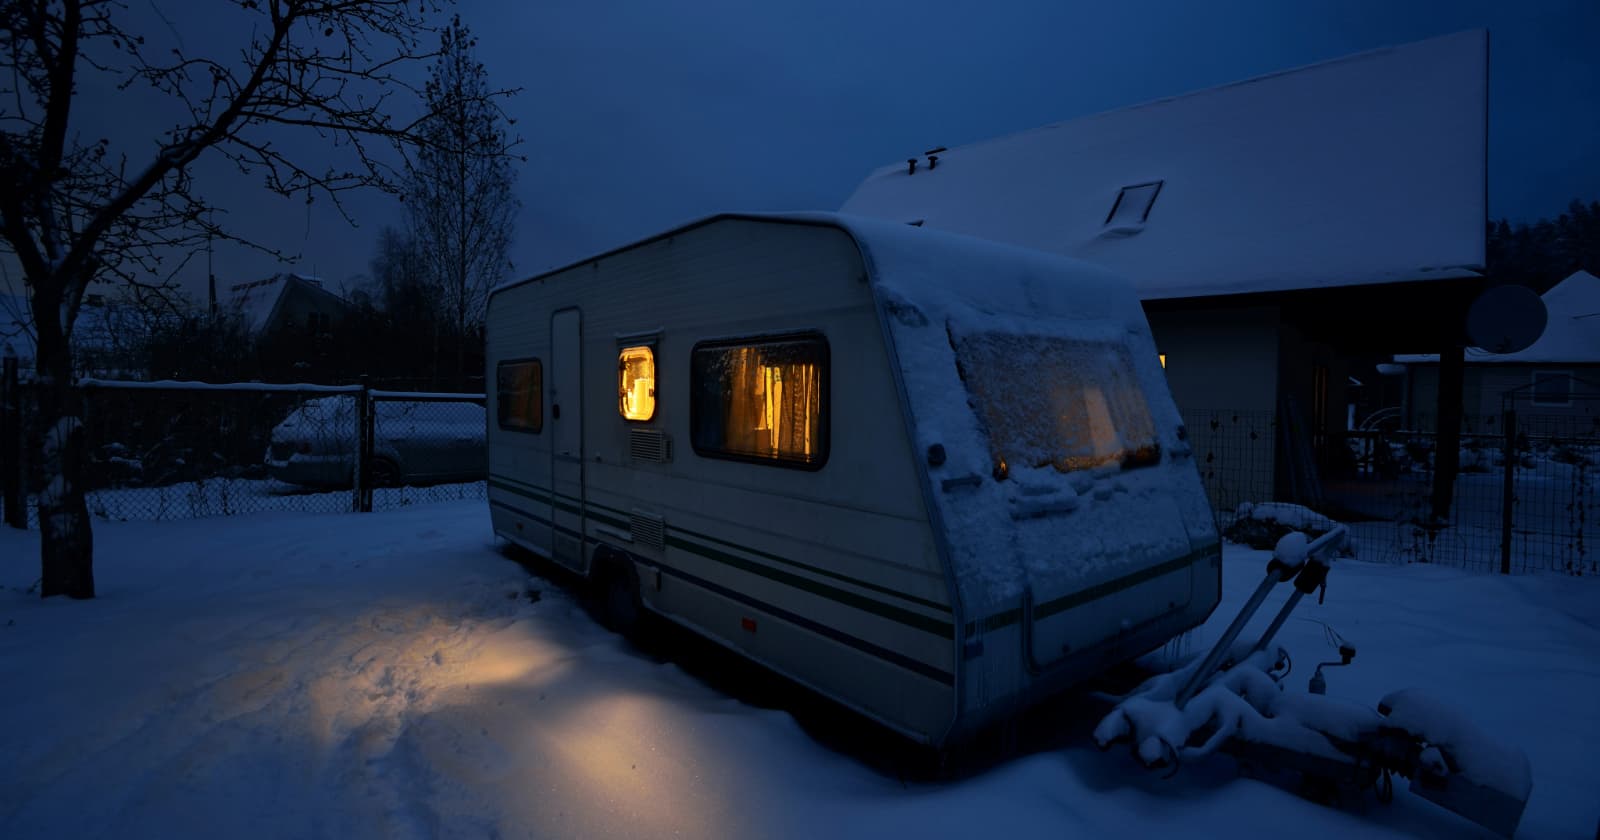
How To Winterize An RV For The Off-Season
If you’re the proud owner of a motorhome or trailer, you should know how to winterize an RV. Even if you live in a warm area, you never know when you might move or store your vehicle in a colder area. Winterizing your RV will keep it in good shape until you want to use it again, plus it’s a good time to do some general checkups and RV maintenance.
Although it might sound daunting to get your RV ready for winter, it’s not as tricky as it sounds. There are a few things you need to do, but you probably have most of the supplies on hand already! The main thing you need to do is just follow along with a checklist and ensure that everything is clean, dry, and in good shape for the winter.
Below we have eight steps you can follow to winterize an RV. There are a lot of smaller things you can do, but these steps are the main ones you’ll want to do, especially if you plan to store your RV outside. If you opt for an indoor storage solution, you won’t have to do all the steps below, but it’s still good to keep them in mind.
1. Drain water
One of the major focuses of winterizing is removing all water from your RV’s tanks and pipes. If the vehicle is exposed to freezing temperatures and still has water in the pipes, this can lead to disaster! Improperly drained RVs may experience burst pipes, cracked holding tanks, and severe water damage. By the time you’re ready to take your RV out of storage, the damage may be permanent.
As such, it’s essential to drain all the water out of your RV. Start by emptying the holding tanks (fresh water, gray water, and black water included). Dump them all out and give them a good cleaning as well.
Once the tanks are drained, you may want to use an air compressor to flush out any remaining liquid in the pipes. If you plan to use antifreeze later on, this step isn’t necessary.
Finally, remove all sources of water inside the RV as well. This includes standing water in your appliances such as your refrigerator, washing machine, dishwasher, toilet, etc. These may not cause serious damage to the RV, but it would still be bad if they froze and broke something inside the appliance.
2. Apply antifreeze
If you’re confident that your RV is completely drained, you may not need to use antifreeze in the plumbing. However, it’s usually good to apply some anyway, just in case. Antifreeze makes your RV more resilient against fluctuating temperatures, plus it’s pretty easy to add and remove as needed.
If you want to spread antifreeze through your whole plumbing system, you’ll need to bypass the water heater. You can do this using a special kit. Just disconnect the water lines, install the kit, and reconnect everything. Now you can apply the antifreeze!
Place one end of the water line in a 2-3 gallon bucket of pink antifreeze. Next, turn on the freshwater pump so it will suck the antifreeze into the RV plumbing system. Run your faucets until antifreeze drips out of them. Turn off the pump and add a few cups of antifreeze to the drains and toilets throughout the RV.
Finally, go back to the water heater and drain it. If there was any water left inside, this should be removed. Wipe it down to ensure there’s no standing water left behind, then seal it up. Now your plumbing system should be able to withstand freezing temperatures without any issue!
3. Prepare for humidity
Next up, you need to protect your RV against moisture buildup. This can lead to mold, water damage, and all-around unpleasantness. Nobody wants to find a stinking, moldy RV at the end of the winter!
Dry out any areas that may hold standing water. Using a disinfectant wipe or spray will also discourage the growth of any bacteria or mold. If you’re storing an RV in the garage or a storage facility, you could run a dehumidifier, but usually this isn’t an option. Instead, place desiccants around high-moisture areas. This includes windows, vents, closets, and storage cabinets.
4. Store battery
If you don’t plan to turn on the RV for several months, it’s a good idea to remove the battery and store it during the winter. This keeps it in good shape and protects it from fluctuating temperatures.
Take out your RV’s battery and wrap it in a few protective layers like blankets, towels, or plastic sheeting. Ensure that it stays clean and dry during its time in storage. You can bring it inside or place it in a temperature-regulated space like a basement, garage, shed, or closet. As long as it’s not in the open air, it should be A-OK until spring rolls around. Read more about how to protect your RV battery in winter storage here.
5. Use RV blocks
RV tires go through a lot, so if you want to winterize an RV, don’t overlook them. It can be hard for tires to support the full weight of an RV during the winter. This is especially true because tires tend to become weaker once they freeze and thaw.
RV blocks will help distribute the weight and keeps your tires in good condition for the upcoming season. Place blocks along the base of your vehicle and cover the tires in protective layers. These covers will help insulate the tires a bit.
6. Clean and empty the interior
Next up, it’s time to do some winter cleaning! Chances are you won’t step foot in the RV until spring or summer rolls around. As such, you should take this opportunity to thoroughly clean the interior and remove any items that you don’t want to leave.
Take out all your food, clothes, cleaning supplies, etc. Pests will be drawn to your RV if anything edible is left behind, so keep that in mind as you work. Clean out the refrigerator and cabinets, making sure to spray disinfectant on everything as you go.
Removing excess weight will also lighten the RV and make it easier on the tires, so don’t be stingy as you take stuff out!
7. Cover the exterior
The exterior of the RV is the part that will face the toughest winter conditions, so it needs a layer of protection as well. A high-quality RV cover will solve most of your problems because these are designed to stand up against wind, water, freezing temperatures, debris, and anything else that might damage your vehicle.
One great option is the KING BIRD Upgraded Travel Trailer RV Cover. This cover works for most RV configurations, and it provides several layers of protection.
In addition, you’ll want to cover all the vents in your RV as well as the tires. Some exterior RV covers include tire covers, but this isn’t a guarantee.
8. Add skirting
Finally, RV skirting can come in handy if you store your camper outside during the winter. Skirting protects the underbelly of the vehicle, plus it keeps everything clean, dry, and warm. You can buy custom skirting or employ DIY methods. You can make skirting from cardboard, styrofoam, vinyl, plastic, hay bales, or even heaps of dirt or snow. AirSkirts is another fantastic option for RV owners.
Now you know how to winterize an RV! Make sure you keep track of all your RV maintenance and repairs with an online tool such as RV LIFE Maintenance. Not only can you keep all of your documents in one place, but you’ll also receive timely reminders when maintenance is due to help you avoid costly repairs and potentially serious accidents.
Related articles: