Update Your RV Countertops With A New Look
Is it time to redo those outdated RV countertops? Save yourself some money and complete this update yourself.
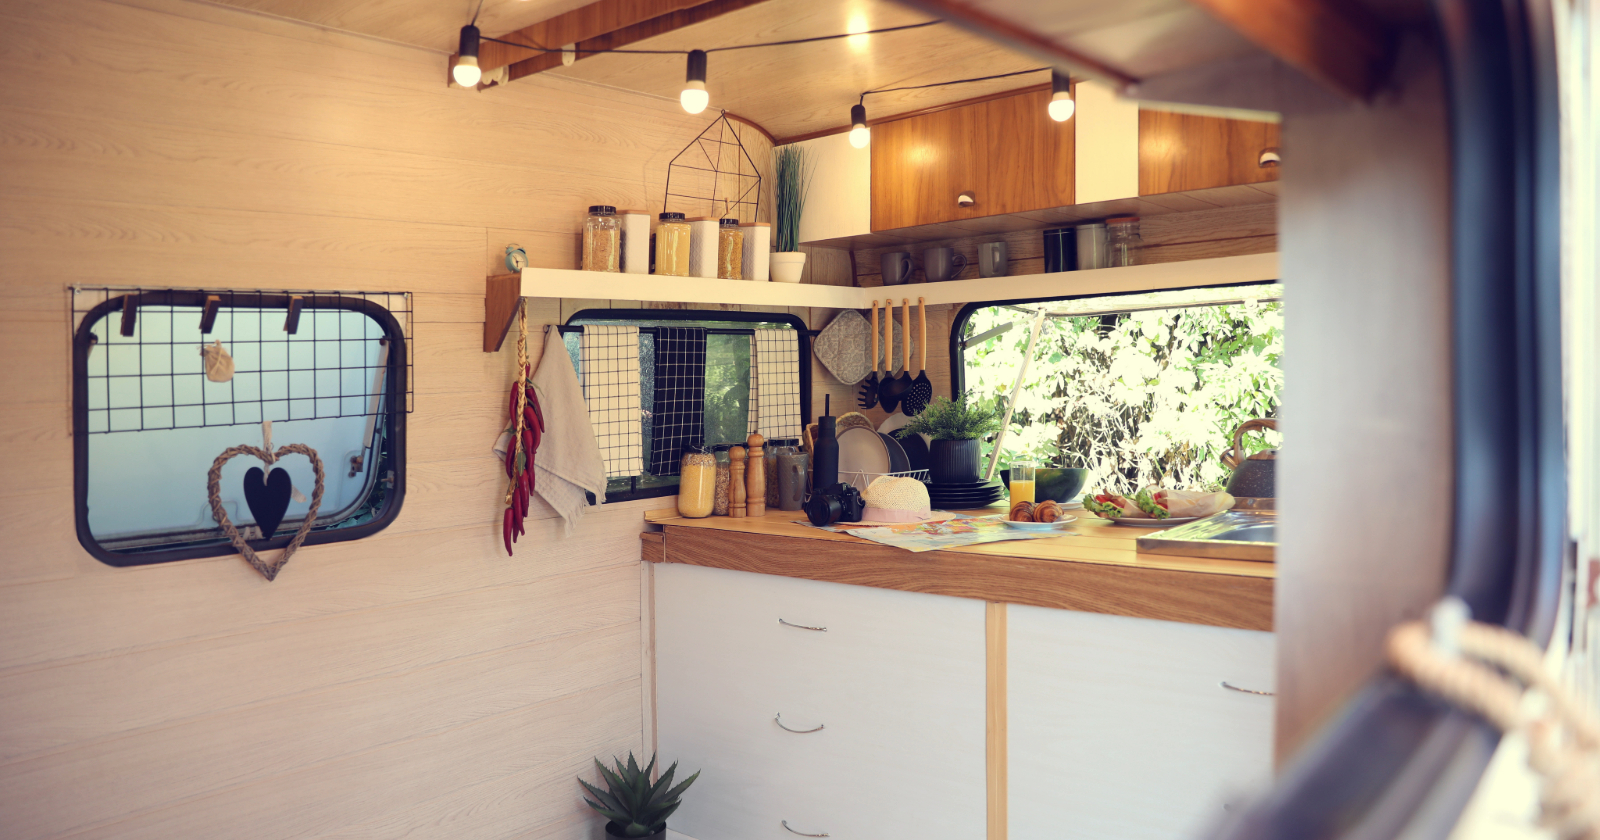
RV countertops are often dark and dated, even in models up to the last couple of years. Considering countertops can be a real focal point when you walk into a space, having something more modern can really make a difference.
Most people assume they’re stuck with whatever the manufacturer installed. Cabinet makers aren’t cheap, and anyone who has remodeled a kitchen knows the cost involved in kitchen countertops.
Luckily, you can redo your RV countertops yourself! With some basic tools and knowledge, you can have modern-looking countertops by the end of the weekend.
What you’ll need
Cabinet and countertop shops are full of large, expensive saws and machines capable of producing high-quality results.
If you have even a small woodworking workshop at home or access to one, this will make the job even easier. However, it is not necessary. This project can be completed with as little as basic hand tools and a jigsaw.
In order to do this without anything beyond a jigsaw, you will need to have someone, possibly the building supply store you purchase the material from, make cuts for you.
Many building supply stores provide this service, and it can save you time and problems even if you have access to the saws required. For anyone without some experience using table saws or circular saws, this is your best bet and money well spent.
Other tools required are pretty basic, and most of us either have them or have access to them through friends or tool rental programs. The cost of some cheap tools like a laminate trimmer may be worth it to complete the project yourself.
- Screwdrivers
- Cordless drill
- Hammer
- Square
- Level
- Jigsaw
- File
- Laminate trimmer
- Laminate roller
- Circular saw
- Miter saw
The type of countertops you decide to install will determine what specific tools may be needed.
What type Of RV countertops To install
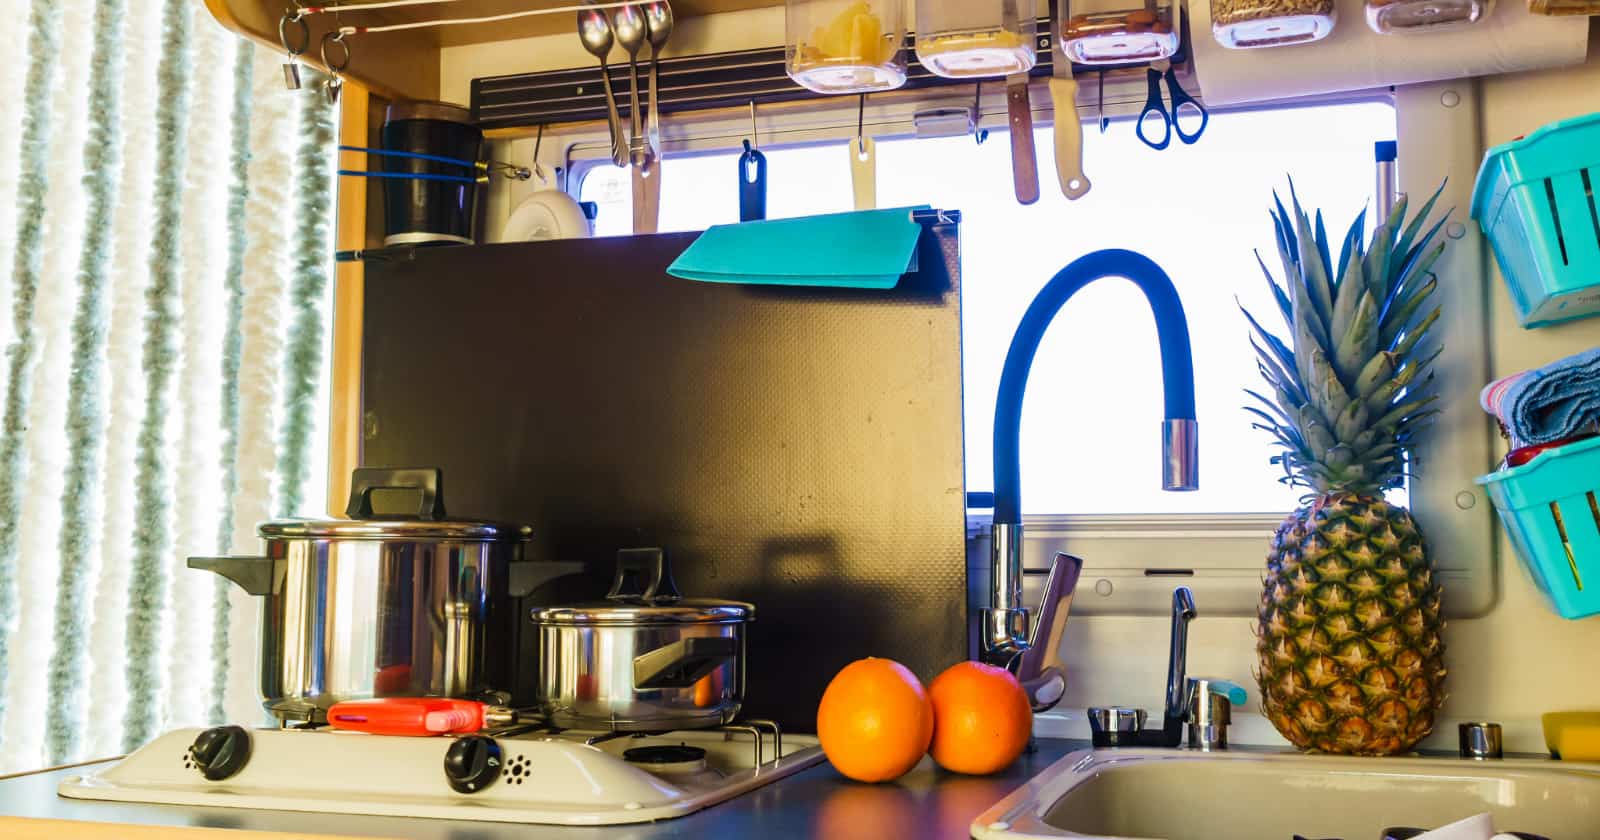
There will be three options for the majority of people taking on this task. Stone countertops are extremely heavy and susceptible to cracking from movement. For these reasons, outside of larger Class A models, they are not a great choice for RVs.
Laminate
In residential settings, laminate is often seen as the older, cheaper style of countertop. However, laminate is a great choice due to its cost and durability.
Tons of colors and patterns are available, it cleans up quickly, and it doesn’t stain easily. It can be scratched but it is very tough and durable to use. Deeper scratches or chips around the edges can be difficult to fix.
Solid surface
Solid surface tops are another great choice and are commonly used in newer models. It has an unlimited choice of colors and patterns, including some realistic-looking stone patterns.
Cost is generally higher than laminate, but prices have come down in the past few years, as it has become a very common choice. It is very durable, and small scratches and chips can be fixed since it is a solid color throughout.
More tools and techniques are required to fabricate solid surface tops, but it can be done.
Butcher block
Butcher block countertops have been around forever but have seen a real resurgence in the past couple of years.
Fabricating them can be time-consuming and requires some additional woodworking skills and equipment.
They have a beautiful natural look and are durable and can be refinished after years of use and brought back to like-new condition.
Removal Of existing RV countertops
The fun part: Demo day! Removing countertops starts with removing sinks and faucets. You will also need to disconnecting plumbing. However, it’s usually as easy as unthreading some connections. The most important step: Turn off the water supply!
Countertops are generally screwed down from underneath to the top rails on the cabinets. RV manufacturers have been known to do strange things, however, so don’t be surprised to find hidden brackets or stuff fastened to unexpected locations.
There will likely be some caulking used around the edge of the tops that can be easily cut with a knife to make removal easier.
Installing Your new countertops
Installation is essentially the reverse of removal. If no changes have been made to the size and shape of the countertops, this should go smoothly.
The time you spend on the removal and being careful not to damage anything will save you time here. Take careful measurements when fabricating the new tops, and they should be a direct replacement.
The type of tops you are using will determine some installation steps, but there are a few things to keep in mind.
This is an RV; things aren’t precise or square in many cases, so don’t try to have perfect tight tolerances on things. Leave space between stovetops and cabinets for movement will make the job less stressful and allow for the bumps and shakes your RV will experience.
Be very careful with the length of screws you use to attach your RV countertops. Seeing a screw poke through the top of your new countertops is not a good feeling.
Seal unfinished edges against walls, cabinets, stovetops, and spots where water or moisture may be present. Unfinished wood products don’t like moisture, and it can cause problems quickly if not addressed.
Why not redo Your current countertops?
If you want a fresh look for your kitchen or bath but don’t want to take on new countertops, you can refinish your current tops.
Products are available to resurface laminate countertops with no construction required.
The key to any of these products is the proper preparation of the surface and application of the product. The use of cheaper products or not properly prepping and applying can leave you with countertops worse than you started with.
Many people have success with these products, so if you go this route, do your research on the product and take time to follow the manufacturer’s guidelines.
RV countertops may seem like a job for the pros, but it is a doable project. With proper planning and some research and patience, you’ll be prepping dinner on your DIY custom countertops.
Make sure you keep track of all your RV maintenance and repairs with an online tool such as RV LIFE Maintenance. Not only can you keep all of your documents in one place, but you’ll also receive timely reminders when maintenance is due to help you avoid costly repairs and potentially serious accidents.
Continue reading: