
Transform your RV into a personalized retreat with a custom backsplash! This guide shows you how to upgrade those plain walls or replace standard designs with an RV backsplash that reflects your style. Whether you prefer to shop for unique designs or explore DIY options, we provide step-by-step instructions to help you enhance your living space with colors and textures that resonate with you. Get ready to add a personal touch to your RV and create a home that stands out!
Prepare for the New RV Backsplash Installation
Step 1: Remove the Previous Backsplash
Start by preparing the area in your RV. If the backsplash is adhered with glue, cut through any silicone seals with a blade. Use a heat gun or blow dryer to soften the adhesive, moving it constantly to avoid overheating. Gently pry up the edges with a spatula or pry bar.
For grouted backsplashes, chisel out the grout and carefully remove tiles, taking care not to damage the wall. Once removed, clean the wall with an all-purpose cleaner or adhesive remover, using a putty knife or razor blade to scrape off residue. Ensure a clean, smooth surface for the new installation.
Step 2: Prepare the Walls
After removing the old backsplash, it’s time to get the walls ready for the new one. Begin by cleaning the surface thoroughly. Check for cracks or holes and fill them with appropriate caulk or sealant, allowing it to dry completely.
Next, lightly sand the surface with fine-grit sandpaper to create a rougher texture for better adhesion. Be cautious to avoid heavy sanding, especially on thinner RV walls. Test a small area first to ensure no damage occurs.
Step 3: Try Small Backsplash Samples (Optional)
When selecting a new backsplash for your RV, it’s important to consider various options before making a final decision. What looks appealing in the store might not match your RV’s interior. To avoid potential mismatches, it’s advisable to obtain small samples from stores selling RV backsplashes.
Test these samples in your RV to see how they look in the actual space. This approach allows you to compare different styles and materials, including DIY options, ensuring the chosen backsplash complements your RV’s aesthetic and saves you time and money.
Step 4: Install the New RV Backsplash
- Prepare Your Materials: Gather all the materials and tools you’ll need for the installation. This includes your chosen backsplash tiles or panels, adhesive, grout (if necessary), and any tools for cutting or positioning the tiles.
- Apply Adhesive: Depending on your chosen material, apply the appropriate adhesive to either the wall or the backsplash material. For peel-and-stick tiles, this step is as simple as removing the backing paper.
- Position the Backsplash: Carefully place your backsplash material onto the prepared wall area. Start from one corner and work your way across. Use a level to ensure that your tiles or panels are aligned properly.
- Cutting and Fitting: In case of obstacles like outlets or irregular wall shapes, measure and cut the backsplash material to fit these areas precisely.
- Securing and Sealing: Press the material firmly into place. If using grout, apply it between the tiles as directed. Finally, seal the edges where the backsplash meets the countertops and cabinets to prevent moisture intrusion.
- Clean and Finish: Wipe away any excess adhesive or grout. Allow everything to set and dry according to the product instructions.
DIY RV Backsplash Options
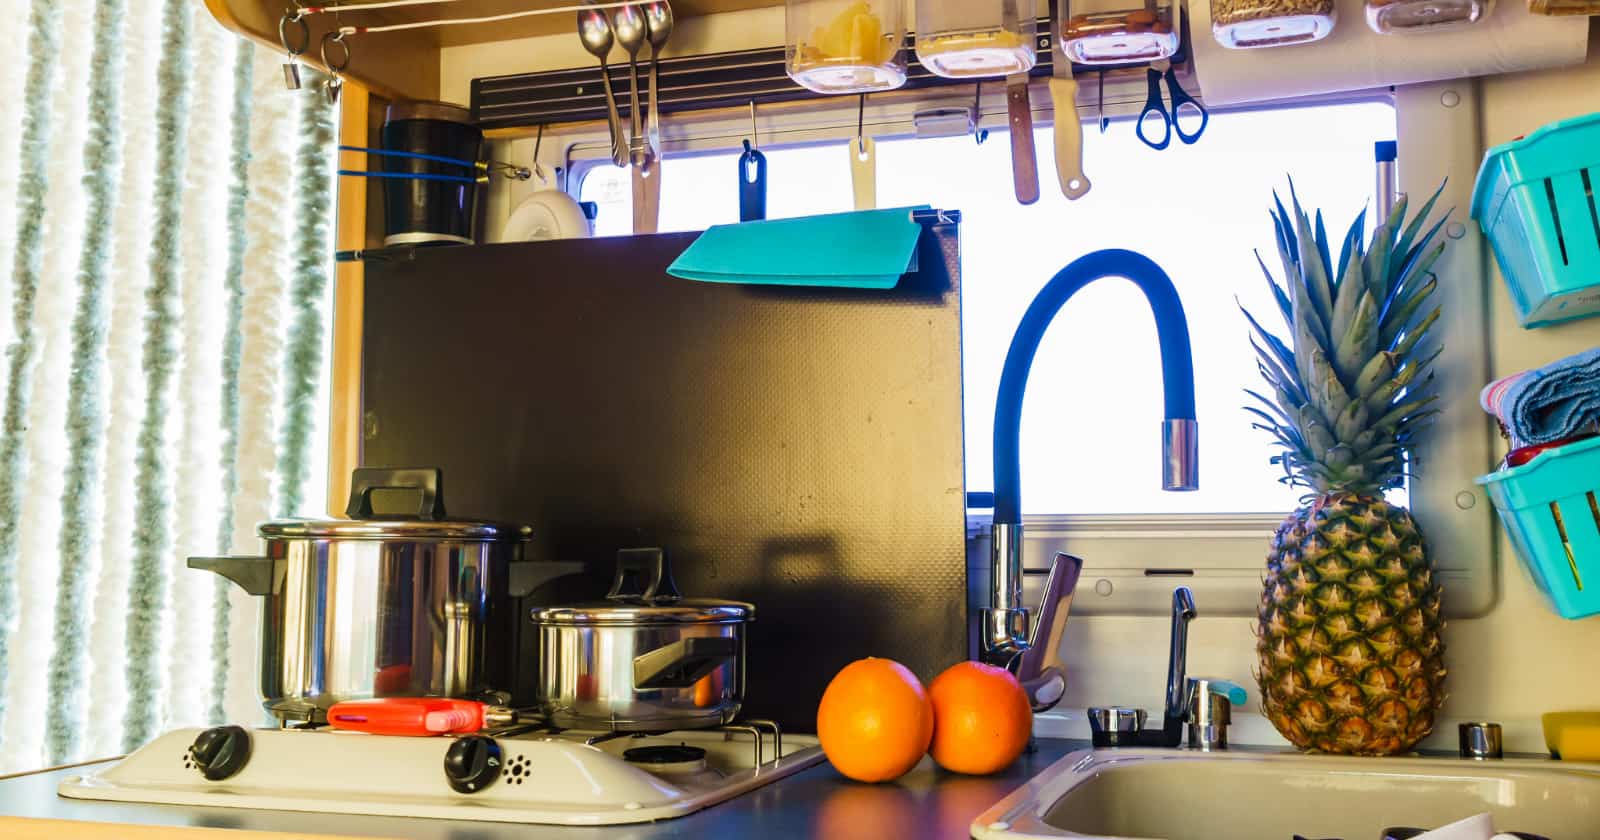
The backsplash in your RV’s kitchen or bathroom, though small, can greatly impact the overall look. You have the option to choose neutral designs that blend seamlessly or go bold with colors and textures. There’s a variety of store-bought options, but creating your own design can be more budget-friendly and adds a personal touch.
With numerous DIY possibilities, you can tailor your choice to your style and budget. The installation method will depend on the material, ranging from grouting to simple adhesives.
Ceramic Tiles
Ceramic tiles are one way to add visual interest to your RV. These come in all shapes and sizes. You can either buy a collection or visit a pottery painting studio to create some of your own! These would make great accent pieces for a wall, and they add a personal flair to the entire project.
Screen Printing
If you want to incorporate a photograph or a work of art into your space, you can try a screen-printed backsplash. These are generally made from a single panel, which is then installed between your countertops and cabinets. These prints can be projected onto sheets of metal, glass, or plastic. You can display a gorgeous landscape, a collection of flowers, a simple pattern, or a beloved family photo!
Mosaic Elements
Those who are more artistic might gravitate toward mosaic backsplashes. These can be made from small pieces of stone or tiles and are arranged into any design that you choose. This type of RV backsplash takes a lot of planning and detail work, but the results are beautiful. For an easier installation, perhaps you could assemble the mosaic on a table and then fasten it to the wall once it has been set.
Alternative Materials for Your RV Backsplash
While exploring DIY backsplash ideas, it’s crucial to consider materials that withstand the unique conditions of an RV. This means choosing options that are not only aesthetically pleasing but also resistant to temperature fluctuations and sunlight exposure.
Decorative Panels: Consider using decorative panels available at home improvement stores. Options like faux brick or shiplap panels can offer a stylish yet durable solution. They can be painted or treated for additional protection and ease of cleaning.
Custom Creations: Think about creating custom backsplash pieces that cater to the specific needs of an RV. Materials like lightweight metals, treated woods, or reinforced plastics can be both functional and decorative.
Remember, the goal is to find materials that maintain their beauty and integrity, even in varying temperatures and conditions common in RV environments.
Where To Order a Custom RV Backsplash
If you don’t want to create your own RV backsplash, you don’t have to! There are plenty of places where you can order gorgeous designs that are easy to install. Many of the options below offer high-quality tiles that have a simple peel-and-stick application process.
Smart Tiles
Smart Tiles is one of the top picks for RV backsplash projects. They are peel-and-stick tiles that come in a variety of colors, and they interlock smoothly with one another. In addition, they’re resistant to heat and humidity, so they’re perfect for kitchens and bathrooms. Check out some options at the Smart Tiles Amazon store.
Backsplash.com
As the name suggests, this website is all about backsplashes! There’s a huge collection of shapes, sizes, and materials. Most options have decorative accents to break up the monotony, so you can easily find eye-catching designs. In addition, you can get small samples to try in your RV before you commit to a full purchase. Explore the online catalog at backsplash.com
Etsy
Finally, you can always turn to Etsy when you want something unique for your RV. There are stunning backsplash options here that include mosaics, stained glass prints, decorative metal sheets, unique tiles, and much more. Learn more about custom RV backsplash at etsy.com.
Wrapping It Up: Your Path to a Personalized RV Backsplash
And there you have it! With these steps, you’re well on your way to adding a personal touch to your RV with a custom backsplash. Whether it’s a DIY project or a store-bought solution, the right backsplash can truly transform your space. Just remember to keep practicality in mind along with style – after all, it’s your home on the go. Happy decorating, and enjoy the journey of making your RV uniquely yours!
Related Articles:
- RV Renovations: Try These Budget-Friendly Upgrades
- Installing Smart Tiles Is Just This Easy – Because You Deserve A Better Looking Backsplash
- Retile RV Kitchen To Improve Look And Durability
N
Jo Ann! You can certainly share your photos via iRV2 forums like this thread–https://www.irv2.com/forums/f258/backsplash-renovation-536345.html and then share the link on the comments here once you’ve shared them!
I redid my rv back splash with Stonecoats Art Epoxy. I used a plastic thin sheet purchased 4×8 sheet from Home Depot. I coordinated my backsplash with my countertops. OMG outstanding…….applied sheet with 3mm spray glue……
I would summit photos if this site allowed me to…..