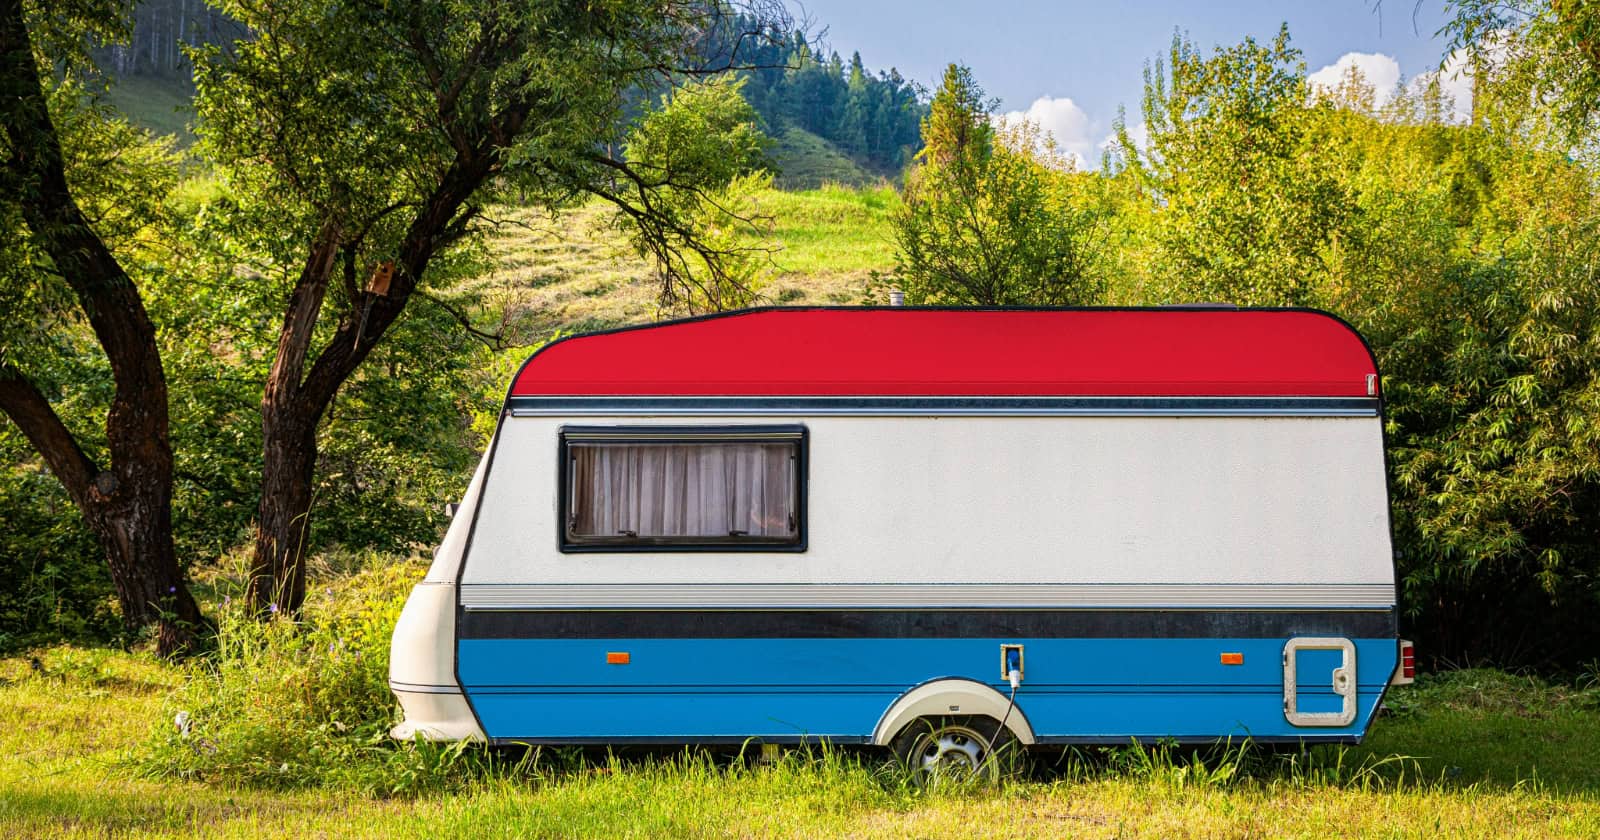
How To Repair RV Fiberglass Exterior Damage
Many RVs are made of fiberglass because it is resilient and perfect for the large structure of a camper. However, this material can also sustain damage over time, including cracks, holes, and scratches. If you want to know how to repair RV fiberglass exterior damage, we’ve got your back!
Depending on the severity of the damage, you may be able to repair it with DIY techniques. However, if the fiberglass has huge cracks or holes, you may need to pay for professional help and replacement panels. Let’s cover what you can do to fix the damage at home!
Inspect RV surface
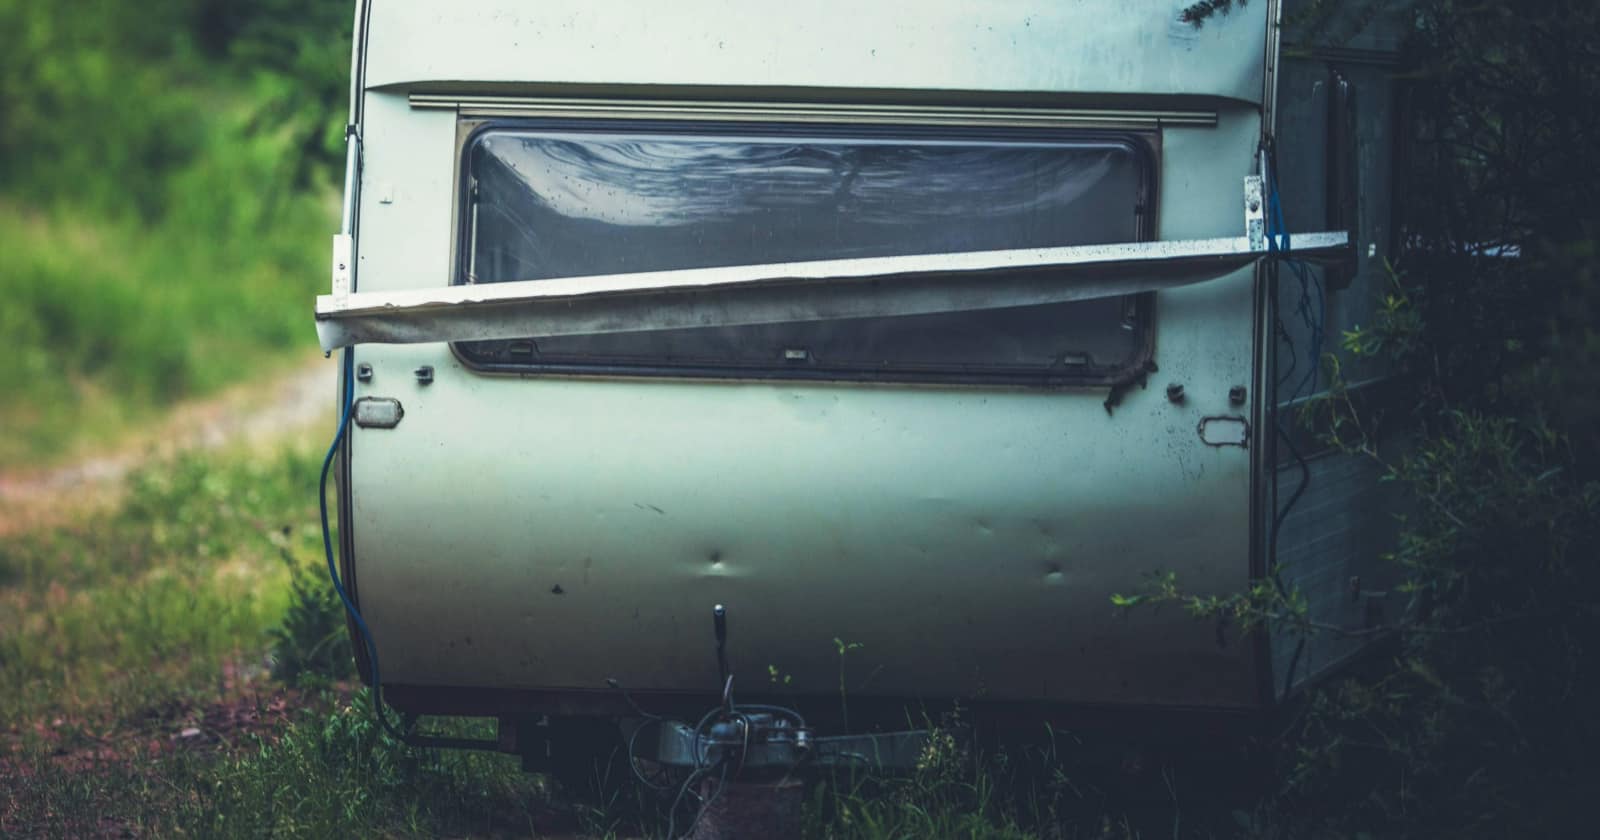
The first step of any RV DIY project is to take a thorough look at the whole surface. There may be a super obvious hole or scratch somewhere, but there could always be smaller ones hiding around the corner. Make sure you check the front, back, sides, and even top!
Make a list of the problematic areas and double check so you don’t overlook anything. Now that you’ve identified all the areas that need attention, we can get into the guide of how to repair RV fiberglass exterior damage!
Put on safety gear
The next thing to do is to keep yourself safe. Working with fiberglass can create a lot of dust, and you don’t want to get this in your eyes or mouth. Wear safety goggles and a mask that is suitable for filtering out particles of dust, sand, etc. An N95 mask is one of the most effective options to use.
Wear gloves that are easy to work in as well. You’ll be handling materials that are gritty, sticky, and possibly sharp, so hand protection is essential. Wearing long sleeves also helps to prevent the fiberglass dust from settling onto your skin.
Once you’re suited up, it’s time to get to work!
Clean and sand the surrounding surface
Wipe down the area you need to fix. It’s easier to see the damage once all the dirt and grime is out of the way. This also prevents any debris from getting deeper into the surface.
Once the exterior is clean, use a sander to smooth out the area and remove any loose edges. It might seem counterintuitive to sand down the surface you’re trying to fix, but sanding will actually help to reduce the wear and tear in the long run. If pieces remain loose under the surface, they’re more likely to split and fray again.
Use a commercial sander on the fiberglass surface and cut away any large hanging pieces. You can use a rougher type of sandpaper to begin with, but finish up with a fine grit (200-220) so that everything is nice and smooth.
Replace insulation (If necessary) and fill in holes
When you want to know how to repair RV fiberglass exterior damage, it’s important to acknowledge that sometimes this damage goes deeper than the surface. If the crack or hole is severe, it might be deep enough to expose the insulation beneath.
If this is the case, you’ll need to replace some of the insulation to ensure that the whole RV is protected against the elements. Expanding foam insulation is a good pick for jobs like this because it will automatically fill and patch any holes. Make sure you give it time to dry before moving on!
Sometimes the fiberglass damage goes deep and has created a very uneven surface to work with. Before you apply the outer coating, you need to even out the damage and create a smooth work surface. Using an auto body filler is perfect for this! You can apply this with a putty knife or spatula to create a smooth finish.
Give everything plenty of time to dry and set. Once that’s done, you can move on to the final steps!
Apply fiberglass resin
Now that you’ve done all the necessary work on the base, it’s time to cover it up. When you want to know how to repair RV fiberglass exterior damage, you may be tempted to skip right to the final step of covering it up with fiberglass resin. But this only works once you’ve fixed all the damage under the surface.
Fiberglass resin is a type of malleable plastic that you can spread over the affected area. Make sure you spread it thoroughly over the area so that the auto body filler, insulation, and everything else is completely covered.
Apply the resin in the smoothest coating possible. Once you’re satisfied with the application, step back and give it time to cure. When everything is dried and hardened, use the sander one more time to create a smooth, finished surface. A sandpaper grit of 600 is appropriate for this step. You can also just use a sheet of sandpaper with your hand if you don’t have (or don’t want to) use a sander for this step.
Now you’re almost done! It’s just time to paint over the mess and add a protective layer.
Paint and polish the affected area
Fiberglass resin doesn’t usually match the color of an RV, even once it has cured and dried. Although you’ve fixed the major damage by this point, everyone will be able to see a discolored splotch on the surface of your camper. This could lower the resale value, plus it just doesn’t look good.
So one of the last things you’ll want to do is apply a coat of paint over the repaired area. Try to match the color as closely as possible and see if your RV manufacturer can give you details about the paint they used. In some cases, they may even direct you to a product page or send you samples!
Paint the affected area and let it dry. Once everything is fixed and painted, it’s time to polish and wax the area so it has an extra layer of protection. Use a product like Meguiar’s M4965 Marine/RV Fiberglass Restoration System for the best results. This wax provides protection against water damage and scratches. It’s also specifically made for fiberglass exteriors.
If you’re dealing with large areas, you can use a mechanical buffer. But for small repairs (like RV fiberglass repairs), you can just apply the wax by hand in small areas. Rub the wax onto the surface with a sponge and let it dry. Then you can just wipe it down with a cloth and voila! You have a nicely repaired fiberglass exterior!
Join the Fiberglass RV Community
If you were wondering how to repair RV fiberglass exterior damage, we hope that this guide was helpful to you. Once again, if the damage covers a huge area or goes deeper than you expected, you may need to pay for professional help.
Do what you can with the methods outlined above! You may be surprised at how easily you can repair damaged fiberglass.
For more tips on maintaining your fiberglass RV, check out the forums on FiberglassRV.com.
Make sure you keep track of all your RV maintenance and repairs with an online tool such as RV LIFE Maintenance. Not only can you keep all of your documents in one place, but you’ll also receive timely reminders when maintenance is due to help you avoid costly repairs and potentially serious accidents.
Related articles: