
The Ultimate DIY RV Rubber Roof Replacement Guide
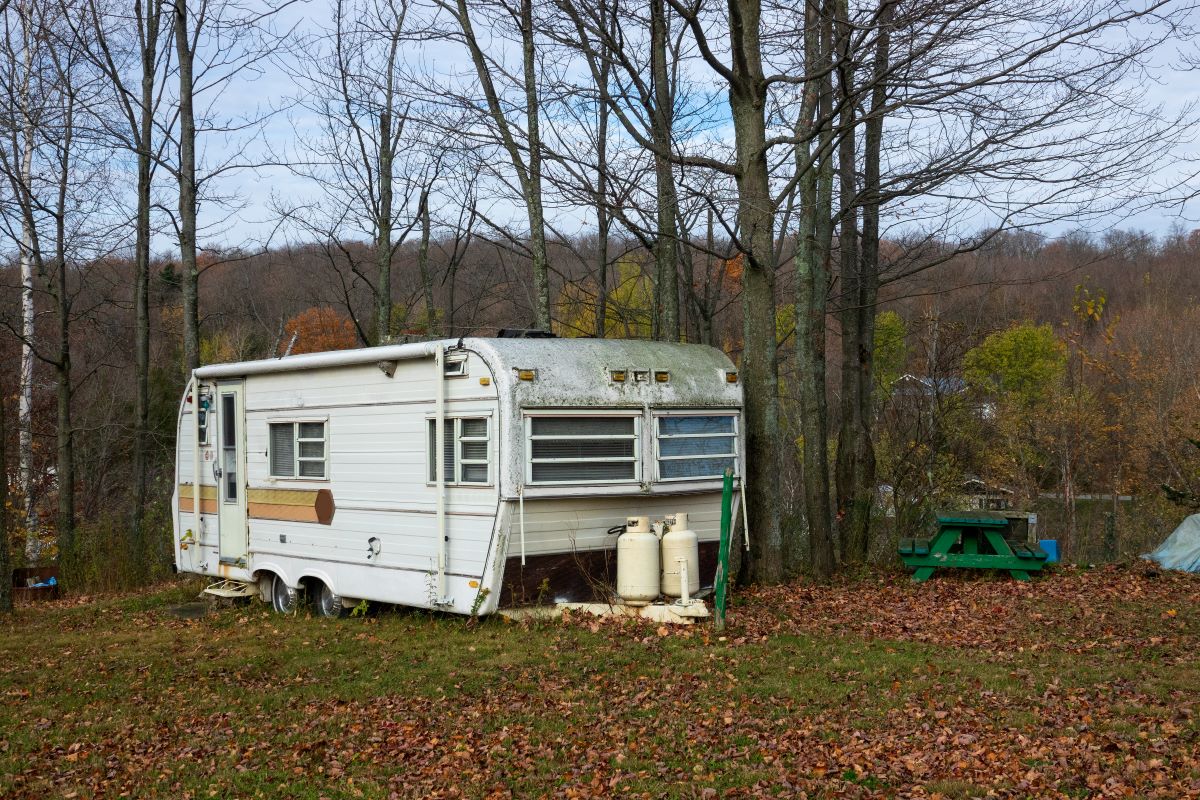
If you already own or recently acquired an older RV, there may come a time when no amount of resealing or recoating is going to solve your leaky roof. There comes a time when you need to perform an entire RV rubber roof replacement.
But how? Taking off the roof of your RV and completely replacing it seems like an impossible job.
Until now. Here is everything you need to know in order to do your own DIY RV rubber roof replacement.
Types of RV roofs
Before you can replace your whole roof, you need to know what you’re replacing. In general, there are 3 major types of RV roofing materials:
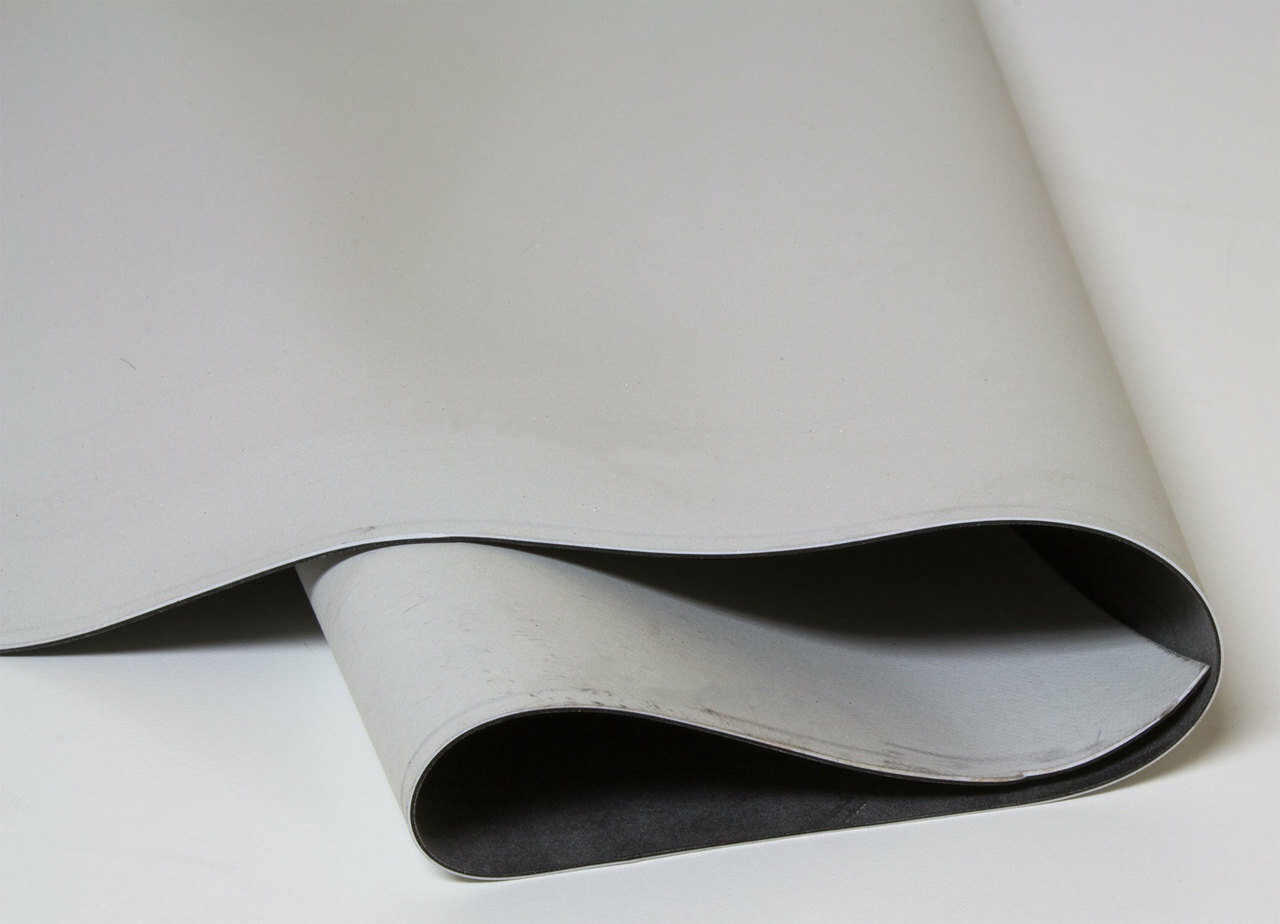
- Rubber EPDM/TPO – The most common material for an RV roof. These are two separate membrane-type rubber products used for flat RV roofs. Rubber is an inexpensive option and is typically sold in sheets by the foot.
- Aluminum – This is not a common product to use except in the iconic Airstream models. Aluminum adds weight to the RV and it more expensive than fiberglass or rubber. However, it requires less maintenance which may be appealing. RV aluminum roofing is sold in different sized sections and colors.
- Fiberglass – Fiberglass is not a super common RV roof material except in some manufacturers. This material is heavier and more expensive than rubber. However, it typically requires less maintenance. RV fiberglass roofing material comes in a few different colors and comes on a roll.
How to replace your RV rubber roof
In the event that your RV’s roof is too far gone to reseal or recoat using an appropriate product, your only option to prevent inevitable water damage is to replace your RV rubber roof. Here’s how to replace a rubber RV roof!
1. Remove roof equipment
First up, remove any equipment that might call the roof it’s home. This includes items like solar panels, air conditioning units, roof vents, and antennas.
Cut or scrape away any sealant so that you can access the screws securing the equipment using a box cutter knife. Then, carefully uninstall all the equipment and store it so you can reinstall it.
After the equipment is removed, unscrew the termination bars, end strips, and caps. This is the area where your RV’s roofing material ends. For some RVs, you may need to drill out the rivets to remove these sections.
While you are replacing your RV roof, you might consider upgrading your A/C unit or installing a skylight.
2. Remove the existing RV rubber roof
Next, you need to remove the existing RV roof material. You may also need to remove a plywood sublayer.
For a rubber roof, you should be able to use a putty knife to scrape off the worn rubber material in sections.
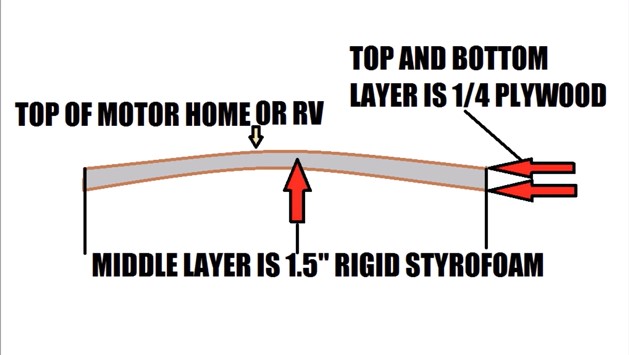
If you need to replace part or all of the plywood on your RV roof, be sure to use care. You don’t want to damage the subsequent layers of your RV’s roof including the framing, insulation, and bottom plywood layer on the inside. You may need to use a putty knife and scrap away sections of the wood – it will be glued to the Styrofoam insulation.
Carefully check for any signs of water damage at this stage. If there were leaks from the roof into your RV walls, you will want to address any damage or mold that might be hidden.
3. Prepare for the new RV roof material
Now that you’ve removed the old leaky roof, it’s time to replace it. In the opposite order of removal, you now need to install a layer of plywood (if applicable).
For those who have to replace the plywood, clean the insulation surface without taking off too much insulation so you get maximum adhesion. Depending on your RVs framing, you may want to use wood-to-metal self-tapping screws. In addition to screwing the wood to the frame, use a layer of high-quality adhesive to keep the wood bonded.
After you’ve installed the plywood sublayer, skim coat your wood to make the joints seamless with the existing roof.
Before you install the new roofing material, clean the entire surface of your RV roof before installing the seam tape. You can opt to follow the manufacturer’s instructions or apply the seam tape to all the joints on the RV roof.
4. Install your new RV rubber roof replacement
Finally, it’s time to install a fresh piece of roofing material. This might be aluminum, fiberglass, EPDM, or TPO rubber membrane.
Start at one end of the RV. In manageable sections, apply the recommended roof adhesive. Then roll out the new roofing material and take care to push out all the air bubbles.
Depending on the material and the weather, the roof material may need to sit in the sun to relax or soften up so you can get rid of the creases and bubbles.
Pro tip: Leave the first 1.5 feet or so unglued at the beginning. This will allow you to come back once the entire layer is installed and tuck in the new material to the termination caps.
After covering the entire length of the roof, cut off the excess material at the end of your RV. Now you can go back to where you started and tuck and adhere the first section of the roofing material.
5. Finish up the RV rubber roof replacement
With the new roofing material installed, you’re almost ready to get back on the road. Cut out the holes for your rooftop equipment.
Secure the edges using wood-to-metal screws or staples. Then, cut off the excess material.
Pro tip: Drill a hole or use a hole punch to mark the corners of the required holes. This keeps the material from ripping when you cut it.
Reinstall your termination bars along the sides, rear, and front of your RV. To keep everything nice and dry, you could use some butyl tape behind the termination bars. Then cut off the excess right underneath the bar.
Finally, reinstall all your RV rooftop equipment (maybe even that new skylight) and seal everything with your favorite RV sealant. We recommend the Dicor EPDM Self Leveling Sealant if it’s a rubber roof.
Track your RV maintenance and repairs
Make sure you keep track of all your RV maintenance and repairs with an online tool such as RV LIFE Maintenance. Not only can you keep all of your documents in one place, but you’ll also receive timely reminders when maintenance is due to help you avoid costly repairs and potentially serious accidents.
Related articles:


