How Do You Install An RV Skylight?
Knowing how to install an RV skylight isn’t something most RVers are familiar with. Although not a simple DIY project, this is something a lot of RVers think about doing but are unsure how.
Installing an RV skylight, unlike more common modifications like upgrading faucets or painting cabinets, involves cutting into your RV’s structure. For this reason, the proper research must be done and you should gauge your skills and abilities accordingly.
Why add an RV skylight?
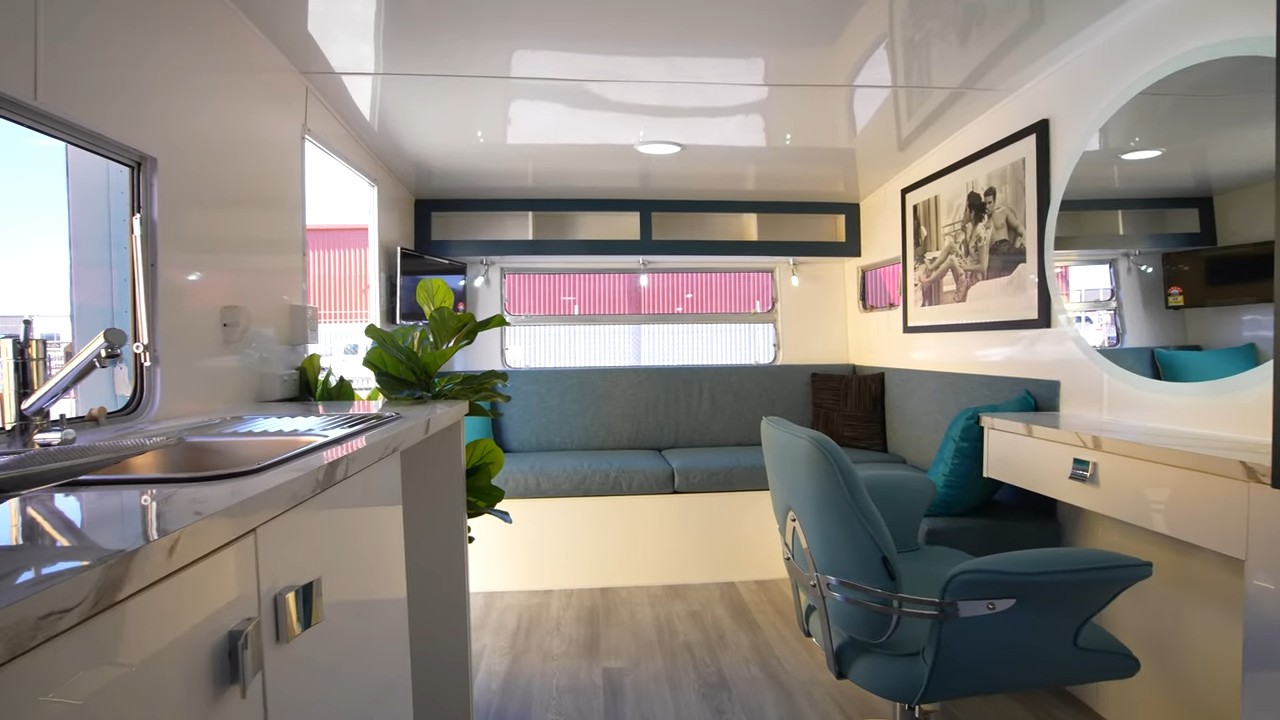
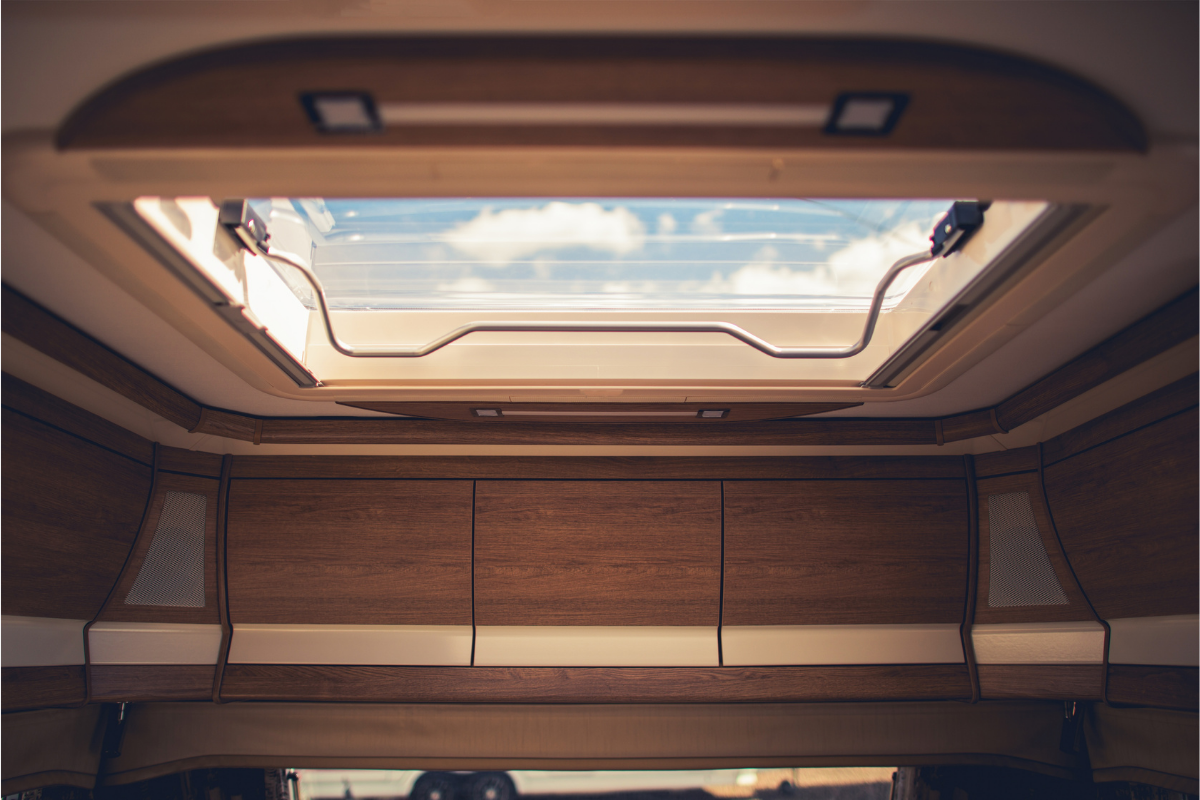
RV skylights add natural light to spaces and can also provide extra headroom in some cases.
RV skylights are a great way to open up a small or dark space in your RV. Need more headroom in the shower? Adding a skylight can solve this problem as well.
Maybe you already have a skylight but it is damaged or has become discolored or cloudy, restricting light, and requiring replacement. In this case, the task is much easier.
Required tools
Although a more involved DIY project, the tools required to install an RV skylight are basic tools most people have access to.
Here’s a list of what you will need:
- Jigsaw
- Drill/Bits
- Screwdriver
- Caulking gun
- Marker
- Square

Planning
As with any project, planning is the first and most important step. You don’t want to cut a hole in your RV roof that is too big or in the wrong location.
If you are adding a new RV skylight where there currently isn’t one, the first decision you will have to make is where do you want it? Ceiling vents, lights, and speakers will limit the spots you can add a skylight. Don’t forget to check the location of outdoor roof-mounted items like the A/C and antennas.
If possible, obtain a copy of your RV’s framing and ducting prints from the manufacturer. Having wood framing surrounding the skylight is important for strength and support.
Things to consider before starting: What location will give light where you need it? What size skylight do you have space for? What obstructions will you have to avoid? Where is there existing roof framing?
Installation of an RV skylight
Note: If your skylight comes with instructions, it is best to follow the manufacturer’s guide.
Mark area to be cut
After careful planning, you are ready to start. With the location confirmed, you can now mark out the area to be cut.
Some skylights will have a cut template to make this easier. If not, this can be done by holding the skylight in place on the ceiling inside the RV. Trace the perimeter of the skylight with a marker. Note: that it will likely be required to cut inside of this mark by 1″ or as suggested by the manufacturer.
Cut skylight hole
Using a drill, drill a small hole in each of the corners of the marked area. Drill through the ceiling and through the roof. This only needs to be large enough to fit a jigsaw blade through. With the four holes drilled through the roof, you will have your measurements to cut from the rooftop side. Simply use a straight edge and connect the four corners. It is a good idea to cut the roof covering in a way that you can use it to fold over the cut edges.
Cutting from both the inside and the outside will likely be required as the roof thickness will be greater than the length of your jigsaw blade.
Inspect and add framing
With the hole cut out, inspect the framing and roofing material for water damage to avoid future problems. Although most likely not required, adding some stick framing around the cutout area to frame in your new skylight will add strength to the area.
Make sure the rooftop surface is well cleaned where you will mount the skylight. Place the skylight in position and make sure your cutout is the required size. Pre-drill the screw holes using the skylight as a guide.
Seal skylight
Using a proper roof sealant, apply to the rooftop around the cutout. Butyl tape is another popular option. Used for sealing other watertight joints such as windows, if butyl tape is used, a roof sealant will still be required around the edges.
Carefully place the skylight in place, pressing down into the sealant. Fasten the skylight to the rooftop by installing all of the screws. With the screws in place, apply sealant around the screw heads and around the perimeter of the skylight to complete a full seal. There are tape sealants available as well which can be applied to the edges of the skylight before applying the sealant.
Back inside your RV, you can install the ceiling-mounted side of the skylight. The process is very similar minus the rooftop sealant required. Place the skylight in the cutout location and double-check that everything fits. Fasten the skylight in place using the required screws and that’s it. You have light!
Replacing an RV skylight
If you have an existing skylight and just need to replace it, the process is the same minus having to mark out and cut the hole. However, you will have the added task of removing the old roof sealant. Remember to check all the framing for water damage before installing your new skylight.
Bring some of the outside in. Adding more natural light in your RV will have a positive effect not only on the space but on you too!
Continue reading: